Happy Monday, everyone! We’re on the downhill slide to Christmas which means we’re all in the last-minute scramble to gather all the things and make all the treats.
Speaking of which, this week we’re going to be exploring all of the ways we can use our crafty stash to create unique gifts and goodies for our friends and neighbors and family. We’re getting started with a fun little treat box that I learned from The Paper Pixie. If you don’t follow her, you totally should. She makes the best 3D crafty items and provides spot-on, easy-to-follow instructions.
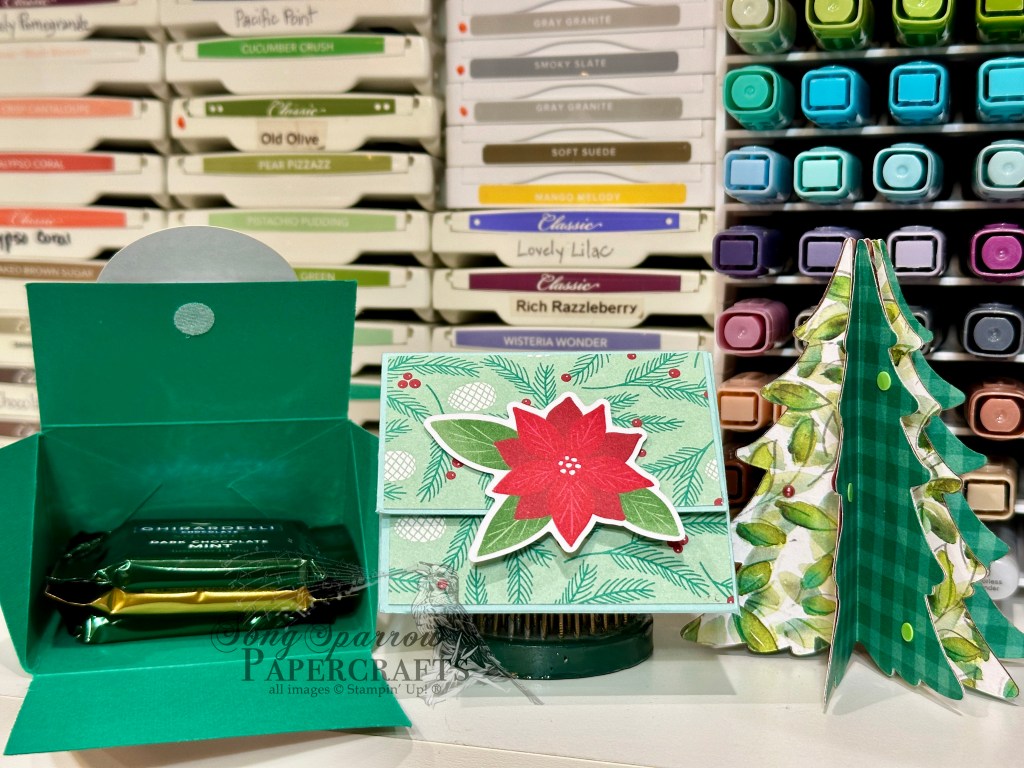
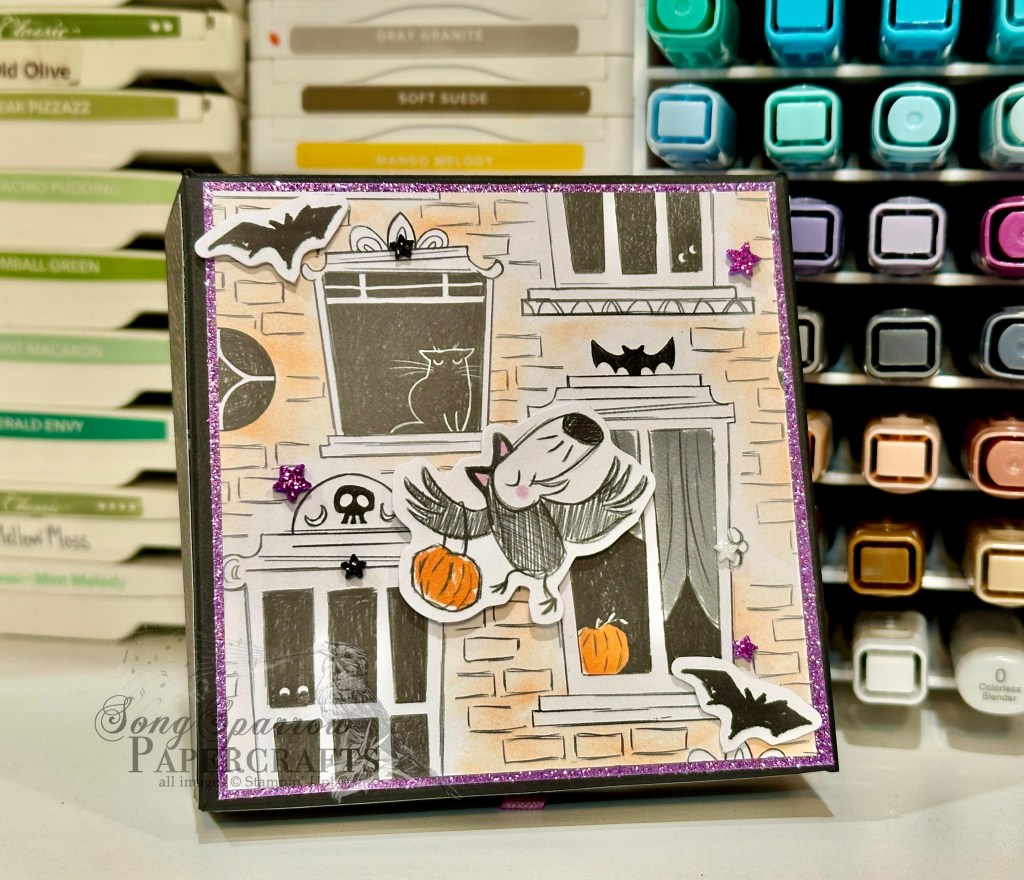
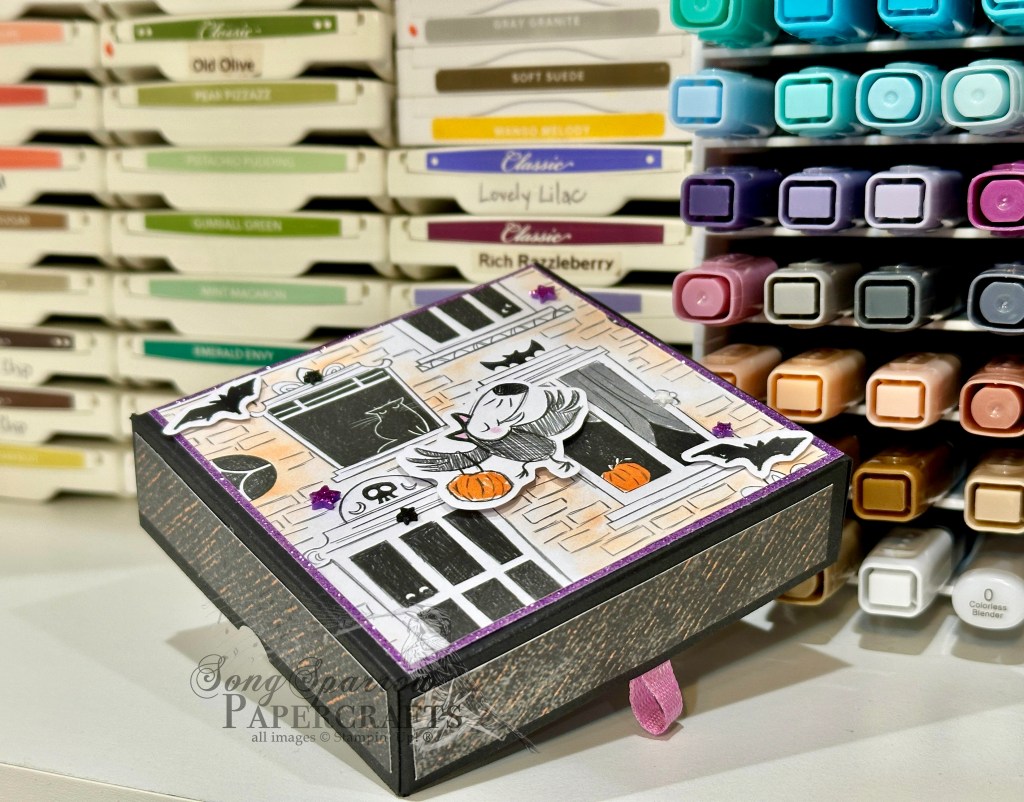
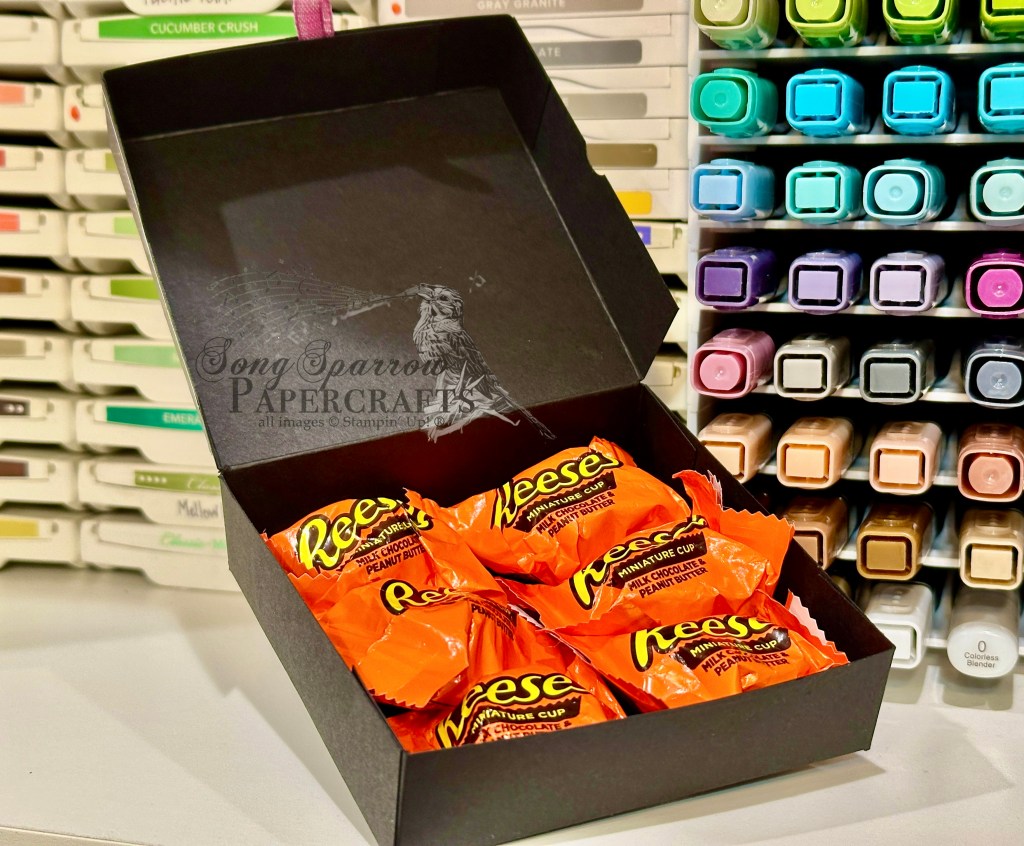
For the particular batch of boxes shown, I pulled out some of my retired stash of holiday papers. I’ve found that treat boxes are often a great way to use up leftover paper. For the box itself, you’ll need one sheet of 8.5×11-inch cardstock. I typically coordinate the box color with the selected patterned paper I’m going to use to decorate it. Here I’ve used Pool Party and Shaded Spruce for these two boxes. I cut three pieces of patterned paper to cover the front flaps and back of the box. I chose not to cover the inside flaps, but you definitely could if you so chose. I used one of the small Velcro dots to fasten the box closed. The front is decorated with some retired ephemera. I’ve filled the current batch of boxes with Ghiradelli squares, but these boxes easily fit other treats too.
I’m making a bunch of these this year — for coworkers, for my choir members, for the mailman, and anyone else who I think just needs a little holiday pick-me-up. They make great stocking stuffers too! I hope you’ll pop in tomorrow to see the next giftie item on the list.
EDITED TO ADD: You can download the PDF tutorial here.