Father's Day · Gifting

Trusty Tools Gift Card Box

Howdy, crafty friends! It’s hard to believe it’s already Wednesday and we’re halfway through the week. Holiday weeks are always weird because I never know what day it is. Anybody else have that issue?

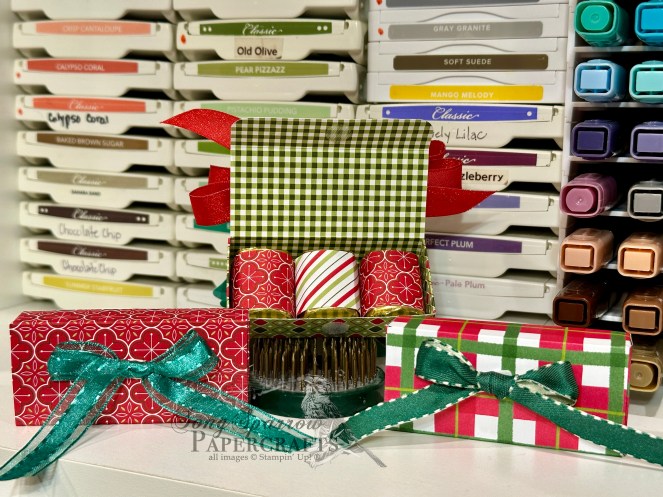
This week, I’m feverishly working to completely product prep for a craft show this coming weekend. And today I’m giving you a looksy at a new fun fold project that I took for a spin to create a super cute gift card box. I’m using the retired Trusty Toolbox paper and coordinating stamps, along with the Family Ties stamp and Stylish Shapes dies. Let’s take a closer look.

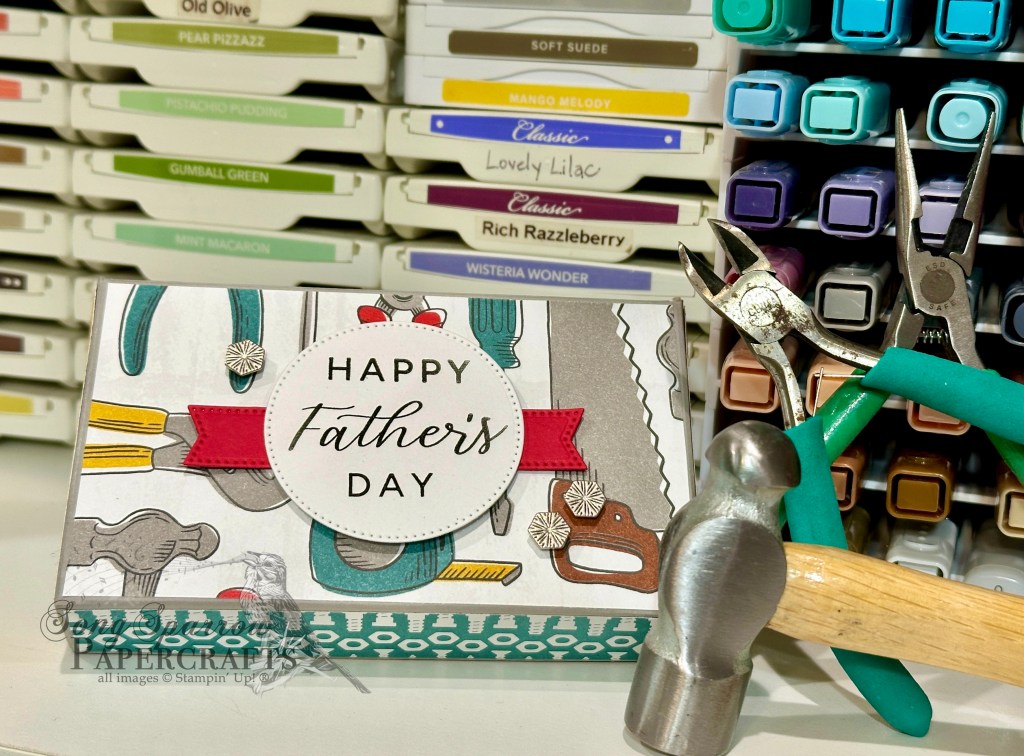
The box is constructed from Gray Granite cardstock. The outside of the box is decorated with several different patterns from the Trusty Toolbox paper pack. The sentiment panel is cut from white cardstock using the circle dies from the Stylish Shapes set and then stamped with the sentiment from the Family Ties stamp set. The banner is cut from Real Red and adhered behind the sentiment. The sentiment panel is popped up with dimensionals and a few Industrial Trinkets are added for a little pizzazz.

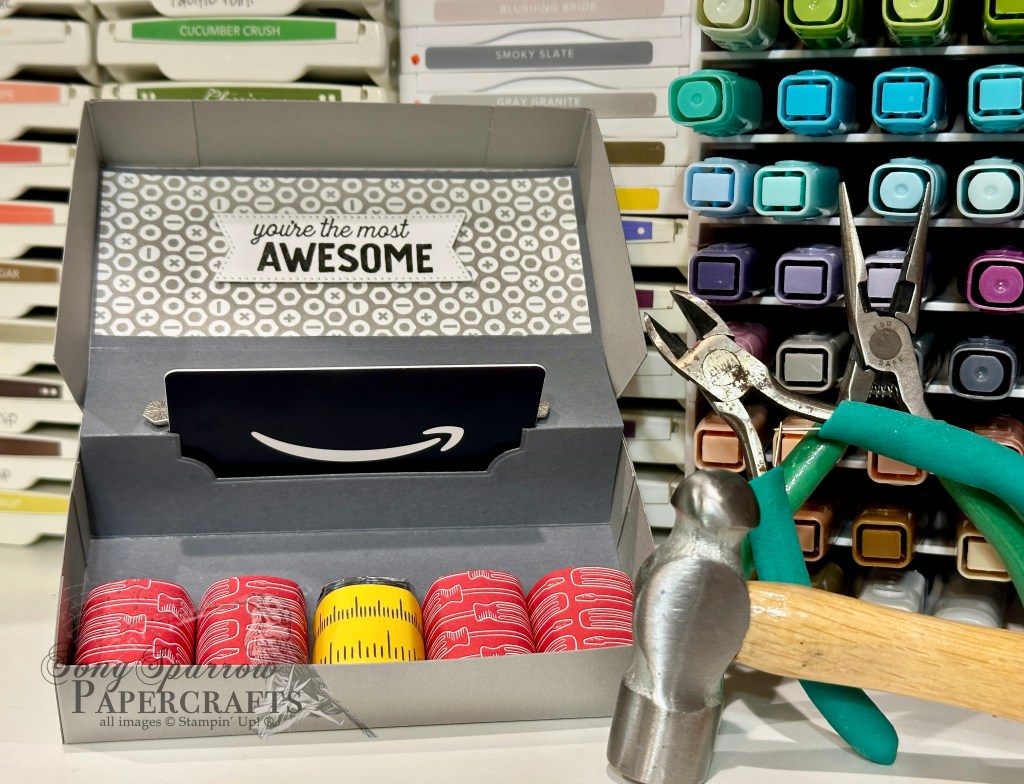
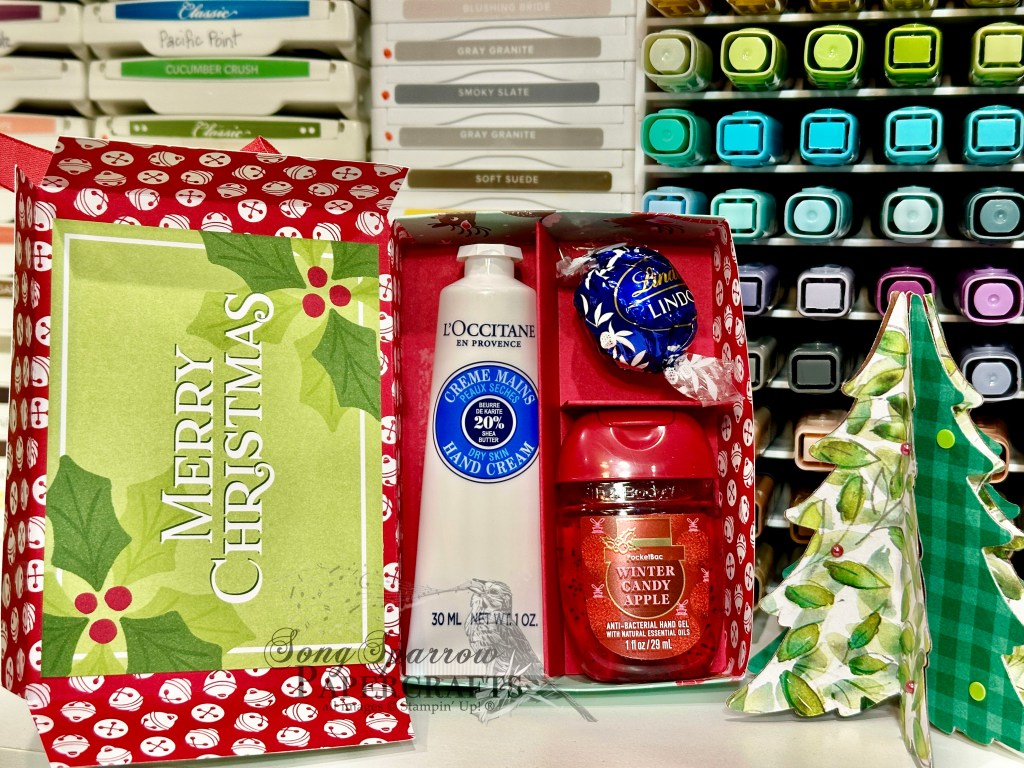
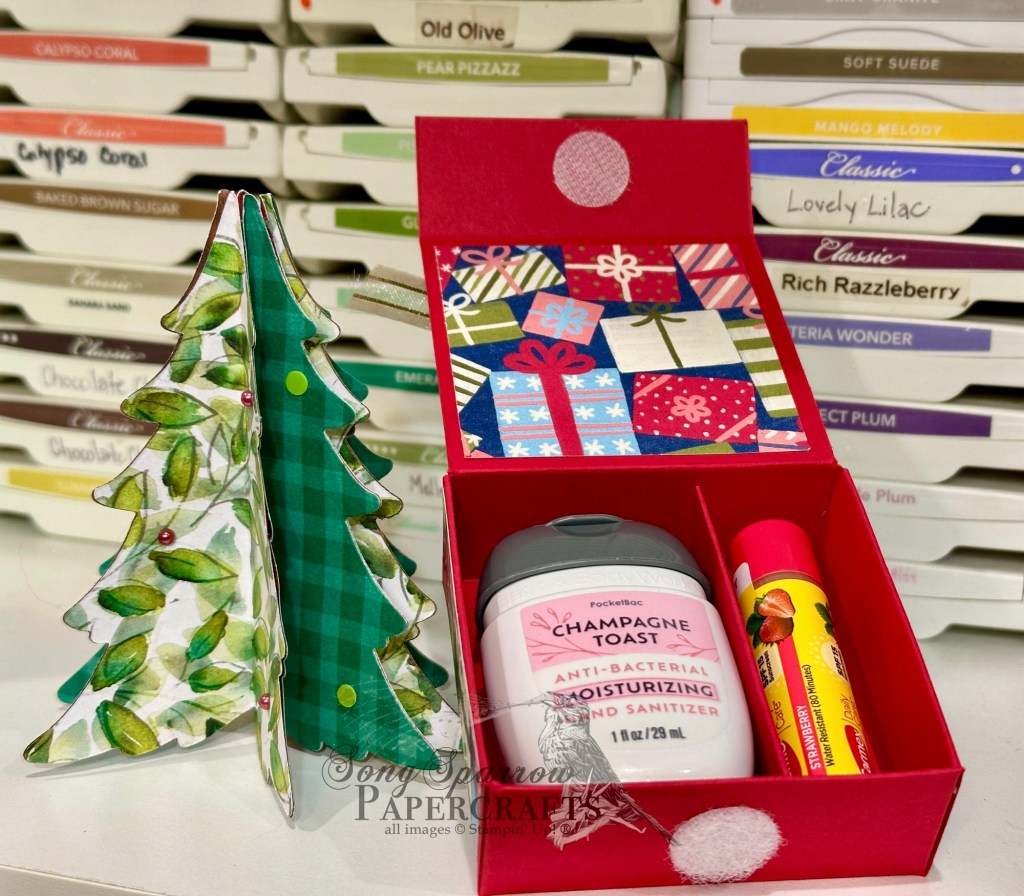
The gift card holder is designed as a pop-up so that it recesses into the box when it closes. It looks complicated but it’s quite simple. Again, I used some of the Trusty Toolbox paper to decorate the lid, along with a sentiment from the coordinating stamp set. The Hershey Nugget treats are wrapped in strips of the Trusty Toolbox paper for a cohesive look. There’s even room for a small pocket knife or other clever (but small) gifty insert.

So what do you think? Isn’t this a clever way to gift a gift card and a little treat! You can snag the tutorial here and give it a try yourself!

Product List
Gifting

Hello, Summer!

Howdy, crafty friends! Thanks for allowing me a little break as we wrapped up the school year and wound down over the holiday weekend.

The kiddo said ADIOS to 8th grade and will be headed off to high school next year. *gulp* Not quite sure how time went by so quickly! This weekend we just enjoyed some down time, and it was nice to get a little breather and enjoy time unhurried as a family.

This week will be a busy one as I fast & furiously work to finish up product and prep for a craft fair this coming weekend. My mom will be joining me again, and we’re looking forward to our first summer event. We typically stick to fall events. So we’re interested to see if we’ve managed to put together a good selection of product based on a different season. What would you be looking for at a summer craft fair?

One of the new products I’ll be offering is the cute little Fun in the Sun gift bag that includes some sunscreen, hydration packets, and some SPF lip balm — a perfect hostess gift for those summer poolside get-togethers! The Notes & Totes die set makes the perfect little bag to hold all of the goodies. I’ve made an assortment of these little gift bags and have pulled all of my favorite (retired) summer-inspired patterns to create the bags. For this bag, I’ve used the retired Bloom Impressions paper and accented with Crumb Cake. For a good hold, I chose narrow tear-and-tape to assemble.

Is this not the cutest? I really hope these sell. What do you think — yay or nay on the idea?

Products used in today’s project:
Crumb Cake cardstock
Bloom Impressions DSP (retired)
Notes & Totes dies
Stuffings: hydration packets, sunscreen, lip balm

Gifting

You Did It, Graduate

Howdy, everyone! We’re sitting at T minus 1 on middle school. And I just can’t even believe it. Time really does fly!

Speaking of that, I know a lot of parents of graduates who are feeling the same way right now. This week our designs are an ode to this year’s graduating seniors. And today we’re pulling together the school colors of another local high school to create this tassel card using the Diamond Fun Fold tutorial.

We get started with a base of Basic Black cardstock and then use Crushed Curry for our front and side panels. The diamond panel is a small square of black cardstock with a small hole in the center. The tassel is created from gold twine and a goldenrod Brad in the center. I pulled some older Papertrey Ink stamp sets — Wise Owl and Paper Clippings Congratulations — to provide the owl (the school mascot), stars, and the sentiment. We finish things off with a little sparkle from a few foam shimmer stars for the star centers.

The tassel is probably the most time consuming part of this design. And that took just a few minutes. You could easily make several of these in one sitting and even change up the colors to match a different school. Easy peasy!

Gifting

Celebrate, Grad

Welcome back on this wet and wild Tuesday! It was a stormy commute home for me today and quite the crazy drive. It seems like people forget how to drive in the rain when we haven’t had any for more than a week! But I made it home in one piece, even if it took far longer than it needed to.

We’re continuing our design series that’s all about the grads. And today’s card is a nod to one of the local high schools. One of the fun things we can do as crafters is tailor our designs with things like school colors. in this case, we’re using a combo of navy, white, and orange. And we’re pairing up two retired goodies to make this cutie — the School Days stamps set and the Wanted to Say dies.

We get started with a base of Night of Navy cardstock. a panel of white cardstock serves as the base for the focal panel, where we repeatedly stamp the cap from the School Days stamp set in navy. Our focal panel is matted with Timid Tiger. Then we wrap the panel with Timid Tiger ribbon and tie in a knot to one side. We’re using the Wanted to Say dies to create our celebrate sentiment using a combination of Peach Pie glimmer paper and navy Garden Textures foil paper. The sentiment is adhered above the ribbon with dimensionals. A few Timid Tiger dots finish things off.

I’ll be participating in a craft show the weekend after graduation and I’m hoping there will be some locals who are still on the lookout for graduation cards for parties that weekend. We’ll be continuing our grad theme tomorrow. I hope you’ll drop in and see what’s next.

Gifting

All the Best, Grad

Happy Monday, friends! I don’t know about you, but I needed double the weekend and half the week! Whew, there’s just too much going on and not enough time to get it all done as we close out the school year. And I ended up taking some extra down time last week and did zero crafting. Not because I didn’t want to but because I simply didn’t have the energy to put into anything. Sometimes we just have to listen to those call for rest.

So here we are at the start of a brand new week and it’s time for a new design theme. And o think you’ll like this one and probably find it as fitting as I do as we stare down the last day of school on the horizon. That’s right, we’re tackling graduation designs this week. And we get started with a really simple one that can honestly serve a whole host of happy celebrations as we pair up the Velvet Meadow paper with the Everyday Arches dies.

We start with a neutral base of Cloud Cover cardstock. A sheet of the light snd bright vine pattern from the Velvet Meadow paper pack is taking center stage here as we prep a quarter panel. I cut a small section from the center with the Everyday Arches dies. We’re matting that small panel with a little larger panel of Elegant Pine shimmer paper. The panel is adhered directly over the area from whence it was cut using dimensionals. The sentiment from the Saying Something ephemera pack is adhered over a bow of white with gold ribbon using dimensionals. A few opal rounds on either side finish things off.

This design is super versatile and could encompass a whole host of celebratory gatherings. It also comes together in about 5 minutes, making it a nice go-to when you’re crunched for time.

Christmas · Gifting

Nugget Treat Trio

Happy Tuesday, everyone! The days to Christmas are ticking away quickly. Do you ever feel like time is a bit on fast-forward this time of year? I sure do!

I’m sharing another fun treat box with you today. And it’s also another one I learned from The Paper Pixie. When I tell you that she is a 3D packaging genius, I’m not kidding! *wink* This cute little box perfectly holds 3 Hershey nugget treats. But you could easily use it for other things, as well.

I pulled out a combination of both old and new papers as I was making these little gift boxes. I have found that Christmas treats are the perfect way to use retired papers. While you tuck the lid right into the front of the box, I chose to make each of mine close with a tiny Velcro dot. I like the finished look that gives.

I like to use these little gifties for the mailman, my hair dresser, and anyone I think needs a little holiday cheer. And they’re great in combination with a host of other things in a goodie bag.

Wanna give this cute little treat box a try? You can download the PDF tutorial here.

Christmas · Gifting

Holiday Gift Trio

Happy Monday, everyone! It’s the official countdown to Christmas. Are you feeling prepared or are you like me and scrambling to the finish? It really didn’t help that I had the flu last week and didn’t feel well enough to do much crafting at all beyond Tuesday. I’m definitely in crunch mode now! But that’s okay. Christmas cards will come a little late and no one will keel over when it arrives after Christmas. *wink* Sometimes we just give ourselves the grace to get done what we can “on time” and make due with the rest.

Today I’m sharing another gift box with you. I learned this box from The Paper Pixie and it’s been a huge hit. This little box is the perfect size for some hand cream, a little treat, and a pocket sanitizer. And I’ve had fun finding all the different ways to put this together. Today’s variation uses 100% patterned paper. Let’s check it out.

I just had to pull out the super fun Reindeer Days paper from last year’s holiday release. It’s so cute & festive and has the perfect front-backside combinations for this gift box. The inside dividers need to be a little more sturdy and so I chose some coordinating Real Red cardstock for that. I used the coordinating sticker sheet and Memories & More cards to decorate the box, along with some of the current shiny Real Red ribbon.

I whipped up a little tutorial that gives you some instructions both for the patterned paper and cardstock versions of this box. And you can always catch The Paper Pixie video tutorial if you’re like me and more of a visual, hands-on learner.

Christmas · Gifting

Gift Set Box

Hi, friends, and welcome back. This week, I’m taking you along on a journey of handmade gifting. And today we have a very special gift box.

As I prepare for craft fairs — and also just for my own gifting purposes — I like to find new ways to package items that make great stocking stuffers or small gifts. In years past, I’ve made separate little packages for lip balms and hand sanitizer, but this year I thought it would be fun to find packaging that combines them into a little gift set. And here we are!

I wish I could claim credit for creating this box from start to finish, but I’m terrible at creating 3D items on my own. I just don’t think dimensionally like that. But I’m a wicked template follower and I found a great template over at Stampin’ Gala that I adapted to make this adorable gift box.

This box uses a sheet of 8.5×11 paper for the box and a quarter panel for the inside divider. And then it’s decorated with patterned paper and whatever embellishments you might like to dress it up. Here, I’ve used just a simple bow. But it looks equally as snazzy to make little popped up panels with ephemera and the like.

I’m still feeling pretty under the weather. Turns out I have the flu. So needless to say that has very much slowed down my crafting this week. Assuming I start feeling a little better, I hope to bring you another gifty project and to get the PDF tutorial for this cute box posted. Not sure if that will be tomorrow or Friday. We shall see how it goes.

Christmas · Gifting

Custom Gift Bags

Welcome back, friends. I’ve been under the weather the last several days, which is really cutting into my crafting time. Because quite frankly, I don’t feel like crafting. *gasp* I know — I can’t even believe I said it either.

Luckily I had made some fairly decent progress on office gifties and I’ve been able to share those projects with you. I’ll be giving my coworkers gift bags filled with handmade goodies. And today you’re getting a look at the gift bag shell. Why just a shell? Because I’ll be putting all the finishing touches on once all of the giftie goodies are tucked inside.

I learned how to make an assortment of gift bag sizes from my upline Patty Bennett. This particular bag uses 2 sheets of 12×12 patterned paper. I happened to pull from some of my favorite retired paper packs to make my gift bags. These come together quickly and easily and I love being able to coordinate all of the items in the bag! I’ll show you the finished product once I get all of them finished. Hopefully I’ll be well enough to finish them before our office party on Thursday!

Tune in tomorrow as I show you a super cute gift set in a handmade box!

Christmas · Gifting

Festive Treats

Happy Monday, everyone! We’re on the downhill slide to Christmas which means we’re all in the last-minute scramble to gather all the things and make all the treats.

Speaking of which, this week we’re going to be exploring all of the ways we can use our crafty stash to create unique gifts and goodies for our friends and neighbors and family. We’re getting started with a fun little treat box that I learned from The Paper Pixie. If you don’t follow her, you totally should. She makes the best 3D crafty items and provides spot-on, easy-to-follow instructions.

For the particular batch of boxes shown, I pulled out some of my retired stash of holiday papers. I’ve found that treat boxes are often a great way to use up leftover paper. For the box itself, you’ll need one sheet of 8.5×11-inch cardstock. I typically coordinate the box color with the selected patterned paper I’m going to use to decorate it. Here I’ve used Pool Party and Shaded Spruce for these two boxes. I cut three pieces of patterned paper to cover the front flaps and back of the box. I chose not to cover the inside flaps, but you definitely could if you so chose. I used one of the small Velcro dots to fasten the box closed. The front is decorated with some retired ephemera. I’ve filled the current batch of boxes with Ghiradelli squares, but these boxes easily fit other treats too.

I’m making a bunch of these this year — for coworkers, for my choir members, for the mailman, and anyone else who I think just needs a little holiday pick-me-up. They make great stocking stuffers too! I hope you’ll pop in tomorrow to see the next giftie item on the list.

EDITED TO ADD: You can download the PDF tutorial here.