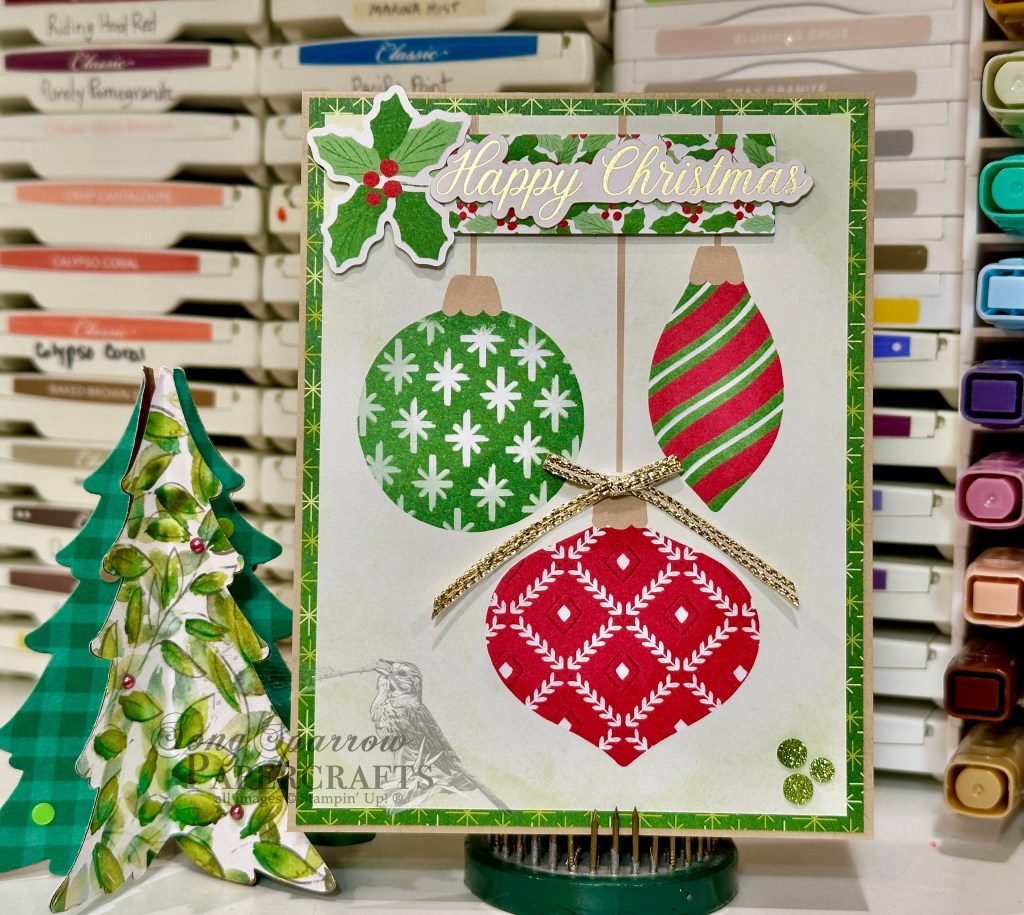
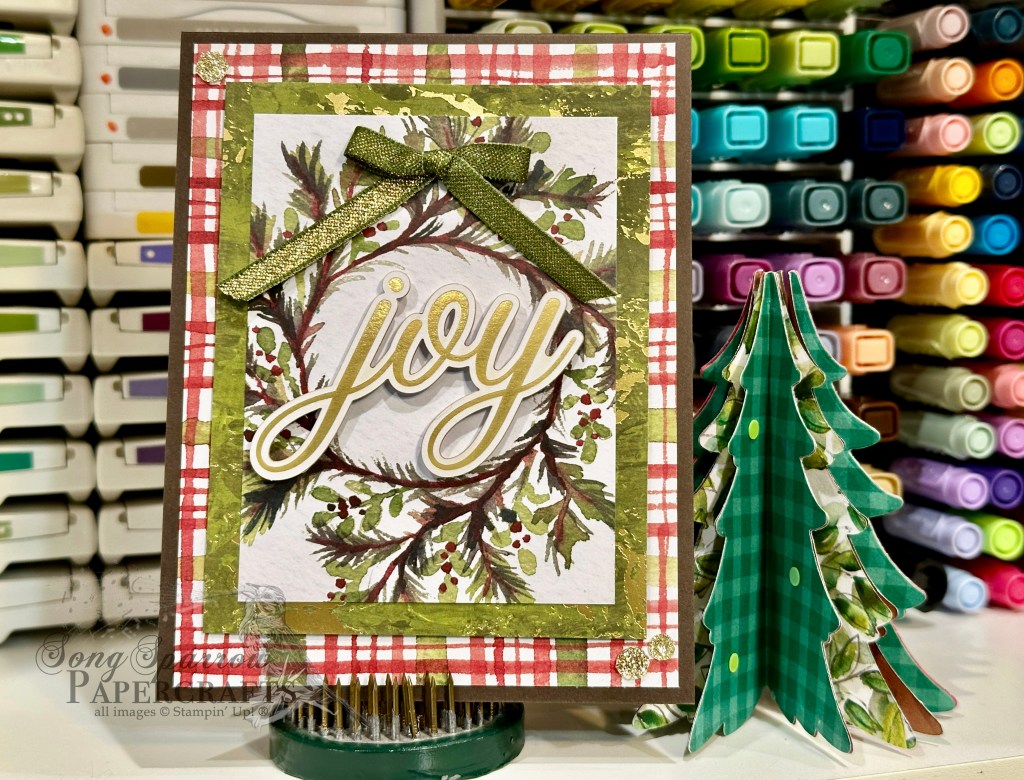
Christmas · No Stamp Design

No Stamp Merry Merry

Well, how do you do? Isn’t that the appropriate thing to say when you’re meeting a stranger….. I kinda feel like a stranger at this point. I just need a little break because I was feeling overwhelmed trying to keep all of the balls in the air. Do you ever feel that way? It’s perfectly normal. And knowing what you need to recenter is key. I knew I needed to put a few balls back in the basket for a little bit.

Now that life is a little more manageable, I’m diving back in. And I am SO excited because it’s time to gear up and make my Christmas cards. Although I’ve taken a break from social media for the last month, I haven’t been away from the craft room. And I learned some nifty new tricks as I was prepping for a big Christmas craft faire and look forward to sharing the new giftie fun folds I have in the repertoire! But this week we’re keeping things simple.

Today we’re getting started with a no-stamp holiday card design because y’all, I’m behind on my own Christmas cards! EEK! So I need some designs that I can turn out quickly. And today’s card combines some of my current faves in the holiday-ish crafty stash — with SU!’s Traditions of Christmas and Season of Elegance paired up with ephemera and pops of gold foil for support. You’re going to love how easy this is!

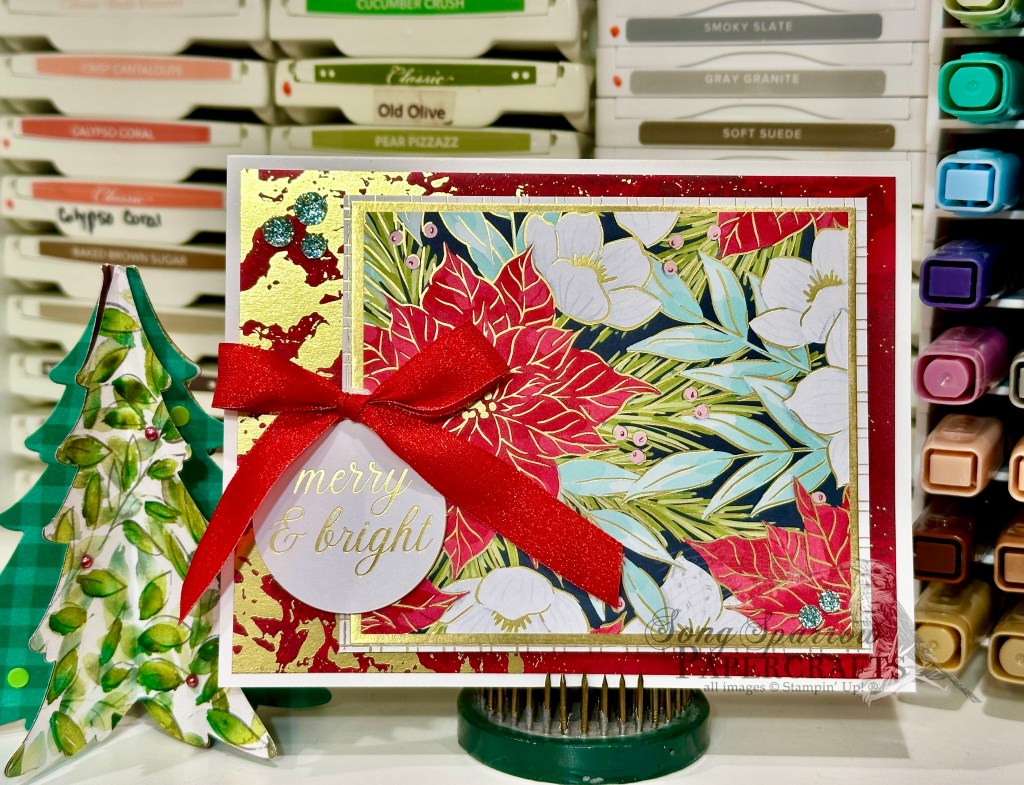
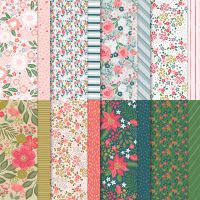
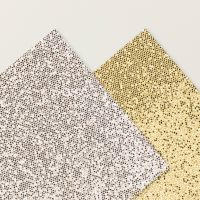
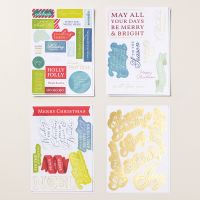
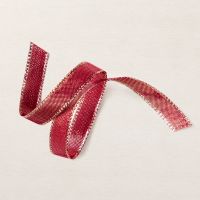
We get started with a nice neutral background of white cardstock. A sheet of the beautiful Real Red Season of Elegance gold foiled paper serves as our background. The focal section is a combination of what I like to call and artsy panel element and a sentiment. The artsy panel has a background of the white and gold foiled graph pattern from the Regal Distressed Patterns paper pack, a mat of gold foil, and the pièce de résistance — the poinsettia & mixed greenery patterned sheet from the Traditions of Christmas paper pack. This whole panel is elevated with dimensionals to really give it that piece-of-art feeling. I chose a simple sentiment — the round merry & bright panel — from the Greetings for You ephemera pack as the compliment and placed it in the bottom-left corner of the artsy panel, putting it just a tick above our patterned panel. We finish things off with a box of Real Red shiny ribbon & some of the Pool Party Traditional Sparkling sequins.

Isn’t this just a stunner? Super easy and oh-so elegant! I hope you’ll pop in this week to see what other quick & easy holiday cards I come up with!

Product List
Christmas · Fun Folds · Holidays

Christmas Slider

Welcome to a new week, everybody! It was a relatively busy weekend for us with lots of bowling for the kiddo, but we spent it together and that sure made it fun! We capped off the weekend by bringing our feral momma kitty and her five precious week-old babies inside in preparation from exterior housework we’re having done this week that would have upended her cozy hiding spot. So we scooped up her little birthing hut (thank goodness she used it this time!) and brought her and the crew inside where they’ll all stay until babies are big enough to go to the local rescue group for adoption and mom is recovered enough to (finally) get fixed. I’ll have to share some precious baby photos once I can get momma to let me take some good ones.

This week we’re on to a new design theme — all that glitters is gold. With so many beautiful gold foiled and glittery products in the Stampin’ Up! lineup, it should be a week of shiny goodness! We get started with some goodies from the new suite called Traditions of Christmas and pair them up with a few oldies, like gold foil sheets, Regal Distressed Patterns paper, and a few die sets.

You might recognize this gift card layout and think that it looks familiar. And you would be exactly right! We’re flipping our new slider fun fold on its side to create today’s beautiful gift card design. I’m currently working on the tutorial and hope to have that up on the site later this week!

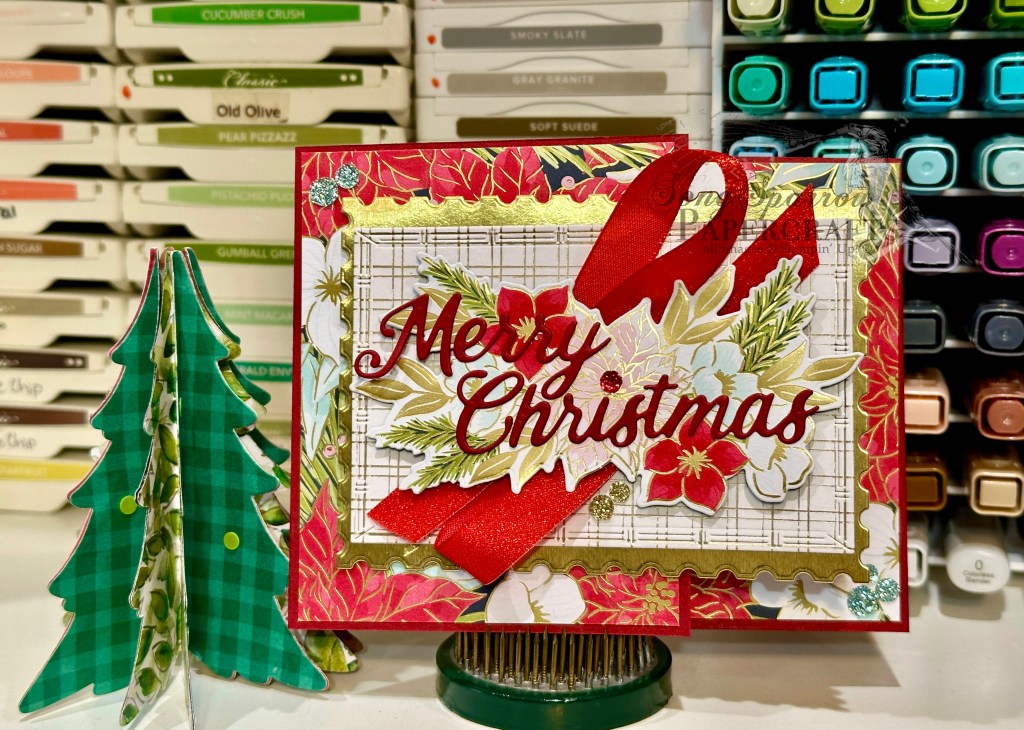
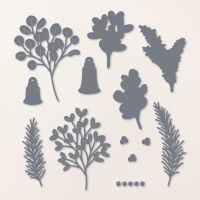
We get started with a base of Cherry Cobbler cardstock and score it to create the off-center barn fold look with the right panel serving as the pocket for our slider section. A sheet of the beautiful Traditions of Christmas paper serves as the backdrop for our card front. The overlapping focal panel backdrop is a combination of gold foil cut with the Perennial Postage dies and a sheet of the Regal Distressed Patterns paper cut with the Textured Notes dies. We use a combination of the Christmas Greenery dies and paper snips to cut the floral elements from another sheet of the Traditions of Christmas paper. The larger spray of florals is the focal image for the front panel, while the smaller fussy-cut elements serve as the cover for the slider pocket of the gift card panel. The front floral spray is adhered over a twist of the Real Red shiny ribbon using several layers of dimensionals. We finish everything off with a scattering of the Traditional Sparkling sequins across the front panel and add just a few on the gift card panel.

When adhering the florals on the sliding panel, ensure that they are flat for a fully unobstructed open/close of the inside slider gift card panel.

I hope you’ll drop in tomorrow to see what we have glittering next!

Product List
Holiday Mini Catalog · Holidays

Wreath of Joy

This week we’ve been making clean & simple holiday card designs using some of the new Stampin’ Up! holiday products that just launched this week. Today we’re pairing up the Joyful Days Memories & More cards with the Greetings for You ephemera to create this lovely wreath of joy.

We get started with a base of Early Espresso cardstock. I love how it pulls out the wood stem of the evergreen in the wreath. Our backdrop is one of the larger cards of Christmas plaid from the Joyful Days pack. This really makes things festive. Our focal panel consists of two panels – the wreath card from the Joyful Days pack and the mat of Old Olive Season of Elegance paper. I love how this gives the perfect amount of sparkle that really helps bring our sentiment front and center. The full panel is adhered to the card backdrop using dimensionals. The sentiment JOY is from the Greetings for You ephemera pack and is adhered on multiple layers of dimensionals to ensure it stands tall above the rest of the design. We finish things off with a bow of Mossy Meadow & Gold ribbon at the top-center of our wreath and then some gold sparkly sequins from the Traditional Sparkling Sequins pack in opposing corners to tie the gold elements together.

I hope you’ve gotten some good ideas from this week’s designs to get you started on your holiday card stash. Next week is all about birthdays. I hope you’ll come along as we tour through the crafty stash to make some fun birthday cards.

Product List
Holiday Mini Catalog · Holidays

Christmas Wishes

Howdy, friends! Have this week’s card designs gotten you into the holiday spirit? Well, today’s card will have you smelling evergreens. *wink*

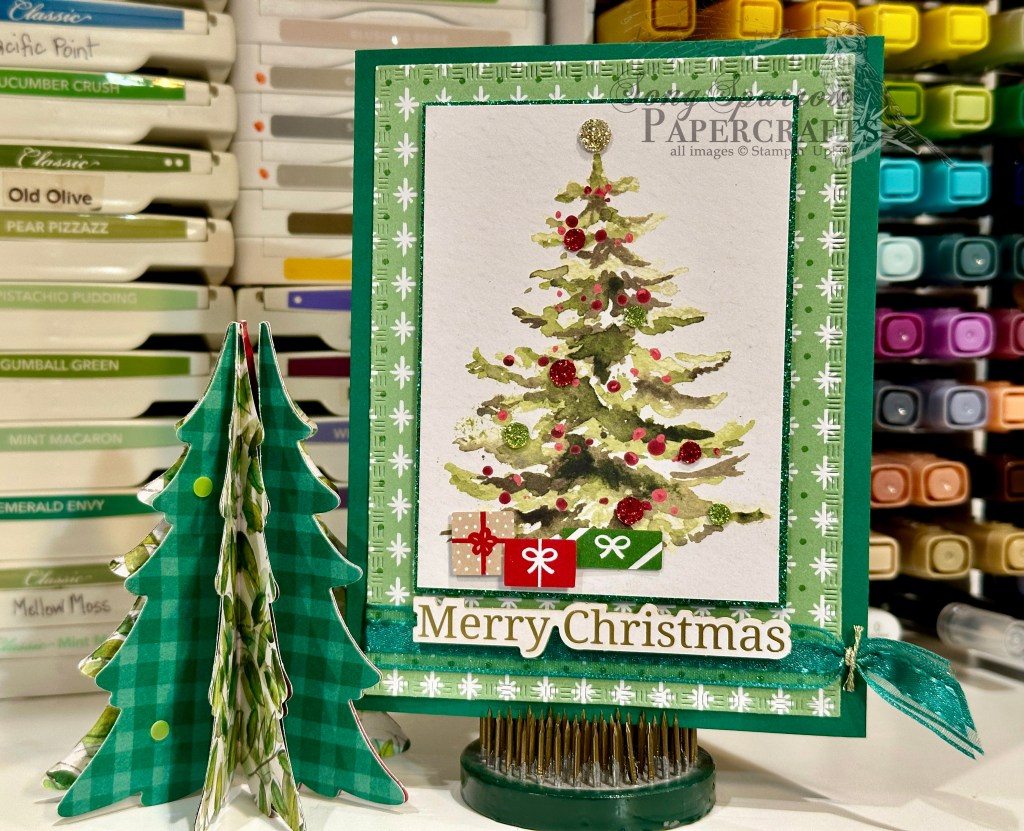
We’re using some of the new Stampin’ Up! holiday release products to create our clean & simple holiday card designs this week. And today, we’re pairing up the Joyful Days Memories & More card pack with the Christmas Tags & More paper pack with coordinating ephemera sheets and the Greetings for You ephemera pack. And what kind of card would it be if I didn’t include some sparkle? *grin*

We get started with this card with a base of Shaded Spruce cardstock. The background panel is a sheet of snowflake pattern Christmas Tags & More paper diecut with the largest Textured Notes die. The bottom of the panel is wrapped with Shaded Spruce sheer ribbon that is tied off with some gold thread (both now retired). Our focal panel is the smaller evergreen card from the Joyful Days card pack that is matted with some (retired) Shaded Spruce festive glimmer paper and mounted on dimensionals. I added some of the packages from the ephemera sheet included in the Christmas Tags & More pack and mounted them on varying levels of dimensionals for some realistic depth of scene. The tree baubles are some of the traditional sparkling sequins. We finish things off with a holiday sentiment from the Greetings for You ephemera pack and mount it with enough dimensionals to stand above the center focal point.

This is such a super simple design – so fun & so easy to put together. And don’t you think it’s just a lovely way to send some holiday cheer? Tomorrow we’re going to close out this week’s design series with a traditional evergreen wreath. I hope you’ll pop in and check it out.

Product List
Holiday Mini Catalog · Holidays

Wonderful Time

It is most definitely the most wonderful time of the year. Wanna know why? Two things: (1) it’s starting to feel like fall, which is my most favorite season; AND (2) it’s time for the new Stampin’ Up! Holiday Mini Catalog!!! Have you checked out all the new goodies in the shop today? What’s on your shopping list? I’ve already shopped twice and still have a few more things I’m on the fence about.

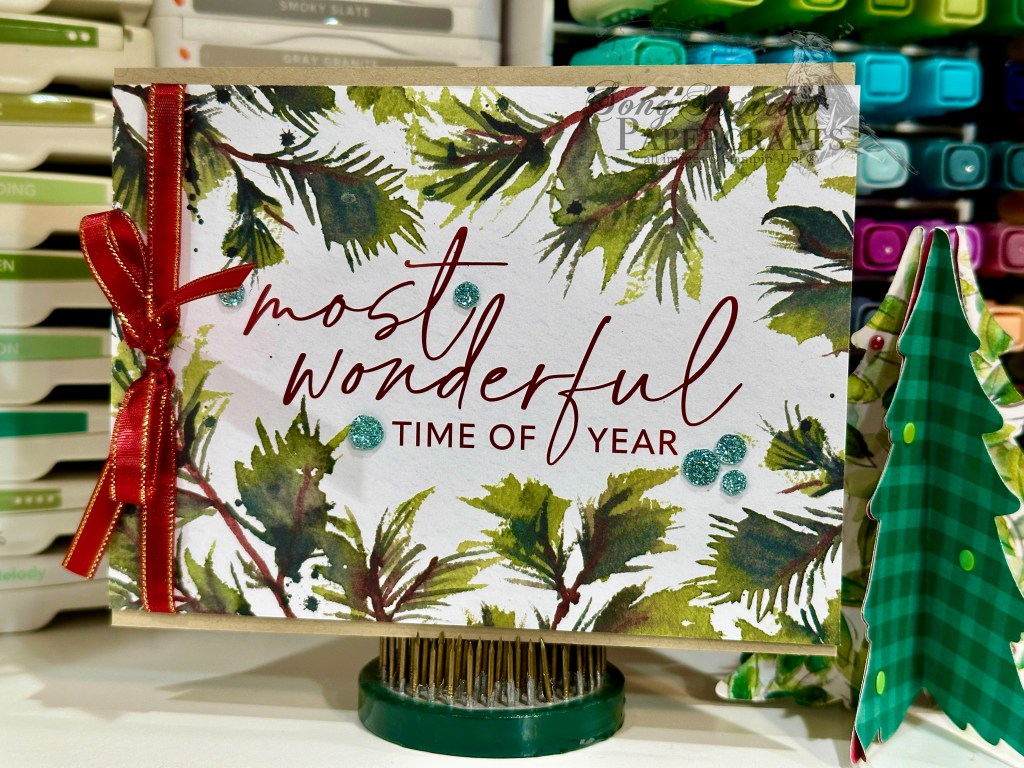
This week, we’re creating very clean & simple holiday cards using the Joyful Days Memories & More card pack, Greetings for You ephemera pack, and the Christmas Tags & More 6×6 designer series paper pack with coordinating ephemera sheets. Today’s card is maybe just about the simplest design of the whole week. You can literally turn out 6 cards just. like. that.

Today’s card starts with a base of Crumb Cake cardstock. I selected the most wonderful time of year card from the Joyful Days pack and cut off just enough so it fits horizontally on the card front. Before adhering with dimensionals, I wrapped the decorative card with some (sadly retired) Cherry Cobbler & Gold satin ribbon tied with a nice, big bow. I finished it all off with a scattering of Pool Party sequins from the Traditional Sparkling sequins pack. Easy peasy!

Tomorrow we’re going to be creating a holiday card that has long legs. You’ll have to drop by to see what I mean. *wink*

Product List
Coming Soon · Holiday Mini Catalog

Merry & Bright Plaid

I don’t know about you, but I have a love-hate relationship with holiday weeks. We all love a short work week, but it always feels to me like I’m just squeezing in a lot more work into a shorter time period. That was definitely the case today anyway!

And I’ve been SO off on my days as of late that I was thinking today was the new product release day when it’s actually tomorrow….womp-womp! But it doesn’t dampen my enthusiasm for you to see all of the new stuff. I’m just sad you have to wait one more day.

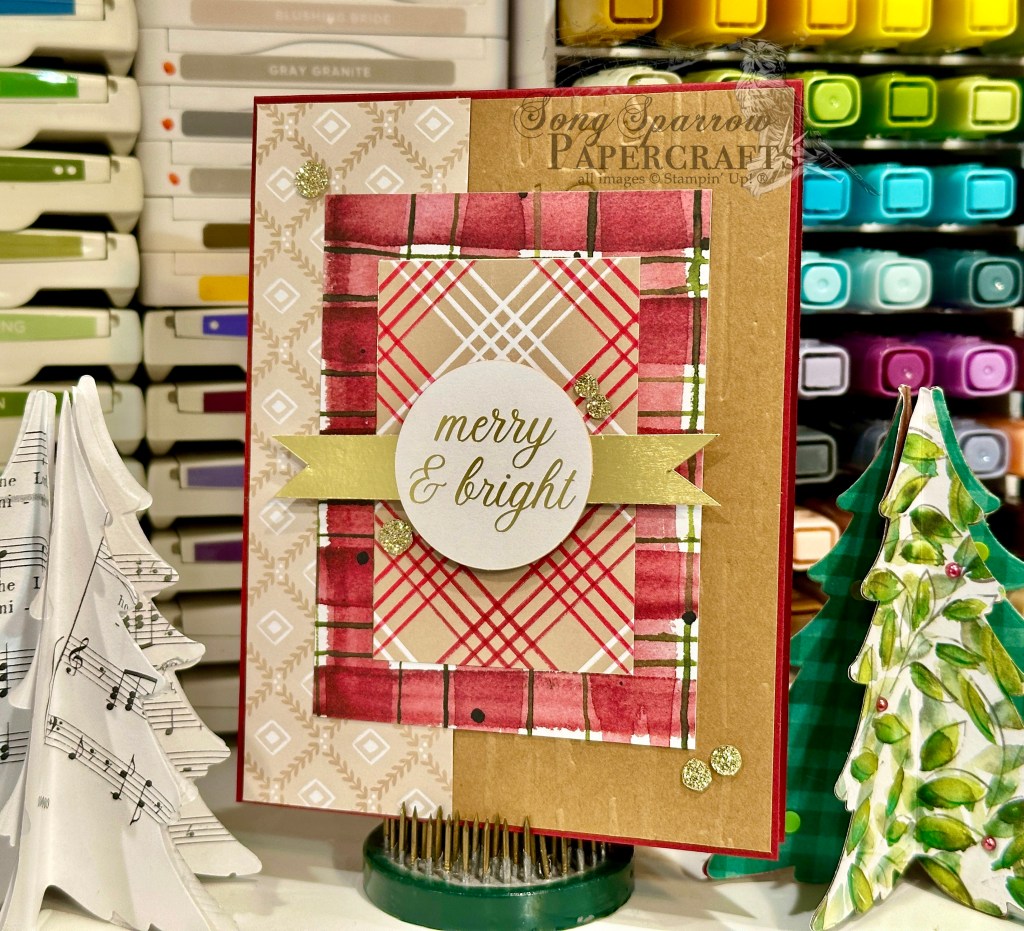
Anywho, this week we’re getting another peek at some of the cute holiday products that will be available tomorrow. Our design focus this week is clean and simple holiday cards using the Joyful Days Memories & More card pack, the Greetings for You ephemera, and the Christmas Tags & More patterned paper pack with ephemera sheets included. So much good stuff! Today we’re mixing in an embossing folder.

Today’s card starts with a base of Cherry Cobbler cardstock. I had a leftover strip of light brown patterned cardstock from one of the sheets in the Christmas Tags & More pack which served as the jumping-off spot for the color palette and design for the rest of the card. I paired it up with a piece of Pecan Pie machine embossed with the Birch Wood embossing folder to create the backdrop for the focal panel. The focal panel backdrop is a combination of one of the smaller cards of plaid from the Joyful Days card pack and a plaid tag from the sheet of tags in the Christmas Tags & More pack. I chose the Merry & Bright circle sentiment from the Greetings for You ephemera pack and matted it with a banner of gold foil specialty paper and adhered it to the focal panel with several layers of dimensionals to be sure it really catches the eye. I finished things off with some gold sparkly sequins from the Traditional Sparkling Sequins pack so your eye catches some sparkles all the way across the card front.

I hope you’ll tune in tomorrow to see another clean & simple holiday card design.

Products used in today’s card:
Cherry Cobbler, Pecan Pie cardstock
Gold foil, Christmas Tags & More DSP
Greetings for You ephemera
Joyful Days Memories & More card pack
Birch Wood embossing folder
Traditional sparkling sequins
Dimensionals

Christmas · Sweet Jar

Jar Full of Cheer

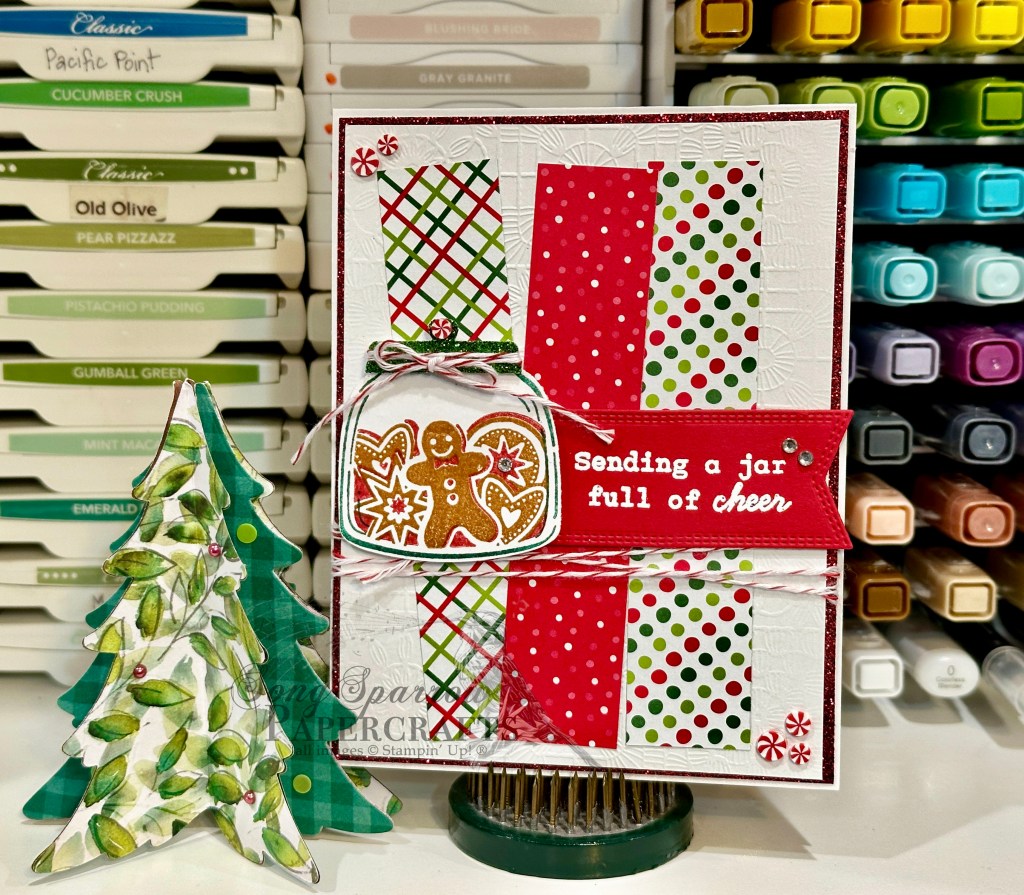
This week’s featured product is the Sweet Jar stamp and punch bundle by Stampin’ Up! And today’s card put the complimentary stamp set called Jar of Joy on full display. Because we couldn’t have jars with goodies without including the gingerbread men! I’m drawing on my stash of retired Take a Bow holiday paper for this design and I had the perfect scraps for this card.

We get started with a simple base of white cardstock. The background panel is a quarter panel of white that is machine embossed with the retired Cute Crochet embossing folder and then this is matted with the Real Red festive glimmer paper. I started with the tone-on-tone look but felt like the embossing got lost and the sparkly red is the perfect popper. The focal backdrop is a trio of strips from the Take a Bow patterned paper pack that was part of last year’s holiday release. These strips were the perfect combination of pattern and festive color. I wrapped the full panel with Real Red & White baker’s twine. We stamp our jar in green and then add the gingerbread scene. The lid is punched from a scrap of Shaded Spruce glimmer paper. I added some red & white twine and a peppermint to the lid for a coordinated festive touch. The sentiment from Jar of Joy is heat embossed in white on a sheet of Real Red and then diecut with the Nested Essentials banner die using the extension method. These elements are adhered to the card front on dimensionals. I added a few rhinestones and some extra peppermints to finish things off.

Tomorrow we’re going to be visiting a lesser-included holiday but I think you’re going to love the all-occasion twist. I hope you’ll pop in to check it out!

Product List
Christmas · Gifting

Beary Cute Envelope

Howdy, crafty friends! I got a little side-tracked yesterday with a cookie project and ran out of time to play in my crafty stash. I was trying out a new cookie recipe to take to a cookie exchange. And once again, I forgot how much I hate messing with the candy coating. I can never get it to melt right and then end up making a big mess. I guess the good thing about this particular recipe is that the cookies are supposed to resemble snowballs, and snowballs are lumpy. Soooooo my lumpy candy coating is perfect! Hahaha!

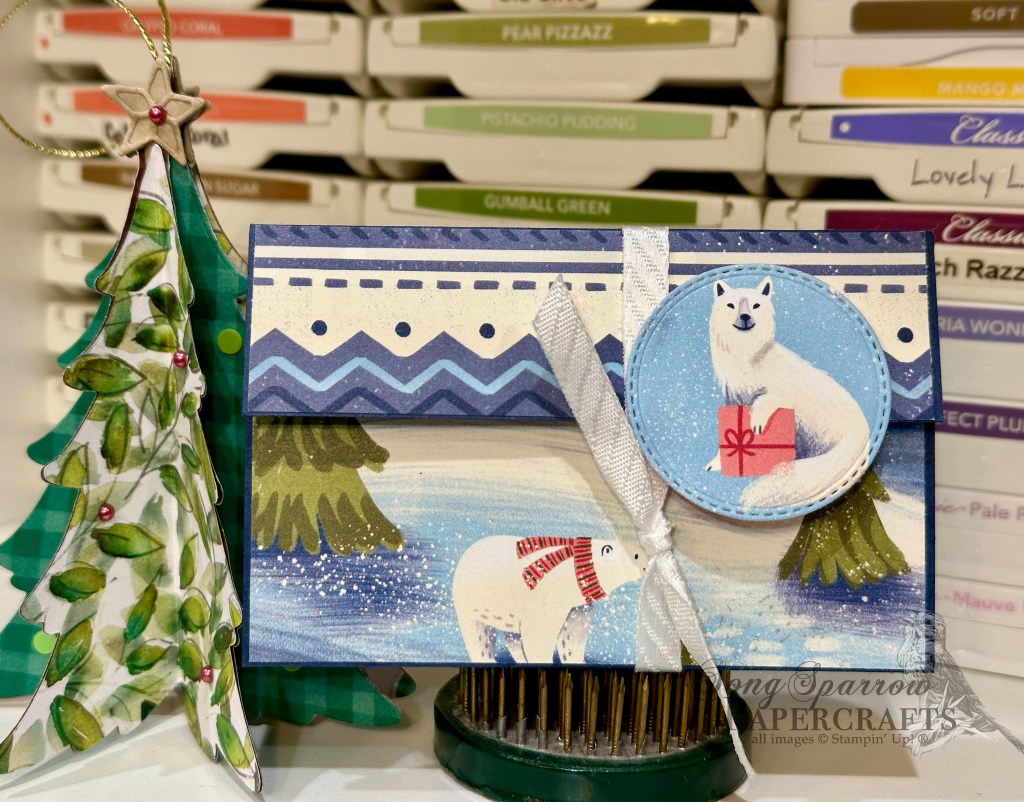
I’m still furiously working away on gift tags and gift holders. And today, I’m bringing you a super easy gift card holder that I ran across on Pinterest that uses a standard card base. I decided to pull together some of my retired favorites for this one because the paper is perfect for my intended recipient!

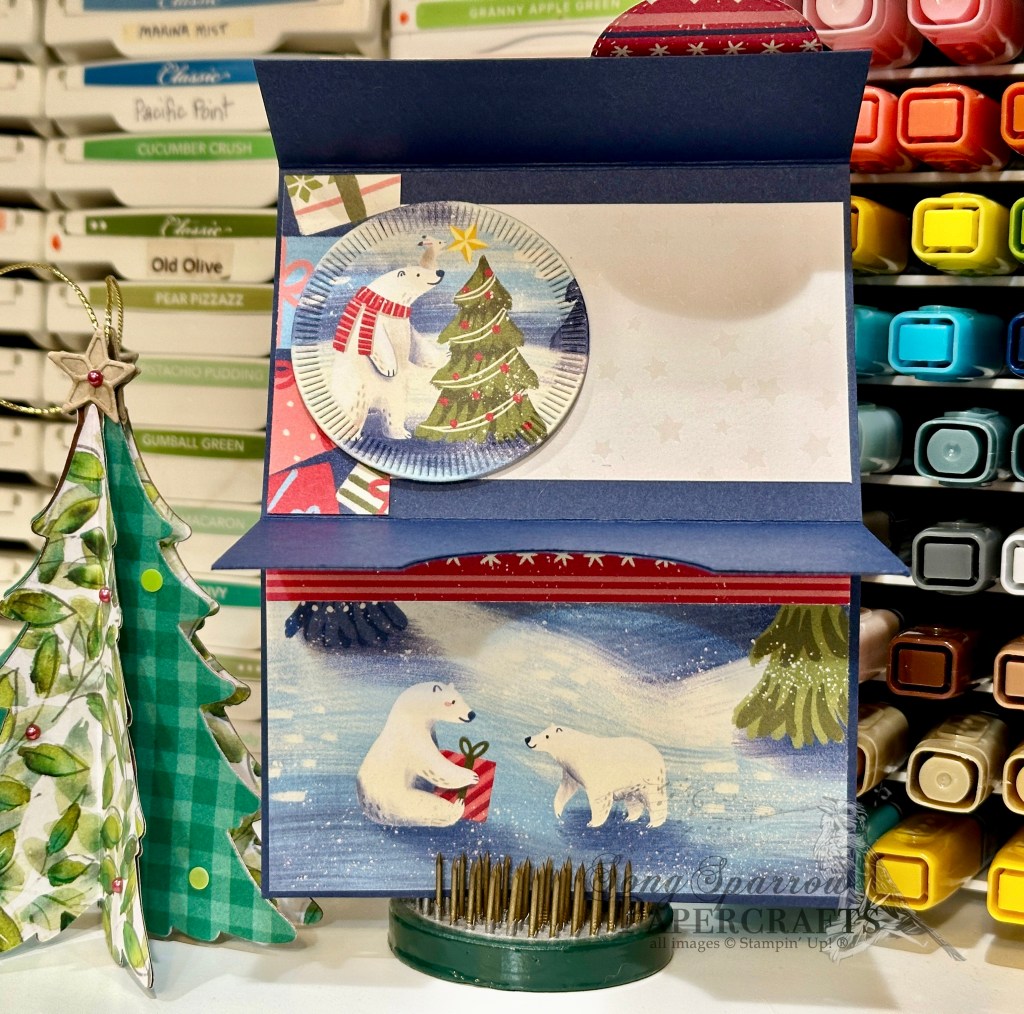
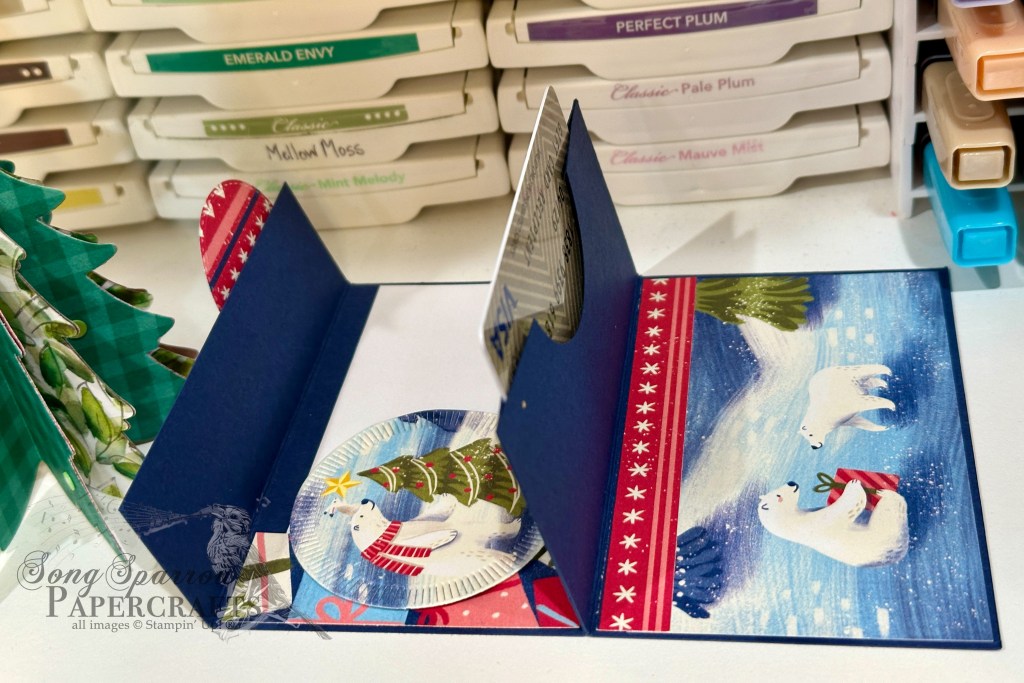
We get started with a base of Night of Navy cardstock. It’s scored at 1 1/4 inches, 4 inches, 6 inches, and 8 inches and then folded to create the center gift card pocket. I used a 2-inch circle punch to make the pull-out section in the center of the gift card pocket. The pocket itself is held together with tear-and-tape. The Beary Christmas patterned paper pack was a part of last year’s holiday catalog, and I just loved it so much that I stocked up when it went on sale. I was able to use a collection of scraps from another project to cover the panels on the outside and inside of the gift envelope. I thought the sweater-patterned strips were perfect accents for the flap and adjoining panels. I found a cute star-patterned cardstock from the Irresistibly Yours paper pack (long ago retired) in my scrap stash that is the perfect panel for the gift message. Our smaller circle focal elements on the outside and inside of our gift envelope are diecut to highlight cute little critters. I used the Changing Leaves and Spotlight on Nature dies for these circles. I thought the decorative edges were perfect designs elements that add a lot of interest to the pop-out panels. The fox panel on the front is adhered to the flap with dimensionals, which gives a nice gap under which I slid the knotted diagonal striped ribbon to keep the envelope closed.

I just love how this turned out, and it came together quickly. The hardest part was choosing what adorable critters from the Beary Christmas paper that I wanted to highlight on each portion of the gift envelope.

Products used in this design:
Night of Navy Cardstock
Beary Christmas (retired), Irresistibly Yours (retired) DSP
2″ circle punch
Changing Leaves, Spotlight on Nature dies

Christmas · Gifting

Tree Pocket Gift Holder

We’re gearing up for Christmas here at Song Sparrow. Every day that Amazon shows up, my husband says something about the number of boxes that end up on the porch. *snicker* Hey, I can’t help it if the warehouses decide to box orders in a multitude of boxes.

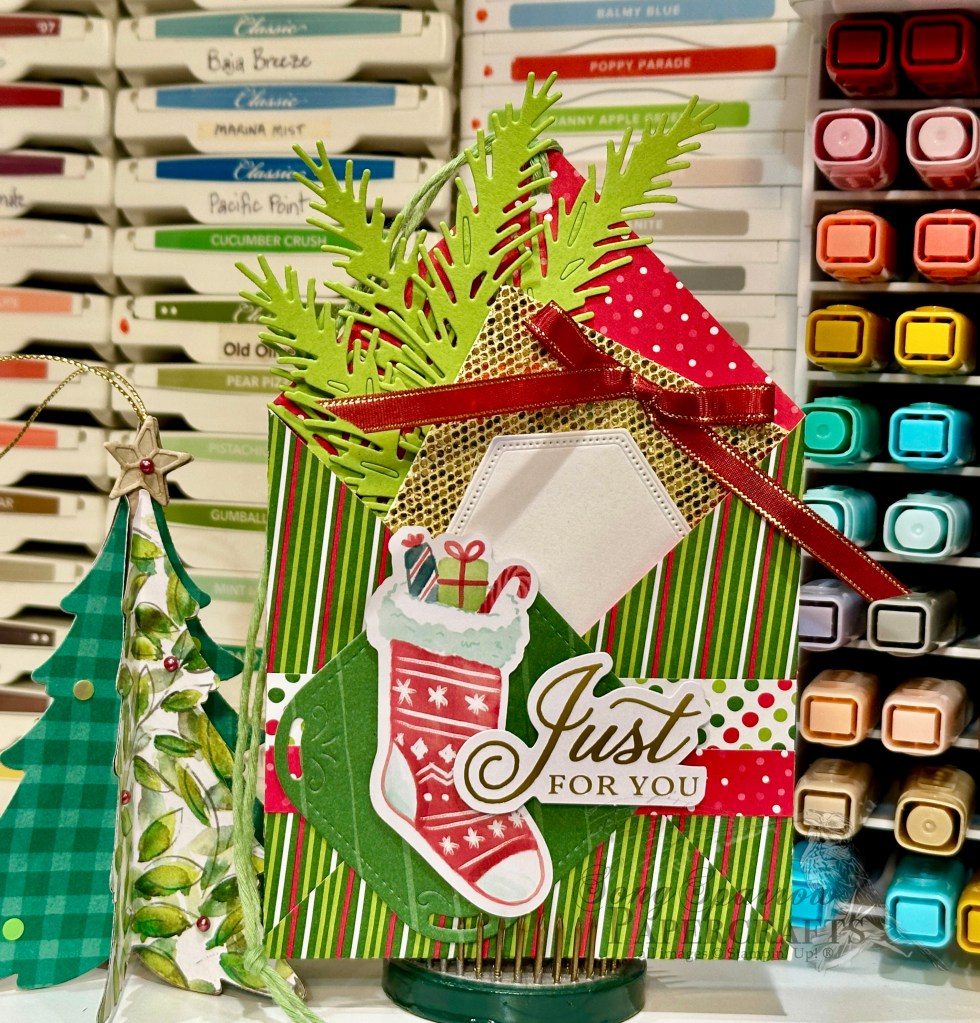
But speaking of getting ready for Christmas, I’m still working on gifts and gift tags. And today’s design is a super cute gift-giving envelope that I plan to hang on the Christmas tree for a little holiday hide-n-seek. I ran across this super cute envelope in one of my Pinterest searches, and it’s super easy to put together.

We get started with a 6×6 sheet of Take a Bow patterned paper and score from corner to corner on both sides. Then you fold to create the envelope. For this one, the flap on the envelope is supposed to stay open, which makes it a snap to put together. I used two smaller strips of the Take a Bow paper to cover my score line in the center and also to serve as a nice break in the pattern underneath the focal panel. Our focal panel starts with a base of the (retired) Garden Walk patterned paper that is cut using the Peaceful Season decorative square die. Then I just layered the stocking and sentiment from the Joyful ephemera packs right on top using the dimensionals. The gift panel is a sheet of the (retired) More Dazzle specialty paper with a to/from panel cut from white cardstock using the (retired) Stitched Nested Labels dies. I cut some greenery fronds from Granny Apple Green cardstock using the Golden Greenery dies and adhered them to the back of the gift panel with dimensionals. A cute red bow tied from Cherry Cobbler & Gold metallic ribbon finish off the gift panel nicely. The whole kit & caboodle will hang from the tree with some green thread.

The hardest part of this whole design was picking what ephemera I wanted to use! Otherwise, it comes together in a snap. And don’t you think it will just be the cutest way to give cash or a gift card?

Product List
Christmas · Gifting

Making Lists

Welcome to a bright and shiny new week, crafty friends! We’re in full-on Christmas mode over here as we make our lists and check them twice. I pulled out all of the gifts we’ve purchased so far and started wrapping last night.

And that meant that I was also busy in the craft room making the gift tags. Did you know it’s super easy to make gift tags? Even with the smallest crafty stash, I have no doubt that you have the perfect combination of things to make cute gift tags. Today, I’m showing you a small sampling of what I whipped together last night using some patterned paper, several die sets, and the Joyful ephemera.

Are these not the cutest? And they are SO easy to put together. Let’s take a closer look at each one.

I got started on the first tag by diecutting the base from a sheet of Take a Bow paper using the largest Greetings of the Season die. I kept things simple with just a few elements from the Joyful ephemera packs — just a wreath and a sentiment. To help the wreath stand out against the polka dot background, I cut a sheet of red polka dot from the Take a Bow paper pack. I put this panel over a gold banner, which draws the eye nicely to the wreath panel. I mirrored on the reverse side with just the gold banner and then the Holly Jolly sentiment. For the to/from tag, I cut a smaller tag from white cardstock using the Greetings of the Season die and then finished off with some (retired) Cherry Cobbler twine to attach the tag to my package.

For this tag, I also used the largest Greetings of the Season die and cut a piece of the (now retired) Garden Walk patterned paper. I chose two larger images, some greenery, and two sentiments from the Joyful ephemera packs to decorate each side of the tag. I also cut some gold twigs using the Changing Leaves die sets. The bear, evergreen branch, and small sentiment are adhered on varying layers of dimensionals for a little depth. On the reverse side, I layered the drums, evergreen, gold sprigs, and sentiment. I also used varying layers of dimensionals on this side, as well. The small to/from tag is from Greetings of the Season and secured with some retired twine.

Our last tag uses a retired Memories & More set called Beary Christmas. I pulled the sleigh and sentiment from the Joyful ephemera packs and adhered on the package side of the Beary Christmas tag. I cut the to/from tag from white cardstock using the smallest banner from the Nested Essentials die set and secured with some retired twine. To cover the overhanging sentiment on the opposite side of the tag, I adhered two small stars from the ephemera packs to either side.

No matter the size of your crafting stash, you can dress up your packages with cute handmade gift tags! Tune in the rest of the week as we take a look at how we can quickly dress up our holiday gift-giving.

Products used in today’s featured designs:
White cardstock
Take a Bow, More Dazzle (retired), gold foil DSP
Joyful ephemera
Greetings of the Season, Nested Essentials, Changing Leaves dies
Beary Christmas Memories & More (retired)
Assorted twine (retired)
Dimensionals
Adhesives