Howdy, everyone! We’re sitting at T minus 1 on middle school. And I just can’t even believe it. Time really does fly!
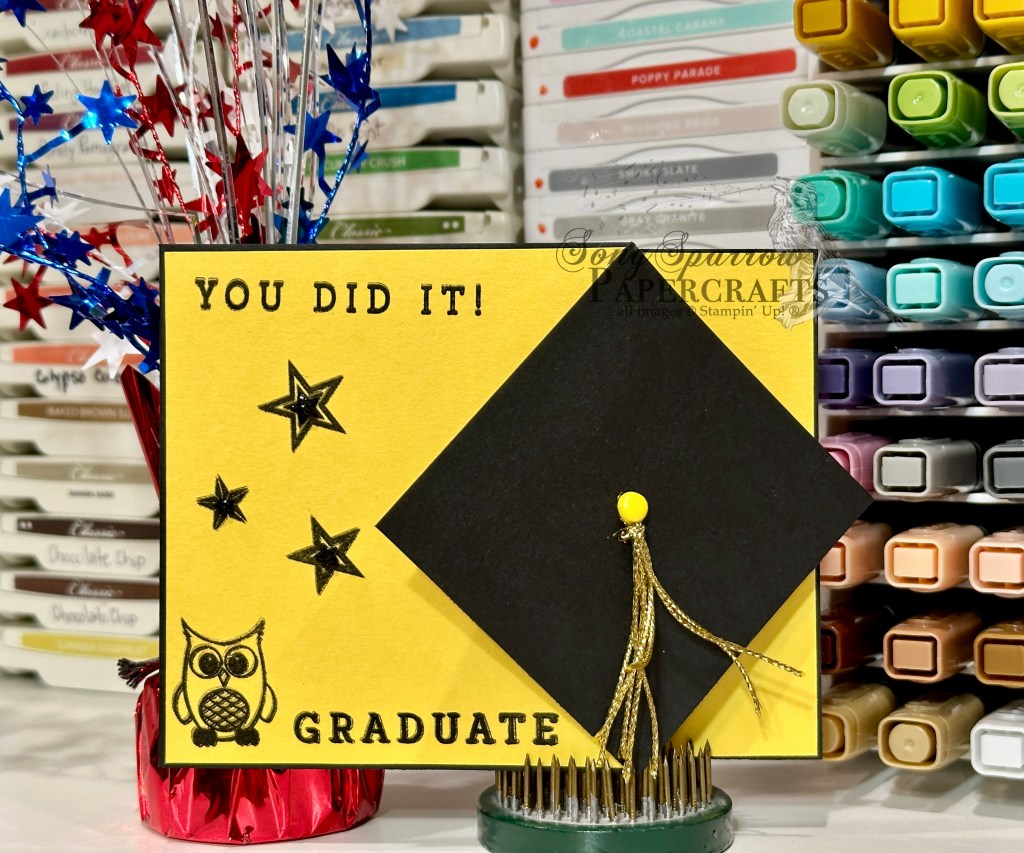
Speaking of that, I know a lot of parents of graduates who are feeling the same way right now. This week our designs are an ode to this year’s graduating seniors. And today we’re pulling together the school colors of another local high school to create this tassel card using the Diamond Fun Fold tutorial.
We get started with a base of Basic Black cardstock and then use Crushed Curry for our front and side panels. The diamond panel is a small square of black cardstock with a small hole in the center. The tassel is created from gold twine and a goldenrod Brad in the center. I pulled some older Papertrey Ink stamp sets — Wise Owl and Paper Clippings Congratulations — to provide the owl (the school mascot), stars, and the sentiment. We finish things off with a little sparkle from a few foam shimmer stars for the star centers.
The tassel is probably the most time consuming part of this design. And that took just a few minutes. You could easily make several of these in one sitting and even change up the colors to match a different school. Easy peasy!
Welcome back on this wet and wild Tuesday! It was a stormy commute home for me today and quite the crazy drive. It seems like people forget how to drive in the rain when we haven’t had any for more than a week! But I made it home in one piece, even if it took far longer than it needed to.
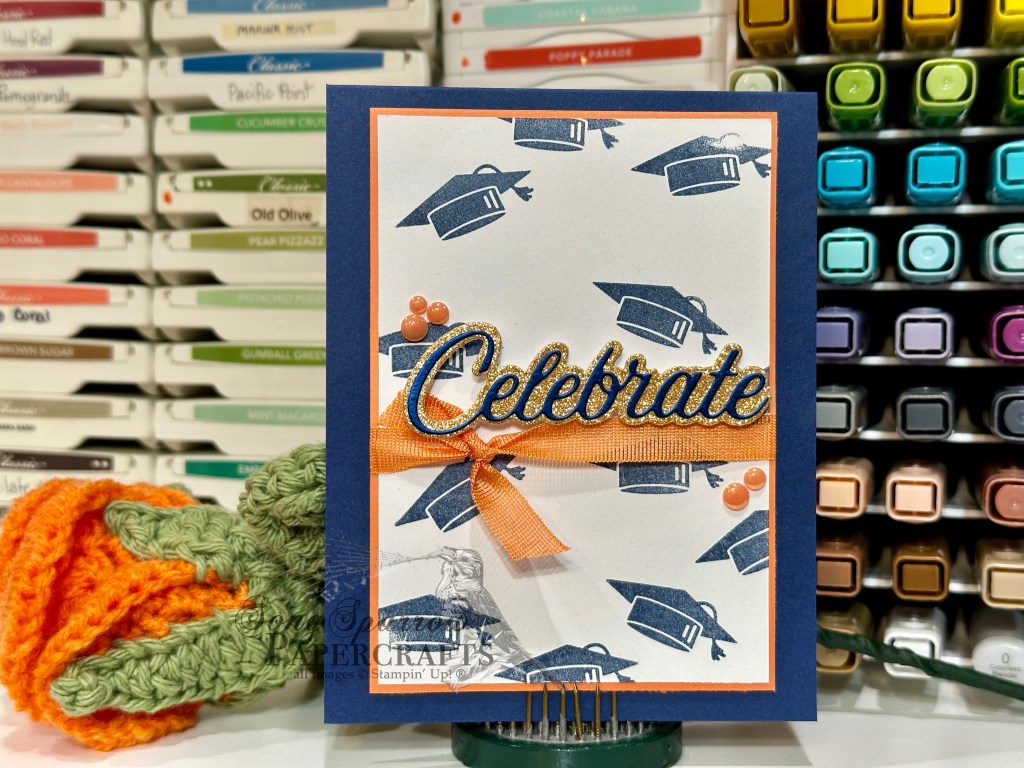
We’re continuing our design series that’s all about the grads. And today’s card is a nod to one of the local high schools. One of the fun things we can do as crafters is tailor our designs with things like school colors. in this case, we’re using a combo of navy, white, and orange. And we’re pairing up two retired goodies to make this cutie — the School Days stamps set and the Wanted to Say dies.
We get started with a base of Night of Navy cardstock. a panel of white cardstock serves as the base for the focal panel, where we repeatedly stamp the cap from the School Days stamp set in navy. Our focal panel is matted with Timid Tiger. Then we wrap the panel with Timid Tiger ribbon and tie in a knot to one side. We’re using the Wanted to Say dies to create our celebrate sentiment using a combination of Peach Pie glimmer paper and navy Garden Textures foil paper. The sentiment is adhered above the ribbon with dimensionals. A few Timid Tiger dots finish things off.
I’ll be participating in a craft show the weekend after graduation and I’m hoping there will be some locals who are still on the lookout for graduation cards for parties that weekend. We’ll be continuing our grad theme tomorrow. I hope you’ll drop in and see what’s next.
Happy Monday, friends! I don’t know about you, but I needed double the weekend and half the week! Whew, there’s just too much going on and not enough time to get it all done as we close out the school year. And I ended up taking some extra down time last week and did zero crafting. Not because I didn’t want to but because I simply didn’t have the energy to put into anything. Sometimes we just have to listen to those call for rest.
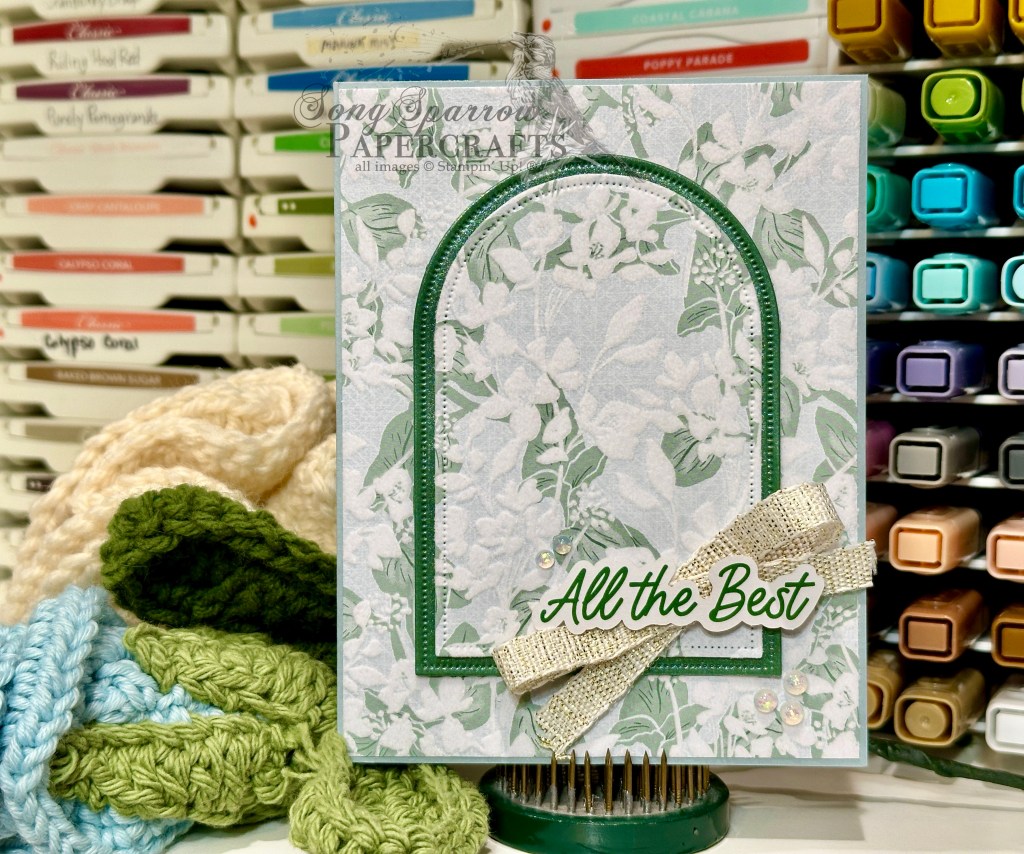
So here we are at the start of a brand new week and it’s time for a new design theme. And o think you’ll like this one and probably find it as fitting as I do as we stare down the last day of school on the horizon. That’s right, we’re tackling graduation designs this week. And we get started with a really simple one that can honestly serve a whole host of happy celebrations as we pair up the Velvet Meadow paper with the Everyday Arches dies.
We start with a neutral base of Cloud Cover cardstock. A sheet of the light snd bright vine pattern from the Velvet Meadow paper pack is taking center stage here as we prep a quarter panel. I cut a small section from the center with the Everyday Arches dies. We’re matting that small panel with a little larger panel of Elegant Pine shimmer paper. The panel is adhered directly over the area from whence it was cut using dimensionals. The sentiment from the Saying Something ephemera pack is adhered over a bow of white with gold ribbon using dimensionals. A few opal rounds on either side finish things off.
This design is super versatile and could encompass a whole host of celebratory gatherings. It also comes together in about 5 minutes, making it a nice go-to when you’re crunched for time.
Happy Monday, everyone! Our summer is flying by in a flash as we begin the last two weeks of summer break here in N. Texas. It’s hard to believe that school is just around the corner. And I don’t know about you, but that brings about a lot of anxious preparation as we begin gathering new school supplies and shopping for new clothes with a preteen (not for the faint of heart!).
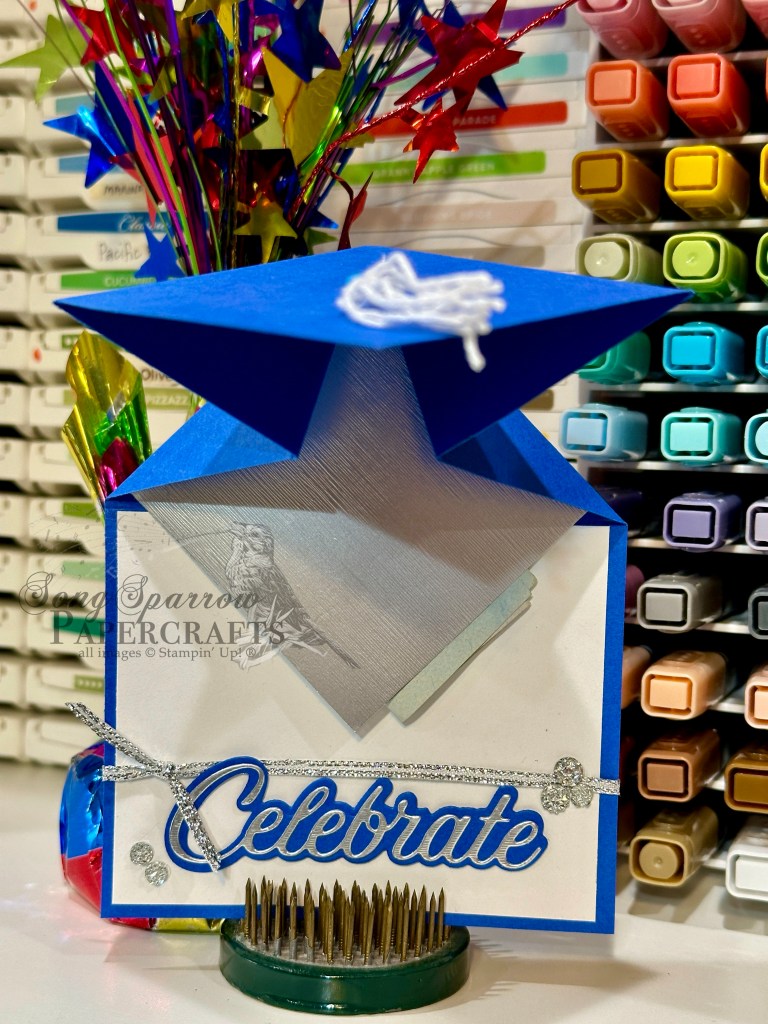
It also means that we’re beginning a new week of fun crafty designs. And this week we’re going to be working through a stash of fun folds that I’ve been dying to try. And first up comes a design of necessity as my oldest nephew is headed off to college in a few short weeks. I might be just a teensy bit behind in honoring his graduation, but there’s always the last-minute items to buy right? *wink* Today, I’m trying my hand at a super cute cap & tassel fun fold that I saw over at Beth’s Paper Cuts.
For a giftie like this one, I try to coordinate the color palette with the graduate’s school colors. In this case, I need to work with a palette of royal blue, white, and black. Finding just the right shade of blue proved a little tricky since I was out of Blueberry Bushel. BUT I happened to still have a supply of Pacific Point in my retired stash, so here we go.
I decided to have the royal blue serve as the predominant color in the design and then I used white and silver as accent colors. I used white baker’s twine to tie the tassel and happened to have some silver thread on hand that I used to bind the tassel together. I liked having this silver detail tie together with the sentiment. I used the recently-retired die set called Wanted to Say to cut the sentiment. Silver trim and drusy embellishments give us nice pops of festive shimmer around the sentiment.
As I was putting my card together, I got a little ahead of myself and ended up adhering the panel that was intended to be the gift pocket, which meant I had to improvise a solution. I cut an extra square of silver specialty paper to serve as the money pocket and placed it in the center of the folding section. It works, but it wasn’t exactly how envisioned this coming out. I’ll fix it on the next go-around. *grin*
I chose to use the top-inside panel to include a hand-written note, so it is not strongly affixed in this short demo. But I still wanted to show how this adorable fun fold opens and where that message panel will eventually be situated. I haven’t had time to make the how-to video for this design yet, but I did take the time to create a PDF tutorial which is free to download here.
Products used in today’s fun fold: Pacific Point (retired), Basic White cardstock Brushed metallic silver specialty paper Wanted to Say dies (retired) Silver trim White baker’s twine Drusy embellishments Brad Dimensionals