Happy Monday, everyone! Our summer is flying by in a flash as we begin the last two weeks of summer break here in N. Texas. It’s hard to believe that school is just around the corner. And I don’t know about you, but that brings about a lot of anxious preparation as we begin gathering new school supplies and shopping for new clothes with a preteen (not for the faint of heart!).
It also means that we’re beginning a new week of fun crafty designs. And this week we’re going to be working through a stash of fun folds that I’ve been dying to try. And first up comes a design of necessity as my oldest nephew is headed off to college in a few short weeks. I might be just a teensy bit behind in honoring his graduation, but there’s always the last-minute items to buy right? *wink* Today, I’m trying my hand at a super cute cap & tassel fun fold that I saw over at Beth’s Paper Cuts.

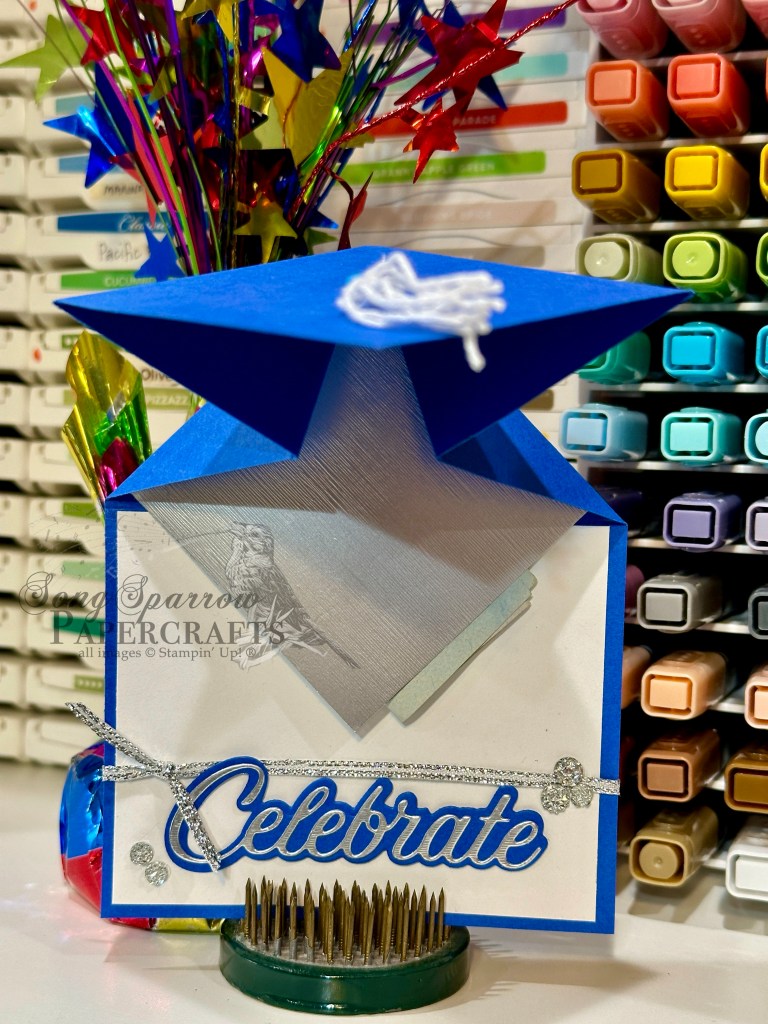
For a giftie like this one, I try to coordinate the color palette with the graduate’s school colors. In this case, I need to work with a palette of royal blue, white, and black. Finding just the right shade of blue proved a little tricky since I was out of Blueberry Bushel. BUT I happened to still have a supply of Pacific Point in my retired stash, so here we go.
I decided to have the royal blue serve as the predominant color in the design and then I used white and silver as accent colors. I used white baker’s twine to tie the tassel and happened to have some silver thread on hand that I used to bind the tassel together. I liked having this silver detail tie together with the sentiment. I used the recently-retired die set called Wanted to Say to cut the sentiment. Silver trim and drusy embellishments give us nice pops of festive shimmer around the sentiment.
As I was putting my card together, I got a little ahead of myself and ended up adhering the panel that was intended to be the gift pocket, which meant I had to improvise a solution. I cut an extra square of silver specialty paper to serve as the money pocket and placed it in the center of the folding section. It works, but it wasn’t exactly how envisioned this coming out. I’ll fix it on the next go-around. *grin*
I chose to use the top-inside panel to include a hand-written note, so it is not strongly affixed in this short demo. But I still wanted to show how this adorable fun fold opens and where that message panel will eventually be situated. I haven’t had time to make the how-to video for this design yet, but I did take the time to create a PDF tutorial which is free to download here.
Products used in today’s fun fold:
Pacific Point (retired), Basic White cardstock
Brushed metallic silver specialty paper
Wanted to Say dies (retired)
Silver trim
White baker’s twine
Drusy embellishments
Brad
Dimensionals
