Welcome to a bright and shiny new week, everyone! This week, we’re going to be taking a sneak peek at a brand NEW Stampin’ Up! Online Exclusive bundle that launches in just a little over a week. Eeek — I’m so excited! The upcoming Online Exclusives release has a little bit of everything, including some holiday items. And all this week, I’ll be showing you the gorgeous Changing Leaves bundle, which includes a set of photopolymer stamps, coordinating dies, and a hybrid embossing folder. So let’s get started!
For today’s design, I wanted to keep things super simple. And in particular, I wanted to highlight the beautiful embossing folder with its detailed leaf prints and a few of the coordinating leaves in the die set.
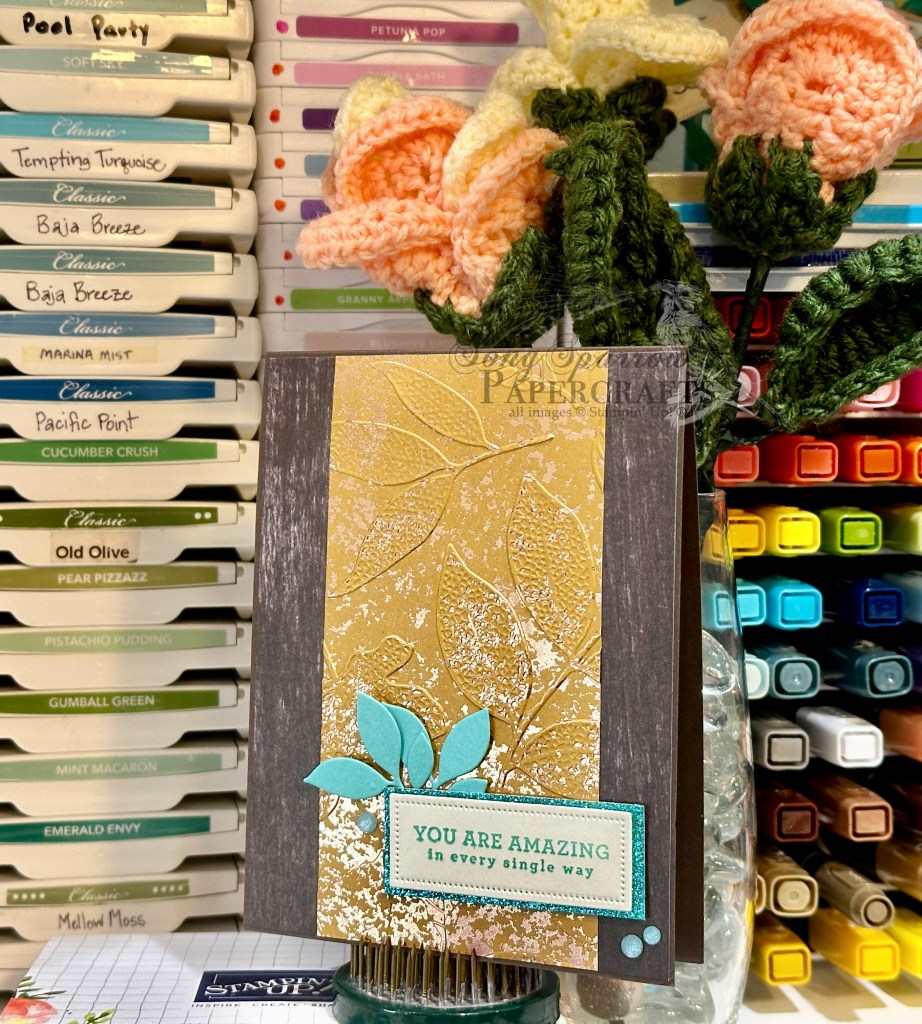
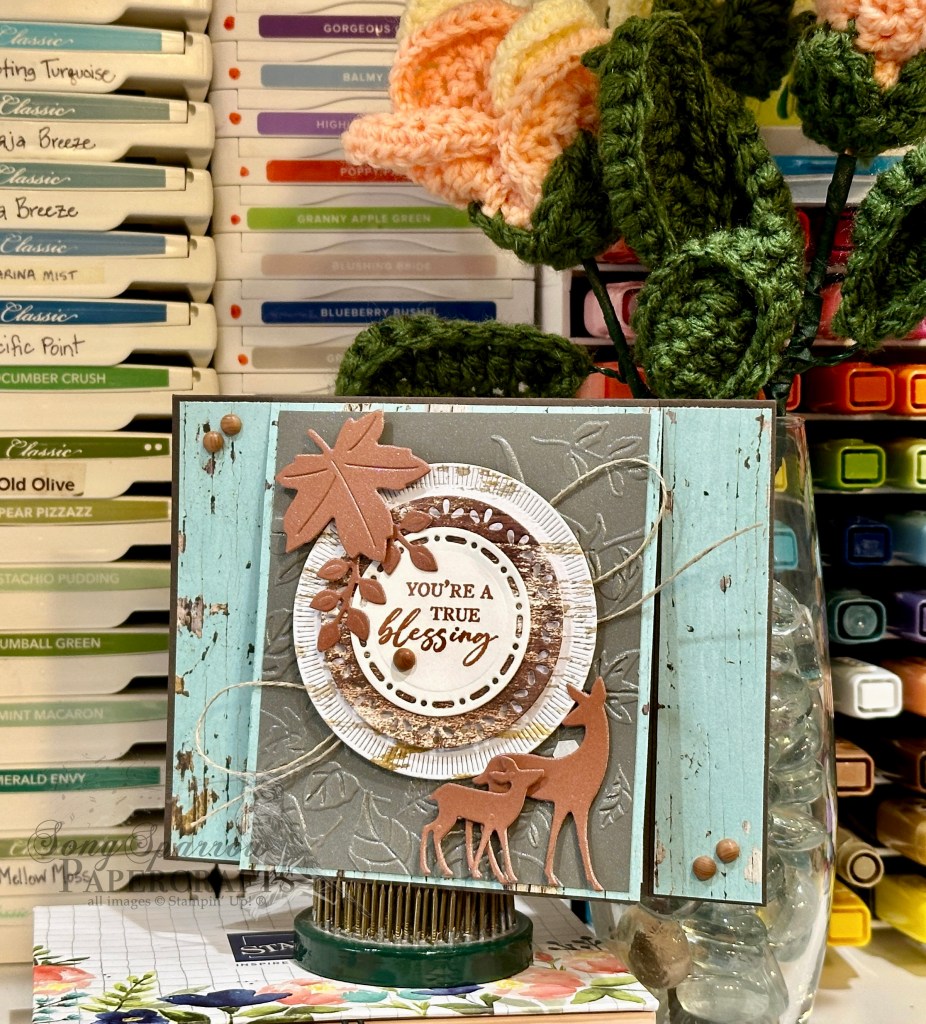
So we get started with a card base of Early Espresso cardstock. A sheet of the Early Espresso woodgrain pattern from the Country Woods designer series paper pack serves as the backdrop. The center panel is a sheet of the Copper Clay Oxidized Copper specialty paper that has been machine embossed using the soon-to-release Changing Leaves hybrid embossing folder. The sentiment from the soon-to-release Changing Leaves stamp set is stamped in Coastal Cabana on Very Vanilla cardstock and then diecut using the smallest frame from the Everyday Details die set. The sentiment is matted with a piece of the Summer Splash In Color Glimmer Paper and adhered with dimensionals. Two sets of leaves from the soon-to-release Changing Leaves die set have been diecut from Coastal Cabana cardstock and tucked behind the sentiment panel. I finished things off with a few In Color Shimmer Gems.
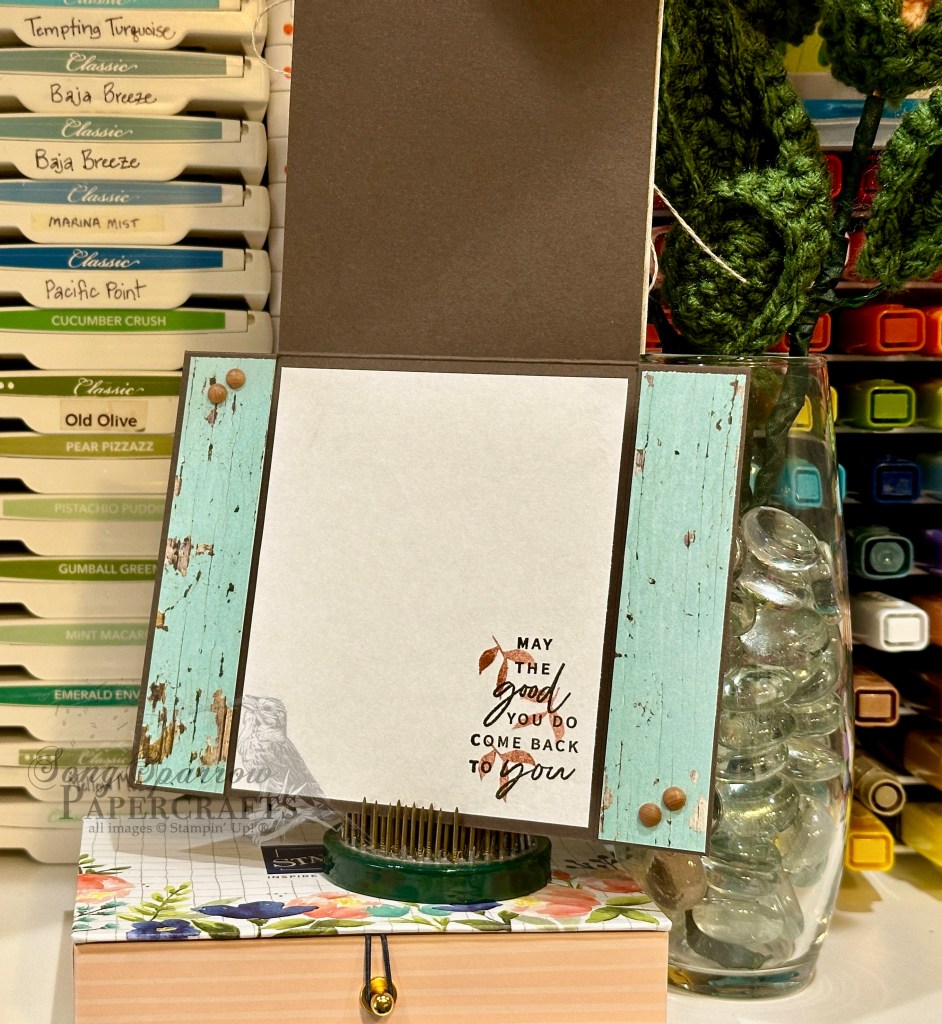
Like what you see so far? Tune in tomorrow for a closer look at the Changing Leaves hybrid embossing folder!
Products used in today’s card:
Early Espresso, Coastal Cabana, Very Vanilla cardstock
Country Woods, Oxidized Copper, In Color Glimmer DSP
Changing Leaves stamps, dies, hybrid embossing folder (coming soon!)
Everyday Details dies
In Color shimmer gems
Dimensionals
Adhesives


 Designer Series Paper")
 Specialty Designer Series Paper")
 Specialty Paper")