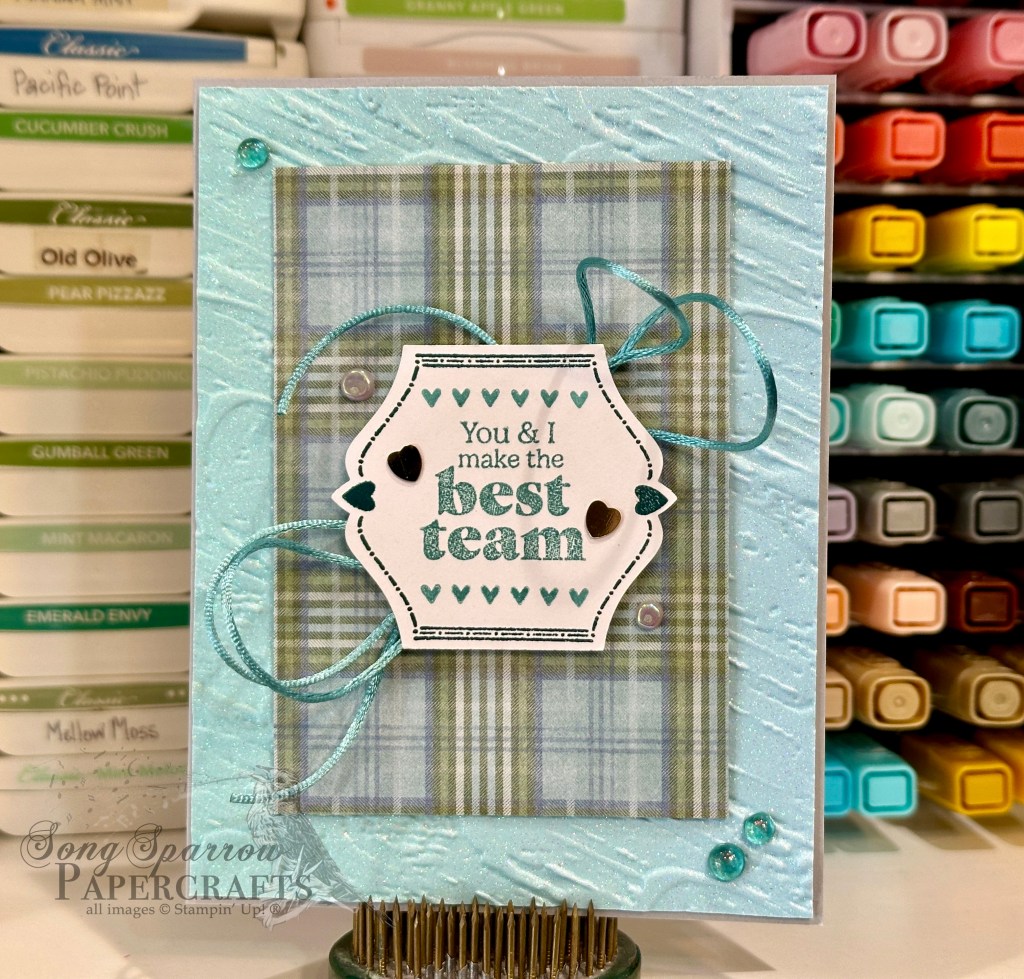
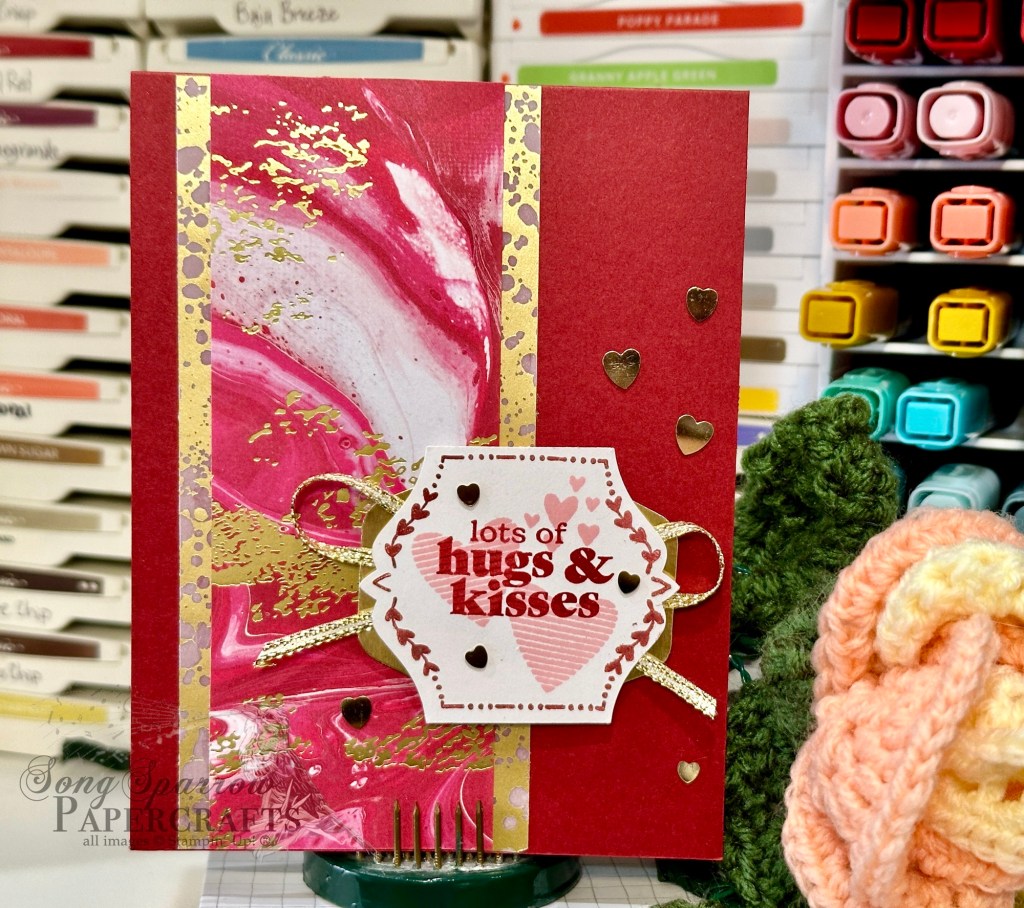
We’re going to close out our week of working with the new Stampin’ Up! Hugs for Love bundle with today’s bonus card. I’m pairing it up once again with the Timeless Plaid paper, which is also a new release, and using Sketch #6 from the new January Mini catalog.

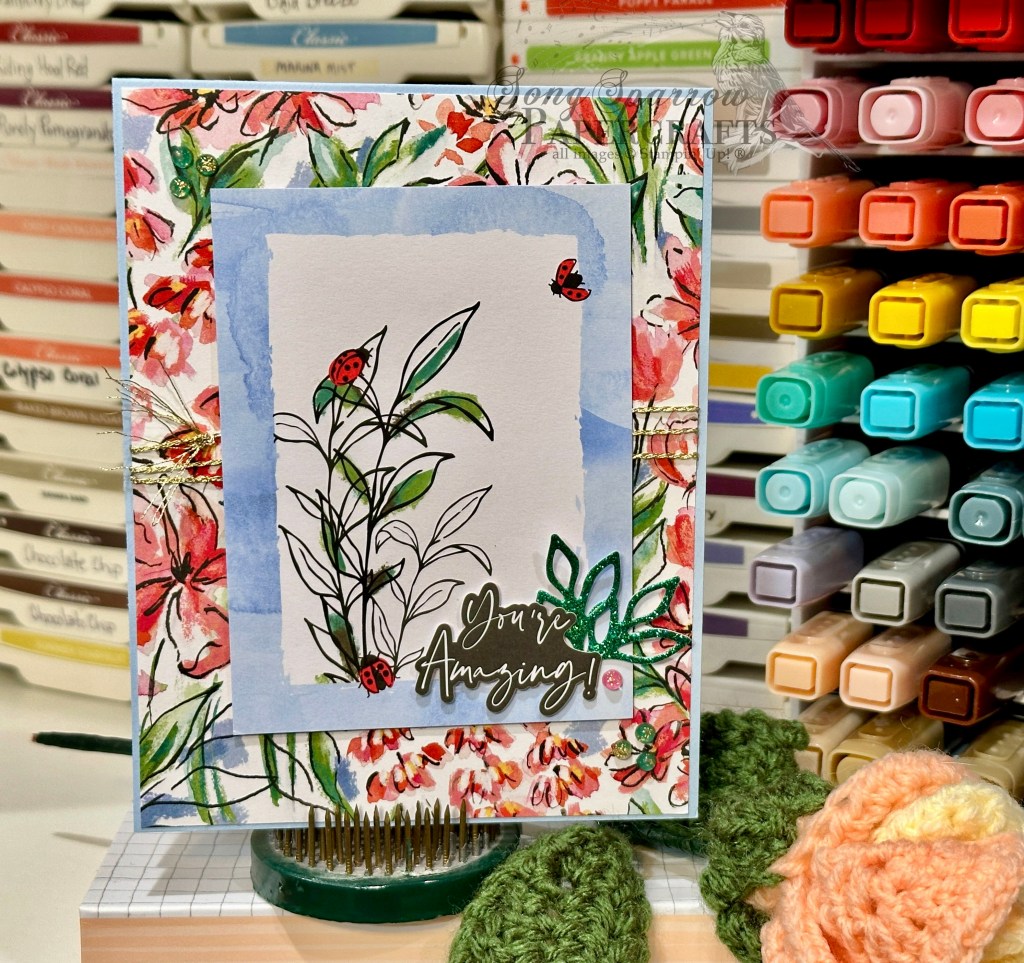
We get started with a base of Boho Blue cardstock. The background panel is a sheet of the Timeless Plaid in blue. I used the reverse side of the Pool Party plaid sheet from the same pack as the center background elements and punched the shapes using the To the Point Label punch. Although it’s difficult to see in the photo, there are very faint lines of Pool Party in the blue plaid sheet, making the Pool Party plaid sheet the perfect compliment to really draw out those subtle stripes. The sentiment panel is stamped on white using the Hugs for Life outline stamp and the sentiment from the Heart Shaped stamp set. The panel is punched with the To the Point Label punch. I tied some Night of Navy linen thread around the background panel and passed it underneath the sentiment panel. I added some rhinestone basic jewels and industrial trinkets to finish things off.
Next week is all about birthdays. I hope you’ll pop in!
Products used in this featured design:
Boho Blue, Basic White cardstock
Timeless Plaid DSP
Hugs for Love bundle
Heart Shaped stamps
Natural Tones linen thread
Industrial trinkets, rhinestone basic jewels
Dimensionals
Adhesives


 Designer Series Paper")
")
")


 Specialty Paper")


 Specialty Designer Series Paper")
 Glimmer Specialty Paper")


 Designer Series Paper")
 Designer Series Paper")


 Diagonal Trim Combo Pack")


 Specialty Designer Series Paper")
 Specialty Designer Series Paper")

 Trim Combo Pack")


 Specialty Paper")
 Metallic Ribbon")


 Designer Series Paper")


 Glimmer Paper")


 Designer Series Paper")

")


 Seam Binding Ribbon")

