We’re already halfway through this wonderful week and quickly headed for our long weekend. Do you have any special plans for the Labor Day holiday weekend? I’m hoping that the first significant cold front makes its way in as promised because I have some yardwork I’d really like to get done.
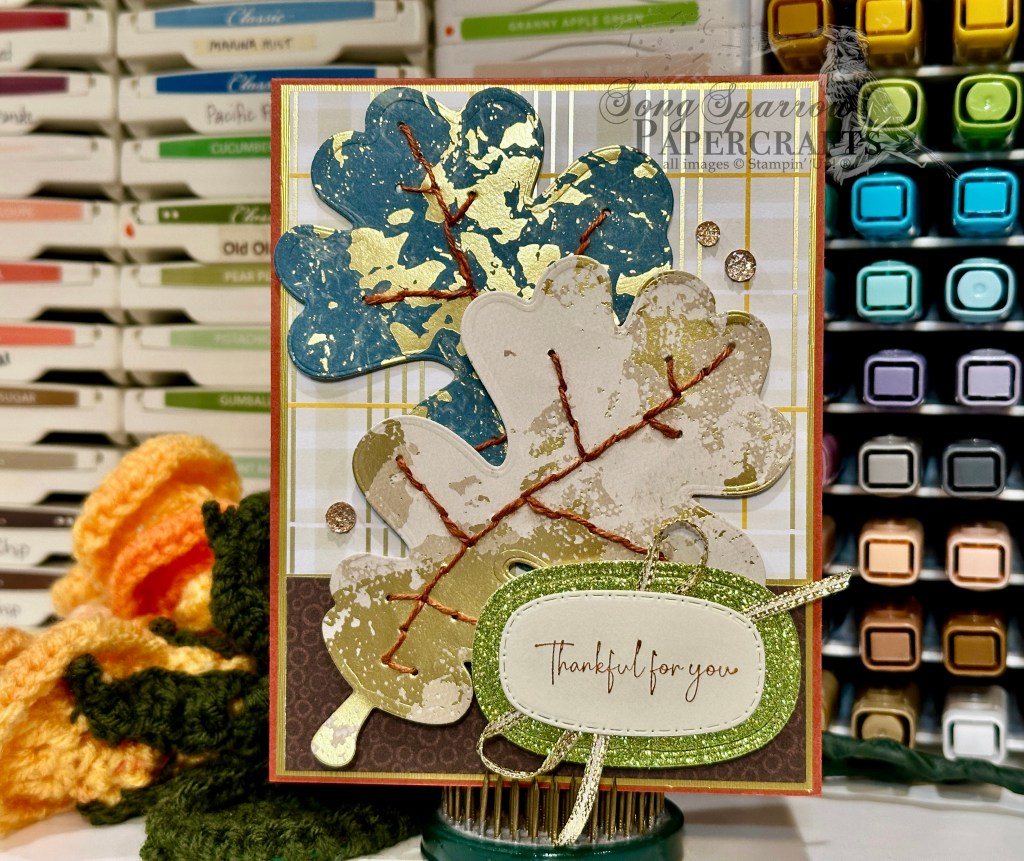
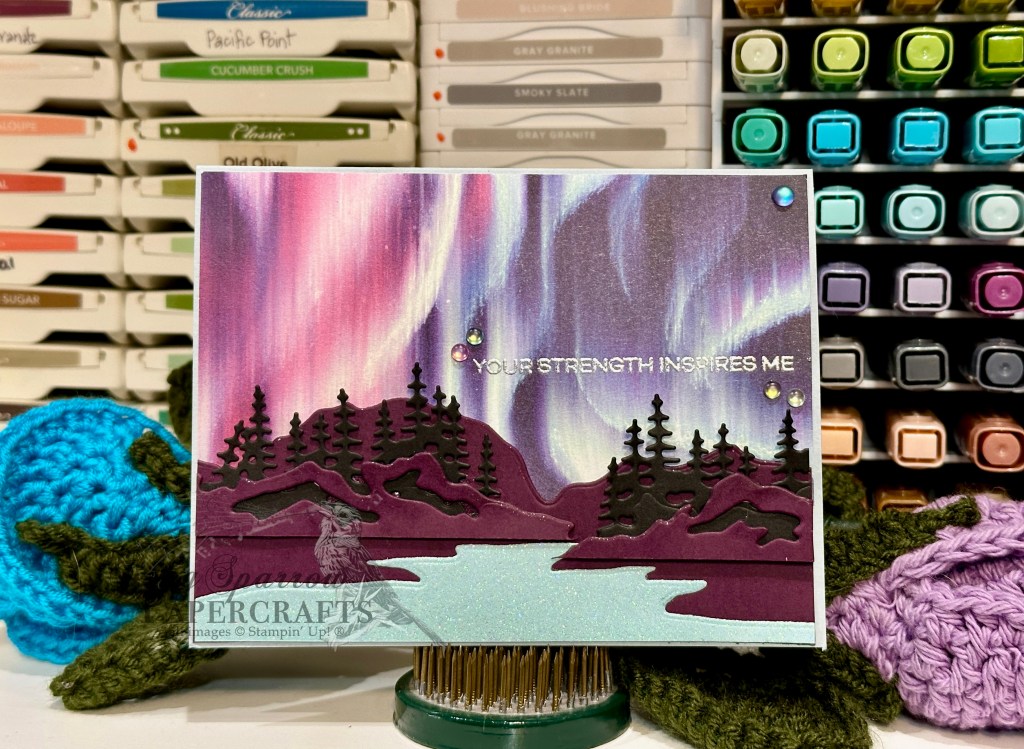
And speaking of yards, once fall arrives, they’ll be adorned with beautiful fall foliage. And this week is all about the foliage as we get an in-depth sneak peek at the upcoming Online Exclusive release called Gathering Together. Today we’re using more of the beautiful paper and the stamp set included in this suite to create a clean and simple Z-fold card. You guys, I’m just in love with this foiled patterned paper. Not into anything sparkly on your patterned paper? The back of each sheet is sans foiling so you get the best of both worlds in this pack of beautiful patterns!
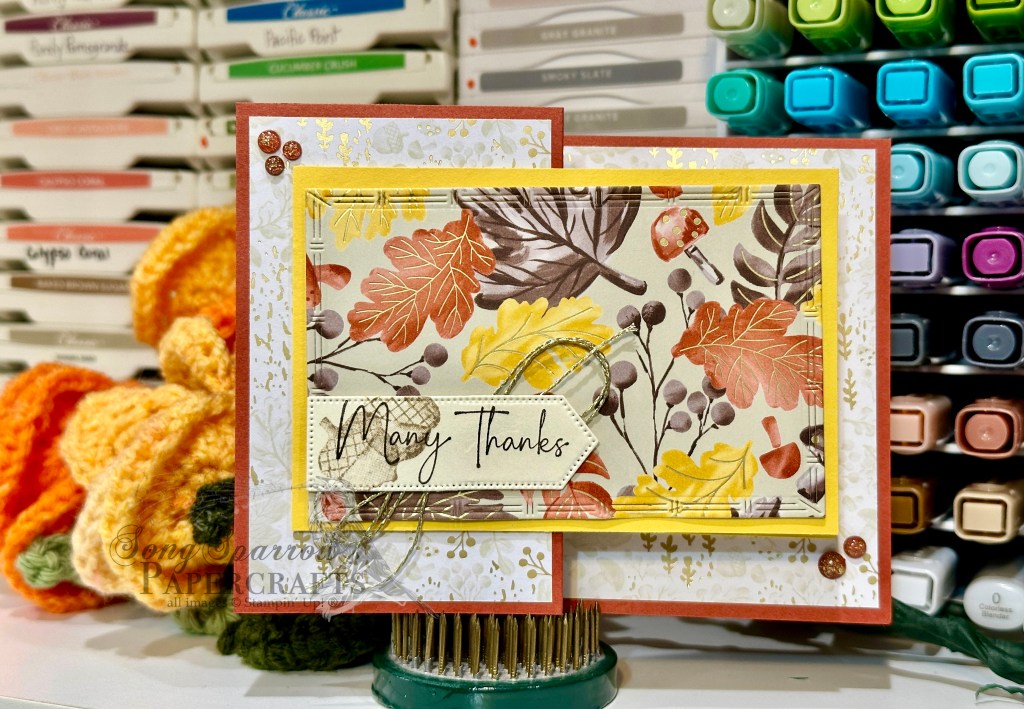

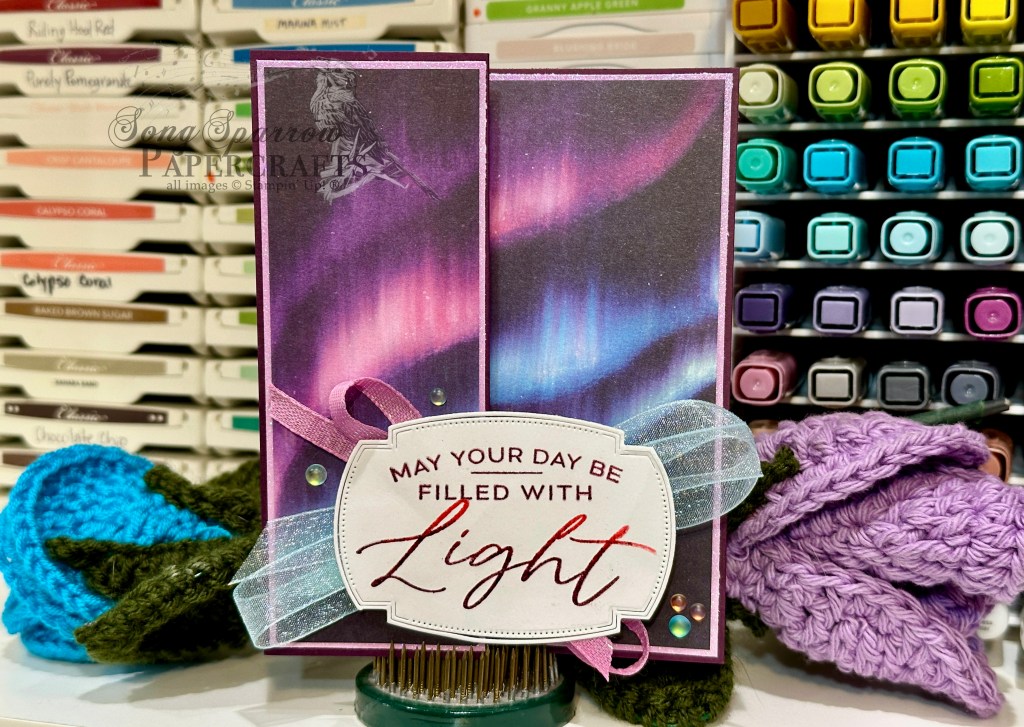
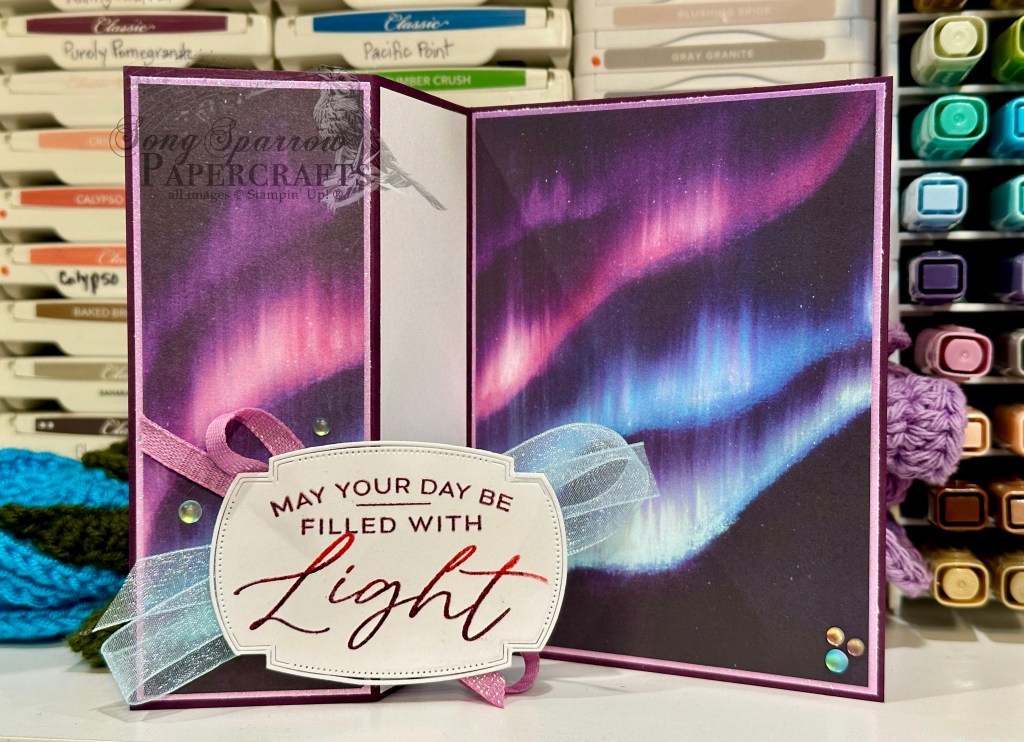
Today’s fun fold gets started with a base of Cajun Craze cardstock, which creates our Z-shaped base. I chose a sheet of the Gathering Together patterned paper with a more subtle background to serve as the background on each of the panels. A sheet of the foiled fall foliage with berries and mushrooms is the backdrop of our focal panel which is cut using the Textured Notes dies. To pull out the lovely shades of yellow amongst the foliage, I chose Crushed Curry as the mat for this panel. The sentiment from Gathering Moments is stamped on Very Vanilla and I also stamped a few acorns in the background for some visual interest and to make the sentiment panel and background panel feel more cohesive. The sentiment is diecut using the Traditional Labels banner die and then adhered over some gold linen thread using dimensionals. I finished things off with a touch of extra sparkle with some Cajun Craze & gold dots in opposing corners.
Of all the fun folds, I really love Z-folds because they pack an amazing punch with very little extra work! And this particular layout with the larger overlapping front panel is a terrific way to show off beautiful patterned paper.
Tune in tomorrow for another fabulous fall-themed sneak peek. We’re going to be pairing up the Gathering Together suite with another new release product. You don’t want to miss this one!
Products used in today’s card:
Cajun Craze, Crushed Curry, Very Vanilla cardstock
Gathering Together DSP (coming next week)
Gathering Moments stamps (coming next week)
Traditional Labels (coming next week), Textured Notes dies
Gold thread (retired)
Cajun Craze & gold dots (coming next week)
Dimensionals
Adhesives