So glad you’re back, friends! You probably noticed that my day shaped up as I expected and I didn’t have the opportunity to post yesterday. But never fear, the card design I had in mind is about halfway finished and coming your way tomorrow!
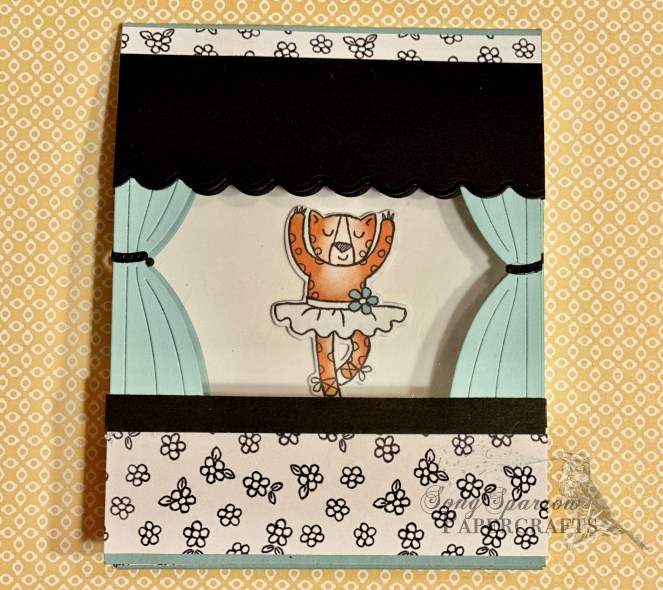
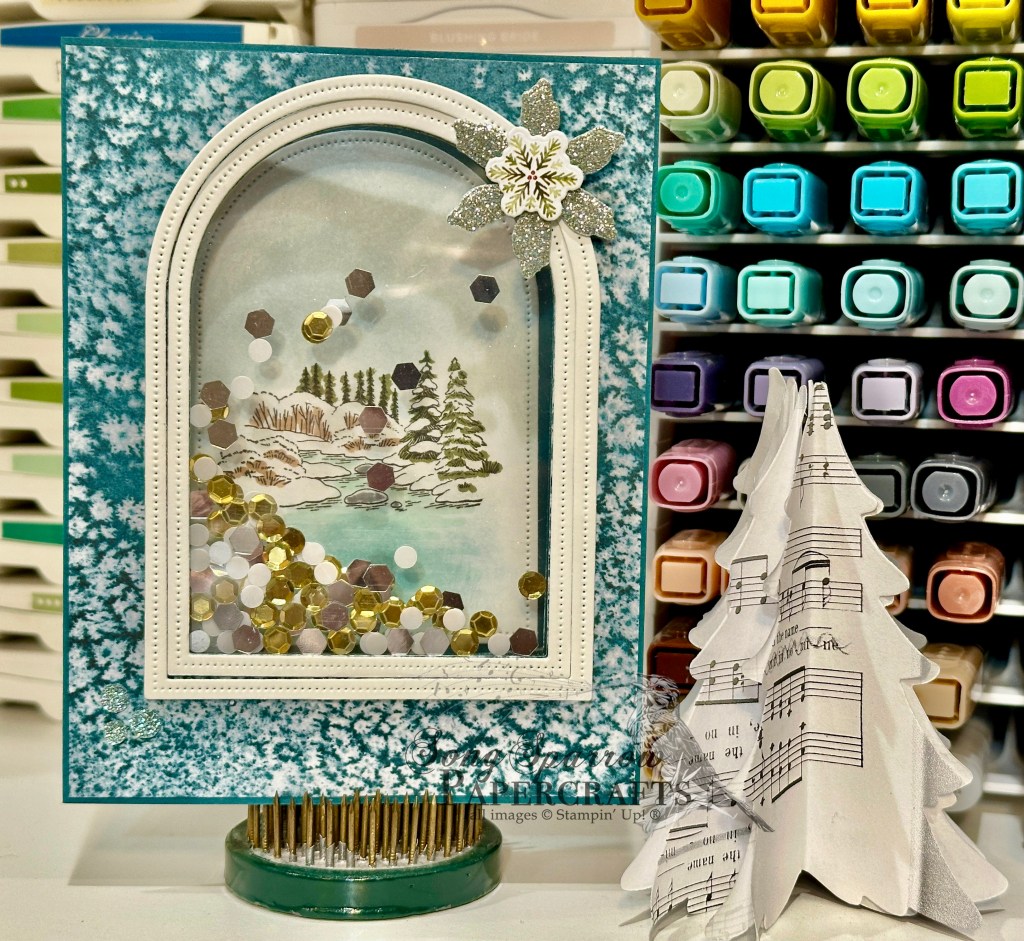
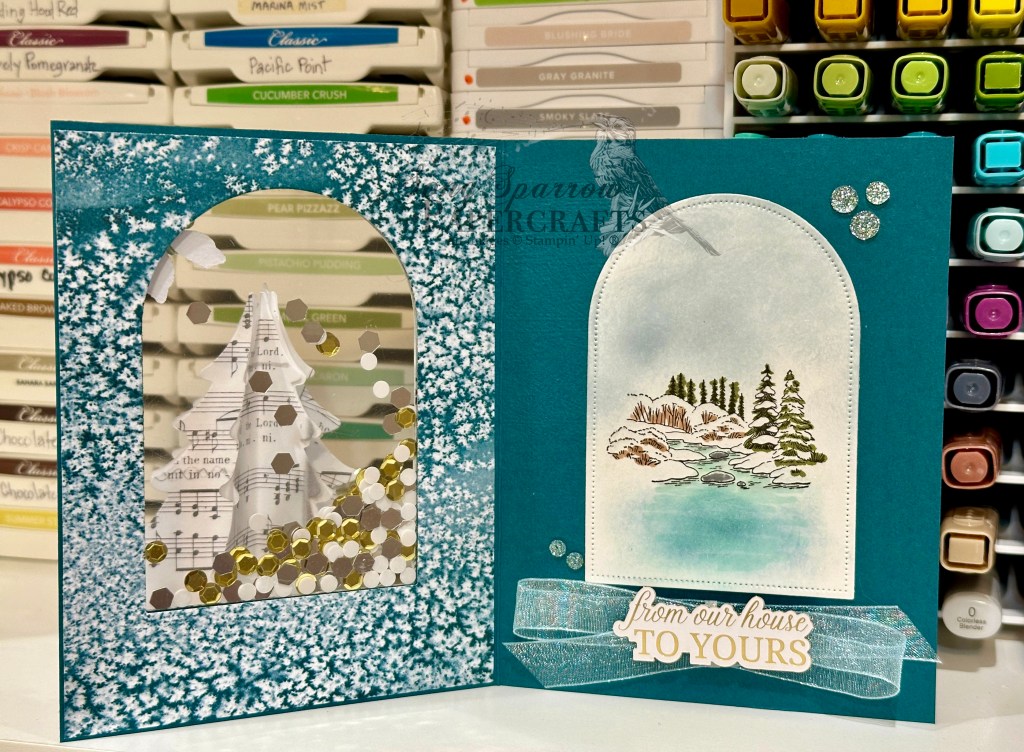
But today, we’re hopping along with the Luv 2 Stamp Group over on Instagram. And our card today continues our design series using the Autumn Trees bundle by Stampin’ Up! I thought it would be fun to do a variation of last month’s window card design by making it a double flap card to make room for a nice note section on the inside panel. Let’s take a look!
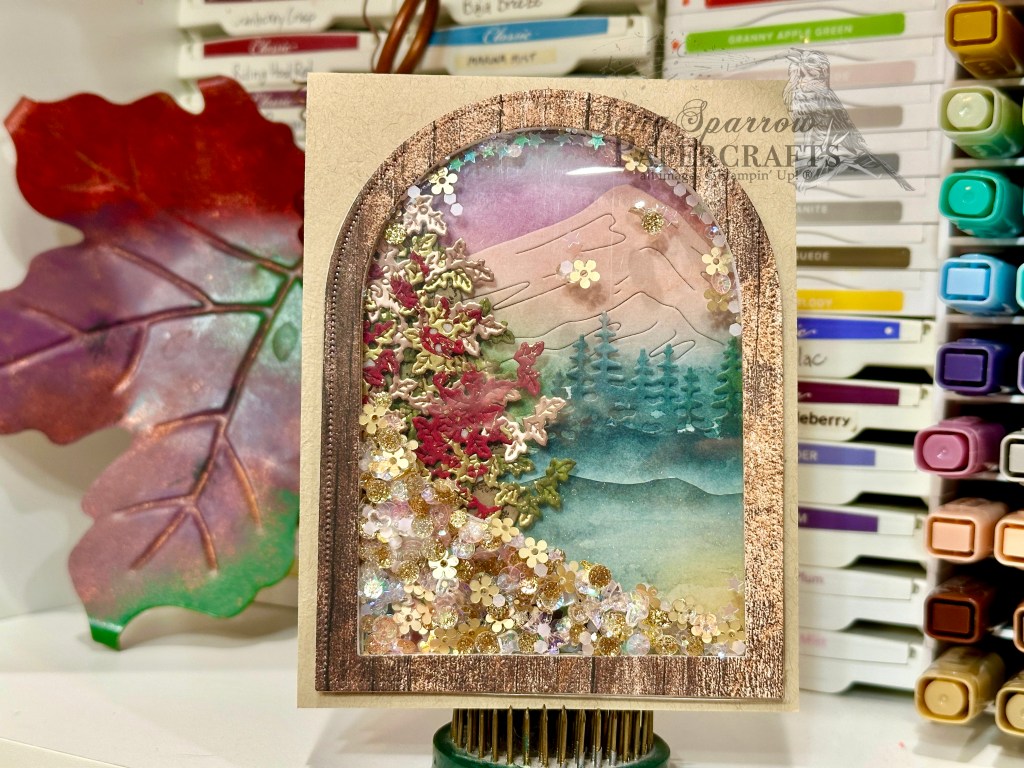
We get started with a base of Crumb Cake cardstock and cut a window using the largest Everyday Arches die. To make the shaker section, we cut a window frame from a sheet of Country Woods patterned paper using the largest and third largest dies to make the frame wide enough for our two-sided tape to adhere the window sheet. The front window frame is adhered directly to the card front. The second frame and window sheet is assembled and then we use adhesive foam strips to create the box in which the shaker elements will move about inside our window. Before adhering this window frame, we add our shaker bits to the back of the outside window sheet and then seal everything up with the inside window frame. I used the new shaker bits that I scored from my SU! 12 Days of Crafting Advent Calendar.
Now we move on to our inside fold-out panel where we build a fall scene using the Autumn Leaves bundle and a sheet of Thoughtful Journey patterned paper. The base is a quarter sheet that is cut a half-inch wider to allow for the small fold-over flap that is adhered to the inside card base under the message panel. We get started by building our background scene. The mountain is cut directly from our patterned paper using the Scenic Adventure dies. The top piece of the sky is cut down to size and then adhered at the top of our panel and then the mountain section is adhered over it with dimensionals. I added Wink of Stella to the portion resembling a lake, giving it time to dry while we work on the forefront of our scene.

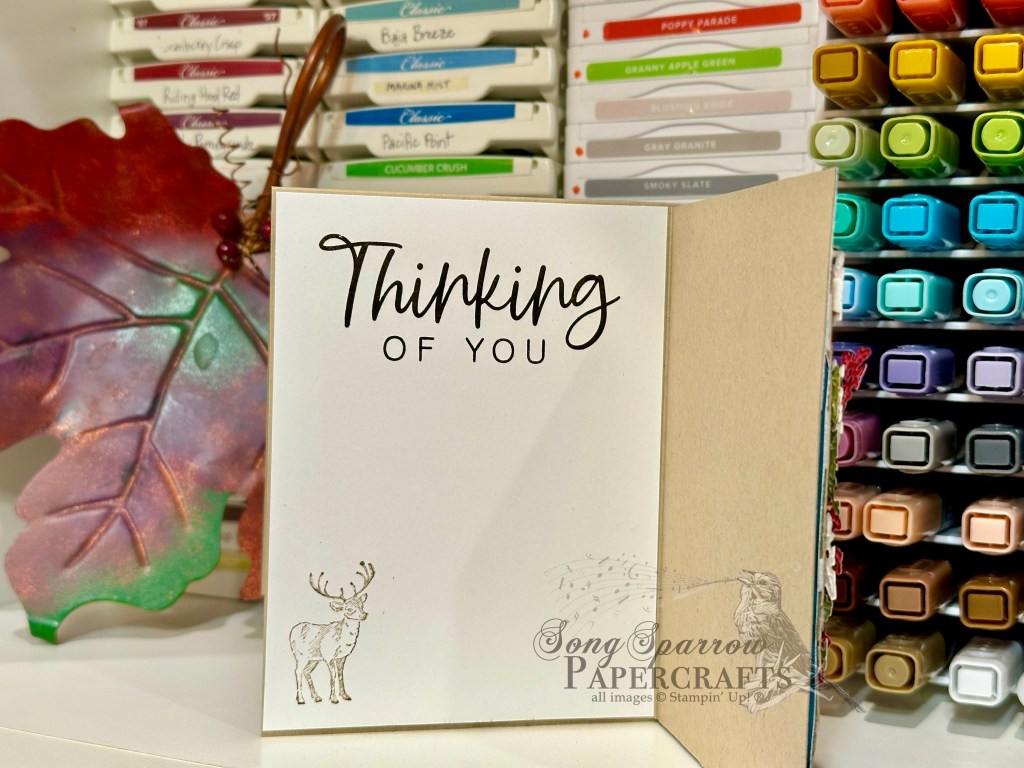
From another sheet of Thoughtful Journey, we cut a small section of trees using the Light & Wonder die set and adhered at the water’s edge and just under the mountain ridge. Using a small scrap of black cardstock, we use the deer die from the Autumn Trees set to cut the doe and fawn. They’re adhered directly to the background. Next up, I stamped the tree image from Autumn Trees in Early Espresso on the slightly smaller quarter sheet of Crumb Cake and shaded the trunk with blending brushes and Crumb Cake ink. We cut leaves in several different colors. I especially love the look of the red and green leaves from the Season of Elegance paper. Each set of colored leaves is adhered on top of the other with dimensionals and slightly askew of one another to create lots of depth. The tree is then adhered at the base of our scenic panel along the edge using dimensionals. We finish things off with some grass in the foreground that is cut from the other sheet of Thoughtful Journey using the Scenic Adventure die. This panel is then adhered to our inside panel with tear-n-tape along the small fold-over flap. The inside message panel has a small buck in the bottom corner and the sentiment from With You in Mind at the top.
This card is even prettier in person. And I thought you might enjoy seeing it in action to get an idea. *grin*
Today’s card is a part of the Luv 2 Stamp Group Instagram Hop, which goes live at 9 AM Pacific Time (PST). Click here to head over to my Instagram feed at 9 AM Pacific/11 AM Central and check out what the other demos in our L2S Group have created for you today!
Product List![Crumb Cake 12" X 12" (30.5 X 30.5 Cm) Cardstock [ 166787 ]](https://assets1.tamsnetwork.com/images/EC042017NF/166787s.jpg "Crumb Cake 12\" X 12\" (30.5 X 30.5 Cm) Cardstock [ 166787 ]")
![Basic White 8 1/2" X 11" Cardstock [ 166780 ]](https://assets1.tamsnetwork.com/images/EC042017NF/166780s.jpg "Basic White 8 1/2\" X 11\" Cardstock [ 166780 ]")
![Basic Black 8-1/2" X 11" Cardstock [ 121045 ]](https://assets1.tamsnetwork.com/images/EC042017NF/121045s.jpg "Basic Black 8-1/2\" X 11\" Cardstock [ 121045 ]")
![Country Woods 12" X 12" (30.5 X 30.5 Cm) Designer Series Paper [ 163393 ]](https://assets1.tamsnetwork.com/images/EC042017NF/163393s.jpg "Country Woods 12\" X 12\" (30.5 X 30.5 Cm) Designer Series Paper [ 163393 ]")
![Thoughtful Journey 6" X 6" (15.2 X 15.2 Cm) Designer Series Paper [ 163303 ]](https://assets1.tamsnetwork.com/images/EC042017NF/163303s.jpg "Thoughtful Journey 6\" X 6\" (15.2 X 15.2 Cm) Designer Series Paper [ 163303 ]")
![Season Of Elegance 12" X 12" (30.5 X 30.5 Cm) Specialty Designer Series Paper [ 164144 ]](https://assets1.tamsnetwork.com/images/EC042017NF/164144s.jpg "Season Of Elegance 12\" X 12\" (30.5 X 30.5 Cm) Specialty Designer Series Paper [ 164144 ]")
![Window Sheets [ 142314 ]](https://assets1.tamsnetwork.com/images/EC042017NF/142314s.jpg "Window Sheets [ 142314 ]")
![With You In Mind Photopolymer Stamp Set (English) [ 164747 ]](https://assets1.tamsnetwork.com/images/EC042017NF/164747s.jpg "With You In Mind Photopolymer Stamp Set (English) [ 164747 ]")
![Autumn Trees Bundle [ 165900 ]](https://assets1.tamsnetwork.com/images/EC042017NF/165900s.jpg "Autumn Trees Bundle [ 165900 ]")
![Everyday Arches Dies [ 164629 ]](https://assets1.tamsnetwork.com/images/EC042017NF/164629s.jpg "Everyday Arches Dies [ 164629 ]")
![Light & Wonder Dies [ 165762 ]](https://assets1.tamsnetwork.com/images/EC042017NF/165762s.jpg "Light & Wonder Dies [ 165762 ]")
![Scenic Adventure Dies [ 165467 ]](https://assets1.tamsnetwork.com/images/EC042017NF/165467s.jpg "Scenic Adventure Dies [ 165467 ]")
![Clear Wink Of Stella Glitter Brush [ 141897 ]](https://assets1.tamsnetwork.com/images/EC042017NF/141897s.jpg "Clear Wink Of Stella Glitter Brush [ 141897 ]")
![Stampin' Dimensionals [ 104430 ]](https://assets1.tamsnetwork.com/images/EC042017NF/104430s.jpg "Stampin' Dimensionals [ 104430 ]")
![Foam Adhesive Strips [ 141825 ]](https://assets1.tamsnetwork.com/images/EC042017NF/141825s.jpg "Foam Adhesive Strips [ 141825 ]")
![Pretty Peacock 8-1/2" X 11" Cardstock [ 150880 ]](https://assets1.tamsnetwork.com/images/EC042017NF/150880s.jpg "Pretty Peacock 8-1/2\" X 11\" Cardstock [ 150880 ]")
![Elegant Pine Snowflakes 12" X 12" (30.5 X 30.5 Cm) Designer Series Paper [ 166066 ]](https://assets1.tamsnetwork.com/images/EC042017NF/166066s.jpg "Elegant Pine Snowflakes 12\" X 12\" (30.5 X 30.5 Cm) Designer Series Paper [ 166066 ]")
![Peaceful Garden 12" X 12" (30.5 X 30.5 Cm) Glimmer Paper [ 165929 ]](https://assets1.tamsnetwork.com/images/EC042017NF/165929s.jpg "Peaceful Garden 12\" X 12\" (30.5 X 30.5 Cm) Glimmer Paper [ 165929 ]")
![Winter Scenes Cling Stamp Set (English) [ 166088 ]](https://assets1.tamsnetwork.com/images/EC042017NF/166088s.jpg "Winter Scenes Cling Stamp Set (English) [ 166088 ]")
![Jet Black Stāzon Ink Pad [ 101406 ]](https://assets1.tamsnetwork.com/images/EC042017NF/101406s.jpg "Jet Black Stāzon Ink Pad [ 101406 ]")
![Old Olive Stampin' Blends Combo Pack [ 154892 ]](https://assets1.tamsnetwork.com/images/EC042017NF/154892s.jpg "Old Olive Stampin' Blends Combo Pack [ 154892 ]")
![Crumb Cake Stampin' Blends Combo Pack [ 154882 ]](https://assets1.tamsnetwork.com/images/EC042017NF/154882s.jpg "Crumb Cake Stampin' Blends Combo Pack [ 154882 ]")
![Pool Party Stampin' Blends Combo Pack [ 154894 ]](https://assets1.tamsnetwork.com/images/EC042017NF/154894s.jpg "Pool Party Stampin' Blends Combo Pack [ 154894 ]")
![Smoky Slate Stampin' Blends Combo Pack [ 154904 ]](https://assets1.tamsnetwork.com/images/EC042017NF/154904s.jpg "Smoky Slate Stampin' Blends Combo Pack [ 154904 ]")
![Small Blending Brushes [ 160518 ]](https://assets1.tamsnetwork.com/images/EC042017NF/160518s.jpg "Small Blending Brushes [ 160518 ]")
![Cloud Cover Classic Stampin' Ink Refill [ 165279 ]](https://assets1.tamsnetwork.com/images/EC042017NF/165279s.jpg "Cloud Cover Classic Stampin' Ink Refill [ 165279 ]")
![Misty Moonlight Classic Stampin' Pad [ 153118 ]](https://assets1.tamsnetwork.com/images/EC042017NF/153118s.jpg "Misty Moonlight Classic Stampin' Pad [ 153118 ]")
![Greetings For You Mix & Match Ephemera Pack (English) [ 166208 ]](https://assets1.tamsnetwork.com/images/EC042017NF/166208s.jpg "Greetings For You Mix & Match Ephemera Pack (English) [ 166208 ]")
![Balmy Blue 1/2" (1.3 Cm) Sheer Ribbon [ 165767 ]](https://assets1.tamsnetwork.com/images/EC042017NF/165767s.jpg "Balmy Blue 1/2\" (1.3 Cm) Sheer Ribbon [ 165767 ]")
![Traditional Sparkling Sequins [ 165875 ]](https://assets1.tamsnetwork.com/images/EC042017NF/165875s.jpg "Traditional Sparkling Sequins [ 165875 ]")
![Mini Stampin' Dimensionals [ 144108 ]](https://assets1.tamsnetwork.com/images/EC042017NF/144108s.jpg "Mini Stampin' Dimensionals [ 144108 ]")