Online Exclusives

Hovering Hello

Howdy, friends! And happy Wednesday. We’re halfway through this week, but it sure feels like it should be Friday already! It’s been a busy one at the office and my tail is just dragging. Ever have weeks like that? Sure felt good to play a little in the craft room this evening though.

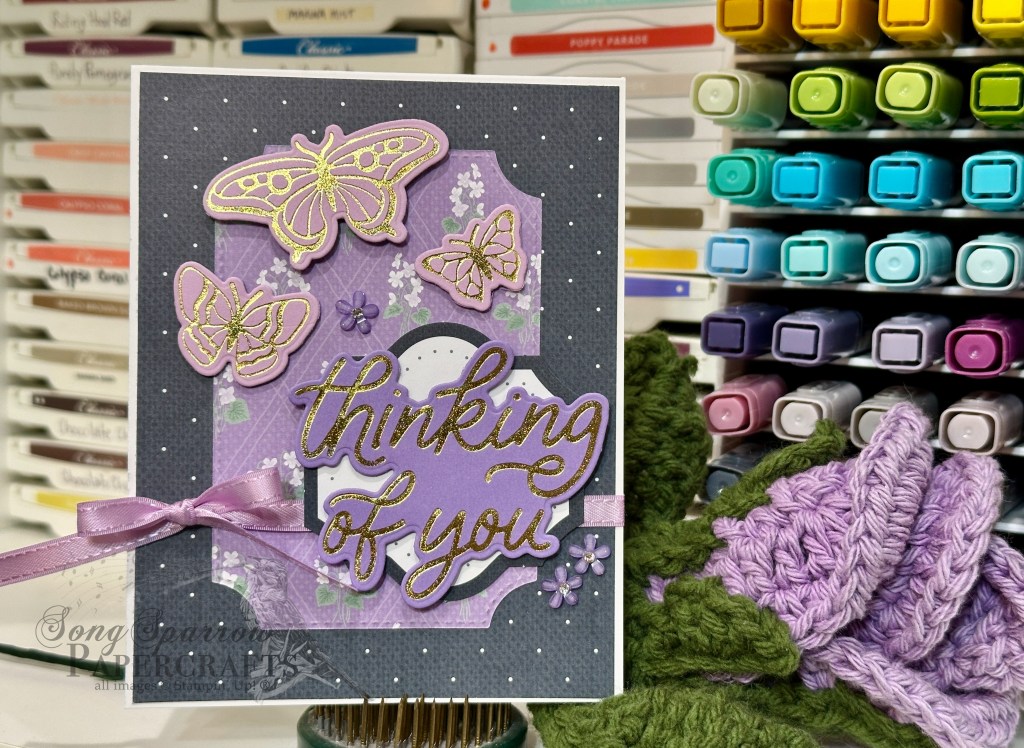
And speaking of that, this week we’re going to get a look at some of the new things in my crafty stash that haven’t seen any love yet. And first up, we have a sneak peek at a brand new suite that will launch in just a few short weeks called Violet Dreams. And let me tell you, it is scrumptious! So much beautiful detail in the paper, the stamps, and the dies. You are going to love it!

So our sneak peek card gets started with a base of Gorgeous Grape cardstock. Our backdrop is a sheet of the new Shimmering Stripes specialty paper. The focal panel is a sheet of the new Violet Dreams patterned paper on a mat of Gorgeous Grape. I tied a bow of white & gold ribbon around the bottom. The hello sentiment is from the Saying Something ephemera pack and is coated with Wink of Stella to give the perfect amount of twinkle against the beautiful butterfly from the new Gilded Wings butterfly pack. We finish things off with some of the new adhesive blooms from the Violet Dreams suite.

I can’t wait to show you more of this beautiful suite this week. I hope you’ll drop back by to get some more peeks at all of these wonderful goodies!

Products used in today’s design:
Gorgeous Grape CS
Violet Dreams, Shimmering Stripes DSP (both releasing in July)
Saying Something ephemera
Gilded Wings accents (releasing in July)
White & gold ribbon
Adhesive blooms (releasing in July)
Wink of Stella
Dimensionals
Adhesives

Father's Day

Making a Difference

Thanks for popping back by today for the second card of the day. This week we’re using the stash to create something special for dad. And today we’re spending time in the great outdoors with this lovely mountain sunrise scene as we combine the Far & Away Landscapes stamps with the new Sunset Coast dies.

We get started with a neutral white card base. Our focal panel starts with a quarter sheet of Cloud Cover cardstock and we cut a circle in the center toward the top using the largest Stylish Shapes circle die, which perfectly nests with the sunrise die in the Sunset Coast set. We cut the sunrise circle from yellow shimmer paper and affix it behind the focal panel with some basic masking tape. To fill in the sunrise on the card front below, I laid the panel in place and lightly marked a few points in the sunrise to know where to shade with the blending brushes with a combination of yellow, orange, and pink. Next up, we stamp the focal image from the Far & Away Landscapes stamp set in Secret Sea under the sunrise and then shade the image with Stampin’ Blends. I wrapped the bottom of the focal panel with white & gold baker’s twine and affixed the sentiment from the Saying Something ephemera pack using dimensionals so it stands above the twine. Then the focal panel is affixed to the card front with dimensionals. We finish things off with a few clear dewdrops for just a touch of sparkle.

Have you been enjoying the Father’s Day inspiration thus far? We’ll be closing out our design series tomorrow with man’s best friend. I hope you’ll drop in!

Product List
Father's Day

Hip Hip Hooray

Welcome back, friends! Today is gonna be a two-for day. Yesterday evening we set about doing some yardwork, and it was a particularly hot and muggy day here in North Texas. So by the time we finished and got everything cleaned up, we were all completely zapped and were pretty worthless for the remainder of the evening.

So here we are with the card I had planned for you yesterday as we pay homage to dad this week. Today we’re all about the outdoors. And for my family, that means a whole host of things — from grilling to hunting to fishing to boating. We love it all! We combining the new Sunset Coast stamp & die bundle with the Thoughtful Journey paper for this lovely card with a view.

We get started with a base of Fresh Freesia cardstock. The backdrop for our sunset scene is a combination Thoughtful Journey patterned paper and a Blackberry Bliss mat. I used the Sunset Coast dies to cut the large sailboat in the foreground from Blackberry Bliss, snipping out the pieces that would just have the boat in shadow. To create the glowing sun, I repeated with a piece of pink Sunset Shimmer vellum and snipped just the sun and inner pieces of the sailboat. Some masking tape on the back holds all the pieces in place together without being visible from the front. The boat is adhered to the focal panel with dimensionals. The waves are adhered directly to the panel with a glue pen. Next up, we cut some seagulls and smaller sailboats from our piece of Blackberry Bliss. To add some detail to the smaller vessels, I stamped their images on the diecut pieces with Blackberry Bliss ink. The larger seagull is adhered by the larger sailboat in the foreground using glue dots. The smaller sailboats and smallest gull are adhered in the background using a glue dots. The sentiment from the Saying Something ephemera pack is snipped on each end to make a banner shape and then adhered with several layers of dimensionals so it stands proud above our scenic elements. A few pearlized faceted dots finish things off with a twinkle.

Wouldn’t this be perfect for the dad who enjoys sailing? We’ll be keeping things outdoors with our second design today. I hope you’ll drop back in this evening to check it out!

Product List
Father's Day

Relax & Enjoy, Dad

Welcome back, crafty friends! We’re half way through this week. How’s your week going so far?

This week our designs are all about dad as we prepare for Father’s Day. Today is for the guys who enjoy the water. We pairing up the new Splash & Relax bundle with some fun older papers from the stash.

We get started with a base of Balmy Blue cardstock. A sheet of the Thoughtful Journey 6×6 paper serves as the backdrop for our focal panel. The base of the focal panel is a sheet of the Beautiful Bokeh paper that is cut with the Branching Out dies. Using the Splash & Relax stamps, we stamp two tubes in a combo of Cloud Cover and BlackBerry Bliss and Misty Moonlight and Pretty Peacock. The two innertubes are cut out with the coordinating die. The sentiment is a combination of the Say Something ephemera and the relax and enjoy stamp from the Splash & Relax stamp set. The variety of colors brings a sense of whimsical fun to the card. We finish things off with some shimmering dots for a pop of twinkle.

Tomorrow we’re headed to the woods to honor the outdoorsy dads out there. I hope you’ll drop in.

Product List
Father's Day

Flippin’ Awesome

Welcome back, everyone! Glad you took the time to stop in. This week, we’re getting ready for Father’s Day, which is just a little under two weeks away. And today is an ode to all of the BBQ chefs we have out there as we pair up the BBQ Master stamps & dies with some fun papers to create this cute & playful ode to dad. Once again, fellow demo Heidi Collins over at On y Go! Stamping provided the inspiration for this card.

We get started with a base of Pretty Peacock cardstock. I paired up the peacock striped pattern from the new Everyday Essentials paper pack with the brush pattern from the Nature Walk pack. I used the darker pattern as the backdrop base and then dropped the stripes on top. A triangle is cut out of the top sheet to create a peek-through in the lower corner, which provides a nice way to highlight the focal point. I pulled out some of my favorite retired Pretty Peacock & Gold ribbon to bridge the two patterns. This full panel is adhered to the card front with dimensionals. Next up, we turn to our focal panel which begins with a panel of Pool Party shimmer paper cut with the Label Me Grateful dies. The grill is stamped in Pretty Peacock and then heat embossed with clear embossing powder to give it a more realistic sheen. It’s then cut out with the coordinating BBQ Master die. The flame is stamped in a combination of Real Red, Timid Tiger, and Crushed Curry and then cut out with the coordinating die. I added some Wink of Stella to help give a flicker effect to the flames. The sausage links are cut from Cajun Craze. The sentiment from the BBQ Master set is stamped in Pretty Peacock on an extended banner cut with the Nested Essentials dies. Everything is adhered to our card front with varying layers of dimensionals for some depth of scene. I added the sausage links willy nilly above the flames to give a sense of flippin’ to our scene. We finish things off with some Pool Party dots.

I really love how this one turned out, don’t you? So fun! I hope you’ll drop in tomorrow — we’ll be taking dad to the beach!

Product List
Father's Day

Trusty Dad

Howdy, friends! Welcome to a bright, new shiny week. It was a busy weekend as we caught up on all of the various things on the to-do list. And there’s still plenty more left undone.

This week we’re on to a new design theme and it’s all about dad for us here this week. Today’s card pulls out several oldie but goodie products from the stash — the Trusty Tool stamps & dies and the Country Woods patterned paper. I took some inspiration for this card from fellow demo Heidi Collins over on Insta at On Y Go! Stamping.

We get started with a base of Pool Party cardstock. The background panel is a combo of the natural and red woodgrain crackle pattern that’s matted with a panel of Pool Party shimmer paper. This panel is mounted to our card front with dimensionals. Next we get to work on the focal panel which starts with the peg board cut from Crumb Cake cardstock using the Trusty Tools die. It’s mounted on white cardstock and then matted with a piece of the Pool Party shimmer paper. The sentiment is a combo of two stamps from the Trusty Tools stamp set. Happy Father’s Day is stamped in Secret Sea on white cardstock and then cut with the paper trimmer. Dad is stamped in Pool Party on white and then fussy cut with scissors. Both are adhered directly to the peg board. The hammer and tape measure are stamped with the Trusty Tools stamps in Secret Sea and then filled in with a combination of Pool Party ink and detail coloring using Stampin’ Blends. The metallic bits are finished with some Wink of Stella for a more realistic metallic twinkle. They both adhered to the peg board with dimensionals. A few Pool Party shimmering dots finish things off and aid in drawing the eye across our design.

This card can be adapted to any of dad’s favorite color palettes and comes together in no time flat. Tomorrow is all about the grill aficionados. I hope you’ll drop in and check it out!

Product List
Botanicals · Thankful

Beautiful Thanks

Happy Saturday, friends! I hope you’re enjoying a restful catch-up from the busy week. It’s been a pretty lowkey day around here for us as we putter around with various things on the home to-do list.

This week we’re exploring the new Beautiful Gallery paper pack. And today is all about cutting up that beautiful paper to create some lovely thank-you cards.

Our first card begins with a base of Cloud Cover cardstock. I selected two different patterns from the Beautiful Gallery paper pack — the blue-hued roses and a grayish linen pattern. The rose paper sits most prominent as the focal piece, while the gray linen pattern serves as the backdrop for the sentiment. The sentiment from the Scalloped Blooms stamp set is stamped in Secret Sea. Both panels of patterned paper are mounted on a mat of Lunar Lustre paper, wrapped with Secret Sea ribbon that is tied in a bow, and then the full panel is affixed to the card front with dimensionals. A few In Color flat pearls serve as rose centers and then the sentiment is flanked with some Secret Sea moody palette dots to draw the eye to the sentiment.

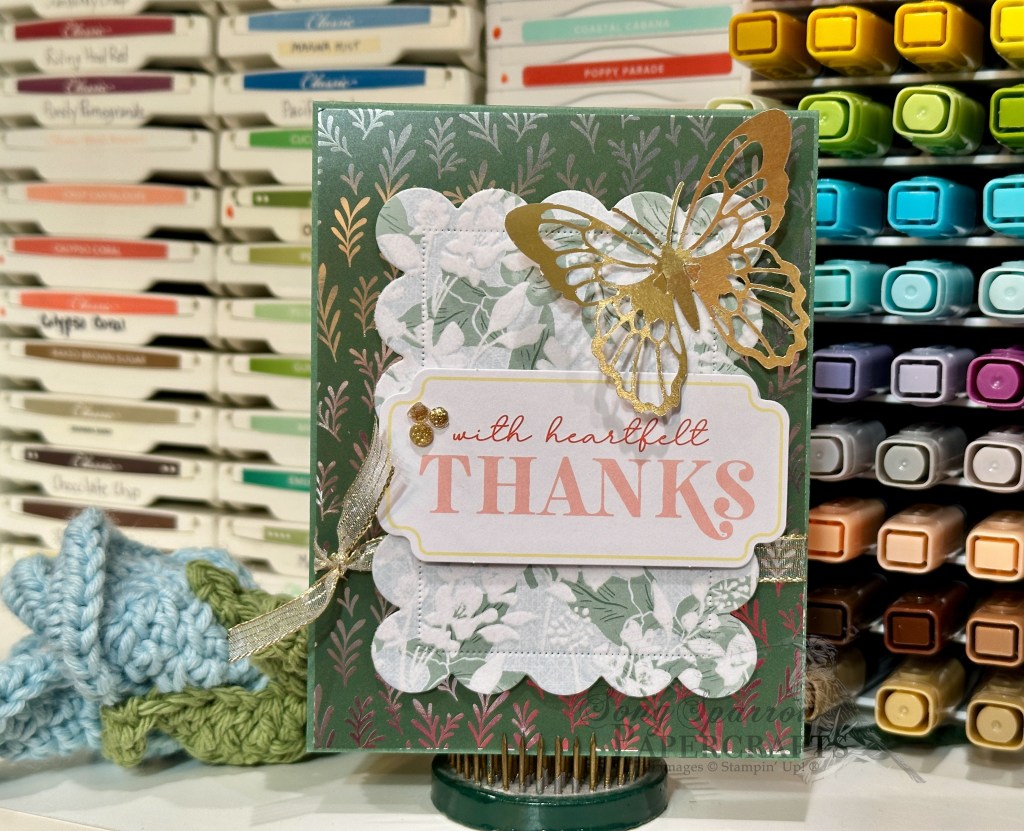
The second card is assembled using the Atlantic Hearts Sketch 664 as inspiration for the layout. We get started with a base of Crumb Cake cardstock. I selected two different patterns from the Beautiful Gallery paper pack — a green plaster pattern and a damask sheet. The damask sheet is cut into the half circle and affixed to the green plaster backdrop. The panel is wrapped with gold striped ribbon and then affixed to the card front with dimensionals. The sentiment is cut from Peaceful Pine velveteen paper with the Words & Wishes dies and affixed to the card front with multipurpose glue. The brand NEW Gilded Wings Accents butterfly (set to release in July) along with the drusy embellishments draw the eye to the sentiment and focal section of our card.

As we gear up for Father’s Day, next week is all about dad. I hope you’ll tag along as we use all sorts of goodies from the stash to create some special projects for dad!

Clean and Simple

Beautiful Day

TGIF, everybody! We made it to Friday, and I am definitely looking forward to the weekend. Do you have fun plans for the weekend? I have all kinds of things on the to-do list and hope to cross some of those off.

This week we’re working with the new Beautiful Gallery patterned paper pack. This pack has so many frame-worthy patterns that it makes it such a task to cut it down. Today we’re using one of my favorite paper-save-it techniques to all but a teensy strip of the beautiful meadow pattern from the pack. We’re pairing it up with the new Sweet Words & Labels dies and the Sunset Coast stamps to make this clean & simple design.

We get started with a base of Petal Pink cardstock. I chose the rolling meadow pattern sheet from the Beautiful Gallery paper pack as the focal panel for the card front and cut it so that there is just a tiny border of our Petal Pink around each side. Save that strip you have left because we’re going to be using it! The panel is wrapped with black & gold baker’s twine before being adhered directly to the card front. The sentiment from the Sunset Coast stamp set is stamped in Flirty Flamingo onto a sentiment panel diecut from Petal Pink using the Sweet Words & Labels dies. The sentiment is adhered over the twine wrapping with several layers of dimensionals to be sure it stands nice and proud over the twine. A few pearlized faceted circles in opposing corners finish things off with the subtlest of pink-hued twinkle.

And we use that extra strip of the gorgeous paper to dress up the message panel on the inside of our card.

Such a clean and simple design and super easy technique to put the whole beautiful sheet of paper to work. What do you think? Tomorrow we’re going to cut some paper and combine some patterns. I hope you’ll drop in and check it out!

Product List
scene building

Beautiful Shore

Welcome back, everyone! This week we’re working with the new Beautiful Gallery paper pack. This paper is so pretty that I hate to cut it, so today’s card design uses the better part of a full sheet for this serene beach scene.

We get started with a base of some Misty Moonlight cardstock. I chose a sheet of the Beautiful Gallery patterned paper with the boats in harbor, and we’re adding a simple mat of Golden Glow pearlized paper to give just a hint of golden sunset sparkle behind the panel. The full matted panel is wrapped in linen thread that’s tied in a bow and then adhered to the card front with dimensionals. The sentiment from the Scalloped Blossoms stamp set is stamped in Crumb Cake ink on vanilla cardstock and cut into a banner shape with the Stylish Shapes dies. The panel is then mounted over the twine using dimensionals. The new Sunset Coast dies give us our pops of realistic scenery elements with the vellum clouds and gray shadowed gulls. These are all adhered with glue dots to give a floating look without visible dimensionals. We finish things off with some metallic gems in opposing corners.

We’re going to cut the pretty paper tomorrow, but I think you’ll like how we’re able to maintain the full scene. I hope you’ll drop in and check it out!

Product List
Botanicals

Beautiful Gallery Prayer

Howdy, friends, and happy hump day! We’re halfway through this week already. And honestly, I’m a little bit over it. I’m finding it hard to be the one working while everyone else in the house is enjoying summer break without me. How about that for a little pity party? *snicker* Seriously though, it’s hard being a working mom, feeling like you’re missing all the good stuff. But such is life sometimes and we make the most of the time we have.

I’ve finally landed on a design theme for this week. We’ll be working with the Beautiful Gallery 6×6 papers. This paper pack is so beautiful and offers so many different styles and feels. So we’re going to try all the things this week as we work to show this paper’s versatility. We’re keeping it super simple with an easy home decor project to get started (because all of these papers are so beautiful and hard to cut up!).

We get started with a full sheet of paper. I chose the sheet with the rose limbs that stretch across the paper. Since this is going to sit on our table as our next dinner prayer, I chose a scripture that is fitting for the season and printed it on a quarter sheet of Blushing Bride cardstock (only because I totally boogered up the original sheet of Petal Pink I had chosen). Then I used the smallest Branching Out die to cut out the scripture using the extension method. Using the gold striped mesh ribbon, I created a large bow and affixed it behind the sentiment panel and then affixed the sentiment panel to the patterned paper background with dimensionals. Some drusy embellishments on either side in opposing corners finish things off with the perfect amount of sparkle. I’m using another one of my favorite 6×6 Amazon frames to hold the finished product.

Tomorrow we’re going to create a scene card. I hope you’ll drop in and check it out!

Product List