Fun Folds · Holiday Mini Catalog · Tutorials

Big Hugs

Howdy, everyone, and happy Saturday! We are officially to the weekend. We’re counting down the last week of summer break over here, so there are lots of things on the to-do list to be sure the kiddo is ready for his first week of 8th grade! What about you? What will your weekend plans have you doing?

Here in the craft room, we’re wrapping up our full week of fun fold designs. And today, I’m giving you a sneak peek of a full suite of products that will be available in the Holiday Mini catalog on September 3rd. We’re using the Peaceful Garden Suite to create a 4-Panel Accordion Fold. Demos were able to purchase this suite early as part of the special Creativity Now event in June, and I’ve saved using it until we got closer to the official release date for customers.
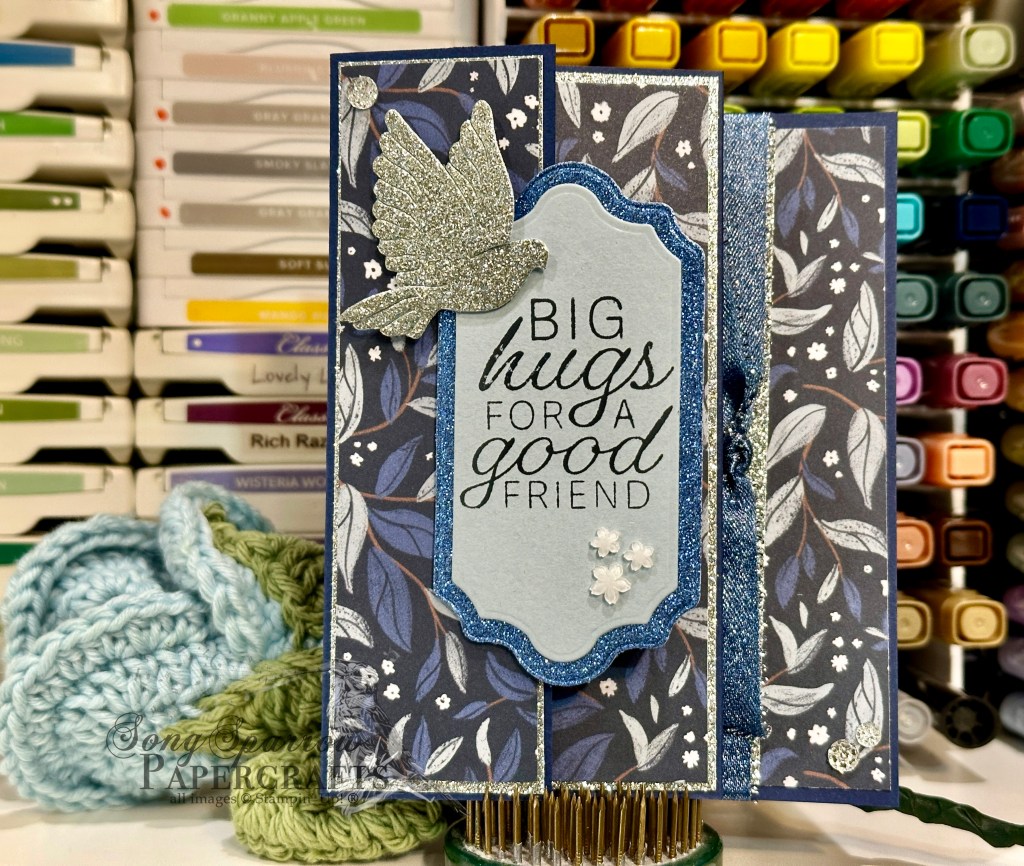
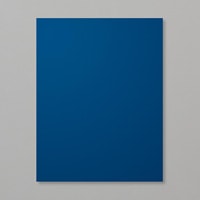
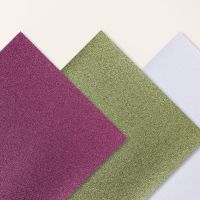
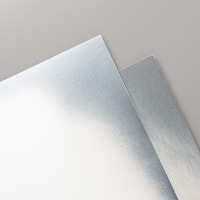
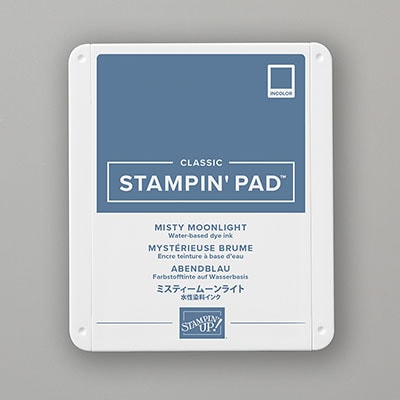
We get started by cutting down a 12×12 piece of Night of Navy cardstock and then score it to create the accordion base. I chose the leaf and vine patterned sheet from the Peaceful Garden paper pack as my focal paper and then matted these strips with the coordinating silver glimmer paper. The sentiment panel is created using the Peace on Earth stamp & die bundle included in the Peaceful Garden suite. I finished things off with a few Hues of Blue flowers and Misty Moonlight trim from the suite, along with a few drusy embellishments.

I dressed this fun fold up a bit by adding mats for each of the patterned paper panels. When you’re using heavier glimmer paper, like the sheets from Peaceful Garden, this will add some extra weight to your card. You could simplify this by omitting the extra mats or using lighter weight glimmer paper.

How would you like to give the 4-panel accordion fold a try? You can download the free PDF tutorial here.

It’s been a lot of fun learning some new fun folds this week. And there are quite a few that will be going into my more regular rotation. Do you have a favorite from this week’s fun fold series? Tell me in the comments!

Next week, we’re going to be exploring a super fun stamp bundle called Sweet Jar that has a new coordinating holiday stamp set called Jar of Joy. I hope you’ll pop in and see all of the fun things we can do with these cute stamps & punch!

Products used in today’s card:
Night of Navy, Cloud Cover, Basic White cardstock
Peaceful Garden, Peaceful Garden glimmer DSP (coming in September!)
Peace on Earth stamp & die bundle (coming in September!)
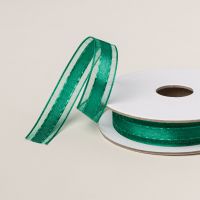
Misty Moonlight & silver edged ribbon (coming in September!)
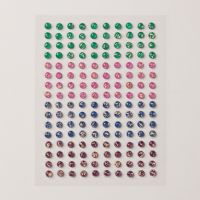
Hues of blue flowers (coming in September!), Drusy embellishments
Dimensionals
Adhesives
Coming Soon · Treat Boxes

Boo Box

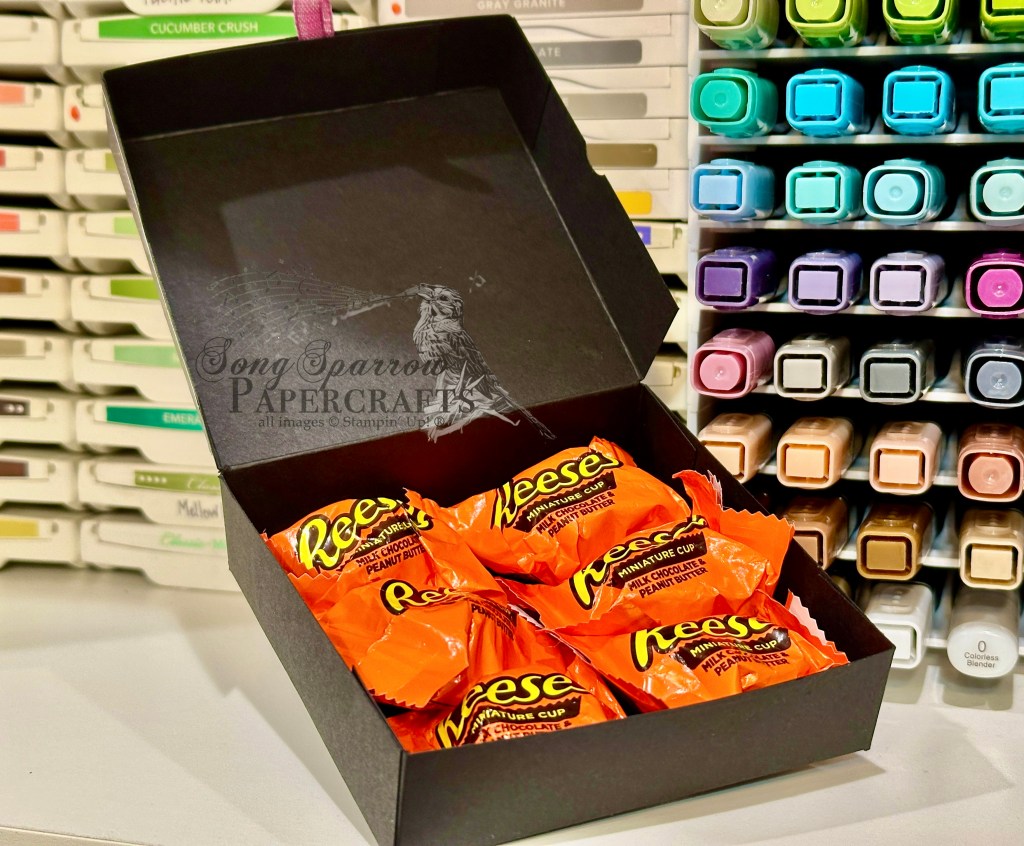
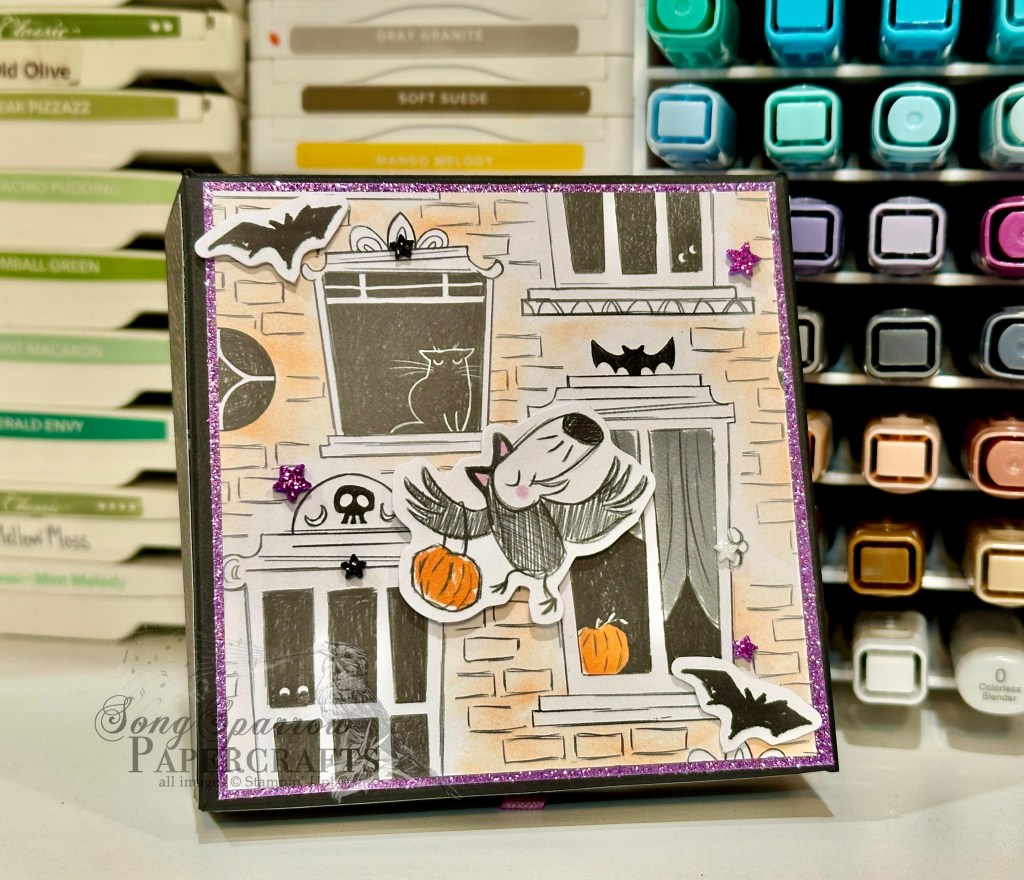
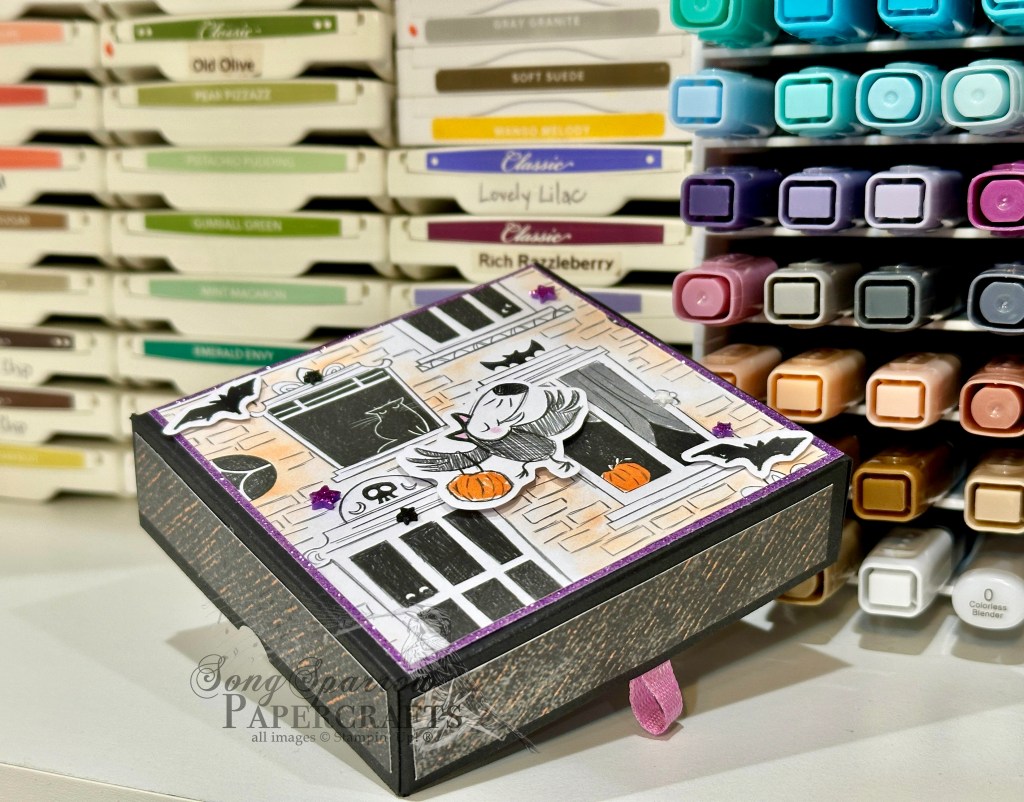
This week’s design theme is 3D projects, and today we’re whipping up a super simple (but simply adorable) treat box using some up-and-coming Online Exclusives. The new Spooky Sweet paper pack and coordinating precut shapes are just adorable. Add a few twinkly stars and some iridescent ribbon and you have the perfect treat box for your trick-or-treaters!

Our treat box is made from Basic Black cardstock. I used two different patterns from the Spooky Sweet paper pack on the box and added a little twinkle with the glimmer paper for an extra pop on the lid. I chose some precut shapes that complimented the patterned paper and helped tell the trick-or-treating story on the lid. A few sparkly stars scattered across the lid finish things off. I found that adding a few finger notches on the sides of the lid, as well as the little tab on the front of the box really helped make the box much easier to open.

Isn’t this box the cutest?! A simple swap of paper and embellishments and you can have a cute little gift box for any occasion! Wanna try making one yourself? You can download the instructions here.

Products used in today’s project:
Basic Black cardstock
Spooky Sweet DSP & cutouts (coming July 1st)
Three color glimmer paper (retired)
Petunia Pop iridescent ribbon (coming July 1st)
Shimmer stars foam pieces (coming July 1st)
Small circle punch
Dimensionals
Adhesives

Coming Soon · Sentiments

Make a Difference

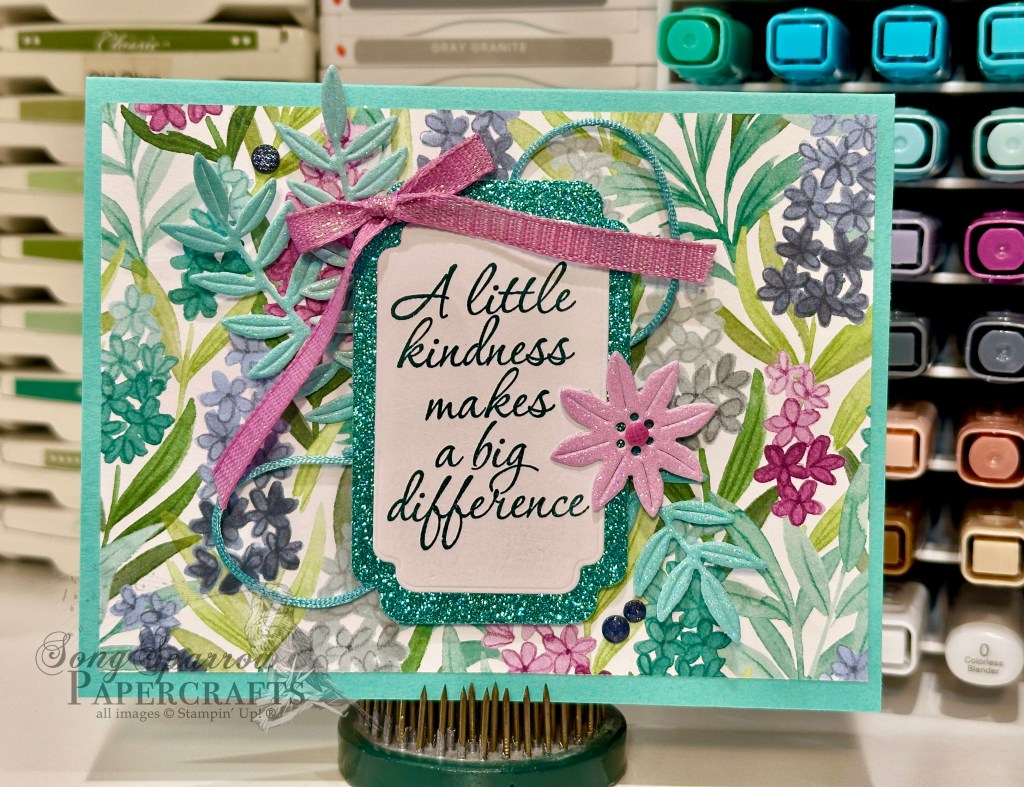
We’re finishing out our sentiments design series with a super clean and simple design. This card combines the lovely Florals in Bloom Online Exclusive paper with the up-and-coming Label Me Grateful stamp and die bundle that will release on July 1st.

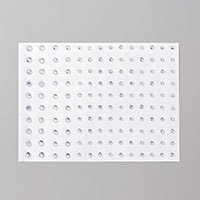
This card starts with a base of Summer Splash cardstock. A sheet of the Florals in Bloom paper serves as the backdrop for our focal panel. The sentiment from the new Label Me Grateful stamp set is stamped in Pretty Peacock on white cardstock and then diecut using the Something Fancy dies. To help the sentiment really pop against the floral background, we mat it with a panel of Summer Splash glimmer paper that’s cut with the next size die up in the Something Fancy set. We mount the sentiment panel with dimensionals over Lost Lagoon soft cording and some greenery cut from the pastel ombre glimmer paper using the Label Me Grateful detail dies. I added a diecut flower and Petunia Pop iridescent ribbon for some pops of color around the sentiment panel. We finish off with a few charming shimmer faceted dots on either side of the focal section.

I hope this week’s designs have given you a fresh look at your sentiments and how they can stand front and center as easily as they can support a focal image. Tune in next week as we work through a whole week of 3D projects and gift-giving projects.

Product List

Products that will release on July 1:
Label Me Grateful bundle
Charming shimmer faceted dots
Petunia Pop iridescent ribbon

Mother’s Day

The Best Mom

Welcome to a bright and shiny new week! I don’t know about you, but I can’t even believe that we’re starting the month of May. The end of school is going to be here in a flash!

This week, we get to welcome a whole host of brand new products to the store. Are you excited? I know I am! There’s so much good stuff coming. I hope last week’s sneak peeks have you interested in seeing more because there is SO much more to see, and I just know you’re going to love it.

We’re getting started with a new design theme for the week, and with Mother’s Day just a week away, I thought it would be the perfect theme for our designs. And speaking of sneak peeks, we’re getting a little better look at the Pretty Florals bundle, which will be part of the new release, in today’s card.

We get started with a base of Fresh Freesia cardstock. Using the Plaster Painting embossing folder, I embossed just the front panel of the card. I added a piece of the coordinating pastel ombre glimmer paper to the left side against the fold, and this particular piece has the perfect subtle shift from pink to purple. I used a strip of the Blackberry Bliss and gold trim to cover the edge of the glimmer paper and tie together with our focal elements. The sentiment from the She’s the Greatest stamp set is stamped in Blackberry Bliss on white cardstock and then diecut with the largest banner die from the Mixed Labels set. It’s adhered in the bottom corner of the card front with dimensionals. Using the Pretty Florals dies, I cut the flowers from a combination of Petunia Pop and Blackberry Bliss cardstock. The leaves are cut from the Old Olive Season of Elegance paper. I added some Wink of Stella to the blooms for a touch of subtle twinkle. The florals are all adhered to the card front around the sentiment panel at varying heights with a combination of glue dots and dimensionals. We finish things off with a scatter of Blackberry Bliss shimmer gems for the perfect touch of sparkle.

I hope you’ll pop back by tomorrow for another bit of Mother’s Day inspiration.

Products used in today’s card:
Fresh Freesia, Petunia Pop, Blackberry Bliss, Basic White cardstock
Pastel Ombre glimmer, Season of Elegance DSP
Plaster Painting embossing folder
Pretty Florals bundle (coming soon)
She’s the Greatest stamps
Mixed Labels dies
Blackberry Bliss & gold metallic ribbon (retired)
Purple fine shimmer gems
Wink of Stella
Dimensionals

Coming Soon · Sketchy Fridays

Sketchy Fridays: Smile!

This week, we’re getting some sneaky peeks at some of the brand new product that will be launching next week. And today we’re making another trip to the garden as we combine some new products with a sketch for Sketchy Fridays.

For those of you who are new here, Sketchy Fridays is a weekly series where we’re using a card sketch to design our featured card. Right now, we’re working through a full series of designs using the card sketches found in current Stampin’ Up! catalogs.

This week’s card is based on Sketch #3 from the Stampin’ Up! Annual Catalog. Today’s design features the Florals in Bloom suite that will release next week. This week, I’m staying pretty true to the sketch. I simply flipped the side where the focal panel is affixed.

We get started with a base of Blackberry Bliss cardstock. I used the Pattern of Friendship die on the front panel to add a little texture in the background. Our background panels are a combination of Florals in Bloom and Petunia Pop glimmer paper, and these are all adhered directly to the card front. I tied a piece of Fresh Freesia velvet ribbon around the card front before placing the focal panel. The focal panel base is a white circle cut using the Spotlight on Nature dies. Using the Pretty Florals dies, I cut some flowers from the Florals in Bloom paper and then affixed them to the circle using a combination of dimensionals and glue dots. The sentiment panel is cut from vellum using the Something Fancy dies. The sentiment from Sweet Blooms is stamped in Blackberry Bliss ink and then heat embossed with clear embossing powder before being adhered to the focal panel with glue dots. We finish things off with two tone sparkle gems across the card front.

Tomorrow we’re going to have our sentiments take center stage. I hope you’ll drop by and check it out.

Products used in today’s card:
Blackberry Bliss, Basic White cardstock
Florals in Bloom (coming soon), In Color glimmer, vellum DSP
Sweet Blooms stamps (coming soon)
Pretty Florals (coming soon), Spotlight on Nature, Something Fancy, Pattern of Friendship dies
Clear embossing powder
Fresh Freesia velvet ribbon
Two tone sparkle gems
Dimensionals

Coming Soon

Amazing

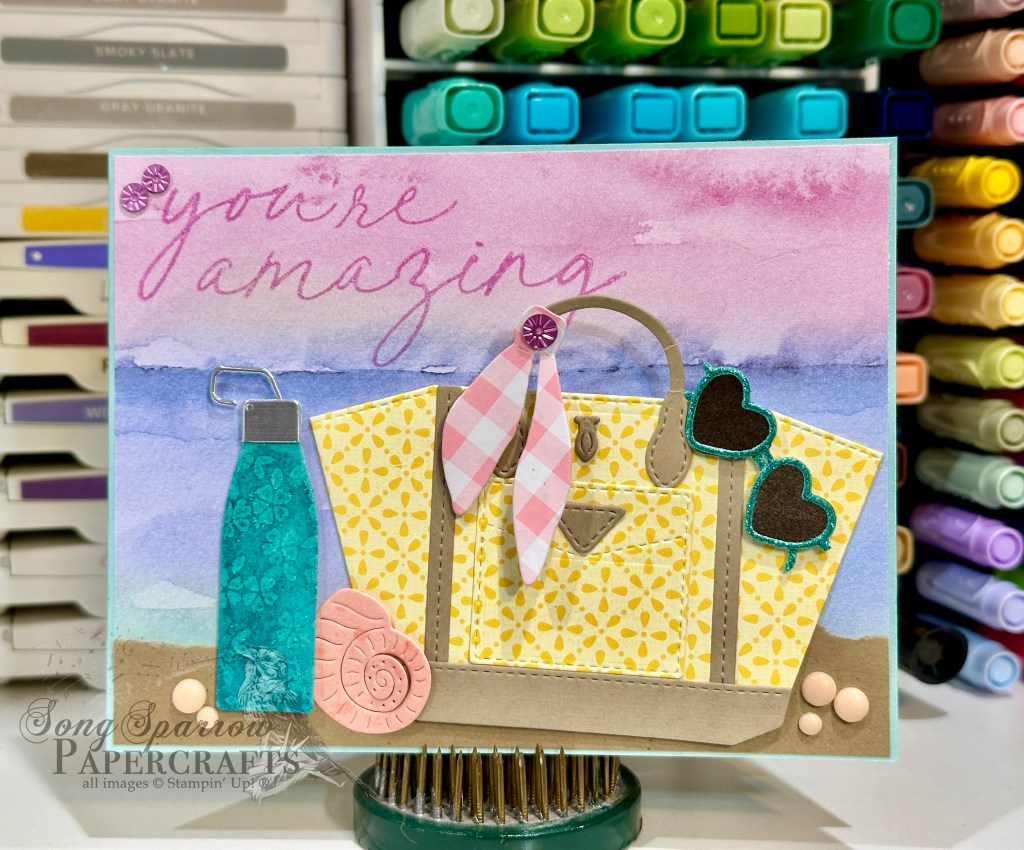
This week, we’re exploring some of the new products that will be launching next week in the online store. Today we’re getting a look at the Notes & Totes bundle. This fabulous set not only makes super cute cards, but it also allows you to make cute little gift bags perfect for a tube of chapstick and a piece of chocolate! Today, I’m also using super fun technique that Sarah demonstrated several months ago — embossing over glimmer paper!

We get started with a base of Pool Party cardstock. I’m using a sheet of the Thoughtful Journey paper as the backdrop for this little beachy scene. To create the sand, we’re using a strip of Pecan Pie cardstock and then tearing it at the top to give it the look of beach sand. I stamped the sentiment from Scenic Adventure in Fresh Freesia in the top corner. Our beach bag is a combination of Floral Delight and Crumb Cake cardstock and diecut using the Notes & Totes dies. The cute sash is a small scrap of Wildflower Birthday with a starburst sequin serving as the decoration on the knot. The sunglasses are cut from Basic Black and Shy Shamrock glimmer paper and then affixed to the top edge of the bag with a dimensional. To add some beachy interest, we’re adding a conch shell and water bottle. The shell is cut from a sheet of Beautiful Bokeh. The water bottle is cut from a sheet of pastel ombre glimmer paper and silver foil and has a subtle raised pattern that is created by stamping the florals from the Notes & Totes set in versamark and then heat embossing with clear embossing powder. To help the pattern stand out and give a more decorative look to the bottle, I used a blending brush and Pretty Peacock ink to go over it and then added some wink of stella. It’s adhered next to the shell on some dimensionals. I added a few rainbow dots in the sand to finish everything off.

We’re going to be taking a stroll through the garden tomorrow. Pack your gloves and a cutting basket!

Products used in today’s card:
Pool Party, Pecan Pie, Crumb Cake, Basic Black cardstock
Thoughtful Journey, Wildflower Birthday, Floral Delight, Beautiful Bokeh, Silver foil, In Color shimmer, Pastel Ombre glimmer DSP
Notes & Totes bundle (coming soon)
Scenic Adventure stamps (coming soon)
Clear embossing powder
Wink of Stella
Rainbow dots, starburst sequins
Dimensionals

Coming Soon

The Best Dad

This week, we’re getting a sneak peek at some of the newest products that Stampin’ Up! is set to release next week. And today we’re once again pairing up some current products with what’s soon to come to create this super cool scene. I love the sunset mountain hues of blues and purples, and the Splendid Autumn paper pack has some terrific sheets to choose from to create our scene using the Scenic Adventure bundle.

We get started with a base of Misty Moonlight cardstock. A sheet of the Splendid Autumn paper serves as our sunset backdrop for the mountain scene and is matted with a sheet of the Thoughtful Designs specialty paper. I used the Scenic Adventure dies to cut mountains and trees from coordinating scraps of the Splendid Autumn papers. I also added the ripples of the lake in the foreground with the dies, along with the faint stars and moon in upper-right corner. And I stamped some clouds in the distance using the Scenic Adventure stamp and Pool Party ink. The mountains and trees are layered with dimensionals to give depth to the scene and Wink of Stella gives the perfect amount of subtle twinkle to the the tops of the trees and mountain, the ripples in the water, and the moon in the sky. The sentiment from She’s the Greatest and He’s the Greatest is stamped in Misty Moonlight on white cardstock and diecut with the smaller Sentimental Framing die. I added some blue linen thread behind the panel before adhering to the card front with dimensionals. We finish things off with two tone sparkle gems in opposing corners to ensure the eye passes over the whole design.

Next, we’ll be taking it to the beach. Pack your flip flops and come along!

Products used in today’s card:
Misty Moonlight, Basic White cardstock
Splendid Autumn, Thoughtful Designs DSP
Scenic Adventure bundle (coming soon)
She’s the Greatest, He’s the Greatest stamps
Sentimental Framing (coming soon) dies
Natural tones linen thread
Two tone sparkle gems
Wink of Stella
Dimensionals

Online Exclusives · Thankful Garden

Thankful Friend

We are already to another Monday – the first Monday of March. MARCH! Man, it seems like this year just got started. It was a busy weekend for us, so March definitely came marching’ on in. We had some beautiful weather and enjoyed a lot of together time that included time outside. One of my favorite things about spring is the return of all my sleeping plants and the chance to visit the nursery for new plants. My boys entertained me with a trip to our favorite local nursery and even helped pick out our new flowers.

And speaking of spring, there is a whole crop of brand new stamps releasing tomorrow with the launch of new Stampin’ Up! Online Exclusives. So this week, we’re going to be getting a closer look at the Thankful Garden bundle, which includes stamps, masks, dies, paper, ribbon, and embellishments. And today’s card showcases the beautiful paper.

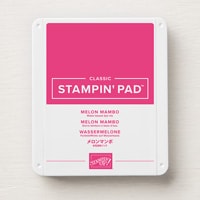
Our card starts with a base of Night of Navy cardstock. Our focal background pattern is from the Lovely Garden paper pack. The sentiment from the Thankful Garden stamp set is stamped in Melon Mambo on white cardstock and then diecut with the Something Fancy dies. I cut the sentiment mat from Berry Burst glimmer paper using the larger Something Fancy die. A faux bow of Shaded Spruce satin ribbon is affixed to the back of the sentiment. The dainty dot patterned strip from the Lovely Garden paper pack serves as our sentiment backdrop. I cut a stem of greenery from Shaded Spruce with the Thankful Garden dies and adhered it under the sentiment panel which sits on top thanks to a layer of dimensionals. Regal foil dots dress things up a bit and bring our eyes front and center to the sentiment.

I hope you’ll pop in tomorrow to see more of this Thankful Garden!

Products used in today’s card:
Night of Navy, Shaded Spruce, Basic White cardstock
Lovely Garden (coming 3/4!), Berry Burst glimmer paper
Thankful Garden stamps & dies (coming 3/4!)
Something Fancy dies
Shaded Spruce satin ribbon
Regal foil dots
Dimensionals
Adhesives

Product List
Everyday Skies

Starry Thoughts

Whew, today turned out to be just as busy as I thought it might be, but it was a successful day nonetheless. The kiddo scored an “excellent” on his euphonium solo and bowled above his average for his league games today. We took advantage of the glorious sunshine and perfect temps here in North Texas and rode our bikes around the park and played ball outside. And to top it all off, I got to steal a few moments in the craft room to bring you our last card of our Everyday Skies design series for this week.

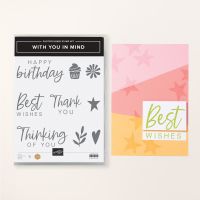
We’re keeping things simple with a clean layout using the reverse sides of the Everyday Skies paper, which we have paired with the ever-lovely With You in Mind stamp set. And as a bonus, we’re getting a sneak peek of the new Textured Notes dies that will release next week. If you’re like me, you were crushed when Stampin’ Up! retired the Deckled Rectangles dies and wondered what you would ever do without them. Well, we’re all in luck as this lovely set of textured-edge dies hits the shelves in just a few days!

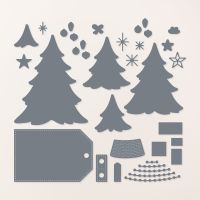
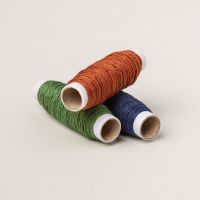
We get started with a base of Night of Navy cardstock. I chose the navy starry night pattern from the Everyday Skies paper pack and used the Textured Notes dies to cut our panel. I stamped the sentiment from With You in Mind in Misty Moonlight on a coordinating sheet of a lighter blue patterned sheet from the paper pack. I wrapped one end with some Misty Moonlight natural tones linen thread and tied a small bow and affixed the panel to our focal panel before adhering everything to the card base with dimensionals. I added a few silver stars just above and on one end of the sentiment panel. The stars are cut from silver foil using the two small dies from the Merriest Trees stamp set. A few rhinestones add that last little bit of twinkle.

This clean and simple layout is very versatile and allows you to make a whole variety of cards for a number of different occasions in no time. And as you can see, the patterns in the Everyday Skies paper pack allow for a lot of versatility, as well.

Next week, we start a new design series using the brand new Thankful Garden suite. You’re going to love it!

Product List
Coming Soon · January Mini Catalog

Here for You

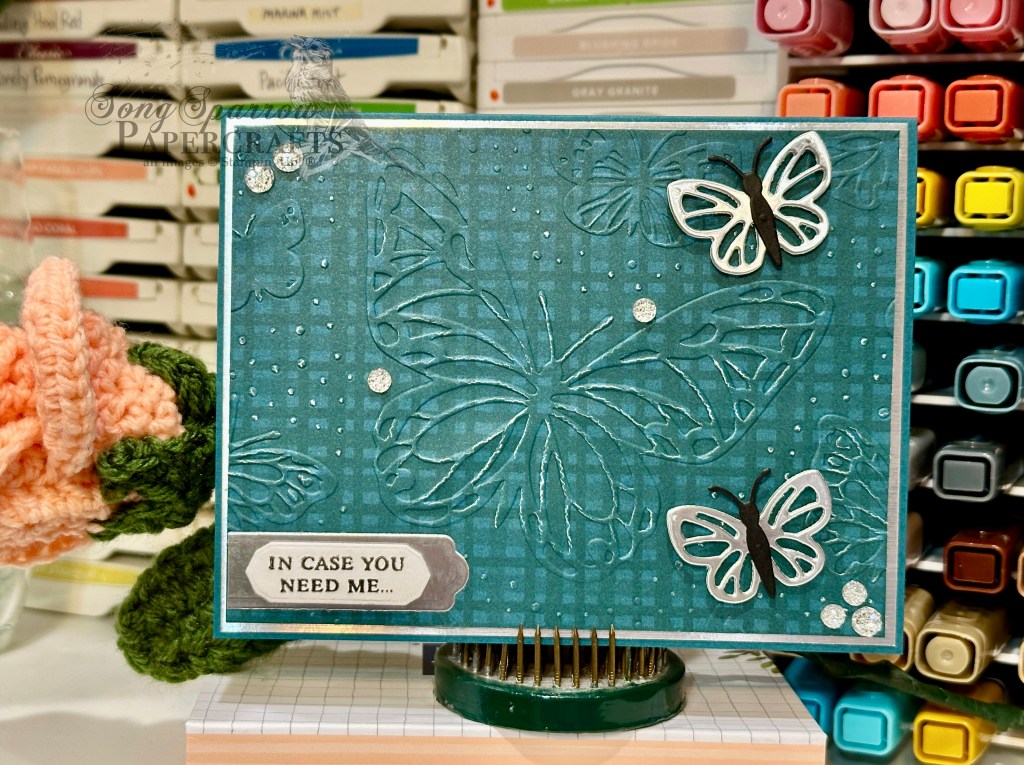
We’re rounding out our up-close look at the Beautiful Butterflies suite today. This gorgeous suite of products launches on Tuesday in the Stampin’ Up! January Mini catalog and includes stamps, dies, hybrid embossing folder, and designer paper. Today’s design keeps it simple by pairing the stamps and dies with the lovely Regal Winter paper.

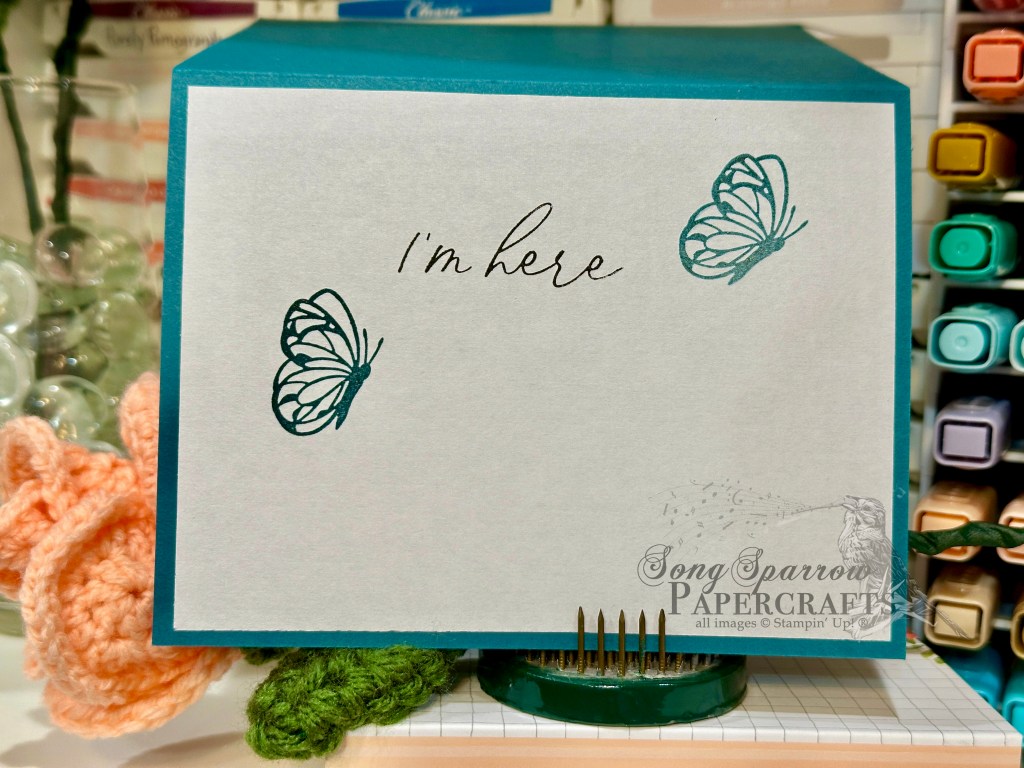
We get started with a base of Pretty Peacock cardstock. I chose the coordinating plaid pattern from the Regal Winter designer series paper pack as the backdrop and matted with silver foil specialty paper. The plaid is embossed with the Beautiful Butterflies embossing folder, and I love how the folder gives a deep impression that scars the paper so the white center shows through for a distressed look. The two smaller butterflies are cut from silver foil specialty paper with the bodies cut basic black cardstock using the Beautiful Butterflies dies. The sentiment from the Beautiful Butterflies stamp set is stamped on white cardstock and then diecut with the smallest Mixed Labels die and matted with a portion of the largest banner die from the Beautiful Butterflies set. A few drusy embellishments scattered across the card front draw the eye across the full embossed panel. I finished the sentiment on the inside message pael and added a few butterflies to complete our theme.

Next week we’re going to be working with the Mixed Florals bundle. I hope you’ll stop by to see how this bundle can work for you!

Products used in today’s design:
Pretty Peacock, Basic White, Basic Black cardstock
Regal Winter, Silver foil DSP
Beautiful Butterflies bundle (coming soon)
Beautiful Butterflies embossing folder (coming soon)
Mixed Labels dies (coming soon)
Drusy embellishments
Dimensionals
Adhesives