Christmas · Holiday Mini Catalog · Holidays

Christmas Greenery

Welcome to Monday, crafty friends! I hope you all enjoyed a nice weekend. Here in North Texas we’re beginning to enjoy the first of a string of very fall-like temperatures in the mornings and it’s been glorious!

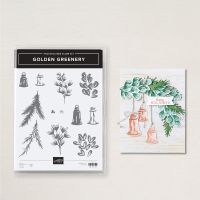
This week starts a new design series and we’re All About Christmas! I know it’s hard to want to think about the holidays when we’re not even officially into fall yet. But as you know, beautiful Christmas cards don’t just make themselves! *wink* Today’s card features the Golden Greenery stamps and dies, as well as several of the new patterned paper packs that just launched in the Stampin’ Up! Holiday Mini catalog.

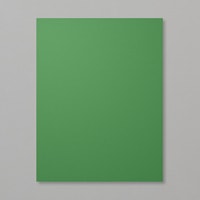
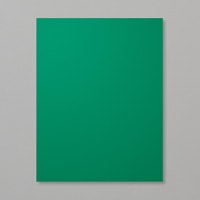
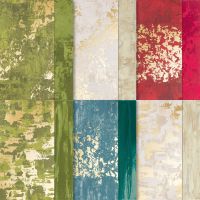
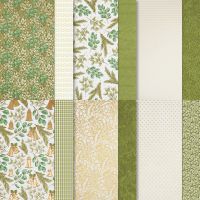
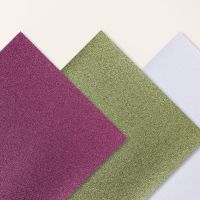
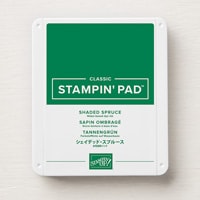
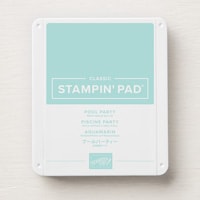
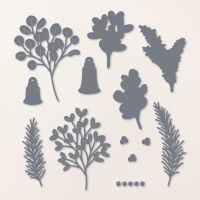
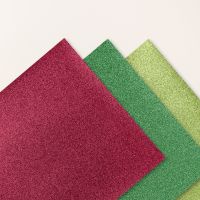
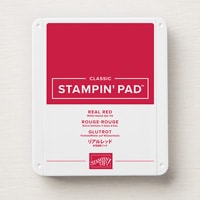
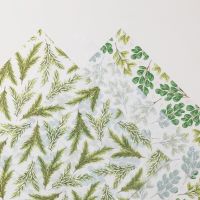
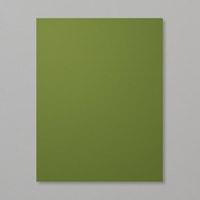
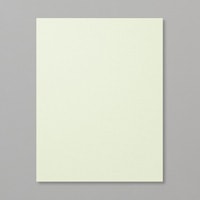
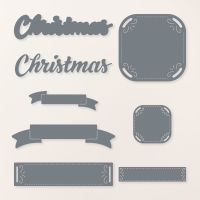
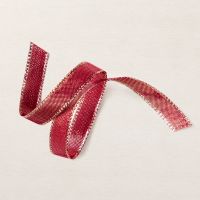
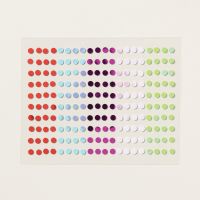
So let’s get a closer look at today’s card. We get started with a base of Mossy Meadow cardstock. Our focal panel base consists of two coordinating gold foil patterns — the foiled greenery patterned paper from the Season of Green & Gold paper pack and the Old Olive pattern from the Season of Elegance paper pack. I love how the gold foiling in each sheet plays off each other so well to give a cohesive sheen to the background. To create the layers of greenery, I began by stamping two different greenery patterns from the Golden Greenery stamp set onto Soft Sea Foam cardstock. These greenery bunches come together in two steps, and I used a combination of Shaded Spruce and Pool Party to create the stems of leaves. Each one is then diecut with the coordinating Golden Greenery dies. I also cut coordinating stems of the same varieties from shimmer papers using the detailed dies in the set. I chose a mixture of greens to cut the evergreen fronds. All of the stems are then layered up with dimensionals to give a variety of height to the bunch. The sentiment is broken into two parts for a little added drama. The Merry panel is diecut from white using the Peaceful Season dies and Merry is then stamped in Real Red in the center. A twist of Cherry Cobbler & Gold metallic ribbon is adhered behind the panel. Christmas is diecut from Real Red glimmer paper using the Peaceful Season die and then placed to overlap the sentiment panel and greenery. A few red iridescent discs add a pop of sparkle across the card front.

The style of this card would be what my grandmother would have referred to as “plop decorating.” You literally just plop things where they look good. And this card certainly made me smile as I plopped greenery and thought of her!

I hope you’ll pop in tomorrow as we take a little sleigh ride.

Products used in today’s card:
Mossy Meadow, Soft Sea Foam, Garden Green, Shaded Spruce, Basic White cardstock
Season of Elegance, Season of Green & Gold, Basic White shimmer, Festive shimmer DSP
Golden Greenery stamps & dies
Greetings of the Season stamps
Peaceful Season dies
Cherry Cobbler & Gold metallic ribbon
Iridescent discs
Dimensionals
Adhesives
Product List
Coming Soon · Holiday Mini Catalog

Christmas in the Air

I don’t know about you, but I’ve had a ball digging into my box of Stampin’ Up! Holiday Mini catalog preorder goodies and sharing sneak peeks with you. One of the many perks of being a demonstrator is having the opportunity to order new items early, and I love being able to share my excitement about new products with you.

Today, we’re getting a look at a new embossing folder called Painted Trees, which is part of the larger suite that we worked with yesterday. This embossing folder is on the larger side, which is perfect for anyone who prefers making larger-sized cards. For today’s card, I kept things really simple. Let’s take a look.

We get started with a card base of Basic White cardstock. While cut to a standard size, I did orient the score line at the top of the portrait orientation. The base of our front panel is a sheet of the new Take a Bow designer paper. For our focal panel, we start with a quarter panel of Pool Party cardstock, which is cut down so that a narrow border of our base shows on all sides. I then machine embossed this panel using the Painted Trees embossing folder. I oriented the tallest tree so that it would be in the center of my panel, which gives just partial images of the smaller trees on either side. Using my sponge daubers, I went over the embossed portions with Mossy Meadow and Old Olive inks to bring out the details of each tree. I then sponged around the trees with Pool Party ink to give more depth and variation to the sky in the background. I used my water painter to flick diluted white craft ink on the panel to give the look of fluffy falling snow. Our sentiment panel is diecut from Garden Green cardstock using the Peaceful Season dies and then the sentiment from Peaceful Season is heat embossed in white. The word Christmas is diecut from white glimmer paper using the Peaceful Season die. I thread the silver & white sheer ribbon through the ends of the sentiment panel and tied a bow on one end to affix it to the card front. A few adhesive snowflakes finish things off.

I just love this embossing folder and can think of so many other sets that could be paired with it to create some really beautiful scenes. But this design is super simple and easy to replicate and is definitely going into my rotation of Christmas cards this year!

Next week, we’re going to look at our designer papers a little differently. I hope you’ll tag along as we turn patterns that may seem seasonal into designs for all occasions.

Products used in today’s card:
Basic White, Pool Party, Garden Green cardstock
White glimmer, Take a Bow (coming soon!) DSP
Peaceful Season stamps & dies (coming soon!)
Painted Trees embossing folder (coming soon!)
White embossing powder
Silver & white sheer ribbon
White snowflakes
Dimensionals
Adhesives
Holidays · Winter

Decorate With Happiness

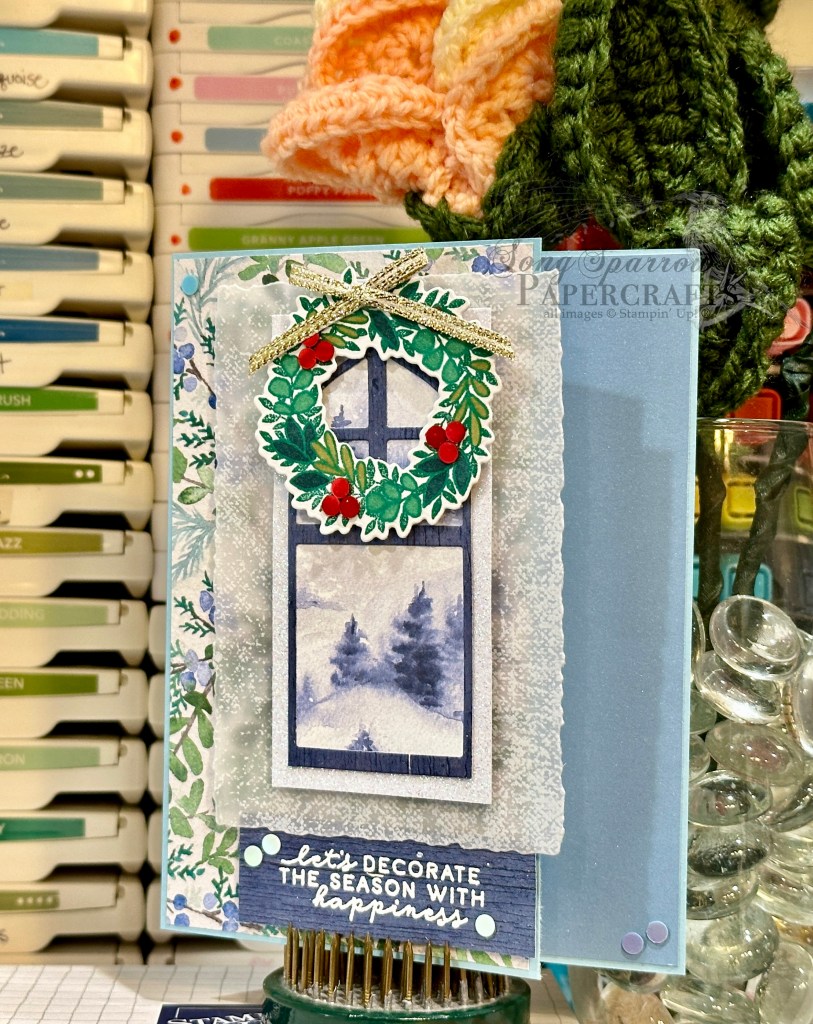
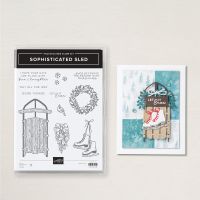
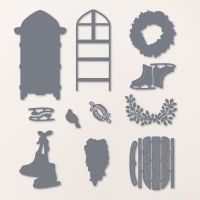
We’re wrapping up our week of winter-themed designs today with a simple fun fold card. This peek-through design uses the Stampin’ Up! Online Exclusive bundle called Sophisticated Sled paired with the Winter Meadow patterned paper. I have to give credit to Create With Christy for the idea to transform the sled into a window pane. Absolutely brilliant! So let’s dive in and take a closer look at today’s card.

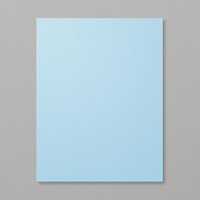
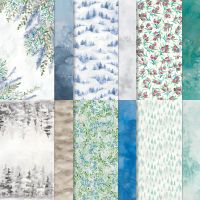
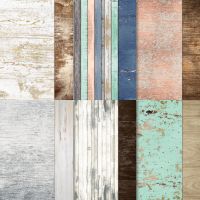
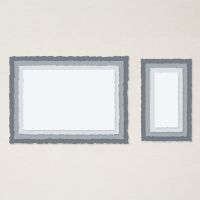
We get started with a base of Balmy Blue cardstock. This is a standard sized card base. To create our peek-through panel, we cut a one-inch section from the card front to allow our inside message panel to “peek through” to the card front. A sheet of berry and greenery patterned paper serves as our base panel on the card front, while a strip of Boho Blue luster paper peeks through from the inside panel. Our focal panel sits on a base of snowy vellum from the Graceful Greenery vellum pack that has been diecut using the Deckled Rectangles dies. Our window pane is built from three different papers. The molding is a sheet of white glimmer specialty paper. The paning is blue woodgrain paper from the Country Woods paper pack that has been diecut using the sled die in the Sophisticated Sled die set. The bottom rungs have been removed to give it a truer window pane look. The window pane is mounted over a snowy pattern from the Winter Meadow paper pack, which has been cut to size. These three layers are adhered together and then adhered to the vellum panel with dimensionals. Our decorative wreath from Sophisticated Sled is stamped on white cardstock, colored with Stampin’ Blends, and then diecut using the coordinating die. A few red iridescent discs add some sparkle to the berries on our wreath. A ribbon of gold twine adds the finishing touch. The wreath is adhered to the top of our window pane with dimensionals. The sentiment from Sophisticated Sled is heat embossed in white on a piece of blue woodgrain from the Country Woods paper pack. The sentiment is adhered to the card front with dimensionals and our focal panel is then adhered over it using an additional layer of dimensionals. We finish things off with a scattering of iridescent discs across the card front to help draw the eye across the design.

Next week, we’re heading to the garden. I hope you’ll drop in and check it out!

Products used in today’s card:

Product List
Holidays · sketches · Sketchy Fridays · Winter

Sketchy Fridays: Season’s Greetings

Whew, we all made it to Friday. Anyone have exciting weekend plans? I’ll be hosting a virtual Kit Together this evening where I will be assembling the Hello Hollyhocks kit. If you’re free, I would love for you to join me! Simply click this link to register and join in on the fun.

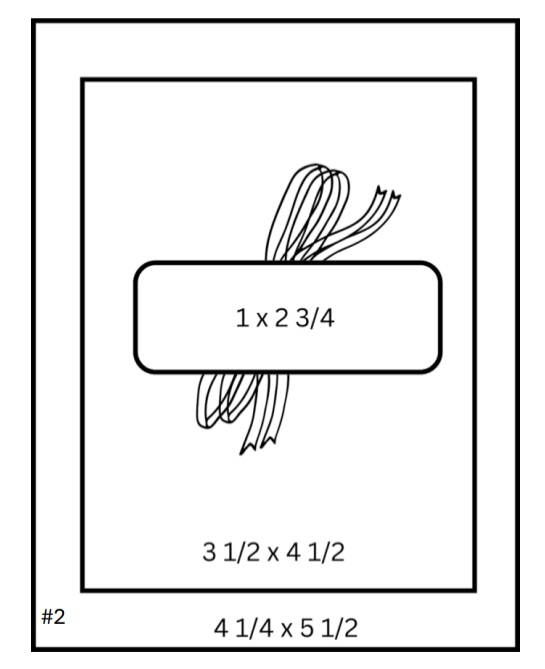
But for now, it’s time for the second installment of Sketchy Fridays, where each week we’ll be using a card sketch to design our featured card. Right now, we’re working through a full series of designs using the card sketches found on page 22 of the current Stampin’ Up! Annual Catalog.

This week, we’re using Sketch #2 and pairing it up with the gorgeous Seasons of Green & Gold patterned paper pack and coordinating Graceful Greenery vellum pack. Let’s see how it all comes together.

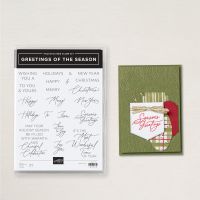
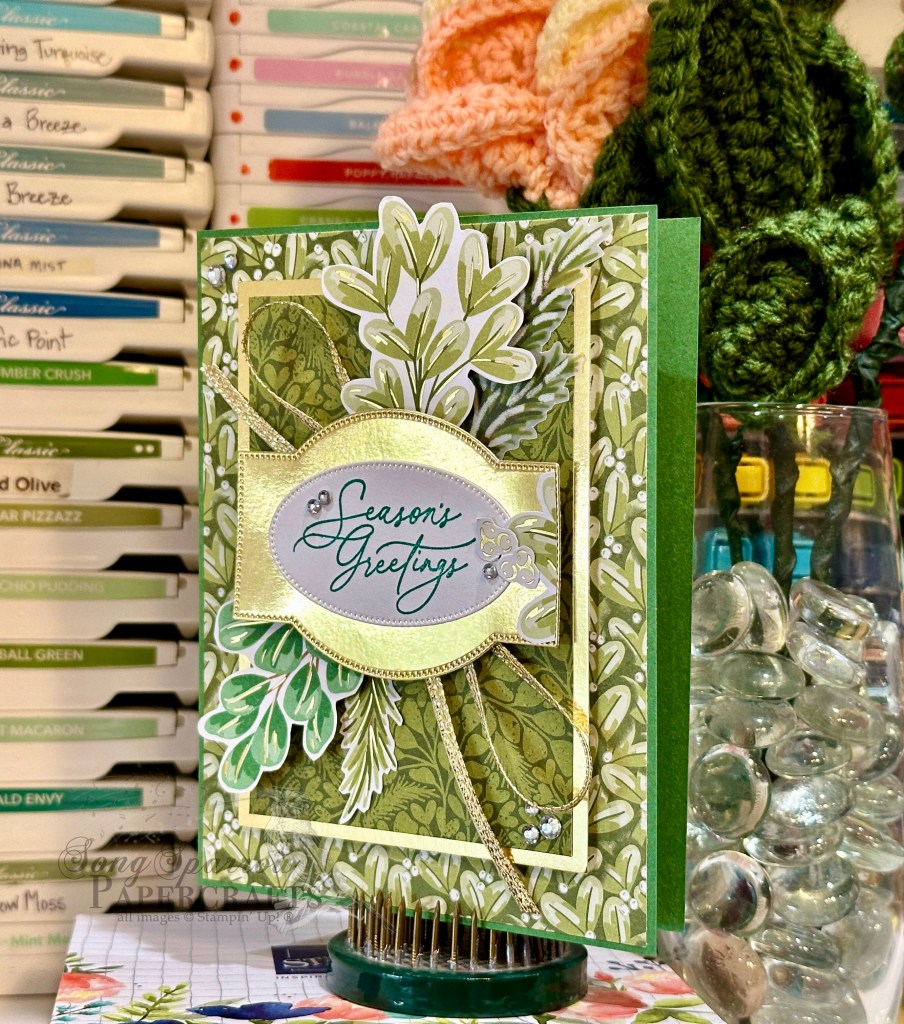
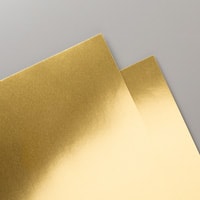
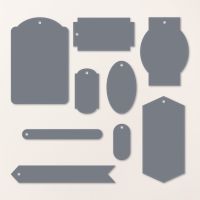
We get started with a base of Garden Green cardstock. Our background panel is a sheet of mistletoe paper from the Seasons of Green & Gold patterned paper pack. The focal panel consists of a mat of gold foil specialty paper and a sheet of greenery patterned paper, which is also from the Seasons of Green & Gold designer series paper pack. Our sentiment panel is matted with a lovely gold banner which is diecut from gold foil using the Greetings of the Season die. The sentiment from the coordinating stamp set is stamped in Shaded Spruce on white cardstock and then diecut with the oval die from Greetings of the Season. The tag holes in each of the sentiment panel pieces are covered with small bunches of mistletoe berries and sprigs of greenery that have been cut with paper snips from a sheet of Seasons of Green & Gold designer paper. Additional sprigs of greenery are cut from the edge of the same sheet of patterned paper, as well as a sheet of vellum from the Graceful Greenery pack. In conjunction with a twist of gold trim, the greenery serves as an eye-catcher for the sentiment panel. A sprinkling of rhinestone jewels across the card front draw the eye across the design.

Tomorrow we’ll be closing out our wintery designs in the snowdrifts. I hope you’ll stop by and check it out.

Products used in today’s card:
Garden Green, Basic White cardstock
Seasons of Green & Gold, Gold foil, Graceful Greenery vellum DSP
Greetings of the Season stamps & dies
Gold trim
Rhinestone basic jewels
Dimensionals
Adhesives
Product List
Holidays · Winter

Loads of Cheer

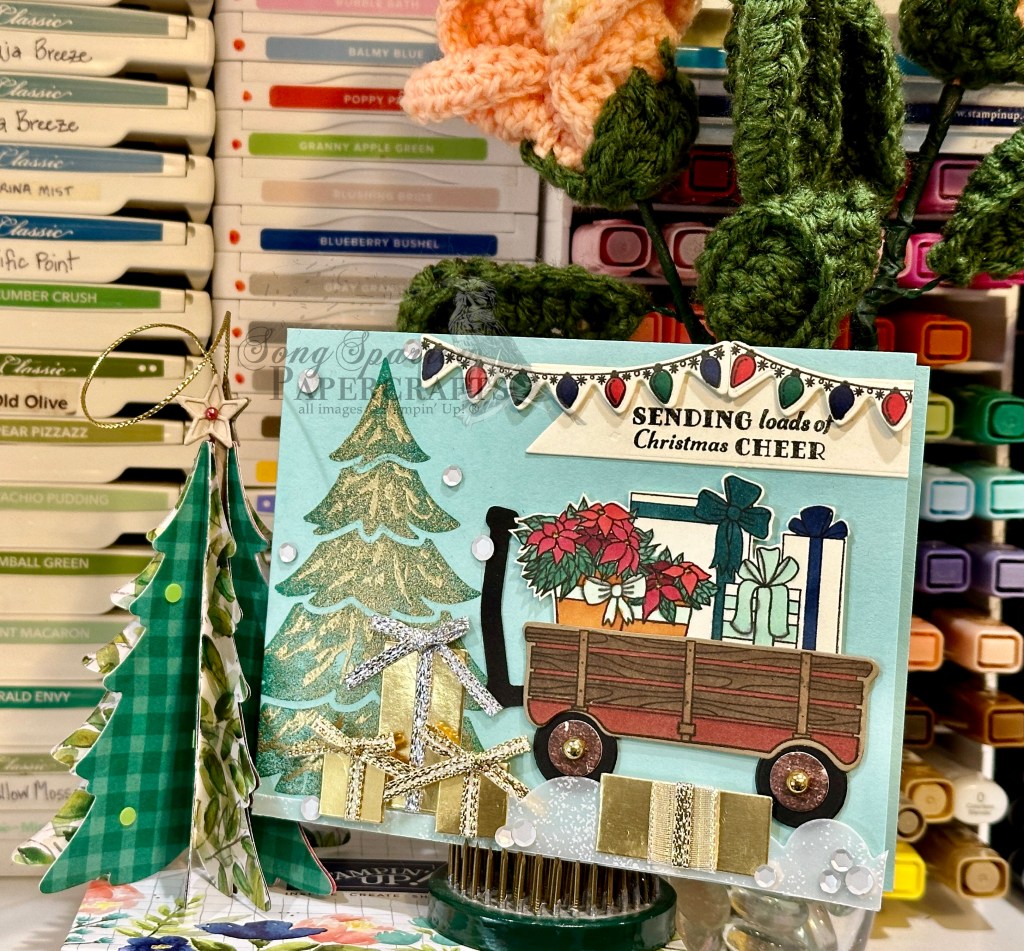
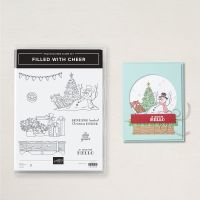
We’re already halfway through this week, everyone. Can you believe it?! This week, we’re taking a look at some recently released Stampin’ Up! products, and a few more seasoned sets, that make us think of much cooler and more festive occasions. And today’s featured product is a new Online Exclusive stamp and die bundle called Filled With Cheer. This set coordinates with an earlier release called Filled With Fun.

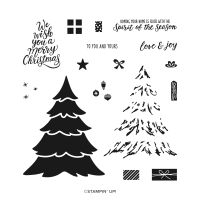
So our card today is combining the festive Filled With Cheer bundle with the Merriest Trees stamp set to create this really fun gift-filled scene. I also used a few leftover pieces from diecutting the base of the sled for yesterday’s card. Did you know that the negative space pieces for the sled base are perfect little squares and rectangles? And that gave me an idea. So let’s get started on our card.

We start with a card base of Pool Party cardstock. On the bottom-left corner, I stamped the largest tree from the Merriest Trees stamp set in Shaded Spruce ink and then stamped the detail stamp on top in Versamark. I applied gold embossing powder and then heat embossed the tree. The ink on the tree was still a little wet, so I had extra powder coverage that I hadn’t necessarily intended but decided to keep because I like how it looks like a flocked tree. Using the leftover pieces from the sled diecut from yesterday’s card, I wrapped ribbon around each and placed a bow on top to make packages. To give the effect of snow on the ground, we use the snowy sheet of vellum from the Graceful Greenery vellum pack and diecut using the cloud die from the Bright Skies die set. When adhering, we add dimensionals on some pieces to add depth to the scene and then nestle the packages amongst the snow drifts across the front.

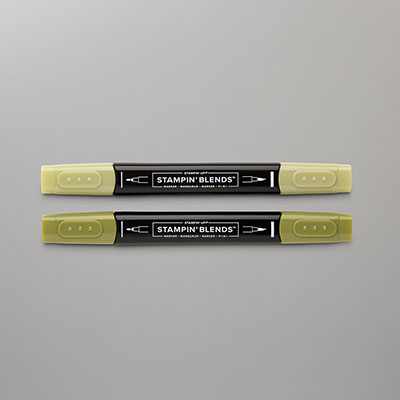
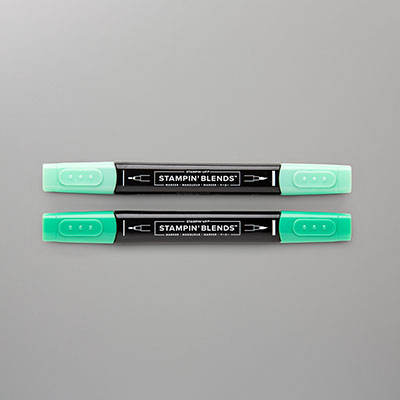
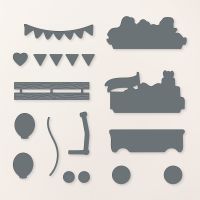
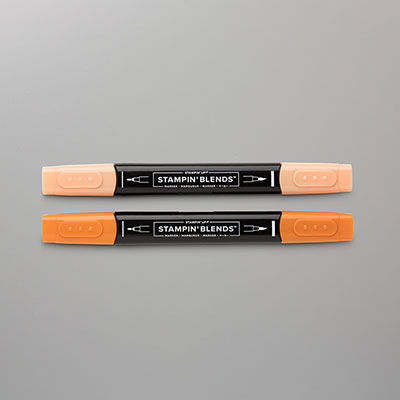
Our wagonload of gifts uses the new Filled With Cheer set. On Crumb Cake cardstock, stamp the wagon from the set and then color using Stampin’ Blends. I chose to use Cherry Cobbler and Crumb Cake. Diecut the wagon using the Filled With Fun dies. On Very Vanilla cardstock, stamp the package and poinsettia image and then color with Stampin’ Blends. For the poinsettias, I used a combination of Cherry Cobbler, Shaded Spruce, and Pumpkin Pie and then for the package ribbons, I used Pretty Peacock and Night of Navy. Using paper snips, we’ll cut closely around the image and then adhere to the wagon so be sure you leave a long tab at the bottom of the image. I diecut the handle and wagon wheels from black cardstock and the hub caps from a scrap of woodgrain from Country Woods. The wagon is adhered with dimensionals with the placement to look like you’ve just wheeled up a wagonload of goodies to the tree. Our sentiment and strings of lights from Filled With Cheer are stamped on Very Vanilla cardstock. The lights are colored with Stampin’ Blends. The sentiment is then diecut using the long banner from the Greetings of the Season die set and the lights using the banner die from Filled With Fun. I finished things off with a scattering of white sequins to look like snow.

Isn’t this such a fun combination? I remember the excitement of our big family Christmas gathering when everyone brought packages inside to place under the tree. While we didn’t use a wagon to haul the gifts, sometimes we should have! *wink* Tomorrow, we’re going to be frolicking with Frosty with a new fun fold. I hope you’ll pop by and join in the fun!

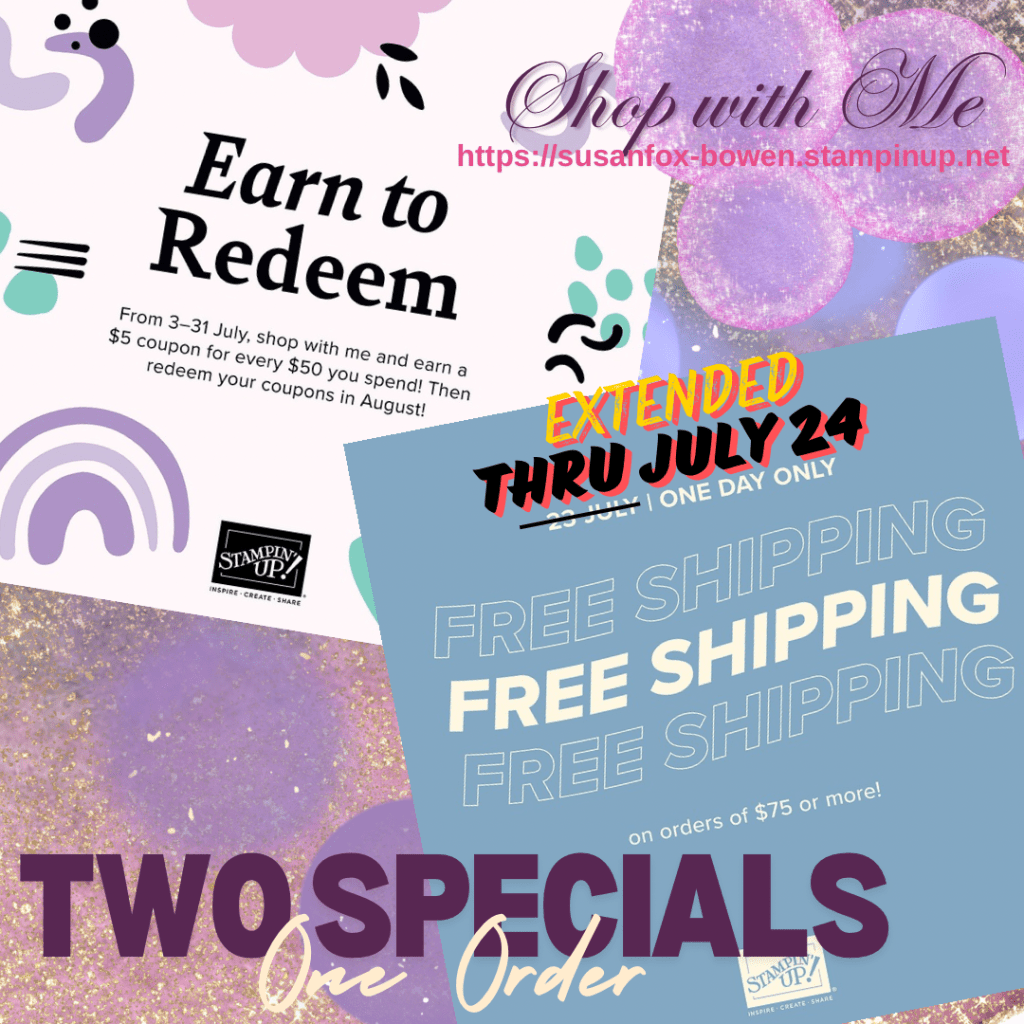
Good news for anyone who didn’t get an order placed yesterday. Stampin’ Up! has extended the free shipping special thru end of day TODAY. So now is the perfect time to stock up on all of the items on your shopping list because a $75 order (and above) qualifies for FREE shipping and for every $50 you spend you earn a bonus coupon to spend in August. But don’t delay — the sale ends today!

Products used in today’s card:
Pool Party, Crumb Cake, Basic Black, Very Vanilla cardstock
Country Woods, Gold Foil, Graceful Greenery vellum DSP
Filled With Cheer, Merriest Trees stamps
Filled With Fun, Sophisticated Sled, Bright Skies, Greetings of the Season dies
Gold embossing powder
Stampin’ Blends
Gold & silver trim
Blooming pearls, neutrals sequins
Dimensionals
Adhesives
Product List