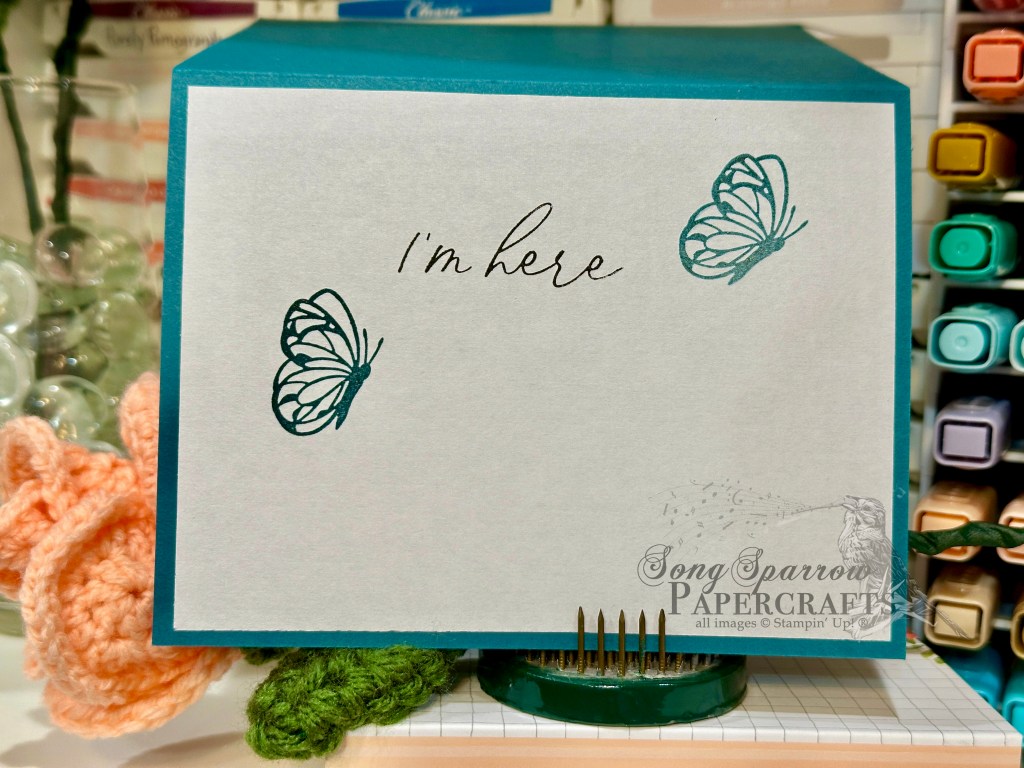
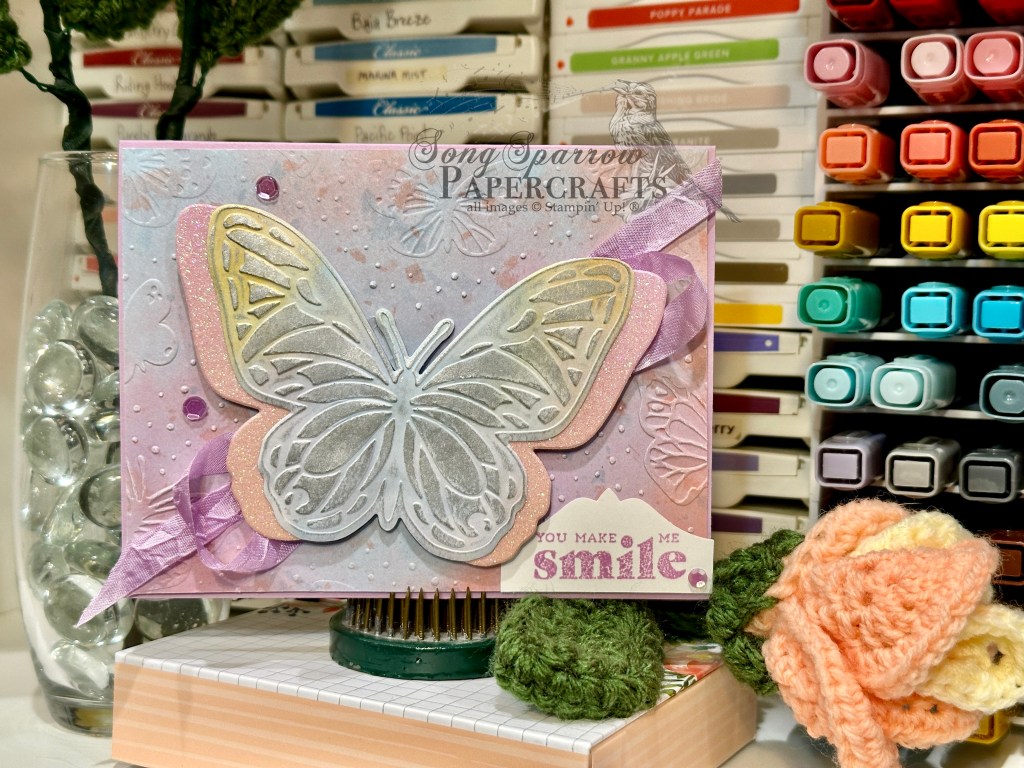
This week, our design theme revolves around love. While love doesn’t really have a season, we do tend to focus on it a little bit more as we get into February each year. My main goal for this week’s design theme is to show you how you can use what’s in your crafting stash to make beautiful cards that really show a recipient how much you care.
Today’s card uses the current SU! Online Exclusive bundle called Otterly Adorable and it’s just as adorable as its name implies! We’re pairing up the adorable paper from the bundle with the Soft Waves embossing folder to create this design. I just love how these product pairing makes you feel like you’re by the river peeking in on these two twitterpated otters.
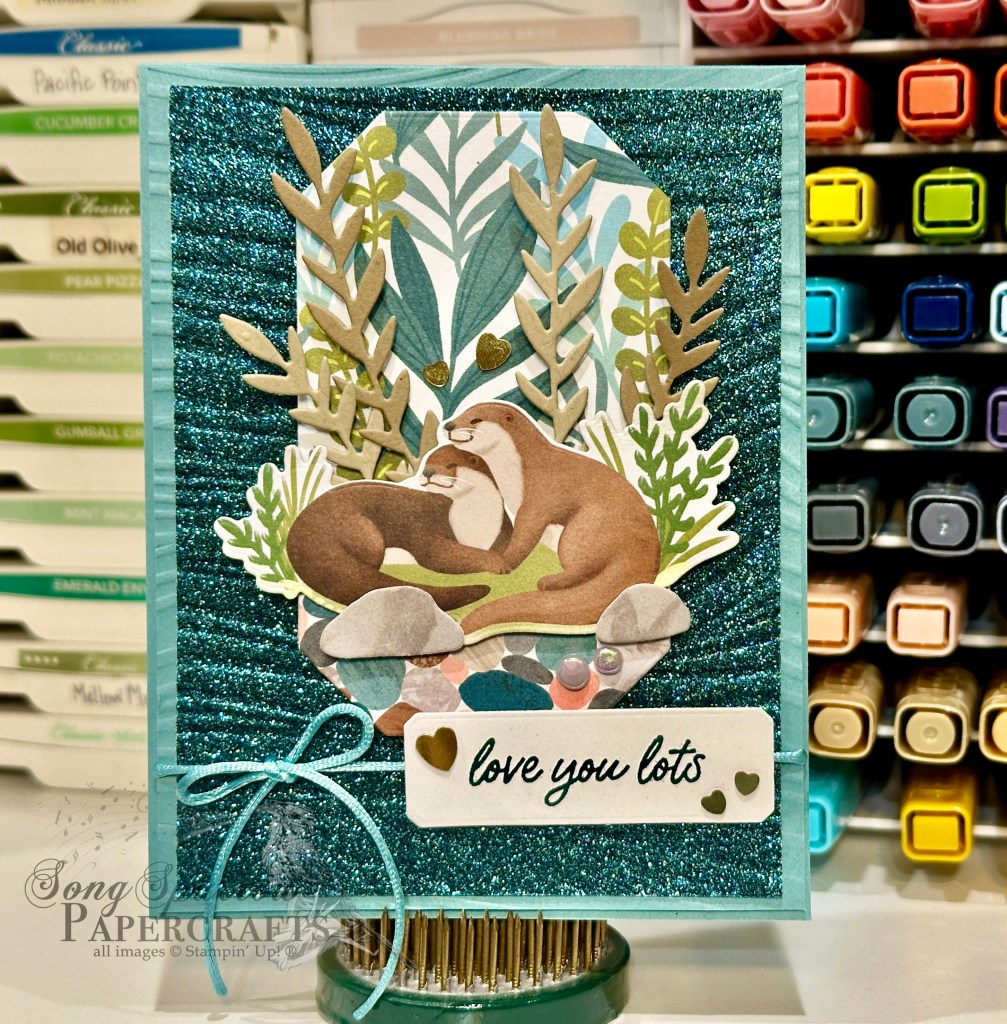
We get started on today’s card with a base of Lost Lagoon cardstock. The background panel consists of the Lost Lagoon base and Pretty Peacock glimmer paper, both of which have been embossed with the Soft Waves embossing folder to give the look of a moving brook. Our focal panel combines two patterns in the Otterly Adorable paper pack – the river rock and water weeds – and sits on a base of white cardstock for stability. This panel has been diecut using the Countryside Corners dies. For our scene, I started by cutting a pair of rocks from the mottled gray paper in the Otterly Adorable paper pack using the coordinating dies. I also cut some older water weeds from Crumb Cake and Pecan Pie, also using the coordinating Otterly Amazing dies. Our pair of otters is cut from the Otterly Adorable paper using the larger scene die from the set. I layered all of these elements on dimensionals to give depth to our focal scene and then mounted the full focal panel on the sparkly background with dimensionals. Some Lost Lagoon soft cording tied around the panel under the focal scene draws the eye in to both the focal scene and sentiment. The sentiment from Otterly Amazing is stamped in Pretty Peacock on white cardstock and then diecut with the smaller Countryside Corners die. A few riverside pearls and heart sequins finish off our scene and the theme of this card design.
Tomorrow we’re going to be headed to the mailbox. I hope you’ll pop in and check it out!
Products used in today’s card:
Lost Lagoon, Crumb Cake, Pecan Pie, Basic White cardstock
Three Color Glimmer, Otterly Adorable DSP
Otterly Amazing, Countryside Corners dies
Soft Waves embossing folder
Lost Lagoon soft cording
Heart sequins, riverside irregular pearls
Dimensionals
Adhesives


 Specialty Paper")
 Designer Series Paper")
")


")


")


 Designer Series Paper")
 Specialty Designer Series Paper")
 Glimmer Specialty Paper")
")


")

")


")


 Glimmer Paper")
 Designer Series Paper")


")
")


 Trim Combo Pack")


 Designer Series Paper")
 Specialty Designer Series Paper")

")


