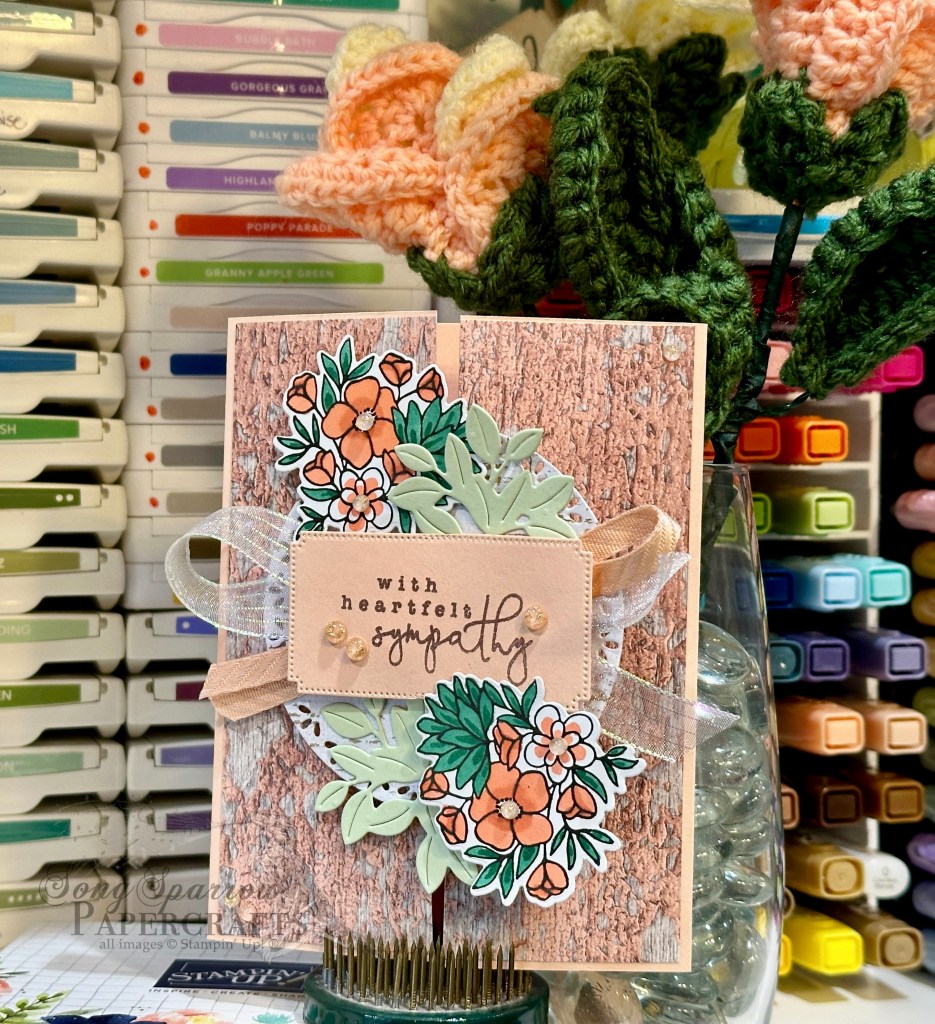
We’ve enjoyed a few days of cooler weather here in North Texas. I suppose we can thank Hurricane Beryl for this cooler weather pattern and definitely for the higher humidity. So while we may not be melting into puddles from the heat, you certainly come back inside drenched from the humidity. But it’s allowed for some outdoor cleaning projects that we would ordinarily save for the fall. My mom and I tackled cleaning the exterior of her windows a few days ago.
Today, I’m enjoying some more time in the craft room bringing you another fun card using the Stampin’ Up! Saying Hey photopolymer stamp set. We’re pairing it with a fun patterned paper and the Happy Little Things stamp set. Let’s take a closer look at how this card comes together.
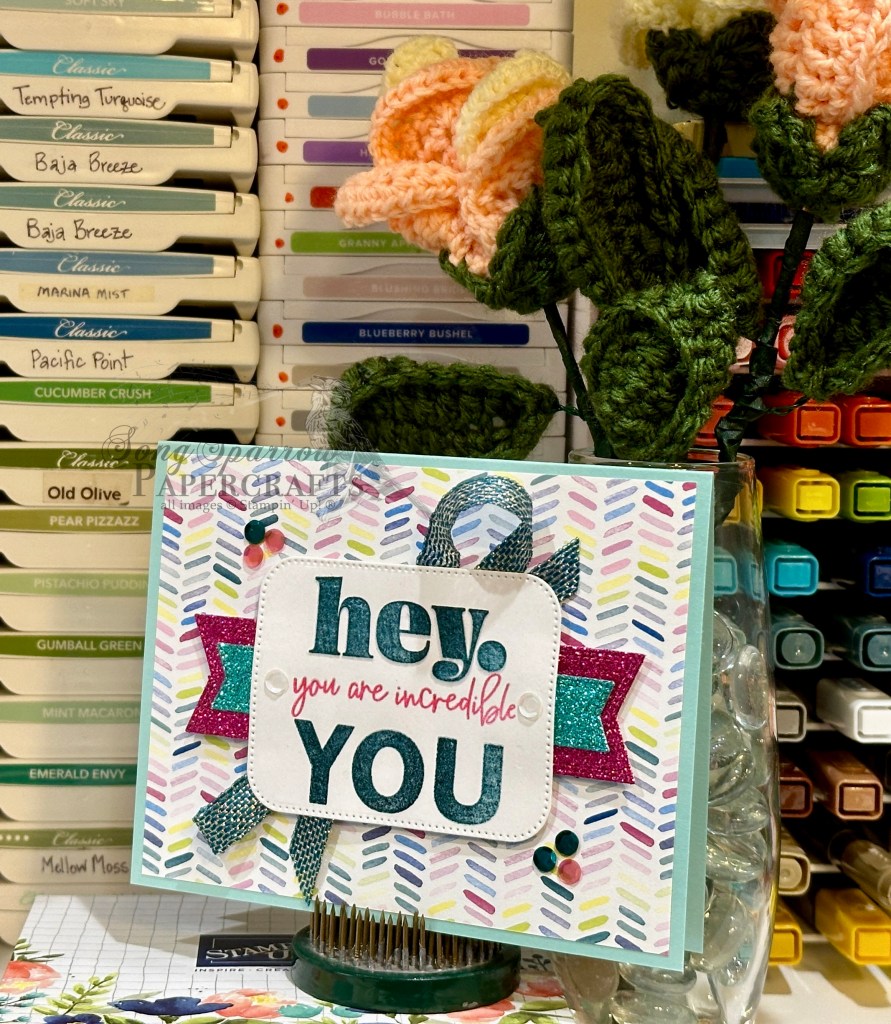
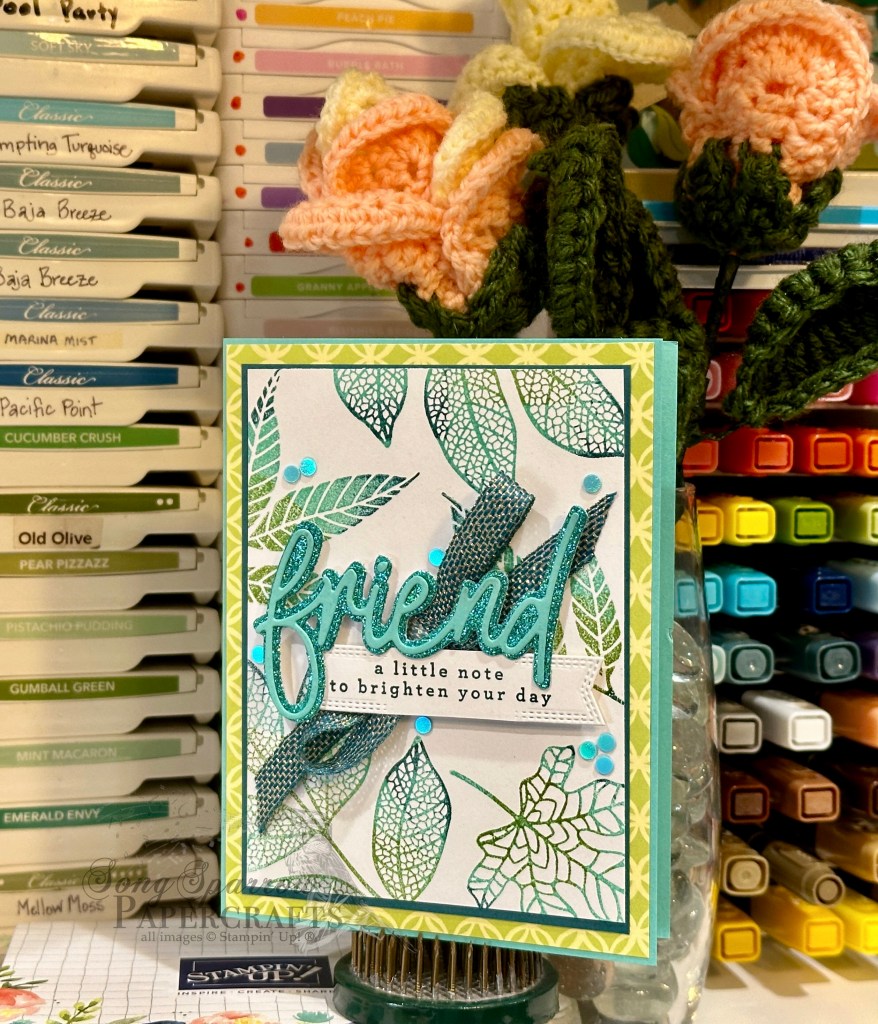
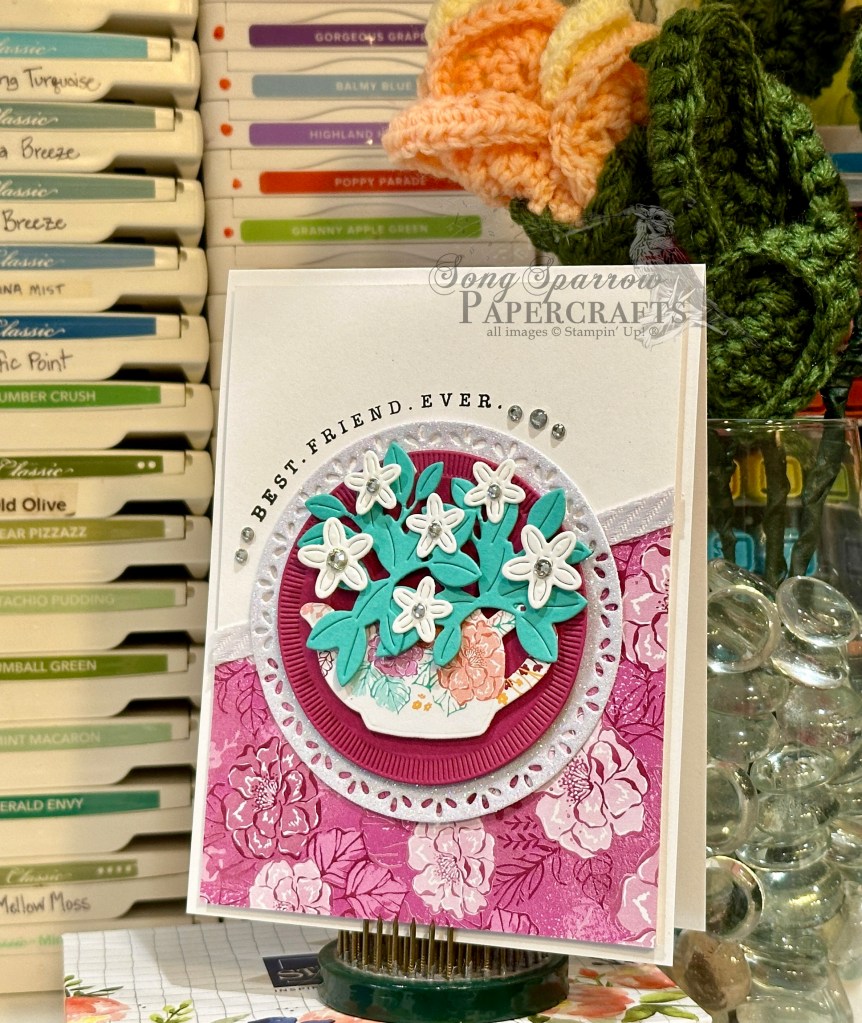
We get started with a card base of Pool Party cardstock. I love how this plays on the colorful patterned paper sheet from the Bright & Beautiful paper pack. Our focal panel is our sentiment panel, which has been diecut from white cardstock using the Nested Essentials dies. The sentiment combines the Saying Hey and Happy Little Things stamps and is stamped in a combination of Pretty Peacock and Melon Mambo and then heat embossed with clear embossing powder to create our custom embossed colors. To draw the eye and really make the sentiment panel pop, we add banners diecut from Berry Burst and In Color glimmer papers using nesting banners from the Nested Essentials die set, as well as a twist of Pretty Peacock & Gold metallic ribbon. A few sequins from the Sequins Trio set pull our color palette together and add some additional eye-catching sparkle.
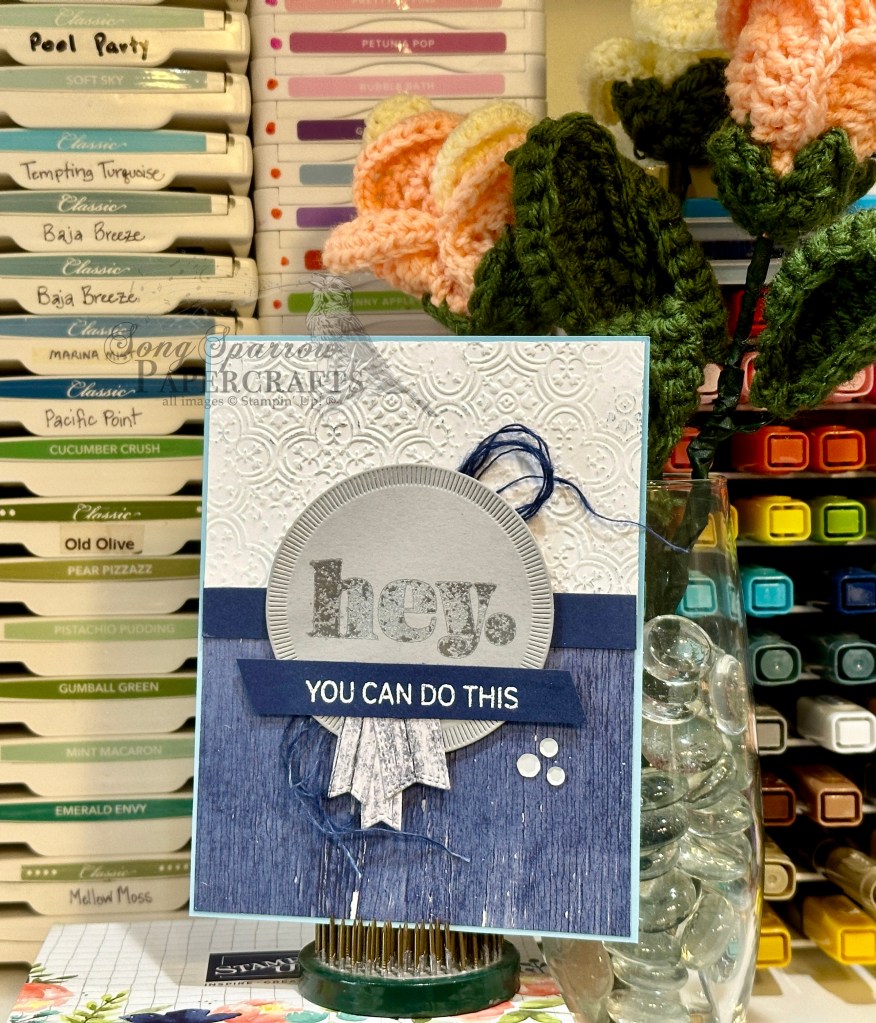
Tomorrow we’re closing out our series using the Saying Hey stamp set with a little crochet fun. I hope you’ll stop by and check it out!
Products used in today’s card:
Pool Party, Basic White cardstock
Bright & Beautiful, In Color glimmer, Berry Burst glimmer DSP
Saying Hey, Happy Little Things stamps
Nested Essentials dies
WOW embossing powder
Pretty Peacock & Gold metallic ribbon
Sequins trio
Dimensionals
Adhesives


 Specialty Paper")
 Glimmer Specialty Paper")
 Designer Series Paper")
")
")


 Metallic Ribbon")


 Designer Series Paper")


 Striped Trim")


 Designer Series Paper")
 Specialty Designer Series Paper")
 Specialty Designer Series Paper")


 Designer Series Paper")


 Specialty Designer Series Paper")
")


 Specialty Paper")
 Designer Series Paper")


")

 Metallic Ribbon")

 Designer Series Paper")
 Specialty Designer Series Paper")


 Designer Series Paper")
 Glimmer Specialty Paper")
")


 Diagonal Trim Combo Pack")