Christmas · Gifting

Making Lists

Welcome to a bright and shiny new week, crafty friends! We’re in full-on Christmas mode over here as we make our lists and check them twice. I pulled out all of the gifts we’ve purchased so far and started wrapping last night.

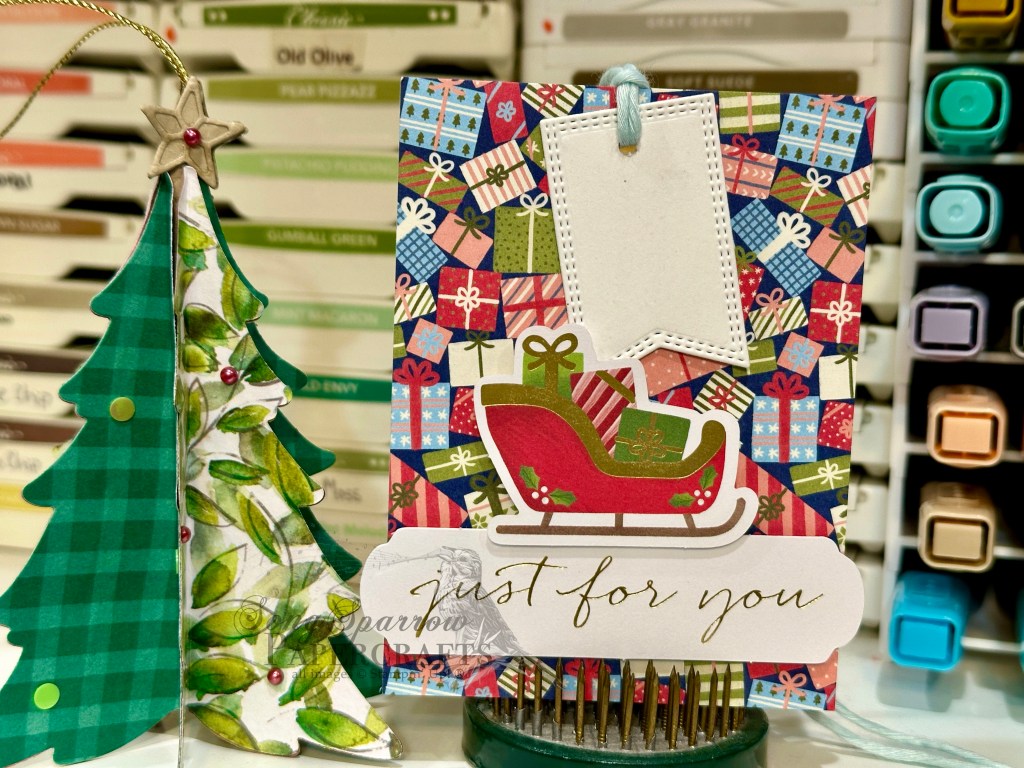
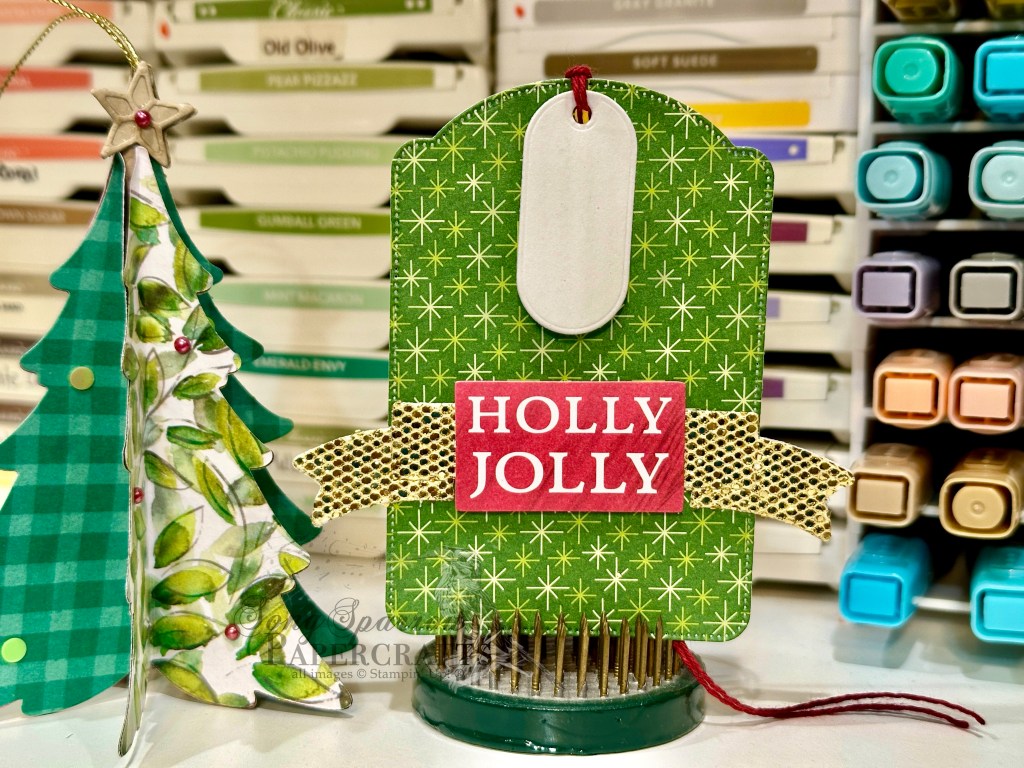
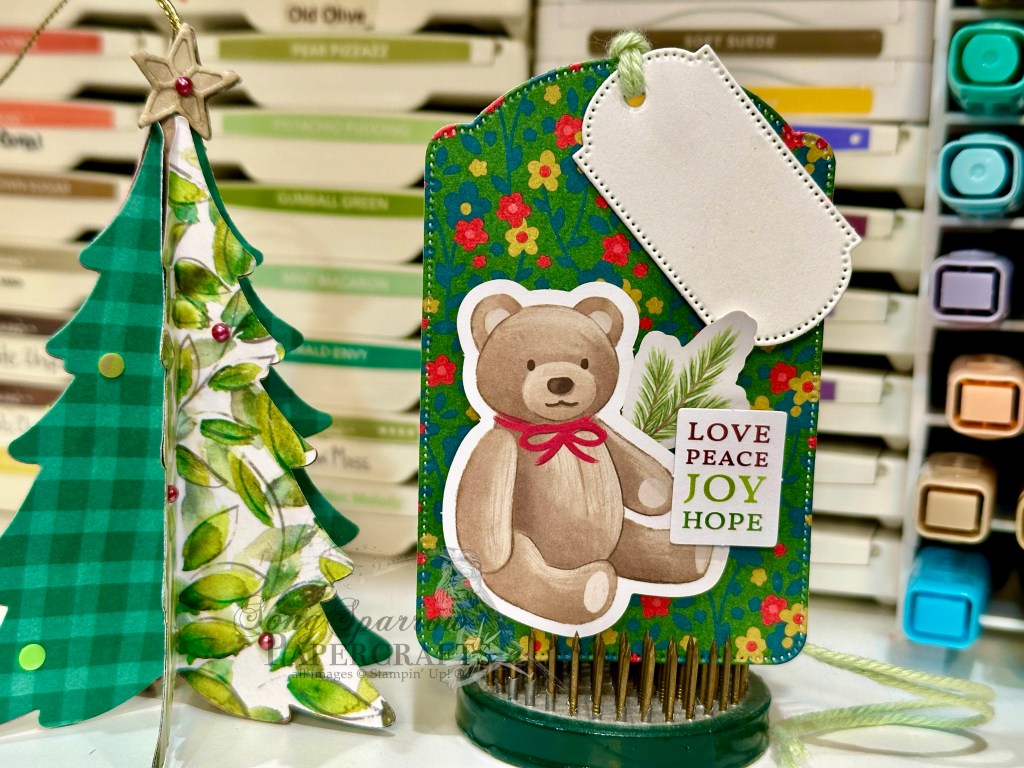
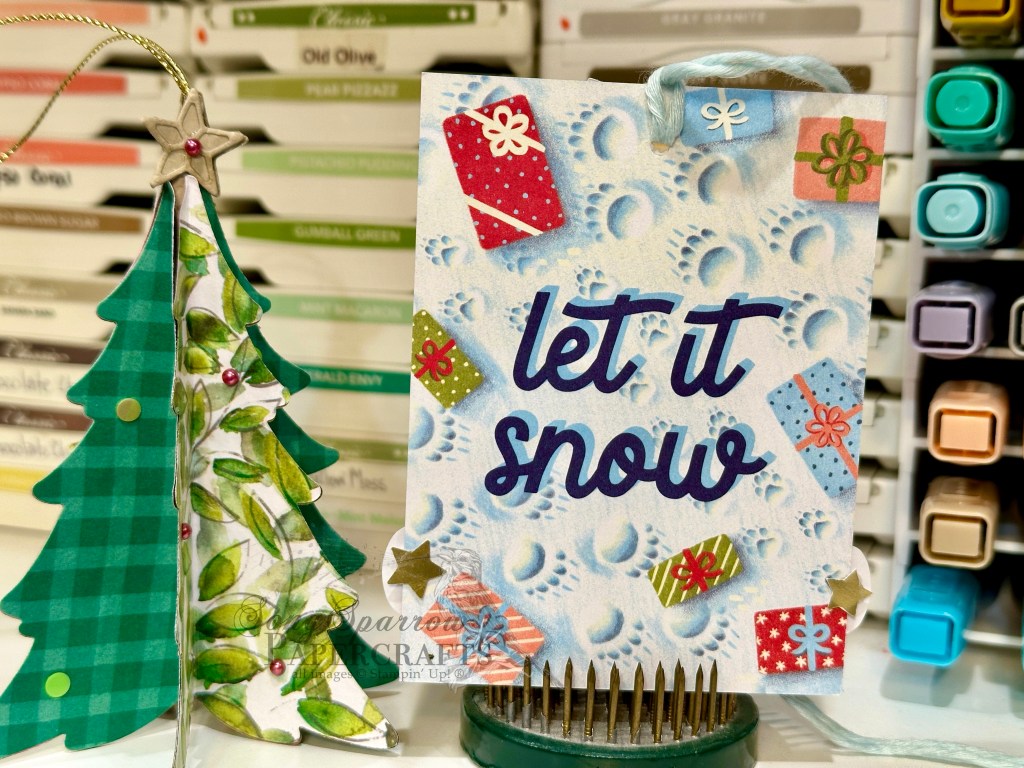
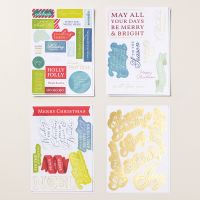
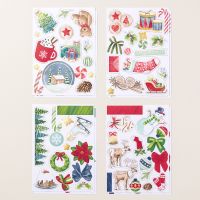
And that meant that I was also busy in the craft room making the gift tags. Did you know it’s super easy to make gift tags? Even with the smallest crafty stash, I have no doubt that you have the perfect combination of things to make cute gift tags. Today, I’m showing you a small sampling of what I whipped together last night using some patterned paper, several die sets, and the Joyful ephemera.

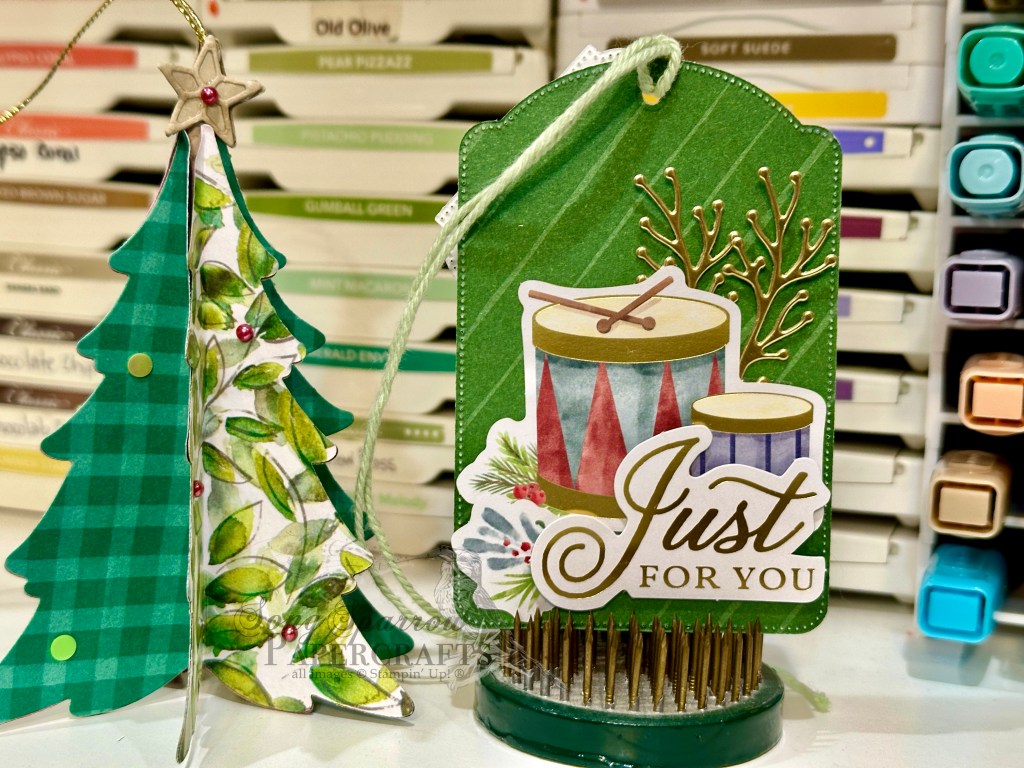
Are these not the cutest? And they are SO easy to put together. Let’s take a closer look at each one.

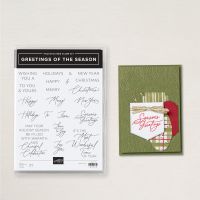
I got started on the first tag by diecutting the base from a sheet of Take a Bow paper using the largest Greetings of the Season die. I kept things simple with just a few elements from the Joyful ephemera packs — just a wreath and a sentiment. To help the wreath stand out against the polka dot background, I cut a sheet of red polka dot from the Take a Bow paper pack. I put this panel over a gold banner, which draws the eye nicely to the wreath panel. I mirrored on the reverse side with just the gold banner and then the Holly Jolly sentiment. For the to/from tag, I cut a smaller tag from white cardstock using the Greetings of the Season die and then finished off with some (retired) Cherry Cobbler twine to attach the tag to my package.

For this tag, I also used the largest Greetings of the Season die and cut a piece of the (now retired) Garden Walk patterned paper. I chose two larger images, some greenery, and two sentiments from the Joyful ephemera packs to decorate each side of the tag. I also cut some gold twigs using the Changing Leaves die sets. The bear, evergreen branch, and small sentiment are adhered on varying layers of dimensionals for a little depth. On the reverse side, I layered the drums, evergreen, gold sprigs, and sentiment. I also used varying layers of dimensionals on this side, as well. The small to/from tag is from Greetings of the Season and secured with some retired twine.

Our last tag uses a retired Memories & More set called Beary Christmas. I pulled the sleigh and sentiment from the Joyful ephemera packs and adhered on the package side of the Beary Christmas tag. I cut the to/from tag from white cardstock using the smallest banner from the Nested Essentials die set and secured with some retired twine. To cover the overhanging sentiment on the opposite side of the tag, I adhered two small stars from the ephemera packs to either side.

No matter the size of your crafting stash, you can dress up your packages with cute handmade gift tags! Tune in the rest of the week as we take a look at how we can quickly dress up our holiday gift-giving.

Products used in today’s featured designs:
White cardstock
Take a Bow, More Dazzle (retired), gold foil DSP
Joyful ephemera
Greetings of the Season, Nested Essentials, Changing Leaves dies
Beary Christmas Memories & More (retired)
Assorted twine (retired)
Dimensionals
Adhesives
Christmas

Through the Branches

I have sent handmade Christmas cards for many, many years — even before I became a Stampin’ Up! demonstrator. In recent years, I’ve moved away from creating one single card design because I found myself agonizing over which of my favorites would be the star of the holiday card show each year. I love being able to create a variety of designs using both current and retired products in my stash and then choosing a design that really fits a recipient. What about you? Do you send a single card design? Or do you mix it up?

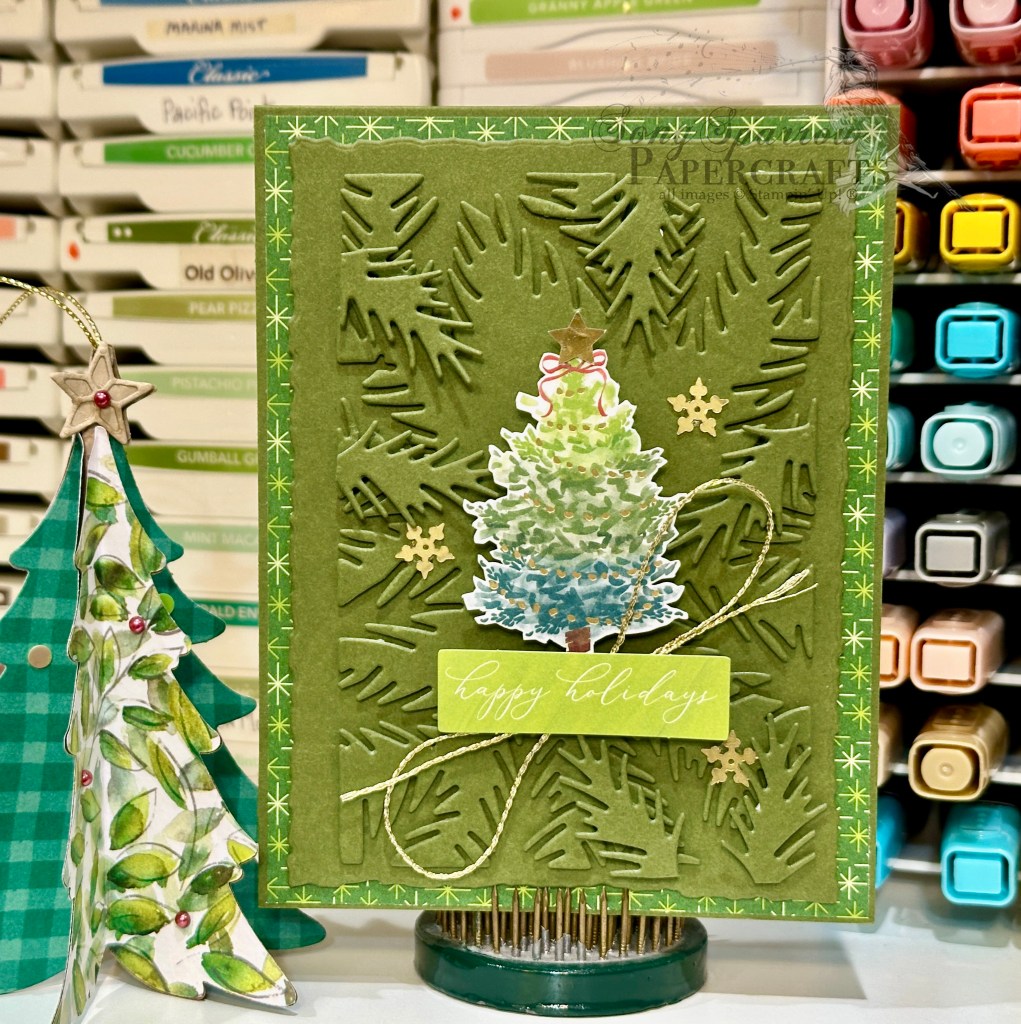
I love creating designs that seem to be peering through the trees. I’ve made several cards over the last couple of months that use this design concept. Today, we’re peering through the evergreens to this lovely Christmas tree in the center.

We get started with a base of Mossy Meadow cardstock. Our background panel is a sheet of the Take a Bow designer paper. I loved the variety of greens and the contrast that this patterned sheet provided to the design. Our focal panel has many layers and begins with a background panel of Mossy Meadow that is diecut using the largest Deckled Rectangle die. The evergreen branches are cut from Mossy Meadow using the Winterly Treetops dies from the Nests of Winter suite. Layers of dimensionals give the illusion of us looking through layers and layers of branches. Our focal tree is from the Joyful Images ephemera pack, and I cut around the image to remove as much white space as possible. I added a star, also from the ephemera pack, to the top of the tree. The sentiment is from the Joyful Sayings ephemera pack, and I love how the lighter green really pops against our mossy background panel. We finish things off with gold thread and snowflakes for a little touch of sparkle to bring out the small gold foiling elements on our tree.

Next week, we’ll be looking at all the ways we can use our crafty goodies to create special holiday gifts. I hope you’ll tag along.

Products used in today’s design:
Mossy Meadow cardstock
Take a Bow DSP
Joyful ephemera
Deckled Rectangles, Winterly Treetops dies
Gold thread
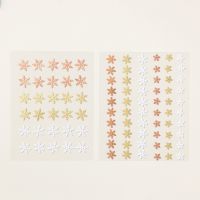
Snowflakes assortment
Dimensionals
Adhesives

Christmas

Advent Prayer

We’re already halfway through the first week of December. I’m still working through Christmas lists and holiday to-dos. What about you?

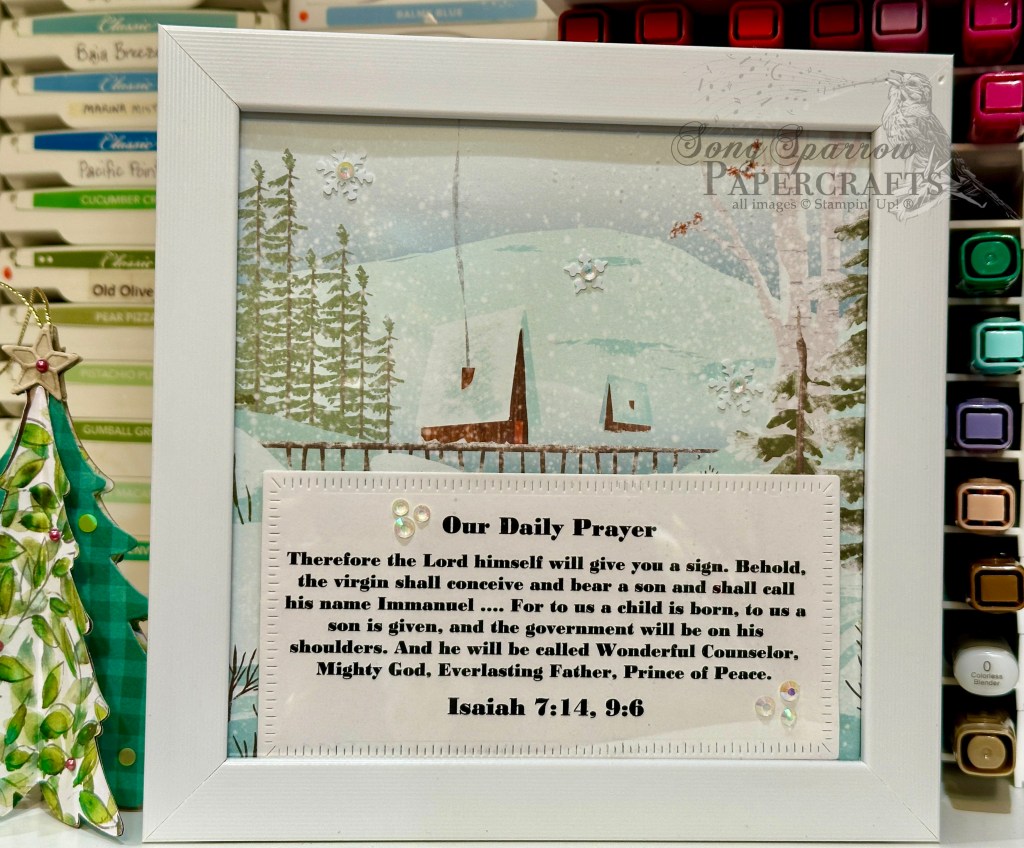
Today, I’m sharing an update to our family dinner prayer. A month or so ago I shared the story of how this got started for our family. This is such a terrific practice, not only to hide the Word in our hearts, but to give us new and fresh ways to reframe each day — no matter how well or how poorly the day has gone. I challenge you to adopt something similar for your family and see how it begins to change things for you.

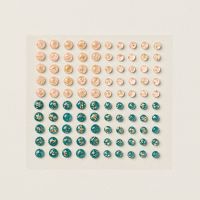
We get started with the same 6×6 frame from Amazon. Our backdrop for our scripture this month is a sheet of the (very sadly now-retired) One Horse Open Sleigh designer series paper. I printed the scripture on a quarter panel of white cardstock and then diecut using the Radiating Stitches dies and mounted on the background panel with dimensionals. I added a few snowflakes and rhinestones basic jewels for a little sparkle. I’m storing all of the prayers we aren’t using in a 6×6 paper pocket envelope (also an Amazon find) so they’ll be ready to use again.

Products used in today’s featured design:
6×6 frame (Amazon)
One Horse Open Sleigh DSP (retired)
Basic White cardstock
Snowflake assortment
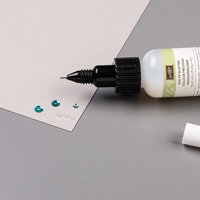
Rhinestone basics jewels
Dimensionals

Christmas · Holidays

Christmas Greenery

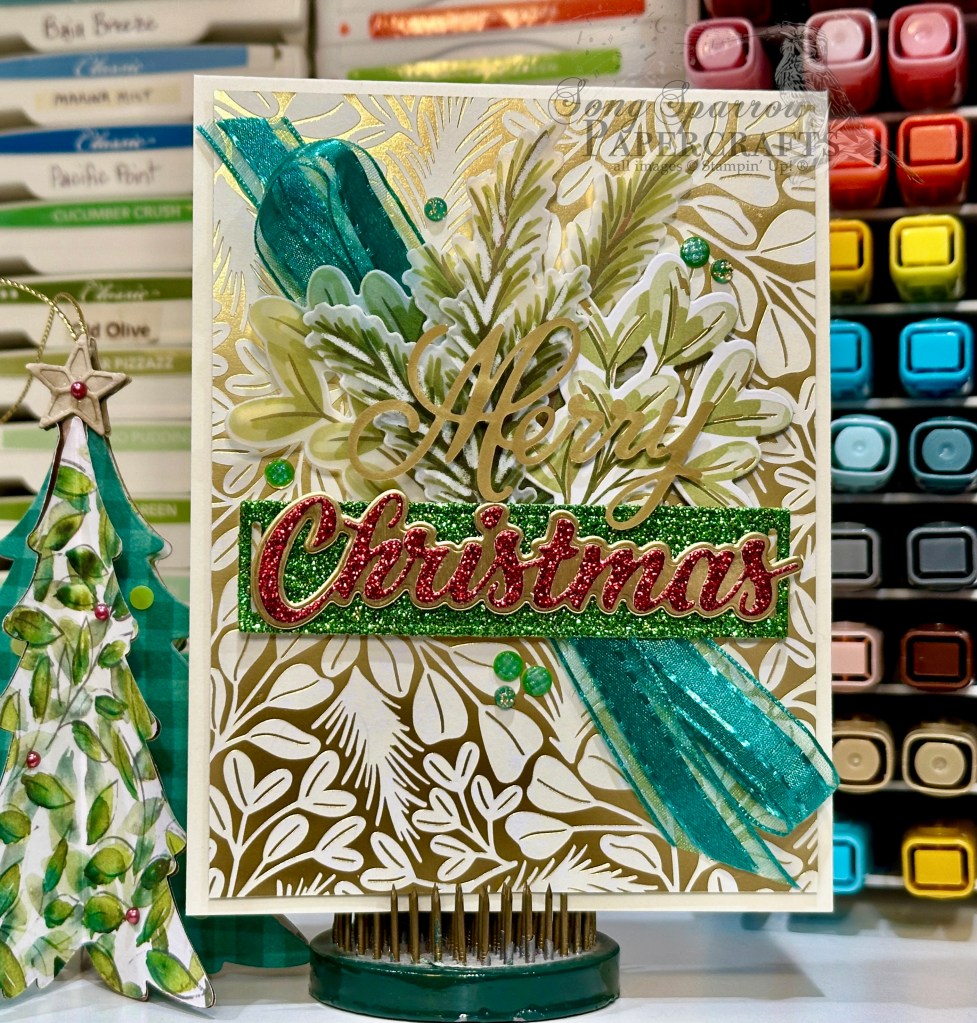
As soon as I saw the Seasons of Green & Gold suite of products by Stampin’ Up!, I immediately put it in my cart. Aside from the fact that one of my favorite things about the holidays is all of the evergreens, this suite had all of the festive sparkle that could be used beyond holiday card designs.

Today, I’m using a combination of evergreen colors with the glittering gold elements of the suite to create this elegant holiday design.

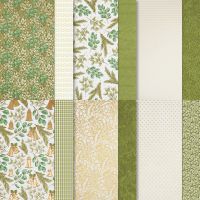
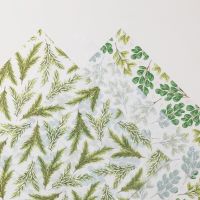
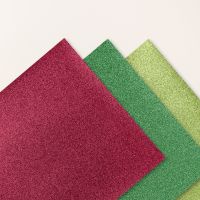
We get started with a base of Very Vanilla cardstock. Our background panel is a sheet of the golden greenery from the Seasons of Green & Gold paper pack. I used some of the leftover diecut greenery from last week’s home decor project to create an evergreen spray for the center focal point of this design. The greenery is diecut from the Graceful Greenery vellum and Seasons of Green & Gold patterned paper using the coordinating Golden Greenery dies. The sentiment combines the word Merry from the Joyful Sayings ephemera pack and elements diecut using the Peaceful Season dies and a combination of gold foil and festive glimmer papers. A faux bow of Shaded Spruce sheer ribbon adds a layer of green while dressing up the design. Dimensionals give us lots of layers between the card elements. We finish things off with a combination of earth tones shimmer gems and regal foiled dots.

Tomorrow, I’m going to share our newest dinner prayer with you — just in time for Advent.

Product List
Christmas · Holidays

Merry Stockings

Happy December, everyone. I don’t know about you, but I’m over here wondering how I ended up in a time warp! Every year, I feel like the fall months just whiz by and we end up at Christmas in the blink of an eye!

The last quarter of my year has definitely felt like it’s on fast forward after returning to work. I just can’t seem to find a good rhythm to keep all of the balls in the air. Each week, something has to give, it seems. So for those who have been following along for a while and for those who are new here, I’m still working on finding a good balance in order to find time in the craft room.

I was fortunate to have a few days at home over the Thanksgiving holiday and could carve out a little crafty time. I’m still working on Christmas cards and it’s going to be a race to the finish to get enough made to get them all out before Christmas! Today’s card uses the Joyful Ephemera packs to create a super simple and very festive holiday card.

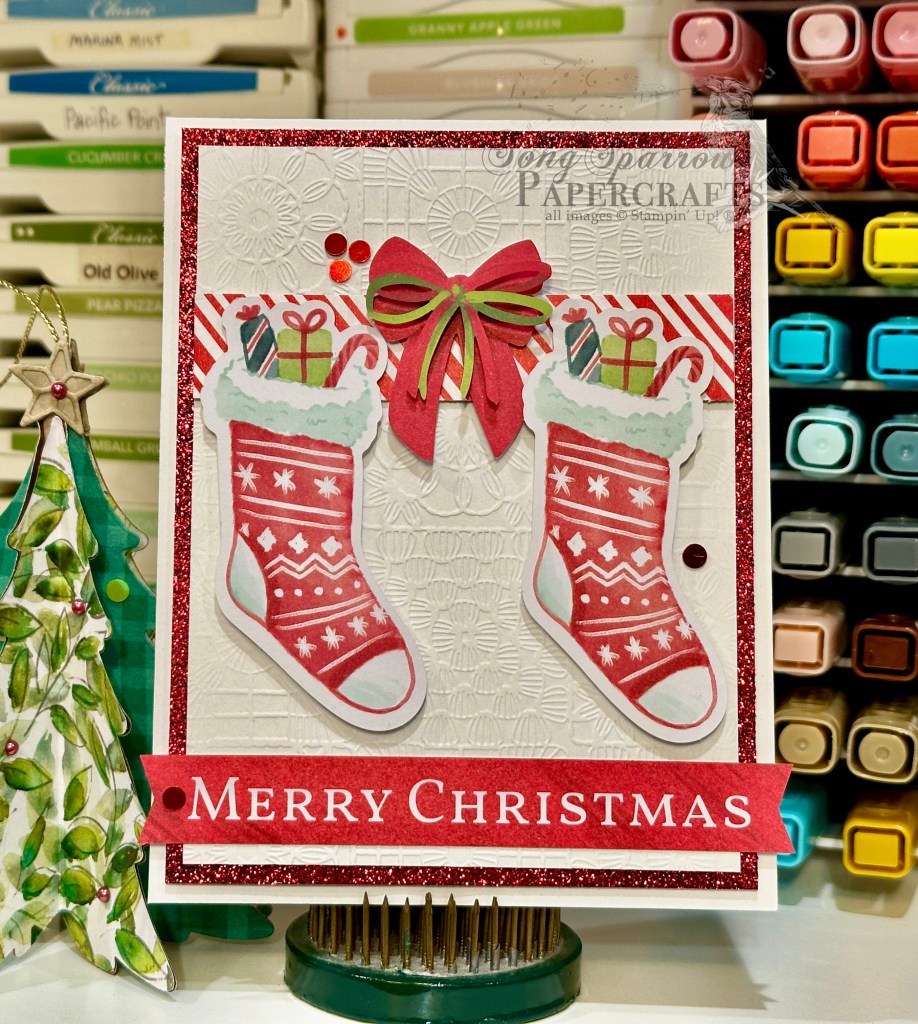
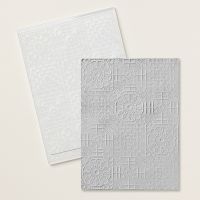
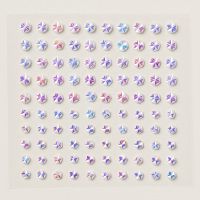
We get started with a base of white cardstock. The focal panel is machine embossed using the Cute Crochet embossing folder that is then matted with some red Festive Glimmer paper. The mantle is a strip of the Take a Bow patterned paper pack that is mounted with dimensionals. The stockings and bows are from the Joyful Images ephemera pack and the banner sentiment is from the Joyful Sayings ephemera. A few iridescent discs finish things off with a twinkle and help the eye pass across the design.

I’ll be bringing you some more holiday designs as the week moves along. Thanks for dropping in!
Product List
Christmas · Holidays · L2S Group Instahop

Most Wonderful Time

Happy Thanksgiving, everyone! Our family has so very much to be thankful for this year. Most importantly is that we’re all here to celebrate together. After my husband’s very serious health crisis early in the year, we do not take for granted that he is here and he is healthy and recovering!

A quiet holiday week at work has turned out to be quite busy, and so once again, I’m mostly playing catchup this week. But I’m thankful to have a job that I really enjoy and that provides for my family. Even if it does cut into my favorite hobby! *wink-wink*
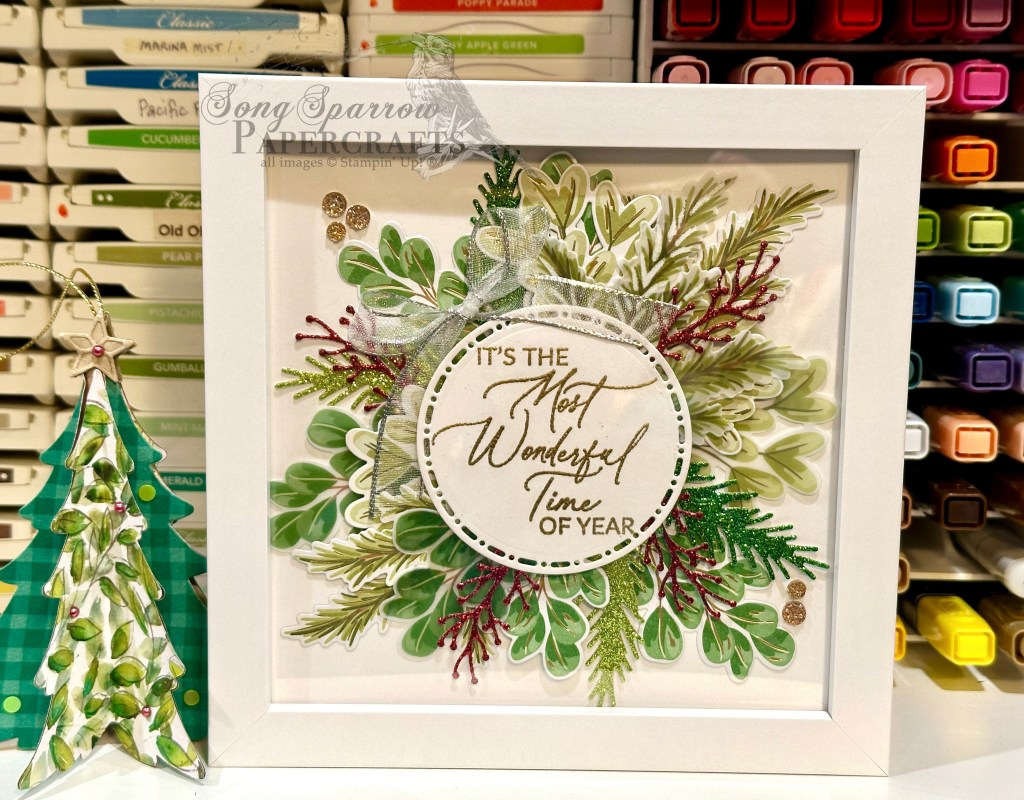
And speaking of my new job, I wanted to create a little festive holiday art that I could display in my bookshelf. And so today’s project uses the ever so lovely Seasons of Green and Gold Suite of products to create the festive 6×6 framed project. This is a simple white frame that I purchased on Amazon.

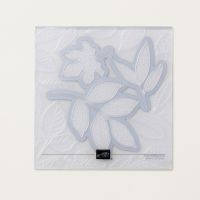
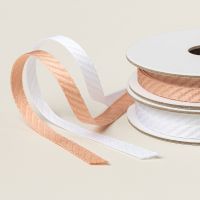
We start with a 6×6 piece of white cardstock as the base for our greenery spray. The greenery is diecut from the Season of Green & Gold patterned paper and Graceful Greenery vellum using the coordinating Golden Greenery dies. I also mixed in a few green Festive Glimmer paper sprigs for a pop of sparkly fun. Our pops of red are also diecut from Festive Glimmer paper but use the small sprig from the Changing Leaves die set. The greenery is adhered to the white cardstock in varying layers, which are created with dimensionals. The sentiment from Greetings of the Season is heat embossed in gold on white cardstock and diecut with the Spotlight on Nature die set. A ribbon of silver and white sheer ribbon dresses the sentiment panel with some shimmer. And drusy embellishments in the corners catch the eye and move it across our decorative piece. I really love how this turned out and can’t wait to put it out in my office!

Today’s card is a part of the Luv 2 Stamp Group Instagram Hop, which goes live at 9 AM Pacific Time (PST).  Click here to head over to my Instagram feed at 9 AM Pacific/11 AM Central and check out what the other demos in our L2S Group have created for you today! 

Product List
Winter

Snowy Thoughts

It’s a super busy week around the Song Sparrow household. Yesterday, the kiddo’s basketball team had their first game of the season. It was a fairly solid loss, but I think the kids learned a lot and could see areas that still need some work and improvement. Everyone seemed to have fun, and that’s all that really matters in sports, as far as I’m concerned. I’m over here prepping for some out-of-town training and a big meeting for work, so I’m burning the candle pretty low.

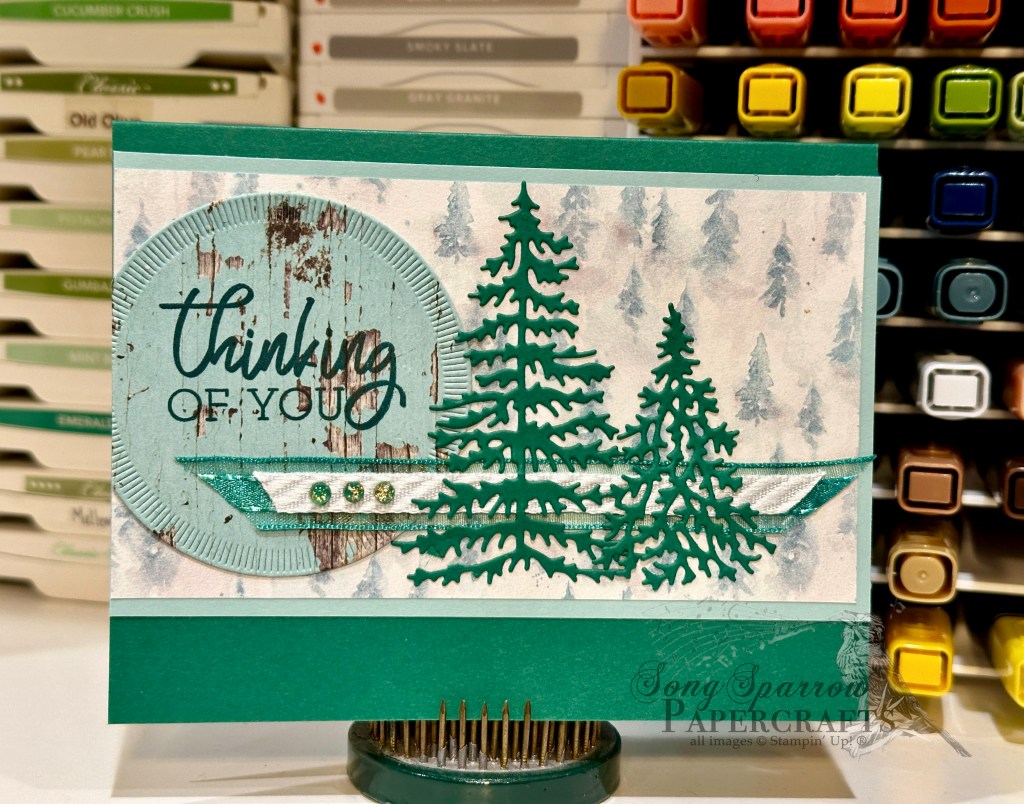
This week, we’re working around the theme of stopping in the woods on a snowy evening. I kept it pretty simple with this first design. We’re using a layout by the lovely Did You Stamp Today demo as our inspiration.

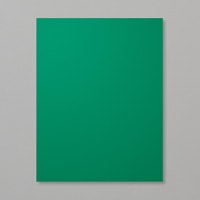
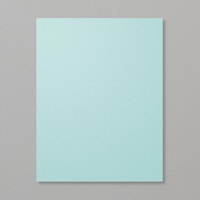
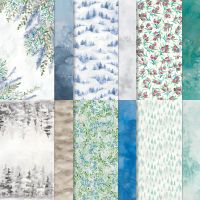
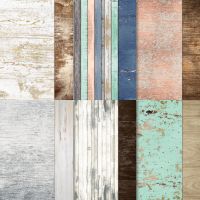
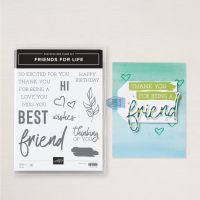
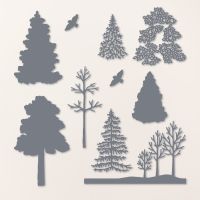
We get started with a base of Shaded Spruce cardstock. Our focal panel is a strip of the snowy evergreen forest pattern from the Winter Meadow designer series paper pack that is matted with Pool Party to really bring out the more subtle blues. Our sentiment panel is cut from the blue woodgrain from the Country Woods patterned paper using the Spotlight on Nature dies. He sentiment from Friends for Life is stamped in Pretty Peacock. Our focal trees are from the Frosted Forest die set and are diecut from Shaded Spruce and adhered over a strip of layered Shaded Spruce satin ribbon and white diagonal trim. A few carefully placed regal foiled dots finish things off with a little pop of color and sparkle.

I’ve really enjoyed working with design themes the last several weeks. I find it especially useful if I want to highlight a bunch of different products rather than focusing on just one. What about you? Which format do you like best? Let me know in the comments!

Thursday we’ll continue our stop in the woods with the Sophisticated Sled set. I hope you’ll pop in!

Product List
Sketchy Fridays

Sketchy Fridays: Thanks

Well, the last several days have been far busier than I anticipated and so we’re playing a little catch-up here on the ol’ blog. I recently returned to a full-time job, and I’m finding it a little challenging to balance family time and my most favorite side gigs. I’m sure there are many of you who understand, especially when your family time includes sports activities that your kiddos have chosen to play.

Although a couple of days late this week, we’re marching on with our Sketchy Fridays, where each week we’re using a card sketch to design our featured card. Right now, we’re working through a full series of designs using the card sketches found in current Stampin’ Up! catalogs.

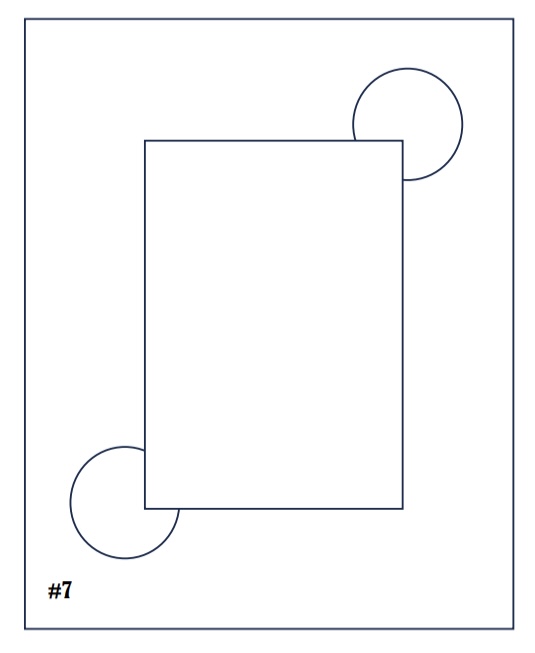
This week’s card is based on Sketch #7 in the Stampin’ Up! Holiday Mini Catalog and features a fun assortment of products, including designer series paper, dies, and holiday ephemera.

If you’ve followed along for a little while, you’ve heard me talk about how sketches are such a great way to get started with a card design. And you don’t always have to follow a sketch to a T. This week, I’ve rotated the sketch but have otherwise stuck to the layout pretty closely. So let’s take a closer look at all of the elements that are working together here.

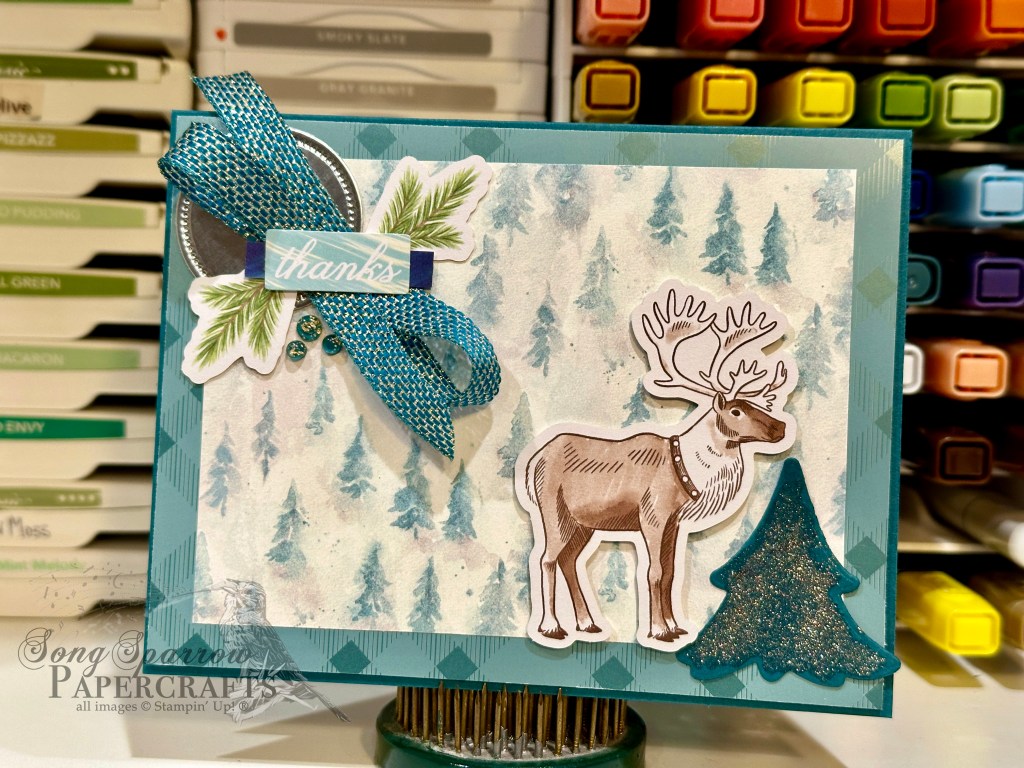
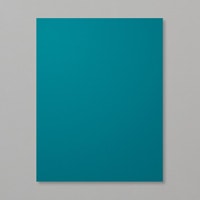
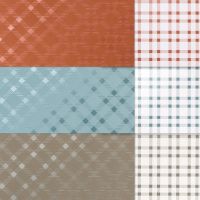
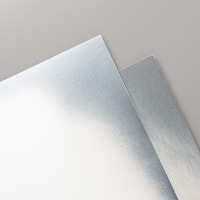
We get started with a base of Pretty Peacock cardstock. I used a piece of Tartan Foil patterned paper as the base for our focal panel. And then a piece of the Winer Meadow designer paper serves as our focal panel. I pulled the reindeer from the Joyful Images ephemera to serve as our focal image in the bottom corner. I added a smaller tree diecut from Pretty Peacock using the Merriest Trees dies to anchor the bottom corner of our focal panel. The sentiment pieces and greenery are also from the Joyful Images ephemera and sit nicely over a faux bow of Pretty Peacock & Gold metallic trim. A foil silver circle diecut with the Everyday Details dies serves as the top corner anchor and adds that nice pop of metallic sparkle to compliment the Wink of Stella on the opposing anchor tree. A few Pretty Peacock foiled dots finish things off nicely and draw the eye to the sentiment.

I’m rounding out this week’s woodsy card designs with a peek through the trees. Hope you’ll come check it out.

Product List
Holidays · Winter

Bright & Beautiful Season

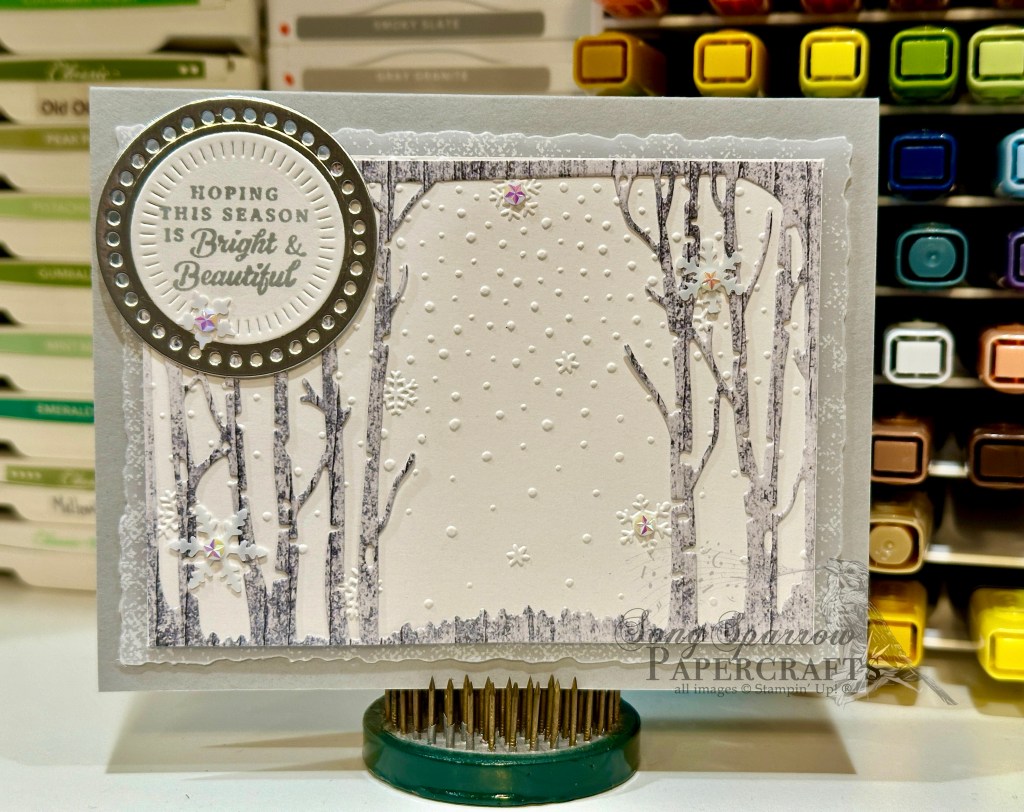
We’re taking a trek in the woods this week, and as much as I love all things autumn, I thought it would be nice to show how a few simple tweaks can yield beautiful winter designs. Today’s card is another clean and simple design, and we’re highlighting the Stampin’ Up! In the Grove dies and the Snowflake Sky embossing folder.

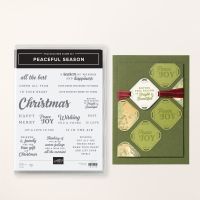
We get started with a card base of Smoky Slate cardstock. A piece of Graceful Greenery vellum serves as a soft base for our focal panel and is diecut using the Deckled Rectangles dies. Our focal panel combines a white background embossed with the Snowflake Sky embossing folder and the trees diecut from the grey woodgrain in the Country Woods patterned paper pack using the In the Grove die. The sentiment from the Peaceful Season stamp set is stamped in Smoky Slate on white cardstock and then diecut using the Radiating Stitches circle die and then matted with a silver foil circle diecut with the Everyday Details dies. A scattering of snowflakes and iridescent faceted gems give the snowy background the perfect amount of twinkle.

Tomorrow we’re going to be pairing our woodsy theme with a sketch from a SU! catalog. I hope you’ll pop in and check it out.

Product List
Clean and Simple

He Will Direct Your Paths

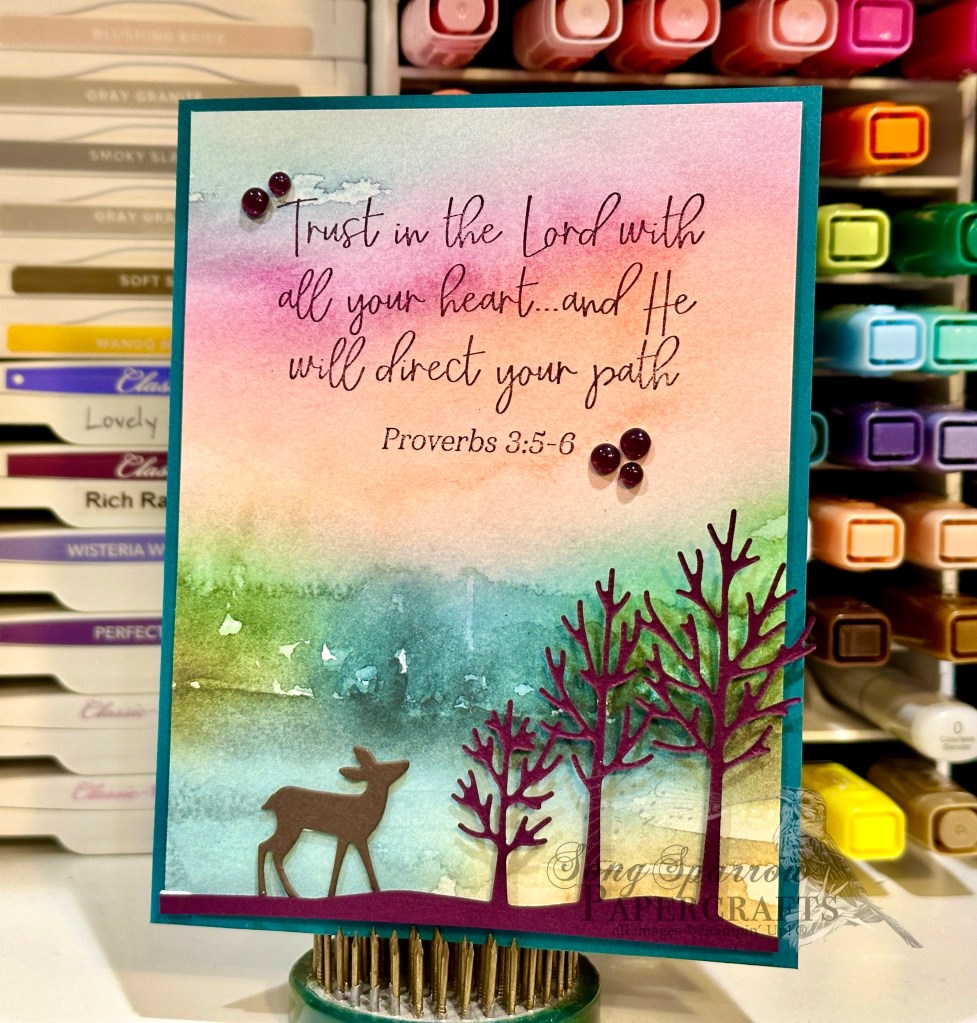
This week we’re venturing into the woods with our card designs. One of my favorite things to do is build scenes, and I love it when a scene comes together with just a few simple elements. For today’s card, we’re combining a stamp set, two die sets, and a patterned paper pack. And what a stunner this one turned out to be!

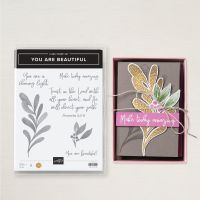
Our card design starts with a base of Pretty Peacock cardstock. A piece of Thoughtful Journey designer series paper sets the stage for our sunrise lake scene. The line of trees in the foreground is cut from Blackberry Bliss cardstock using the Frosted Forest dies. The deer is cut from Early Espresso using the Grove dies. The large sentiment from the You Are Beautiful stamp set is stamped in Blackberry Bliss and hangs beautifully in the sunlit sky.

This design literally comes together in minutes. I love how the Thoughtful Journey paper makes it so easy. Do you have products in your stash that can make easy scenes? Sometimes you just have to take a second look to see things a little differently.

Product List