We’ve made it to the weekend. What does everyone have in store? We were supposed to be at a school basketball tournament today, but due to the kiddos missing school at the end of the week due to winter weather, that’s been postponed. So we’re off to bowl the weekend league tournament instead, assuming we can get out of the icy driveway, that is.
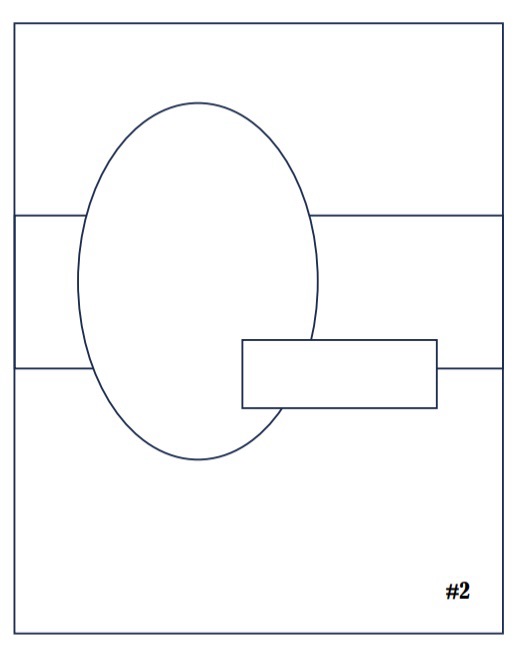
This week, we’ve been working with the Mixed Media Florals bundle of products. And today, we’re closing things out by combining this fabulous bundle with the Timeless Plaid designer series paper and a loose take on Sketch #5 from the Stampin’ Up! Annual Catalog.

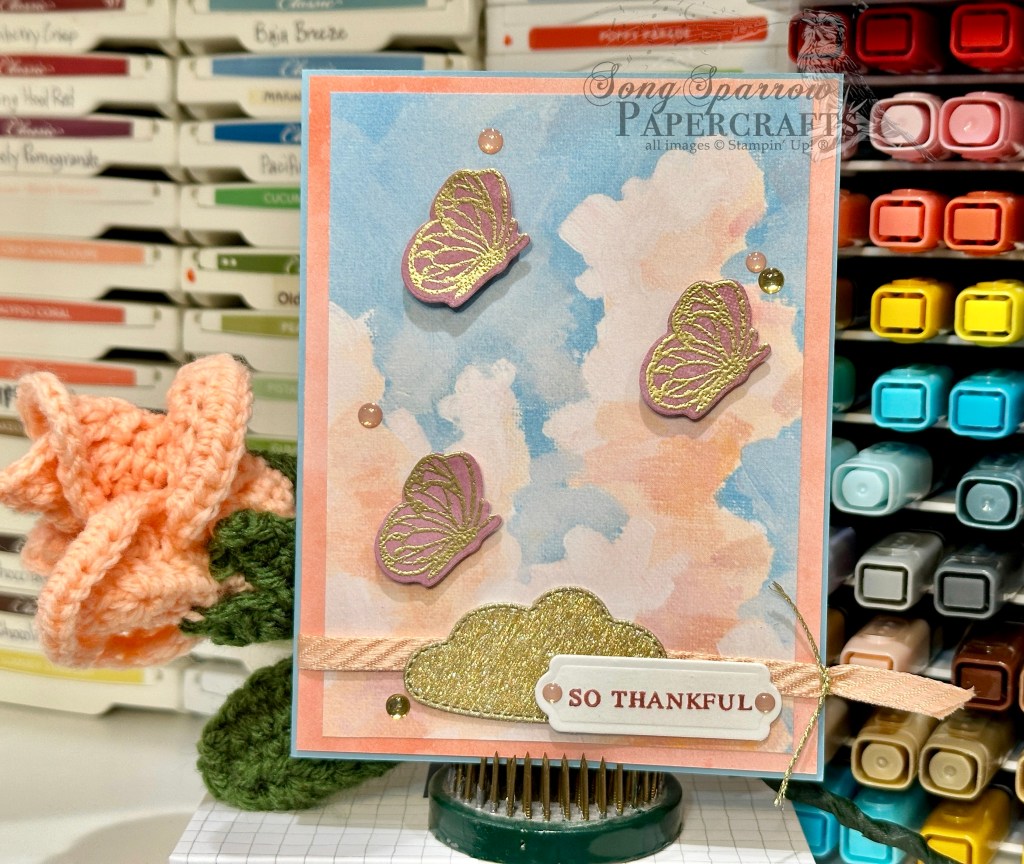
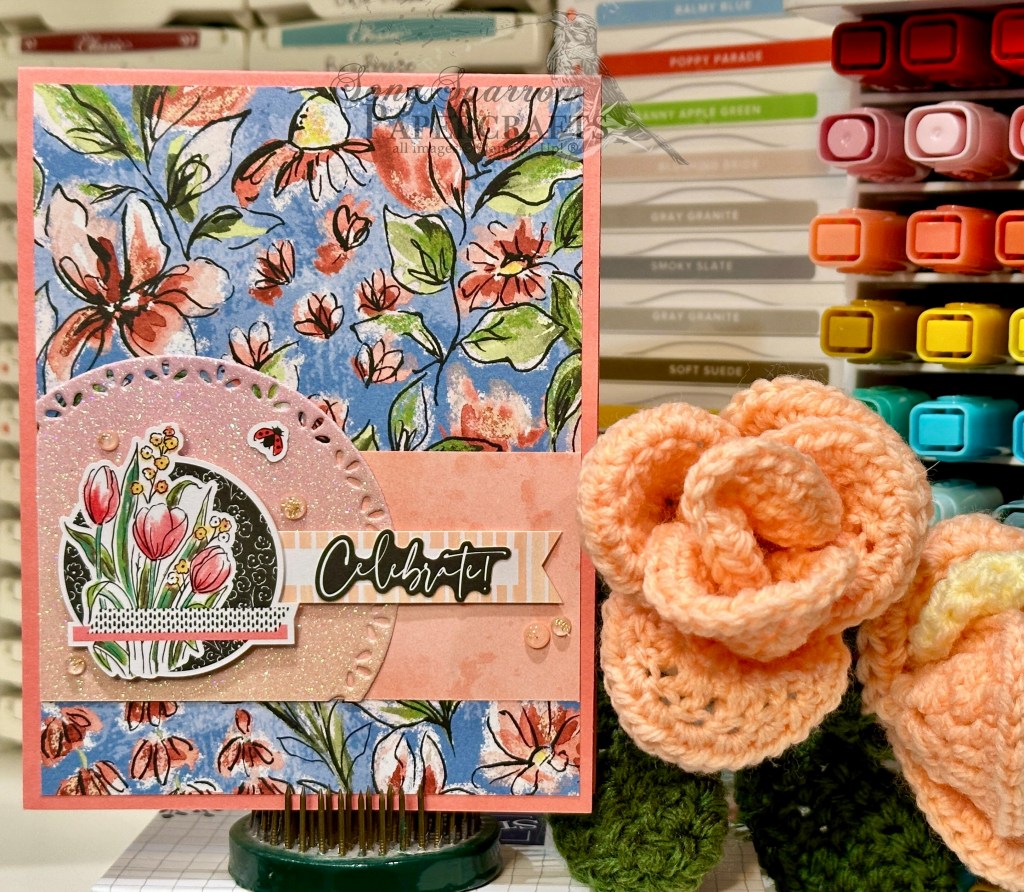
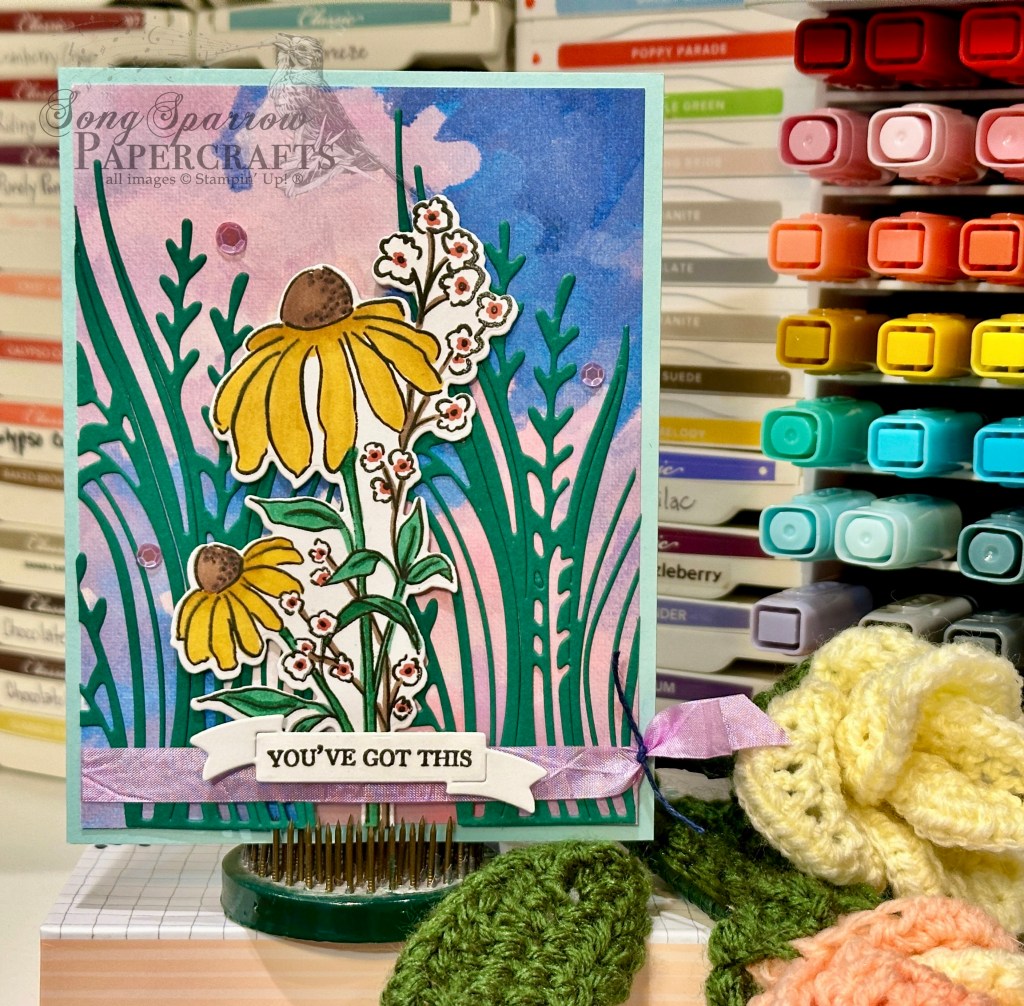
We get started with a base of Early Espresso cardstock, which brings out all of the subtle shades of brown in our Timeless Plaid background panel. A flowers-only patterned sheet from the Mixed Media Florals paper pack serves as our focal backdrop. I love how the slight turn askew adds a bit of whimsy and interest to this patterned paper and really draws the eye to our focal image. The focal image is a bundle of flowers that is cut from one of the smaller notecards in the Mixed Media Florals Memories & More kit. I cut around the florals to give it the look of a diecut piece and mounted it on dimensionals to ensure it really catches your eye. I cut a partial panel from the pastel ombre glimmer paper using the smaller decorative banner from the Mixed Labels die set. The sentiment is also from the Memories & More kit and is also mounted on dimensionals so that it overlaps all 3 of the panels that comprise our focal layer. I added a bit of gold thread behind the sentiment to ensure that the eye falls and rests on the sentiment. A few shiny sequins in various colors across the card front add some extra sparkle.
Next week, we’re going to be working with the Hugs for Love bundle to show how it can work for you for so much more than Valentine designs. I hope you’ll come along for the ride!
Products used in today’s design:
Early Espresso cardstock
Mixed Media Florals, Timeless Plaid, Pastel ombre glimmer DSP
Mixed Media Florals Memories & More kit
Shiny sequins
Gold thread
Dimensionals
Adhesives

 Designer Series Paper")
 Designer Series Paper")
 Specialty Paper")


 Glimmer Paper")


 Designer Series Paper")

")


 Seam Binding Ribbon")


 Designer Series Paper")
 Specialty Designer Series Paper")
")

")


 Satin Ribbon")