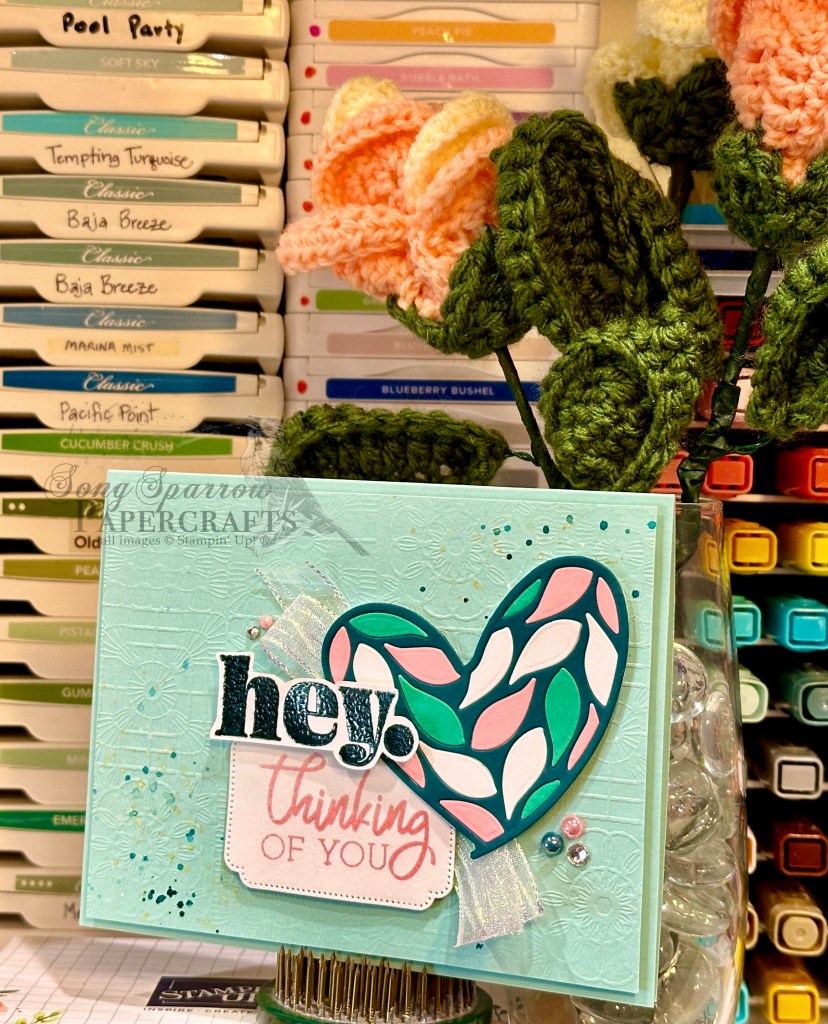
We are already halfway through July, people. How is this possible??! Sometimes I’m amazed at just how quickly time flies by. And all of the Christmas-in-July and back-to-school posts are reminding me of it, for sure.
Well, we’re in a shiny new week and that means a shiny new featured product from Stampin’ Up! This week, we’re going to be working with the new Online Exclusive bundle called Frosted Forest, which includes a photopolymer stamp set, coordinating decorative masks, and coordinating dies. The images include both deciduous and evergreen trees, along with some sentiments. And this week, I’m working with decorative masks for the first time. To be honest, I have avoided them. They just seemed a little too fussy for me, but I have to admit that they’re not all that much trouble. And without them, I would be hand-coloring my tree images and we all know how well that would go for me! (Not very well. *wink*) So let’s take a closer look at today’s card, shall we?
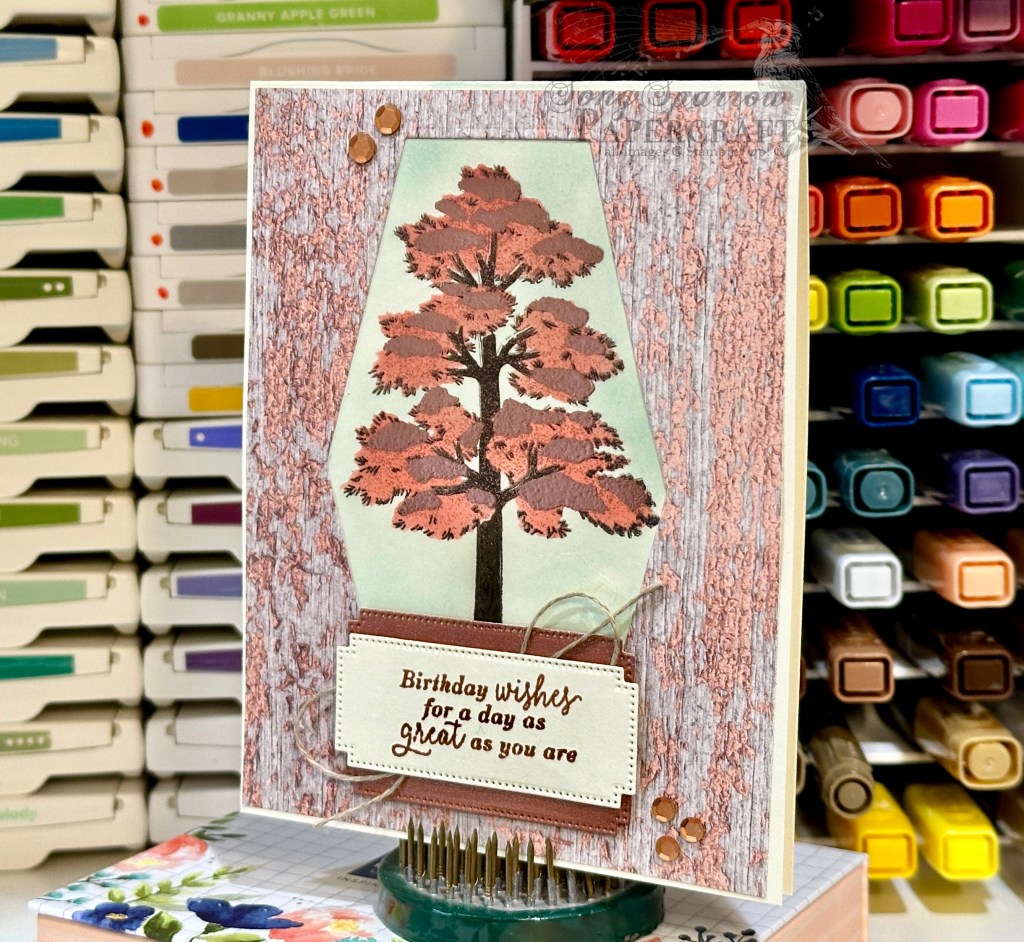
I wanted to keep this design super clean and simple since it’s my first time using the masks. I decided to use the window pane technique as the layout but punched it up a little bit by changing up the standard window shape.
So we get started on our card with a base of Very Vanilla cardstock. The tall tree from the Frosted Forest stamp set is stamped in black in the center of the card front. Using the coordinating decorative masks, the tree is shaded with a combination of Early Espresso, Flirty Flamingo, and Versamark. The Versamark layer is last and heat embossed using copper embossing powder. Some of the copper embossing powder also stuck in the cracks of the trunk because the ink was still a little wet, but I actually liked the look at kept it. Once embossing was finished, I then added a very light sky behind the tree using Pool Party ink. Our patterned paper window pane is a sheet of Country Woods designer series paper that has been diecut in the center using the largest oblong hexagon from the Nested Essentials die set. The die was placed so that the tree would be centered in the window. The sentiment from Frosted Forest is stamped in Cajun Craze on Very Vanilla cardstock and then diecut with the Autumn Leaves die. The sentiment mat is diecut from the shimmery Cajun Craze cardstock with the larger Autumn Leaves sentiment die using the extension method. A twist of linen thread is adhered behind the sentiment panel and this panel is adhered to the mat with the dimensionals and then the full panel is adhered to the designer paper panel with dimensionals, as well. I added a few copper sequins from the Neutrals set for sparkle and to draw the eye across the design.
I love the simplicity of this design and look forward to playing around with different window pane shapes and a variety of foliage colors on the tree. So many different looks can be achieved with just those simple changes! Maybe we’ll try some later this week.
Tomorrow, though, we’ll be making a regal looking birthday card using our evergreens from Frosted Forest. I hope you’ll pop in and check it out!
Products used in today’s card:
Very Vanilla, Cajun Craze In Color cardstock
Country Woods DSP
Frosted Forest stamps & masks
Nested Essentials, Autumn Leaves dies
WOW embossing powder
Linen thread
Neutrals sequins
Dimensionals
Adhesives

 Designer Series Paper")
 Cardstock")
")


")
")

")


 Striped Trim")
 Specialty Paper")
 Glimmer Specialty Paper")
 Designer Series Paper")
")

 Metallic Ribbon")


 Designer Series Paper")
 Specialty Designer Series Paper")
 Specialty Designer Series Paper")


 Diagonal Trim Combo Pack")


 Specialty Paper")
 Designer Series Paper")


")


 Metallic Ribbon")


")


 Diagonal Trim Combo Pack")

