Well, to say that my week didn’t exactly go as planned is likely obvious to you all by now. I had everything planned out, but when all was said and done, I simply didn’t have the time to execute. I had to travel out of town for work and then had some other obligations that simply overran the time I allotted for them. Such is life sometimes, eh? So today, I’m going to play a little catchup and bring you all the content I had planned for Thursday, Friday, and Saturday of this week.
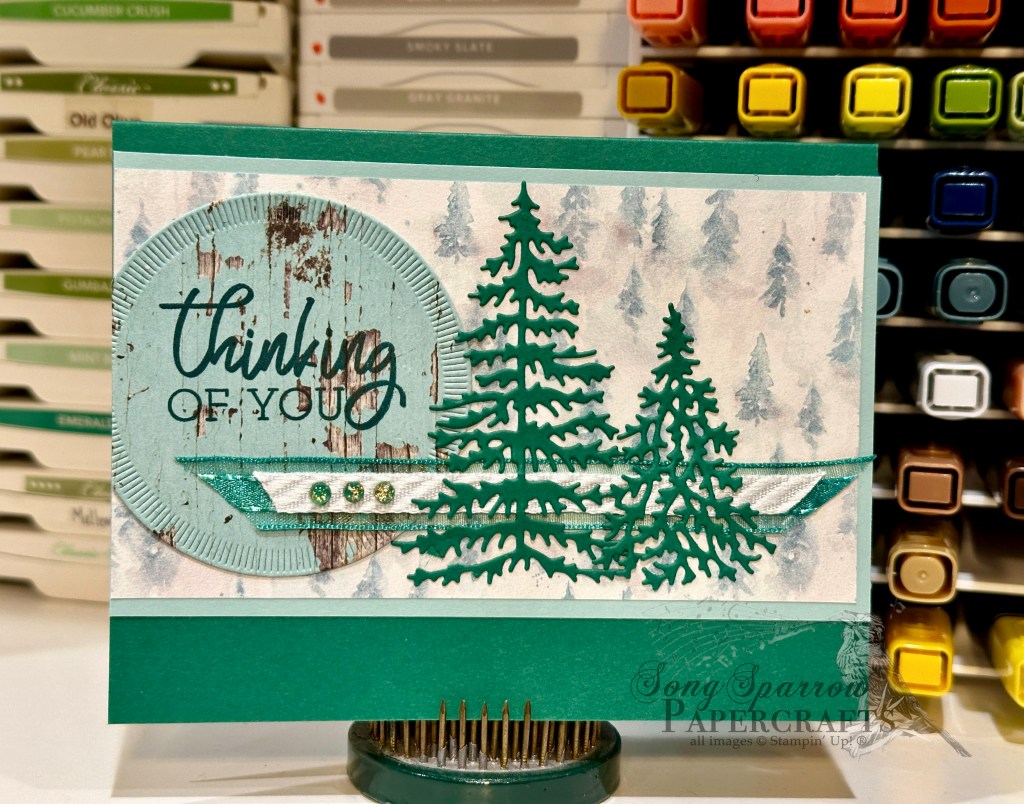
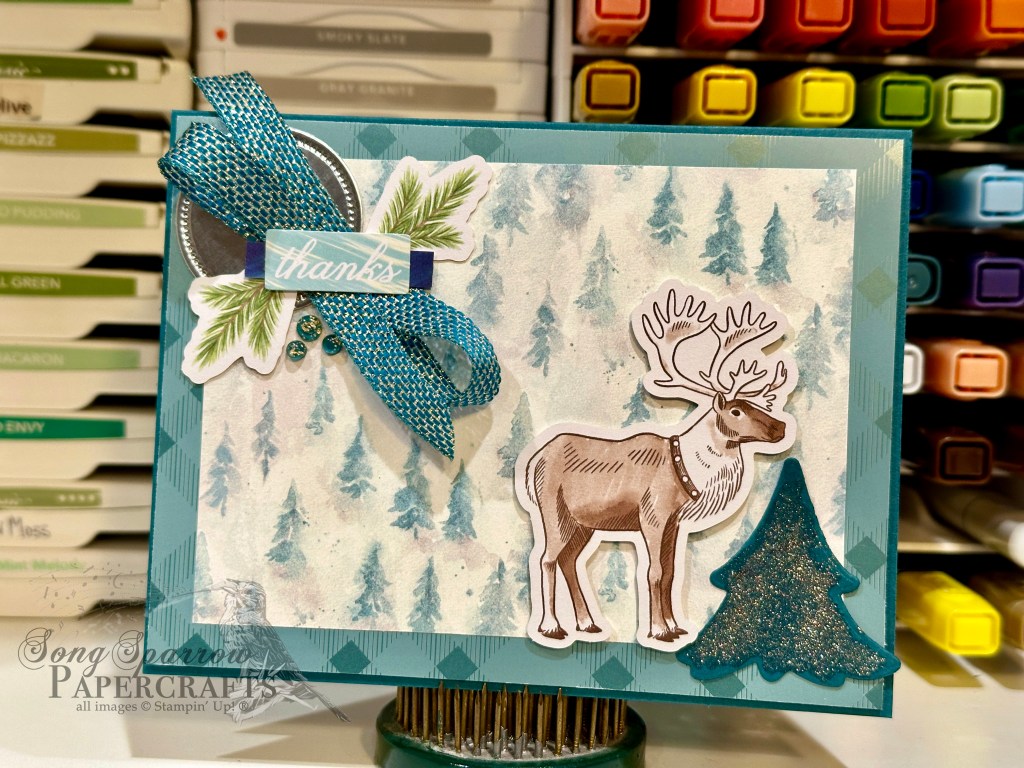
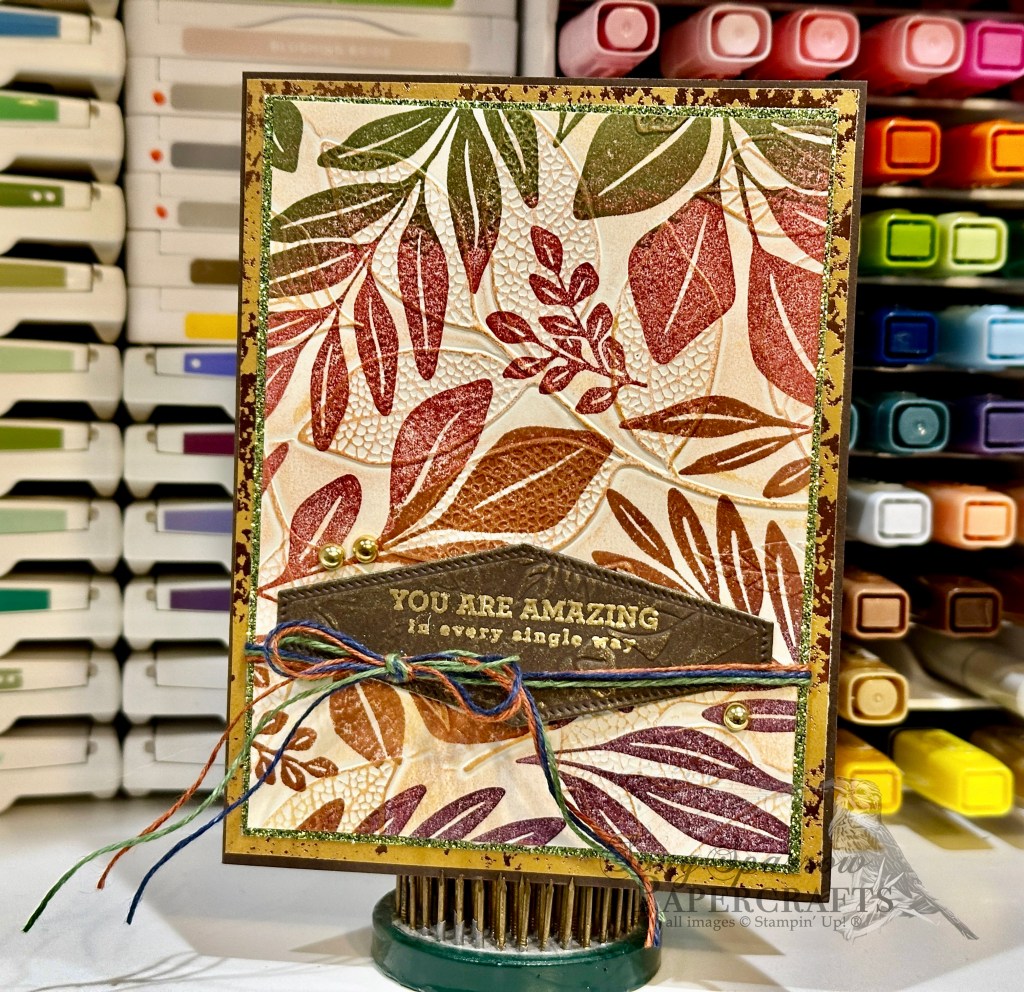
If you’re new here, for the last month or so, I’ve been working with themes to inspire designs. This week, we’re stopping by the woods on a snowy evening. And today’s card was inspired by a design that was recently posted by Stampin’ Up! Artisan crafter the Crafty O’ Ink Pen. When I saw her design, I knew it would be perfect for this week’s theme, and I wanted to do my own take on it. That’s the wonderful thing about design inspiration — you get to make it your own!

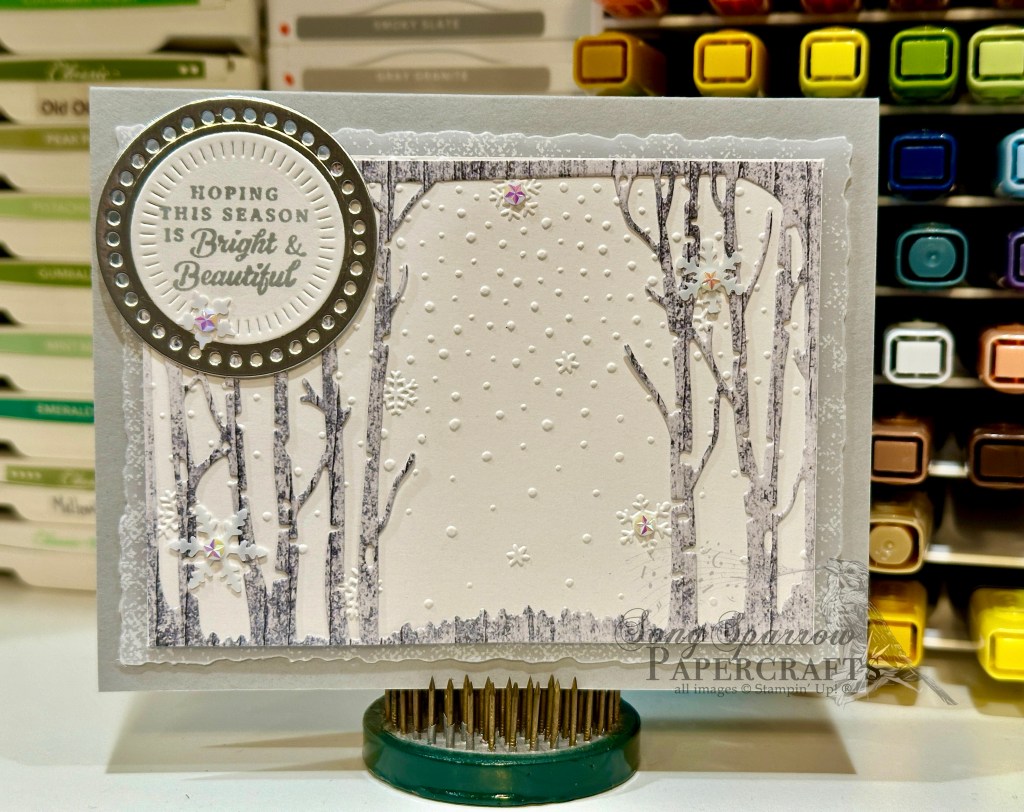
So we get started with a base of Night of Navy cardstock. The background panel is a sheet of Pool Party that is machine embossed with the Snowflake Sky embossing folder, which is then lightly inked with a sponge dauber and Pool Party ink to give the look of a cloudy sky. To create the snowdrifts, I tore a quarter panel of white cardstock in half and then very lightly inked the torn edges with the Pool Party ink to give some definition and detail and layered them to the snowdrifts. They’re ultimately adhered to the background panel with dimensionals. Using the Merriest Trees dies, I cut two of the smaller sized trees from Shaded Spruce cardstock and lightly rubbed some craft ink over the tops to give them the look of having a dusting of snow. They’re tucked in and behind the snowdrifts to give depth and dimension to the scene. The sled is diecut with the Sophisticated Sled and Filled With Fun die sets from gold foil and Early Espresso cardstocks and then cut in half to create the side view of our sled. Isn’t this brilliant?! Such a great idea, Crafty O’ Ink Pen! The sled is filled with holiday goodness which has been stamped on white cardstock using the Filled With Cheer stamp set and then colored with Stampin’ Blends. Our sentiment from Filled With Cheer is stamped in Night of Navy on white cardstock and then diecut using the Peaceful Season small banner die and adhered with dimensionals over some gold trim. Adhesives snowflakes finish our snowy scene with a little sparkle.
Check back in a little later in the afternoon for our Sketchy Fridays snowy evening design.
Product List


")
")


 Trim Combo Pack")


 Designer Series Paper")
 Designer Series Paper")
")


 Satin & Sheer Ribbon")
 Diagonal Trim Combo Pack")


 Specialty Paper")
 Glimmer Specialty Paper")


")


 Specialty Designer Series Paper")


 Metallic Ribbon")


 Specialty Designer Series Paper")
")


 Designer Series Paper")
")


 Specialty Designer Series Paper")
")
")


 Designer Series Paper")


")