I just love a good pick-me-up, don’t you? I think one of my favorite things about being a paper crafter and card maker is being able to send an unexpected note when the feeling strikes. Do you ever do that?
This week, we’re working with the Floral Delight paper and vellum packs. The designs are so cheery, but they also are versatile enough to fit a multitude of occasions. Today, we’re playing with vellum to make a sort of peek-through card front. I love the light and airy feel that the vellum gives to this design.
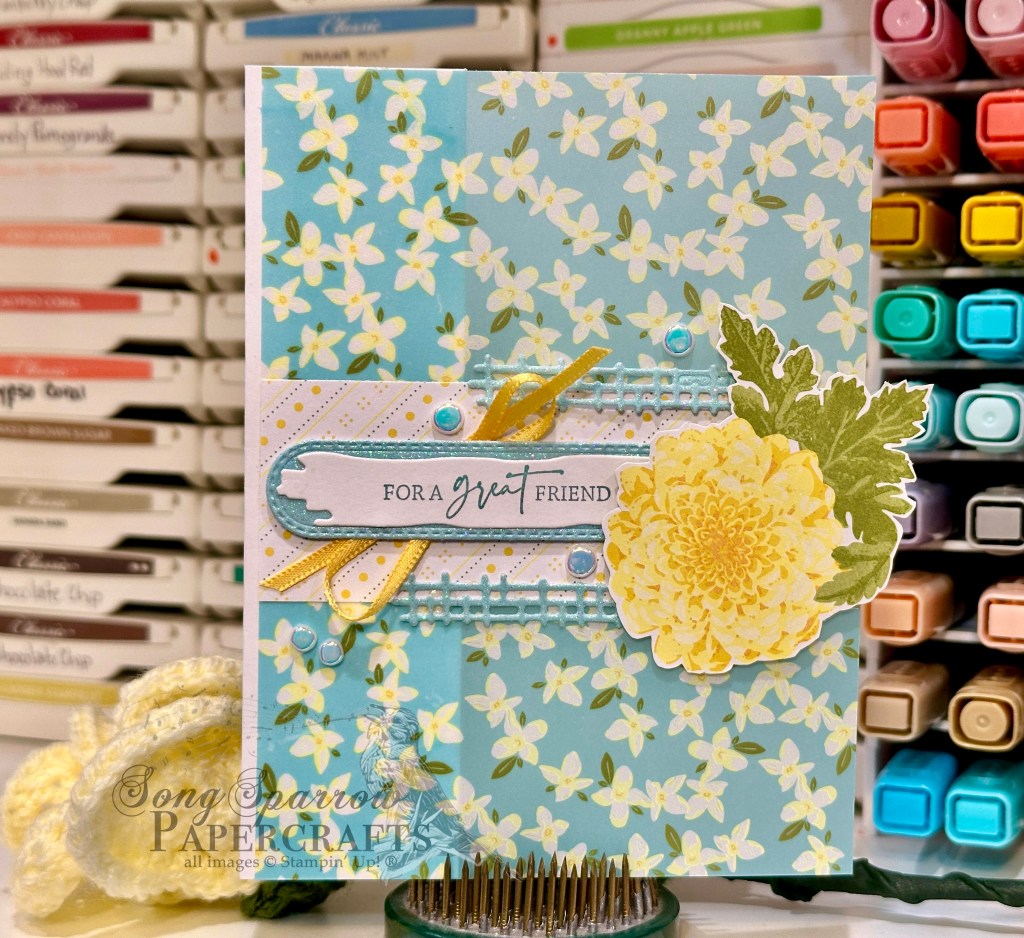
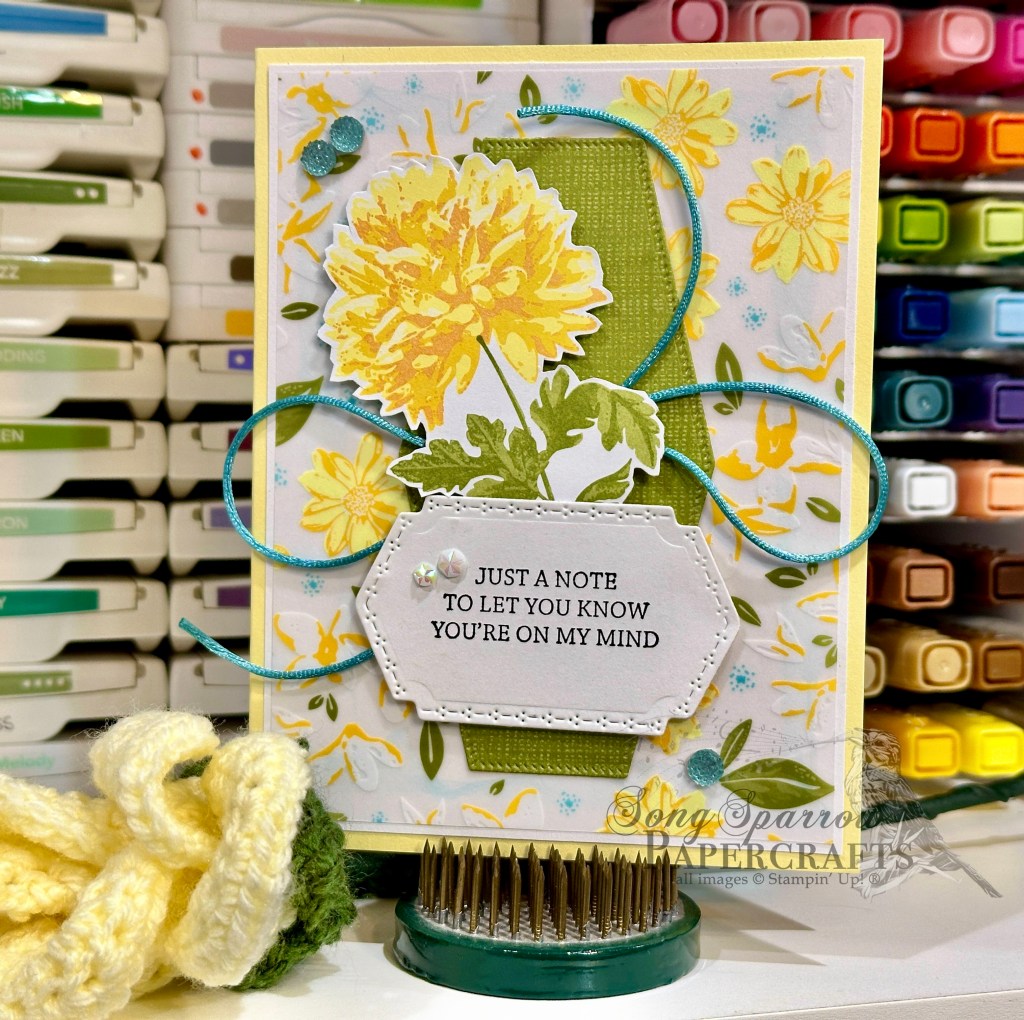
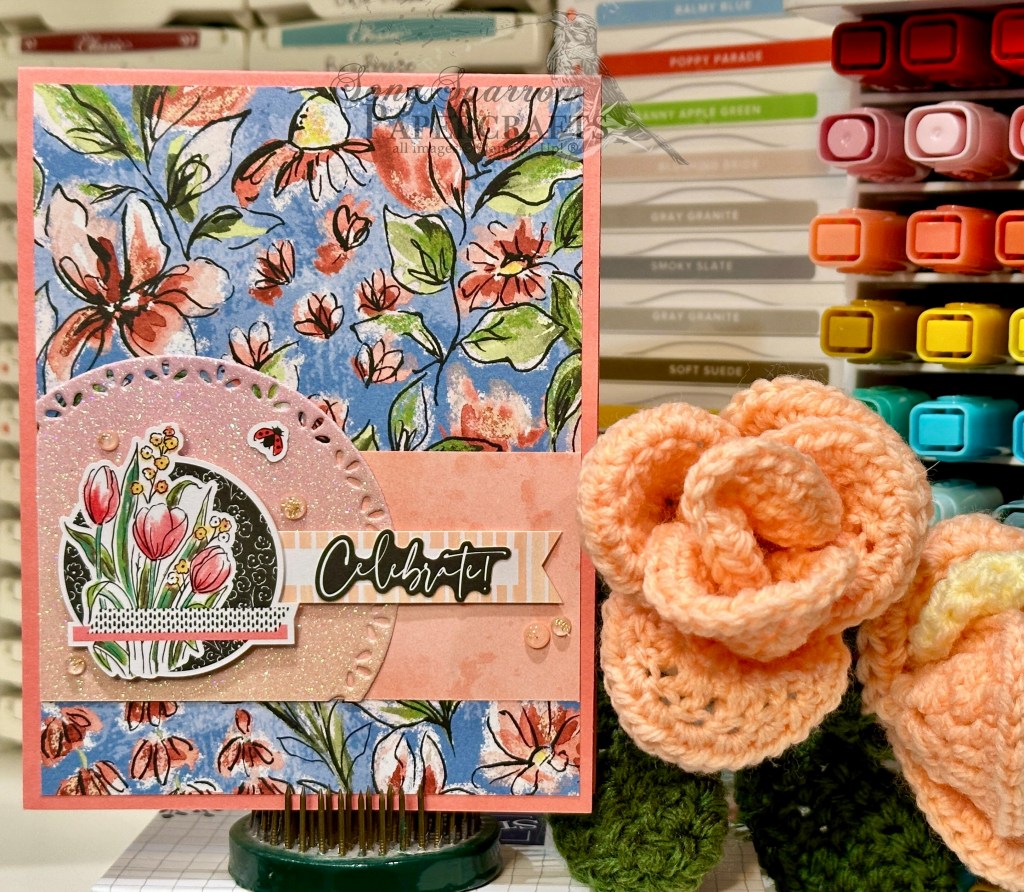
We get started with a base of white cardstock. For the card front, I cut all but 1 1/2-inches of the panel, which leaves a perfect strip to which I’m going to attach my vellum panel. I chose the sheet of small daisy-like flowers with the lovely blue background. To me, this allows the design to be for anyone — a guy or gal. I left a very small strip of the white cardstock flap visible because I like how it provides a nice visual element to tie in the center focal point background panel. The center background panel is a strip of the Floral Delight paper, which provides a nice visual break in our busy background and still ties in with our floral pattern. The sentiment from the Mixed Labels stamp set is stamped in Lost Lagoon and then diecut with the Friends for Life die and mounted on a strip of pastel ombré glimmer paper cut with the Changing Leaves die. The sentiment panel is mounted offset in the center of the white background panel atop some Daffodil Delight satin ribbon using dimensionals. From another sheet of the Floral Delight paper, I cut one of the smaller zinnia-looking flowers. I cut some additional cross-hatch elements from the pastel ombré paper using the Mixed Labels dies and placed them on either side of the sentiment underneath the flower. Riverside irregular pearls add some shimmer and draw the eye to our sentiment panel.
Tomorrow we’re going to play a bit more boldly with white space. I hope you’ll come check it out.
Products used in today’s card:
Basic White cardstock
Floral & Gingham vellum, pastel ombre glimmer, Floral Delight DSP
Friends for Life, Changing Leaves, Heart Shaped dies
Mixed Labels stamps
Riverside regular pearls
Daffodil Delight satin ribbon
Wink of Stella
Dimensionals
Adhesives

 Designer Series Paper")
 Specialty Designer Series Paper")
 Specialty Paper")

")

 Satin Ribbon")


 Designer Series Paper & Sticker Sheet (English)")
 Specialty Paper")
")


 Designer Series Paper")
 Specialty Designer Series Paper")
 Glimmer Specialty Paper")
")


 Metallic Ribbon")


 Designer Series Paper")


 Glimmer Paper")


 Designer Series Paper")

")


 Seam Binding Ribbon")


")


