We’ve made it to another Friday, and you know what that means? It’s time for another Sketchy Fridays!

Each week we’ll be using a card sketch to design our featured card. Right now, we’re working through a full series of designs using the card sketches found in current Stampin’ Up! catalogs.
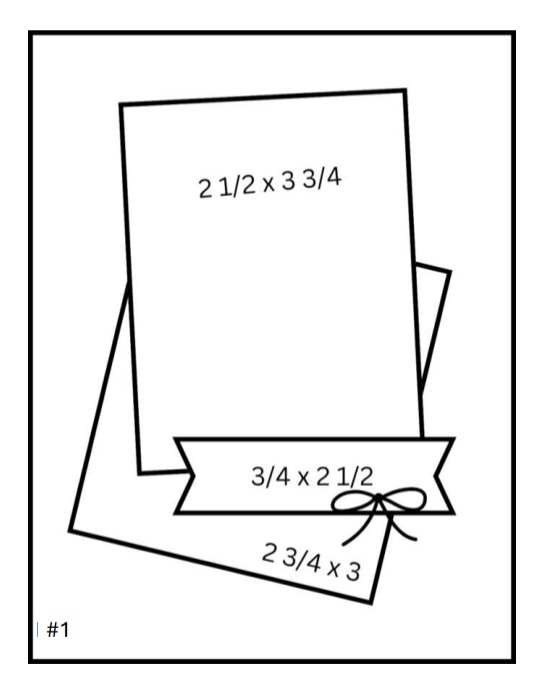
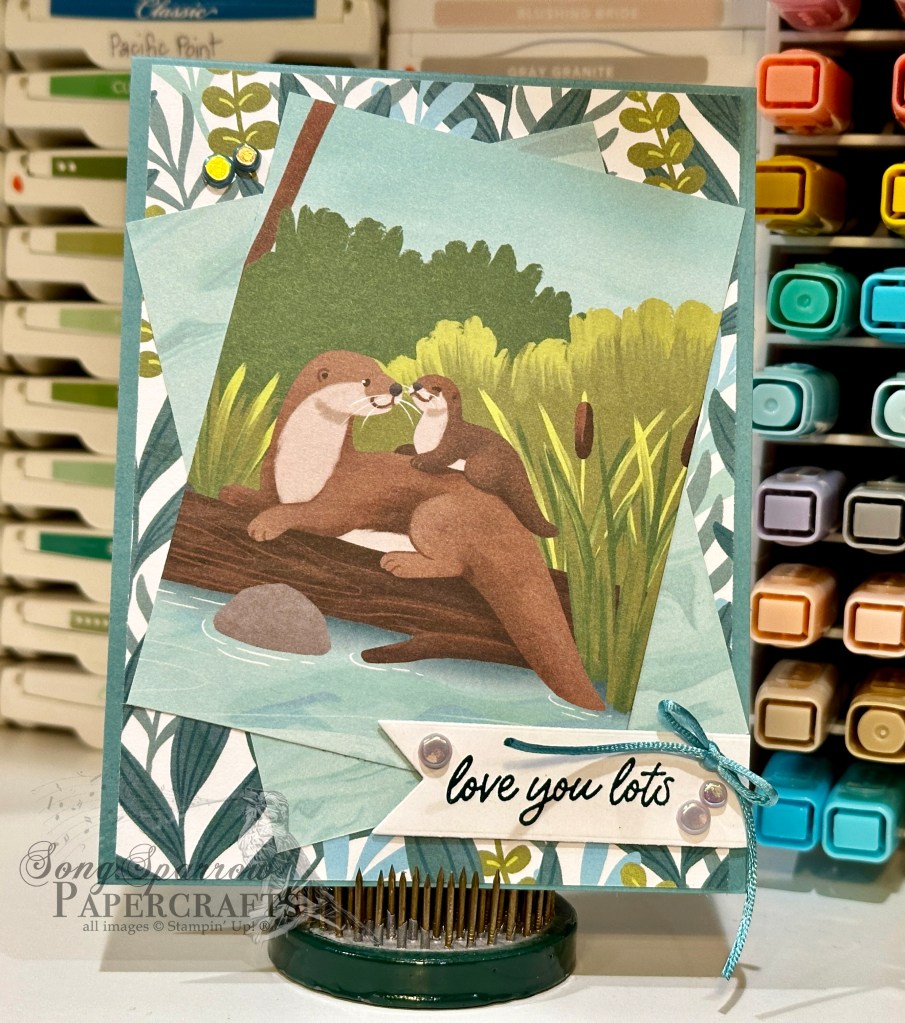
This week’s card is based on Sketch #22 in the Stampin’ Up! Annual Catalog and features a whole assortment of products. We’re pairing our sketch with the Thoughtful Journey and Nests of Winter papers, the Timber embossing folder, and Simply Said stamps along with our thankfulness theme to create today’s card.
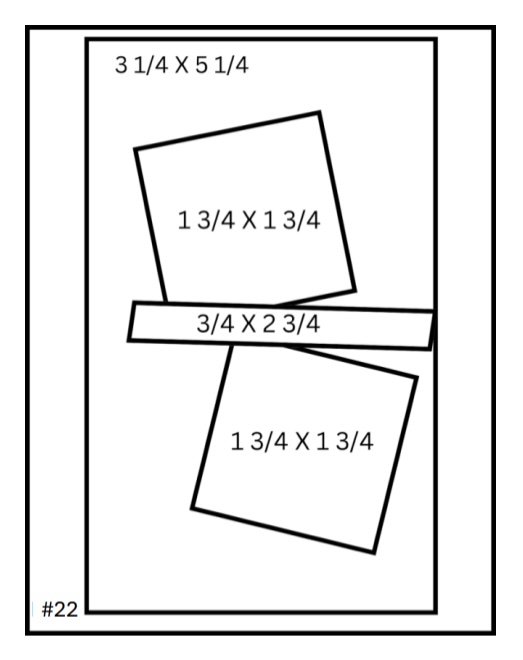
Today, I used our sketch more as a guide than an absolute. That’s the best part about using sketches to design cards—they get you started but don’t have to box you in!
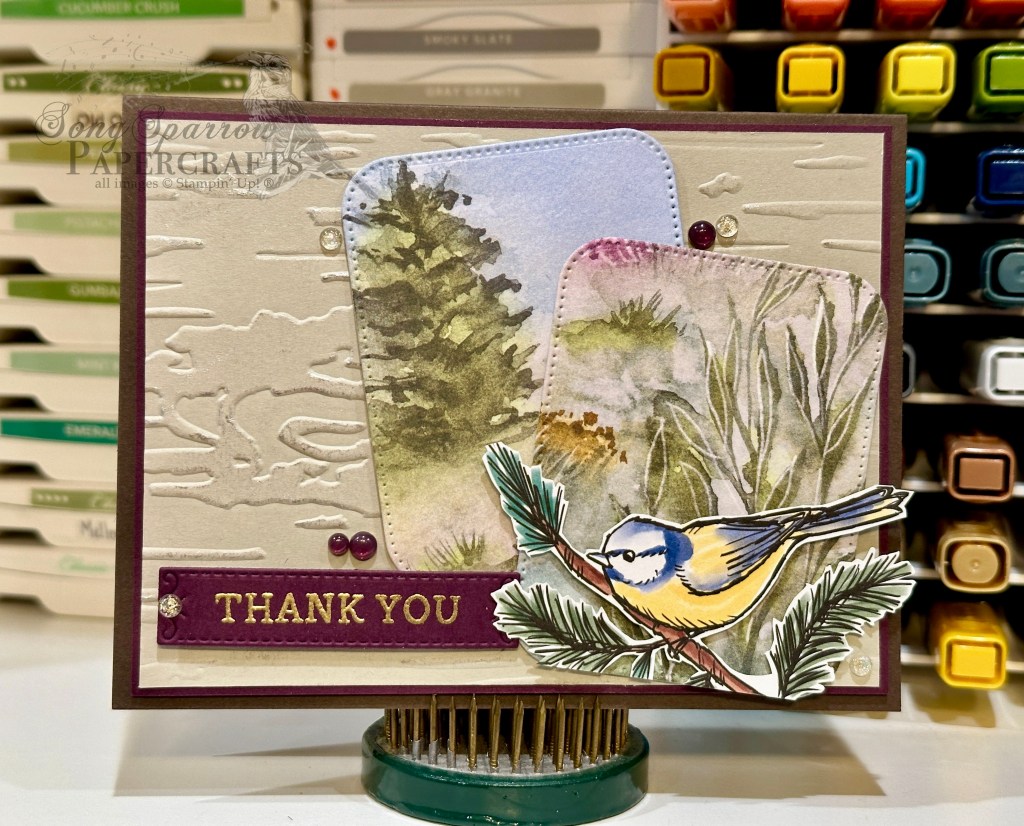
Our card starts with a base of Early Espresso cardstock. The focal panel combines a sheet of Gray Granite embossed with the Birch Wood embossing folder with a mat of Blackberry Bliss. Our two focal panels are cut from a sheet of Thoughtful Journey patterned paper using the Nested Essentials dies. I fussy cut the bird from a sheet of Nests of Winter paper and adhered over the focal panel with dimensionals. The sentiment from Simply Said is heat embossed with gold on a Blackberry Bliss panel diecut using the Peaceful Season dies. A few gold iridescent foil gems and Blackberry Bliss transparent dots finish things off with pops of interest.
We’ll be finishing out our thankfulness theme tomorrow. I hope you’ll pop in.
Products used in today’s card:
Early Espresso, Blackberry Bliss, Gray Granite cardstock
Thoughtful Journey, Nests of Winter DSP
Nested Essentials, Peaceful Season dies
Birch Wood embossing folder
Simply Said stamps
Gold embossing powder
Transparent dots, iridescent foil gems
Dimensionals
Adhesives


 Designer Series Paper")
 Designer Series Paper")


")
")


 Glimmer Specialty Paper")

")


 Trim Combo Pack")


 Specialty Designer Series Paper")
 Foil Sheets")


")

 Striped Trim")


 Specialty Paper")


")
