Coming Soon · Fun Folds

Miss You

Happy Monday, crafty friends! Our weekend turned out to be waaaaaay busier than I anticipated. Between the kiddo’s bowling league and lessons and my own singing engagements, we kinda met each other coming and going this weekend. And that left no time to craft – womp, womp!

But here we are starting a bright, shiny new week and I have some bright & shiny new things to share with you from the upcoming Stampin’ Up! Online Exclusives release that will go live next week! This week, we’re going to pair some gorgeous new patterned paper with all sorts of things from the crafty stash — from other new Online Exclusives to current products. It’s going to be a fun week.
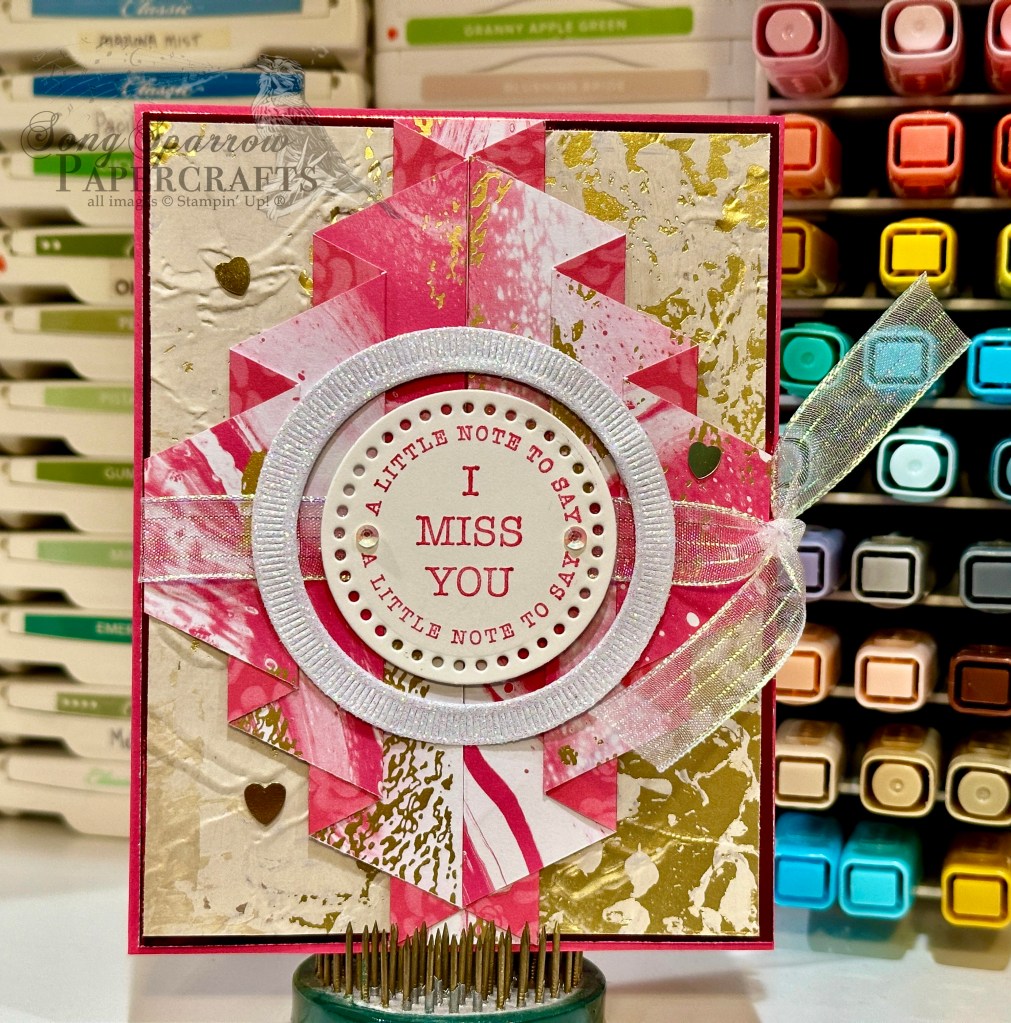
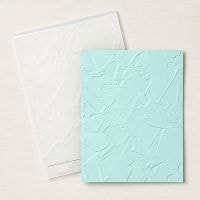
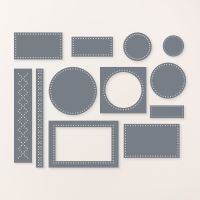
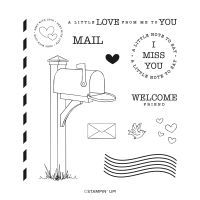
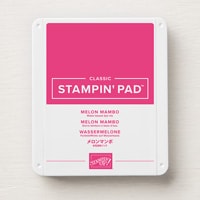
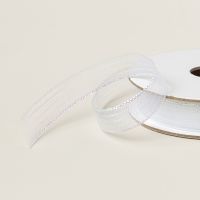
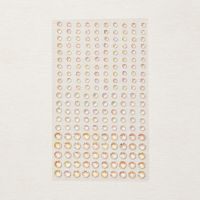
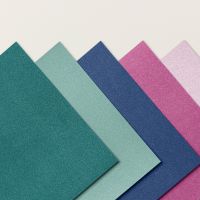
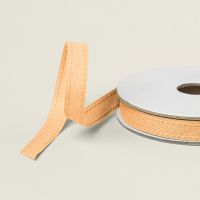
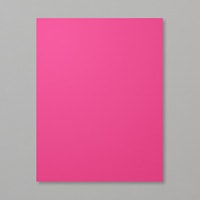
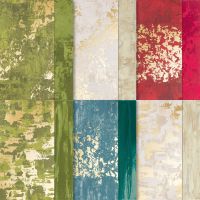
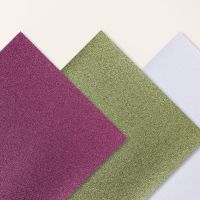
We’re getting started with a really cool fun fold called the Curtain Fold because it really shows off the new Marbled Elegance paper beautifully! Our card starts with a base of Melon Mambo cardstock. The backdrop for our gorgeous curtain fold is a combination of Melon Mambo foil paper (sadly retired) and the creamy Season of Elegance foiled paper that’s been embossed using the Painted Texture embossing folder. The sheet of Marbled Elegance is a combination of pinks, shades of white, and gold foil. Our sentiment from Sending Love is stamped in Melon Mambo on Very Vanilla and then diecut with the Everyday Details circle die. I used the leftover portion of a piece of white glimmer paper cut with Spotlight on Nature dies as the eye-catching border around our sentiment. A strip of iridescent striped trim anchors it against our sparkly background. A few iridescent rhinestones basic jewels and gold hearts finish things off with the perfect amount of twinkle.

The Marbled Elegance paper really is stunning, and I’m looking forward to showing you all the ways you can incorporate it into your everyday designs to give a little extra pop.

Products used in today’s card:
Melon Mambo, Basic White cardstock
Marbled Elegance (coming soon), Season of Elegance, White glimmer, Melon Mambo foil (retired) DSP
Painted Texture embossing folder
Sending Love stamps
Spotlight on Nature, Everyday Details dies
Iridescent striped trim
Iridescent rhinestones basic jewels, gold hearts (coming soon)
Dimensionals
Adhesives
Product List
Coming Soon

Otter Failure

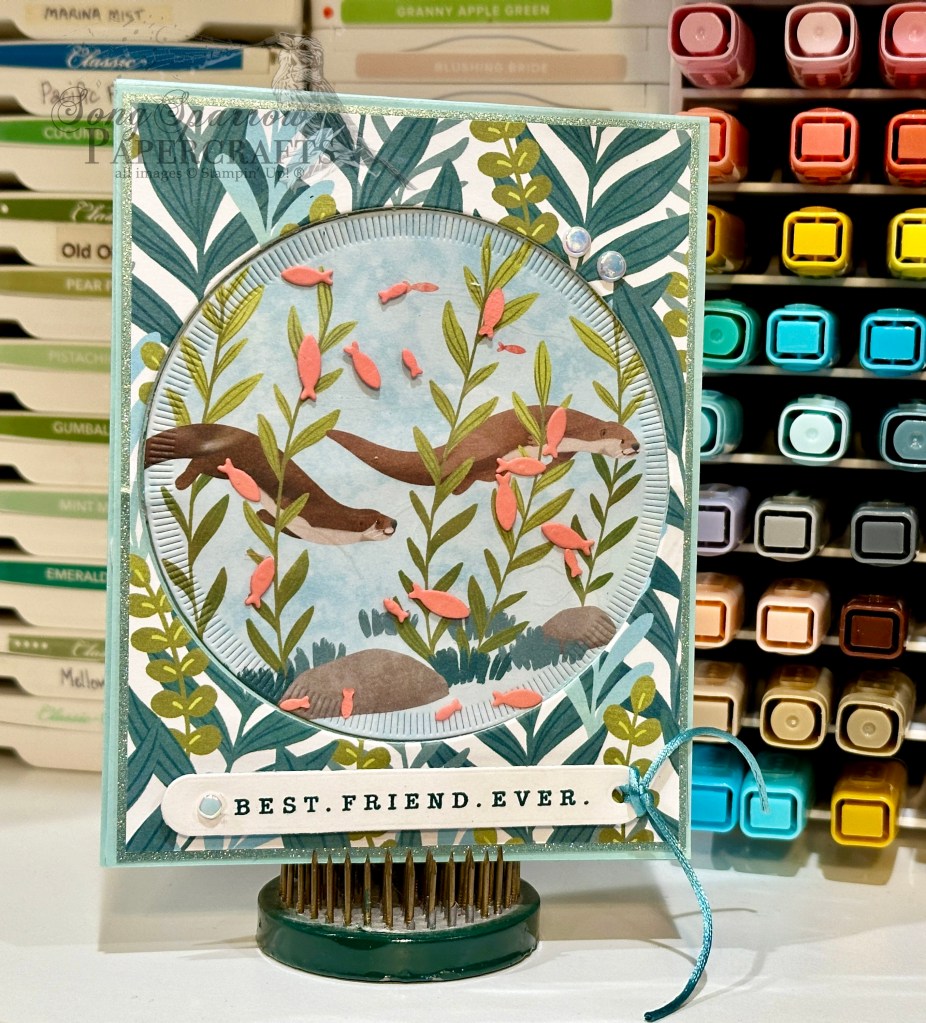
This week, we’re getting a closeup at one of the latest Stampin’ Up! Online Exclusive releases called Otterly Adorable, coming to a cart near you on November 5! This adorable suite of products includes coordinating stamps, dies, and patterned paper, along with some silky cording and pearlized embellishments.

Today, I had planned to show you a super cute flip-panel design, but it turned out to be an otter failure. *snicker* In all seriousness though, my design was flawed from the start and I realized why after I switched gears to salvage the design. So I promise to make good on a cute flip-panel design later this week when I have a bit more time to execute a more complicated design. In the meantime, let’s get a closer look at how a failure turned into a cute peek-through panel.

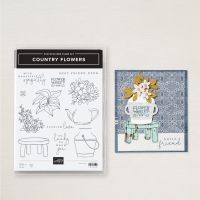
Today’s card starts with a base of Pool Party cardstock. Our backdrop is a combination of Lost Lagoon shimmer pape (sadly retired) and the water foliage pattern from the Otterly Adorable paper pack. Using the largest circle from the Spotlight on Nature die set, I cut a circle through all layers of the card front. Separately, I also used the die to cut the two swimming otters from a separate patterned sheet from the Otterly Adorable pack. I adhered the swimming otters panel to the Pool Party circle and then to a quarter sheet of Pool Party to keep the inside of the card neat and tidy and one color. Behind our backdrop panel, I mounted some acetate to serve as the peek-through window into the water below and adhered all of this to the card front. From Flirty Flamingo, I cut several sets of the smaller fish using the Otterly Amazing dies and let them free-float on the acetate. Our swimming otter panel is adhered to the inside of the card using dimensionals to allow a little room for our fish to swim in the window. The sentiment from Country Flowers is stamped in Pretty Peacock on white cardstock diecut using the Greetings of the Season die and finished off with the Lost Lagoon soft cording. A few riverside irregular pearls add that last touch of sparkle to the design.

When I showed my son my “otter failure,” he said, “but mom, that doesn’t look like a failure….that’s cute!” One of the many lessons I’ve learned is that sometimes you just need to pivot when your first idea doesn’t work out. Not ever failure turns out to be something for the trash bin. Sometimes it’s cute!

Products used in today’s card:
Pool Party, Flirty Flamingo, Basic White cardstock
Soft Shimmer (retired), Otterly Adorable (coming soon), acetate DSP
Otterly Amazing (coming soon), Spotlight on Nature, Greetings of the Season dies
Country Flowers stamps
Lost Lagoon soft cording (coming soon)
Riverside irregular pearls (coming soon)
Dimensionals
Adhesives
Product List
Coming Soon

Make Today Otterly Amazing

In just two short weeks, Stampin’ Up! will release a brand new set of Online Exclusive products, including the too-cute-for-words Otterly Adorable suite. This week, I’m featuring this cute selection of products in hopes of providing some inspiration for your future projects. This bundle has so much potential — from playful designs to love-themed projects and all kinds of things in between!

Today, we’re using the paper and embellishments to create an encouragement card. Pairing the paper with a few dies makes this the perfect scene to bring a smile to someone’s otherwise less than bright and happy day!

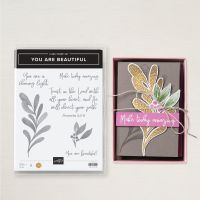
Our card starts with a base of Lost Lagoon cardstock. I chose the watery pattern from the Otterly Amazing paper pack to serve as the backdrop for our scene and matted it with the Pretty Peacock shimmer paper from my retired paper stash. Our focal panel consists of two sheets of paper — the water reed patterned sheet and a cute otter sitting in the reeds from one of the sheets full of otter vignettes. I used the Spotlight on Nature dies to cut the reed background and a smaller inset panel on which our sunbathing otter sits among the reeds. I used my paper snips to cut more detail in this cute vignette and to help it stand out from the background. All of these layers are adhered with varying heights of dimensionals to give more depth and pop to our scene. A twisted some of the new Lost Lagoon soft cording around the background panel before adhering the focal panel. The sentiment from the You Are Beautiful stamp set is stamped in Pretty Peacock directly on our background panel under the focal point. A few riverside irregular pearls are scattered about our card front to add a little sheen and draw the eye across the design.

Tomorrow we’re going to make a splash with a fun fold design!

Products used in today’s card:
Lost Lagoon cardstock
Otterly Amazing (coming soon), Soft Shimmer (retired) DSP
You Are Beautiful stamps
Spotlight on Nature dies
Lost Lagoon soft cording (coming soon)
Riverside irregular pearls (coming soon)
Dimensionals
Adhesives

Product List
Coming Soon

Otterly Amazing

Happy Monday, everyone! I don’t know about you, but I needed a weekend from my weekend. *grin* Craft shows, while always fun, are always exhausting. I got everything home, but I haven’t unpacked a single thing. It’s onward and upward to new products!

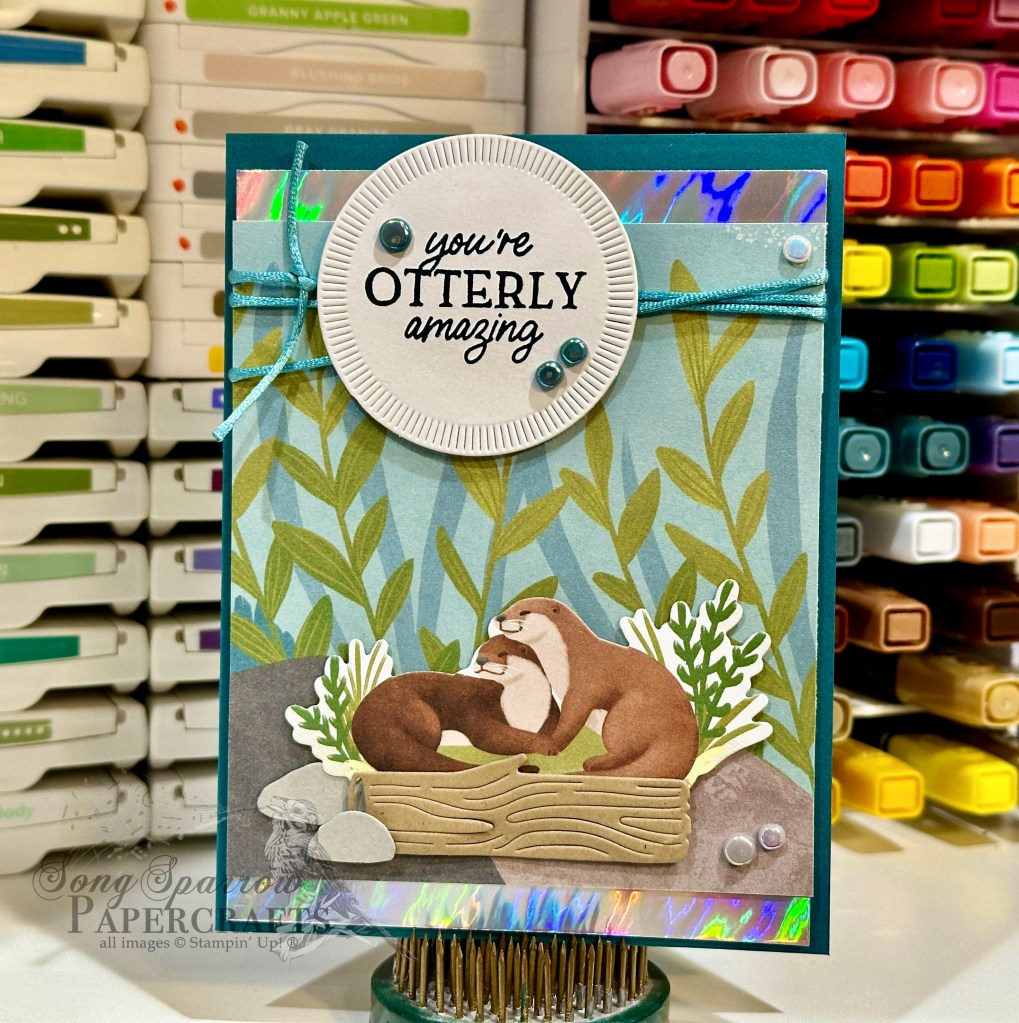
That’s right, in just a few short weeks, there will be a brand new bunch of Online Exclusives. And let me tell you, there are some C-U-T-E, CUTE things in this release, including the suite that I’m showcasing for you this week — the Otterly Adorable suite. This suite includes patterned paper, coordinating stamps & dies, some specialty cording, and iridescent pearls. We’re starting off with a super simple layout.

Our card base is a piece of Pretty Peacock cardstock. Our backdrop is a piece of the patterned scene papers from the Otterly Amazing designer series paper pack that’s releasing soon. I really loved the look of the (now retired) Holographic Trio silver foil and how it looks like a flowing river, and so while I don’t usually use too many products from my retired stash, this one just had to be a part of today’s card! Our cute otter pair is diecut from a sheet of the Otterly Adorable paper using the coordinating Otterly Amazing dies. To complete the scene, I cut our otter’s log den from Crumb Cake cardstock and the rocks from Smoky Slate. Dimensionals add depth and dimension to our scene. The sentiment from the Otterly Amazing stamp set is stamped in Pretty Peacock and diecut using the Spotlight on Nature dies and then mounted over the Lost Lagoon soft cording with dimensionals. A few Riverside Irregular Pearls finish things off with some iridescent sparkle.

This whole set is so cute and I can’t wait to show you all of the ideas I have floating in my head (pun intended!)!

Products used in this card:
Pretty Peacock, Crumb Cake, Smoky Slate, Basic White cardstock
Holographic Trio (retired), Otterly Adorable (coming soon) DSP
Otterly Amazing stamps & dies (coming soon)
Spotlight on Nature dies
Lost Lagoon Soft Cording (coming soon)
Riverside Irregular Pearls (coming soon)
Dimensionals
Adhesives

Product List
Coming Soon · Fun Folds

Happy Birthday Deer

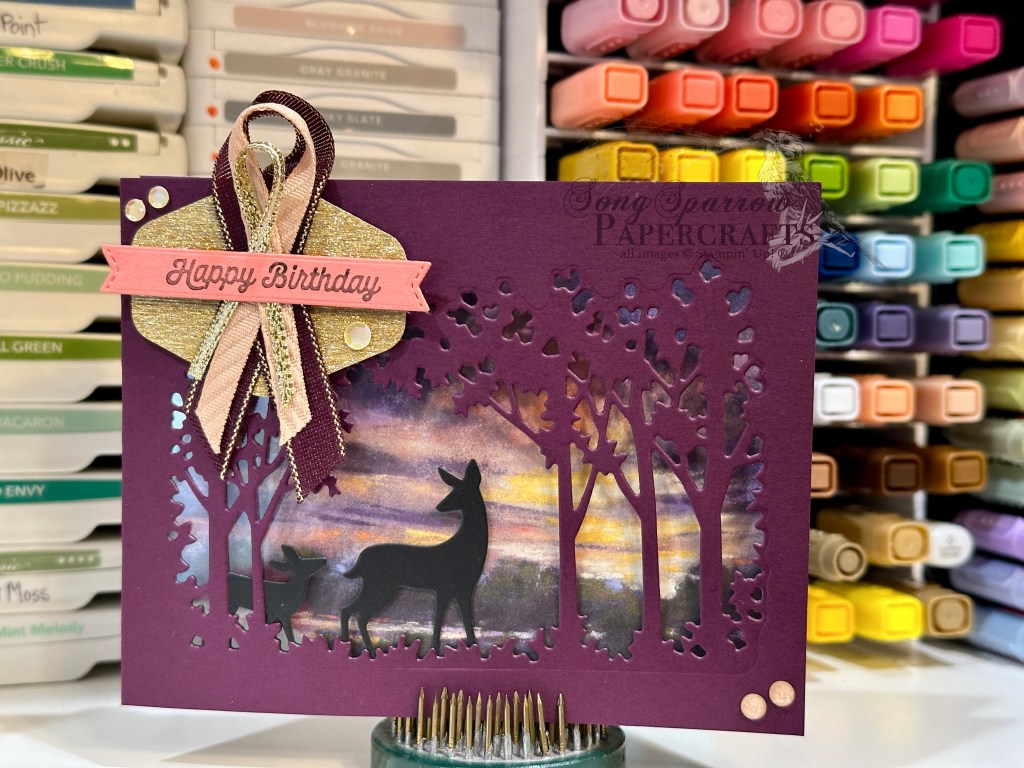
Do you ever see a card design and think, “man, that’s brilliant!” as you’re scrolling Pinterest or some other platform for inspiration? There are some cards that are just show stoppers! Today’s tri-fold card design was inspired by a stunning card posted by fellow demonstrator Stamp With Amy K, and as soon as I saw it, I knew that I had to give it a try for this week’s In the Woods card series.

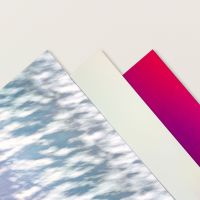
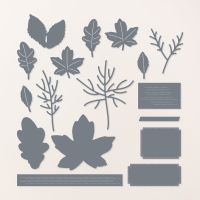
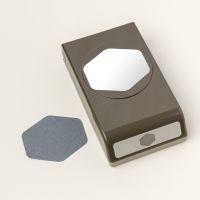
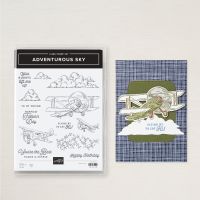
I knew that I wanted to spotlight a gorgeous sunrise scene paper from the upcoming Splendid Autumn paper pack. We get started with this super simple tri-fold fun fold design with a base of Blackberry Bliss cardstock. I laid the open tree grove die from the Grove die set over the sheet of paper to determine what portion I wanted to peek through to the card front and then diecut the front panel of Blackberry Bliss cardstock. I diecut two deer silhouettes in black cardstock with the Grove dies and then adhered them in the grove of trees with tear-n-tape. To keep the deer in place, a sheet of acetate is then adhered to the back of the card front. The focal sentiment from Adventurous Sky is stamped on Flirty Flamingo and diecut using the Happy Little Things banner die. It’s adhered over a ribbon of Blackberry Bliss & Gold, gold trim, and Peach Pie and then mounted to a textured gold hexagonal mat.

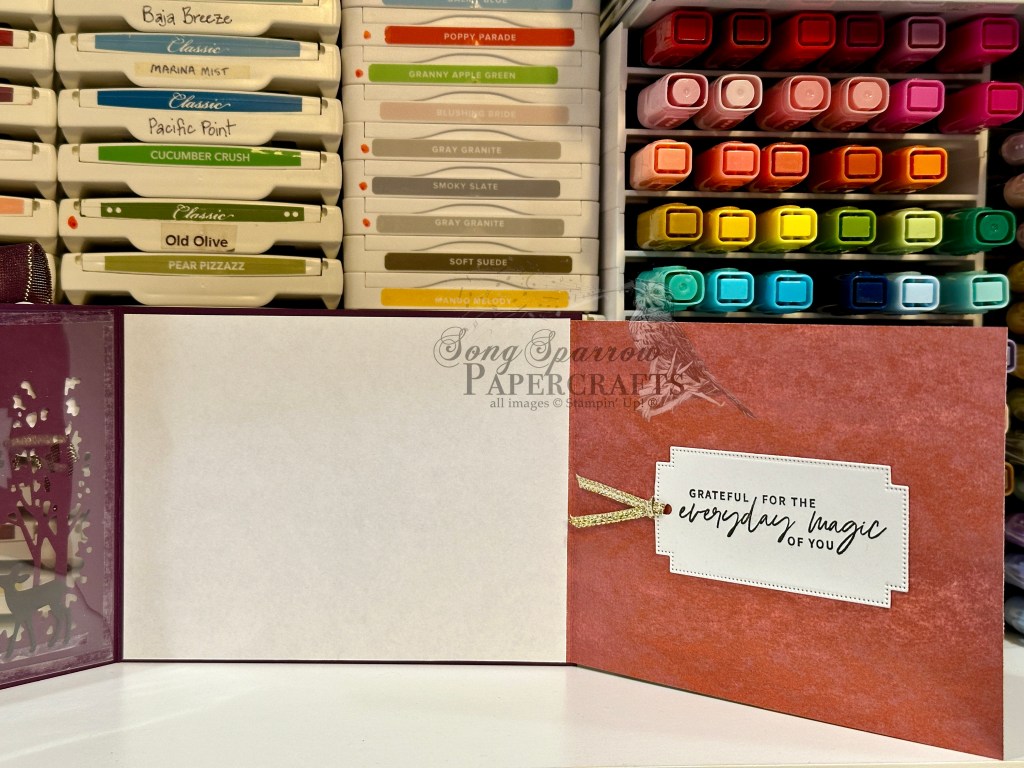
The sheet of Splendid Autumn is then cut to fit inside the card and the far right of the patterned paper panel is scored to create the fold-out portion. The inside card base is covered with white cardstock, which also serves to cover the anchor for the patterned paper sheet.

I stamped the sentiment from Something Fancy in black ink on white cardstock and then diecut with the Greetings of the Season die, adding some gold trim to finish things off before adhering to the fold-out panel. We finish off the whole design with careful placement of shiny sequins and sparkle gems to add twinkles on several of the panels to help draw the eye across and through the full tri-fold.

Although this card looks complicated, it comes together quickly and is even more stunning in person! Tomorrow, we’re going to be walking through a new-to-me design technique. I hope you’ll pop by and check it out!

Products used in today’s card:
Blackberry Bliss, Flirty Flamingo, Basic Black, Basic White cardstock
Splendid Autumn (coming soon!), textured gold DSP
Acetate window sheets
Something Fancy, Adventurous Sky stamps
Grove, Autumn Leaves, Happy Little Things dies
Heartfelt Hexagon punch
Peach Pie bordered ribbon, Blackberry Bliss & gold textured ribbon (coming soon!), gold trim
In Color shimmer gems, shiny sequins
Adhesives

Product List
Coming Soon · sketches · Sketchy Fridays

Sketchy Fridays: Cuppa Thanks

This week we’re exploring all of the ways that we can use our holiday products to make everyday cards. For this week’s Sketchy Fridays, we’re taking a little detour from the Annual Catalog and, instead, are taking a page from my personal sketch book. And today, we’re pairing our sketch with the new Take a Bow patterned paper and Joyful Images ephemera both of which will be available on September 6th.

We get started with a base of Balmy Blue cardstock. Our center strip of patterned paper is from the Take a Bow paper pack and provides a colorful grounding base for our focal panel. Our focal panel backdrop consists of a piece of Garden Green cardstock embossed with the Cute Crochet embossing folder that is mounted on the mercury vellum sheet. The mug of hot chocolate is from the Joyful Images ephemera pack. A few adhesive peppermints add some visual texture and interest. The sentiment from Simply Zinnia is stamped in black on white cardstock and then diecut using the Autumn Leaves die. A faux bow of gold trim behind brings another pop of gold to the design, tying our full focal panel together as one. The mug and sentiment are adhered over a Graceful Greenery vellum panel diecut with the Nested Essentials dies. Iridescent faceted gems across the design help the eye pass across and to the sentiment.

We’re closing out our design series tomorrow with a stunning sympathy card. You don’t want to miss it!

Products used in today’s card:
Balmy Blue, Garden Green, Basic White cardstock
Take a Bow (coming soon!), Graceful Greenery vellum, mercury vellum DSP
Simply Zinnia stamps
Nested Essentials, Autumn Leaves dies
Cute Crochet embossing folder
Joyful Images ephemera (coming soon!)
Real Red & White peppermints (coming soon!), iridescent faceted gems
Gold trim
Dimensionals
Adhesives

Fun Folds · Terrific Tuesdays

Diamond Birthday

Do you ever see a special fold and think WOW? That’s precisely what happened when a fellow demonstrator shared the Diamond Fold with our team. And I’m glad to finally have the time to sit down and learn this fold. It looks far more complicated than it is, and it is absolutely a perfect way to spotlight beautiful patterned paper!

This week, we’re looking at all the ways we can use traditional holiday products in everyday designs. Today, we’re pairing the Season of Gold & Green designer paper with part of the new Season of Elegance suite to make this gorgeous Diamond Fold card.

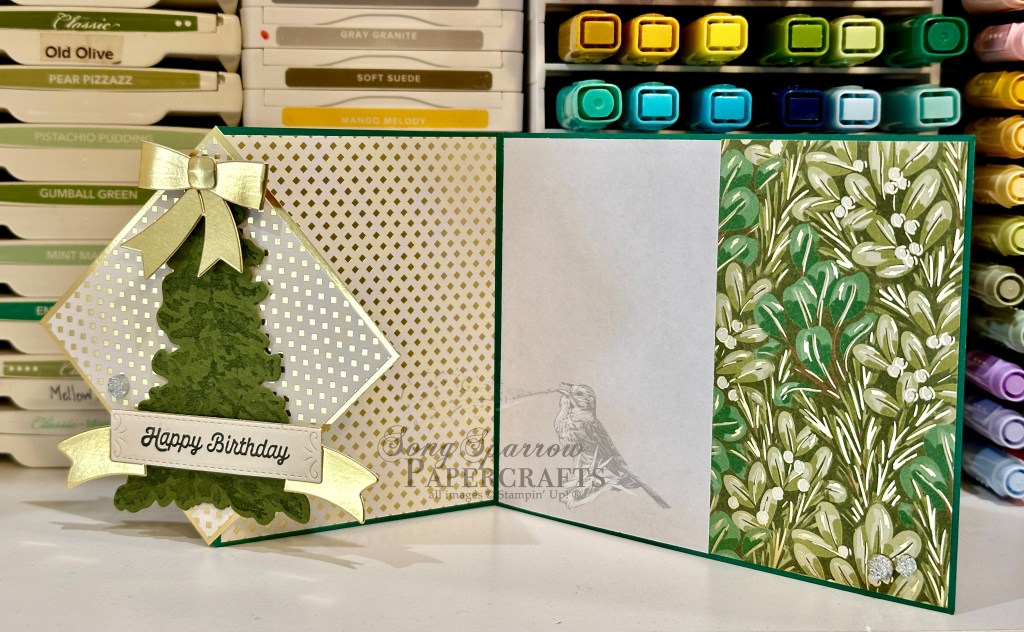
We get started on today’s fun fold design with a base of Shaded Spruce cardstock. We cut a standard-sized base but in landscape orientation with a fold in the center and then one to divide the second half. I chose two different patterns from the Season of Green & Gold designer series paper pack, a current Stampin’ Up! Online Exclusive. We’re bringing out the gold foiling by using the gold foil specialty paper as an accent color on our diamond panel. Our focal image is the largest tree from the new Peaceful Evergreens bundle. It’s stamped and diecut from Mossy Meadow with a gold bow diecut and added to the top. The new Peaceful Evergreens die set that will release on September 6th with the Holiday Mini catalog includes a set of dies to make paper bows and it really makes it easy to have perfect bows for your cards! Our sentiment from Adventurous Sky is stamped in black on Very Vanilla cardstock and then diecut using the Peaceful Season dies. This panel is mounted on a gold foil banner diecut with the largest banner from that same die set. I added some drusy embellishments for lots of extra sparkle and to help draw the eye across the card front.

Tomorrow we’ll be using a sketch to create a super fun thank-you design. I hope you’ll stop by and check it out.

Want to know how to make today’s card step-by-step? You can catch this week’s of episode of Terrific Tuesdays to see this card come together from start to finish. I’ve also provided a FREE PDF tutorial here. Please note that some of the products shown will not be available until September 6th.

Products used in today’s card:
Shaded Spruce, Mossy Meadow, Very Vanilla, Basic White cardstock
Season of Green & Gold, gold foil DSP
Adventurous Sky stamps
Peaceful Evergreens stamps & dies (coming soon!)
Peaceful Season dies (coming soon!)
Drusy embellishments (coming soon!)
Dimensionals
Adhesives
Holidays · Winter

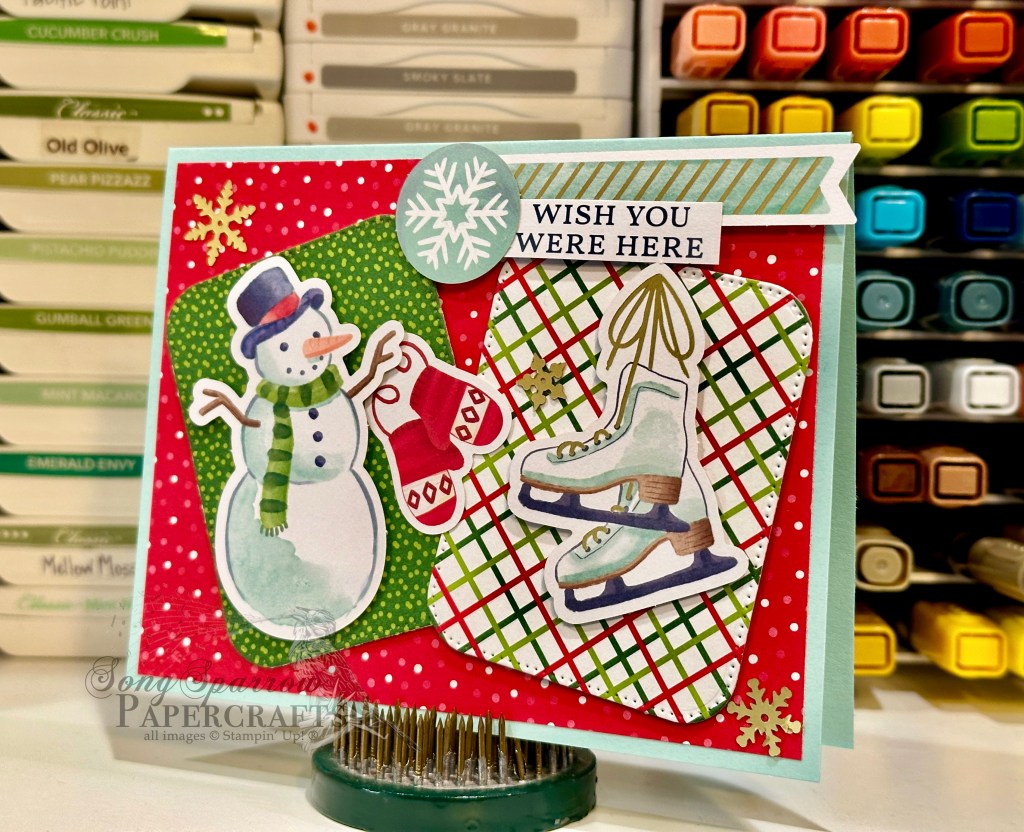
Wish You Were Here

Thanks for joining me today as we continue our new design series — using holiday products to create everyday designs. I don’t know about you, but I tend to look at products in a holiday release from a single lens. But very often, these products are intended for designs far outside specific holidays.

Today, we’re using the new Take a Bow paper and Joyful ephemera packs to create a missing-you card. For me, there’s no question that the winter holidays make me think of friends and loved ones far away. So why not send them a card to let them know?!

We get started with a base of Pool Party cardstock. All of the patterned papers come from the Take a Bow paper pack, which will release on September 6th. I used the Nested Essentials dies to cut the two image background panels that hold our focal images from the Joyful Images ephemera packs. The sentiment comes from the Joyful Sayings ephemera pack. Varying layers of dimensionals behind elements gives depth and interest to our design. We finish things off and tie things together with a few gold snowflakes to bring out the gold striping in the sentiment banner backing.

Tomorrow we’re making an elegant sympathy card that is definitely a must-see! I hope you’ll pop in and check it out.

Products used in today’s card:
Pool Party cardstock
Take a Bow (coming soon!) DSP
Joyful Sayings & Images ephemera (coming soon!)
Nested Essentials dies
Snowflakes
Dimensionals
Adhesives
Coming Soon · Winter

Glad You Exist

I don’t know about you but I really love getting snail mail. I have since I was a very little girl. Some of my most cherished memories in my scrapbooks are handwritten notes from loved ones and friends. It’s one of the reasons that I continue to send notes to people I care about and why I became a cardmaker.

This week, we’re exploring ways we can use our holiday products for designs that speak to the everyday. Today’s card can serve a number of occasions — from birthday to encouragement to anniversary — and goes beyond the bounds of winter.

We get started with a base of black cardstock. A sheet of the Pretty Peacock and gold Season of Elegance designer paper serves as our gorgeous backdrop. Our focal panel base is a piece of white woodgrain from the Nests of Winter paper pack diecut with a larger Spotlight on Nature die. The focal image of the pair of titmice birds is fussy cut from another pattern of the Nests of Winter pack. The sentiment from the Saying Hey stamp set is stamped in black in white cardstock and then diecut using the Greetings of the Season banner die. A few Pretty Peacock and gold sequins across the card front add sparkle and draw the eye across our focal panel.

Tune in tomorrow as we use our ephemera packs to create a design to reach across the miles.

Products used in today’s card:
Basic Black, Basic White cardstock
Nests of Winter (coming soon!), Season of Elegance (coming soon!) DSP
Saying Hey stamps
Spotlight on Nature, Greetings of the Season dies
Sequins trio, neutrals sequins
Dimensionals
Adhesives
Coming Soon · Holiday Mini Catalog

Christmas in the Air

I don’t know about you, but I’ve had a ball digging into my box of Stampin’ Up! Holiday Mini catalog preorder goodies and sharing sneak peeks with you. One of the many perks of being a demonstrator is having the opportunity to order new items early, and I love being able to share my excitement about new products with you.

Today, we’re getting a look at a new embossing folder called Painted Trees, which is part of the larger suite that we worked with yesterday. This embossing folder is on the larger side, which is perfect for anyone who prefers making larger-sized cards. For today’s card, I kept things really simple. Let’s take a look.

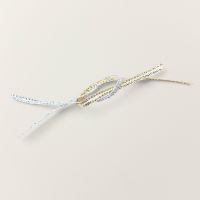
We get started with a card base of Basic White cardstock. While cut to a standard size, I did orient the score line at the top of the portrait orientation. The base of our front panel is a sheet of the new Take a Bow designer paper. For our focal panel, we start with a quarter panel of Pool Party cardstock, which is cut down so that a narrow border of our base shows on all sides. I then machine embossed this panel using the Painted Trees embossing folder. I oriented the tallest tree so that it would be in the center of my panel, which gives just partial images of the smaller trees on either side. Using my sponge daubers, I went over the embossed portions with Mossy Meadow and Old Olive inks to bring out the details of each tree. I then sponged around the trees with Pool Party ink to give more depth and variation to the sky in the background. I used my water painter to flick diluted white craft ink on the panel to give the look of fluffy falling snow. Our sentiment panel is diecut from Garden Green cardstock using the Peaceful Season dies and then the sentiment from Peaceful Season is heat embossed in white. The word Christmas is diecut from white glimmer paper using the Peaceful Season die. I thread the silver & white sheer ribbon through the ends of the sentiment panel and tied a bow on one end to affix it to the card front. A few adhesive snowflakes finish things off.
I just love this embossing folder and can think of so many other sets that could be paired with it to create some really beautiful scenes. But this design is super simple and easy to replicate and is definitely going into my rotation of Christmas cards this year!

Next week, we’re going to look at our designer papers a little differently. I hope you’ll tag along as we turn patterns that may seem seasonal into designs for all occasions.

Products used in today’s card:
Basic White, Pool Party, Garden Green cardstock
White glimmer, Take a Bow (coming soon!) DSP
Peaceful Season stamps & dies (coming soon!)
Painted Trees embossing folder (coming soon!)
White embossing powder
Silver & white sheer ribbon
White snowflakes
Dimensionals
Adhesives