Clean and Simple · Coming Soon

Wishing the Very Best

Happy Tuesday, everybody! It’s the last week of summer break for us, so we’re getting in all the last minute trips for clothes and shoes and supplies before it’s off to high school next week. Is it time for school to start in your area?

I’m having fun finding ways to use some of the new goodies that have arrived over the last couple of weeks. And today we have another little sneak peek of a product that will launch with the September holiday catalog — the Softly Woven embossing folder. It’s the perfect complement to the Everyday Essentials patterned paper.
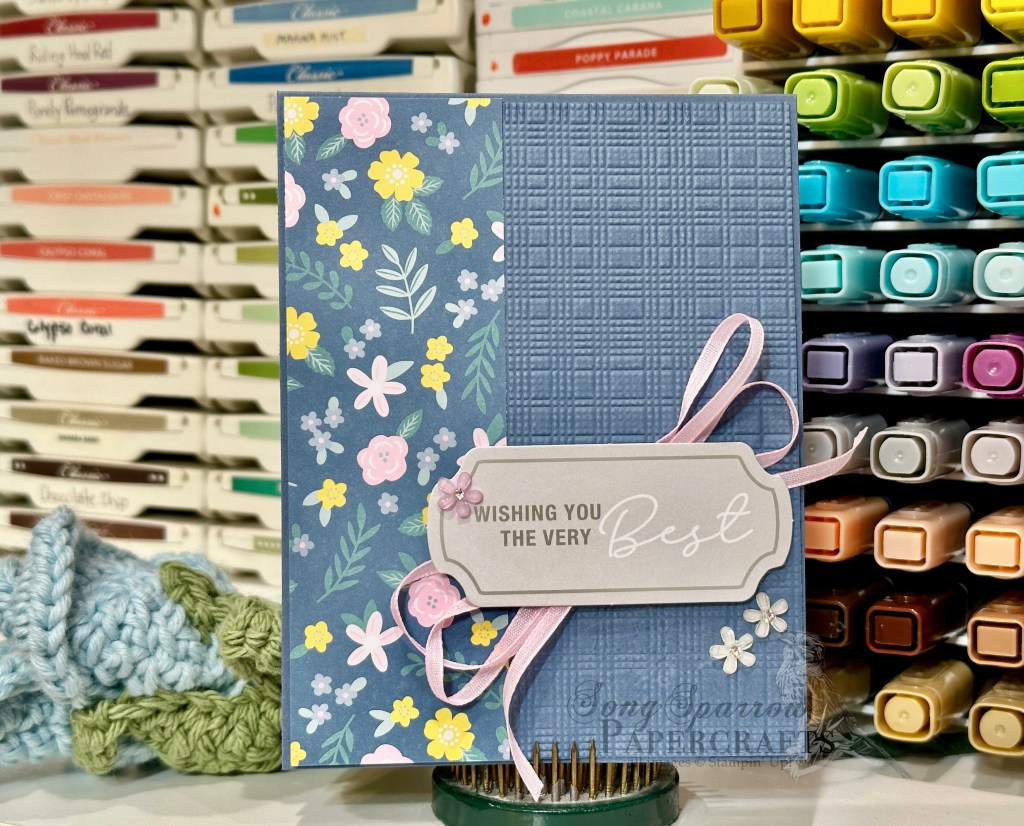
We get started with a base of Misty Moonlight cardstock. The focal panel base is a quarter sheet of Misty Moonlight that’s machine embossed with the Softly Woven embossing folder and then a strip of the Everyday Essentials paper is adhered on the left side. The sentiment from the Sincerely Noted ephemera pack is mounted over a Bubble Bath linen bow using dimensionals. And then we finish things off with a few adhesive blooms. So simple, but isn’t it lovely?!

Tomorrow we’re going to play with some new dies. I hope you’ll drop back and check it out.

Products used in today’s card:
Misty Moonlight CS
Everyday Essentials DSP
Softly Woven EF (coming in Sept)
Sincerely Noted ephemera
Bubble Bath linen ribbon
Adhesive blooms
Dimensionals
Adhesives
Clean and Simple

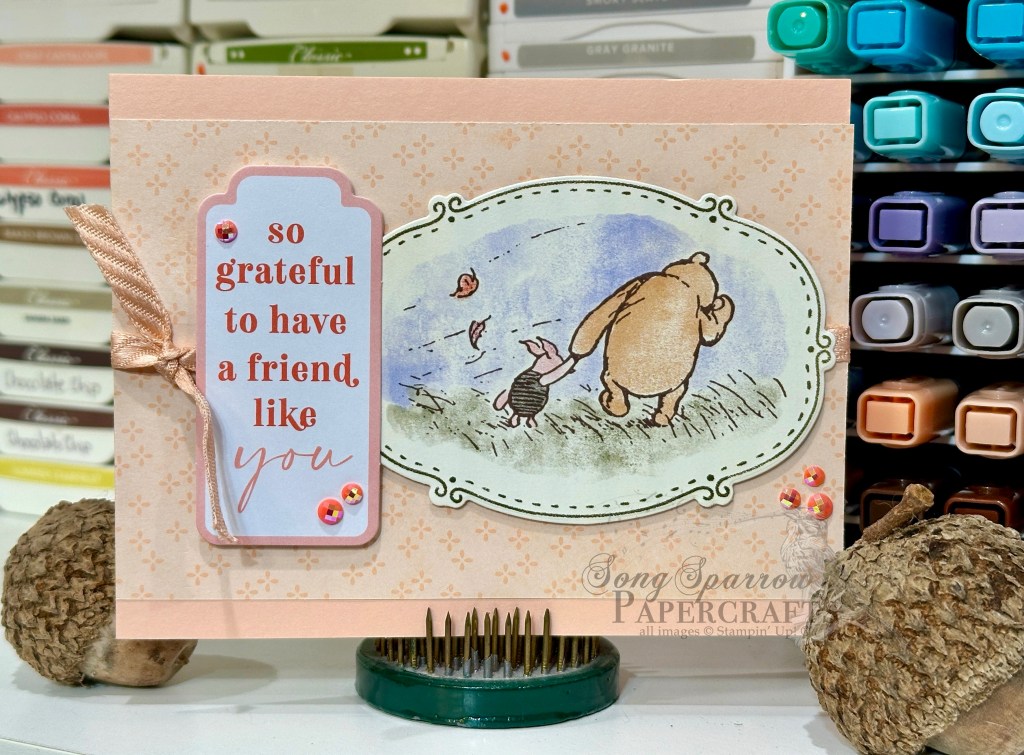
A Friend Like You

TGIF and happy weekend, everybody! I actually had this card all ready to go last night but ran out of juice to do the photo editing and write-up. So it goes sometimes. We’re midway into a busy Saturday as we shuttle the kiddo around for bowling league and school supplies and the like. What are you up to this weekend?

This week, we’re keeping clean & simple at the forefront as I continue to hunt for my crafty mojo. I have to say that this particular card was a struggle for me. I knew what I wanted to put together but was having a hard time getting it right. So I picked the kiddo’s brain. Do you ever do that? Phone a friend? Sometimes it can be super helpful when you’re feeling stuck. What I needed to make this card right was the appropriate color palette, which seemed obvious after the kiddo pointed it out!

We get started with some Petal Pink cardstock as our card base and then use a sheet of the Lovely Blossoms paper as the backdrop for our focal section. The backdrop is wrapped in some retired Petal Pink striped ribbon before the panel is adhered to the card front with adhesive runner. Our focal section consists of the cute Pooh & Piglet image panel and then sentiment. The image panel is cut from a sheet of the Silly Old Bear paper using the coordinating Sweet Words & Labels dies. Both panels are adhered to our card front using layers of dimensionals. And we finish things off with some of the Petal Pink pearlized faceted circles for a little sparkle.

I just love how the image and the sentiment work together for this one, which I think is why I struggled so much with the layout at first. I was dead set on using the sentiment because nothing says wonderful friend like someone who holds your hand through life’s topsy-turvy moments!

I’m hoping to bring you one more clean and simple design to round out our week. But first….we have a few more things to knock off our Saturday to-do list!

Product List
Clean and Simple

Gallery Sympathy

Welcome back, friends! We’ve gotten a small reprieve from the heat here in North Texas as Tropical Storm Bertha moves ashore in the Gulf and we’re getting some much-needed wind. So now instead of feeling like we’re in a furnace, it just feels like you’re standing in front of the hair dryer. Could be worse? And that also meant that my office was a touch cooler today also as the streak of no-AC days continues.

Here in the craft room, it’s nice and cool (I’m actually freezing!) and I whipped up another clean and simple card as I continue searching for my crafty mojo. I’m on an ephemera kick — the Sincerely Noted pack, to be precise — as it makes another appearance in today’s card, along with the Beautiful Gallery paper.

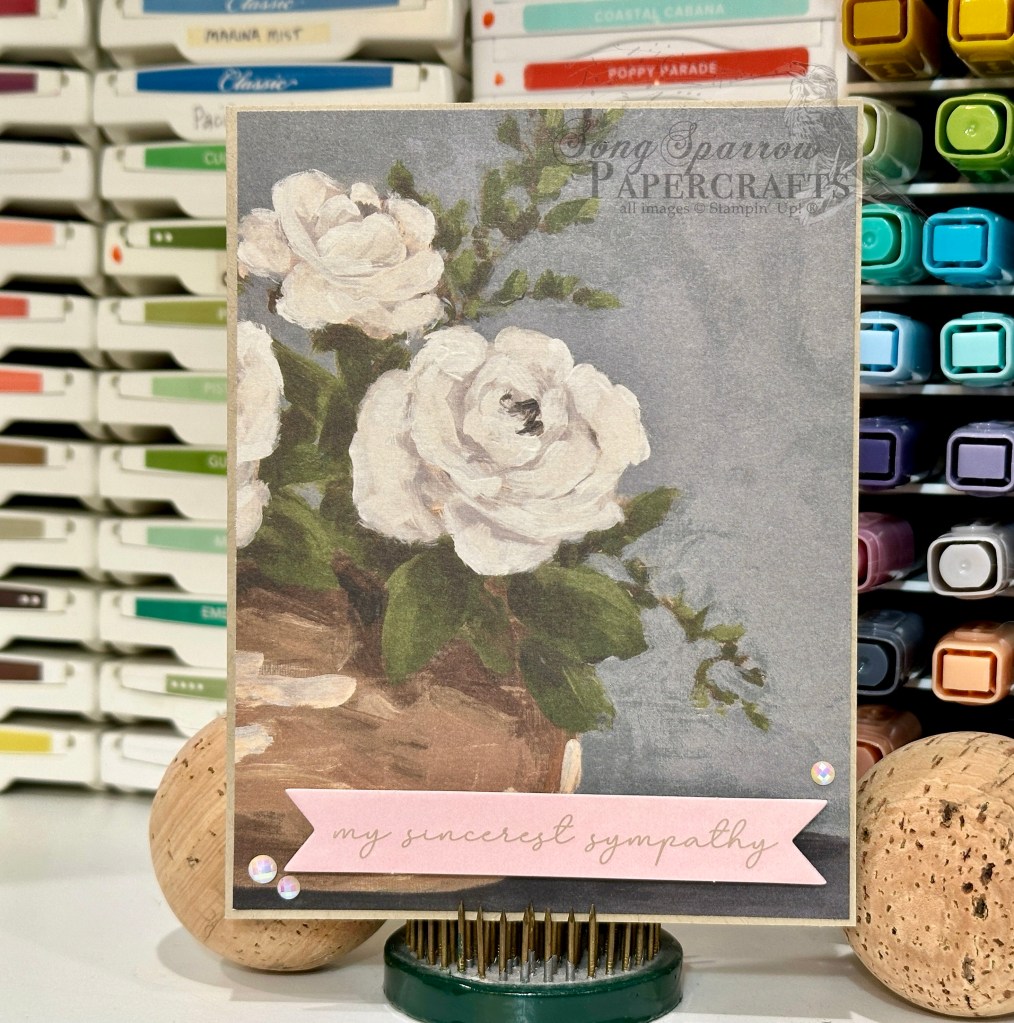
We have just a couple of elements involved in this card. Our card base is made from Crumb Cake cardstock, and we use a whole sheet of the Beautiful Gallery paper to create our focal panel. The sentiment is from the Sincerely Noted ephemera pack and is adhered over our focal panel with dimensionals. We finish off with some pearlized faceted dots on either side of our sentiment. And that. is. it. Simple. Understated. Classy.

I hope you’ll pop in tomorrow to see what clean and simple design we might put together next. Not even I know at this point. *snicker*

Product List
Clean and Simple

Hip-hip Hooray for Birthdays

Welcome back, everyone! I’m still looking for my missing crafty mojo, and it doesn’t help that we’re in the middle of a typical Texas summer roasting session. AND the AC is out in part of my office. Womp-womp all the way around!

But I did manage to eke out another clean & simple design today. And we’re letting the Violet Dreams paper and diecut sheet take center stage with our ephemera.

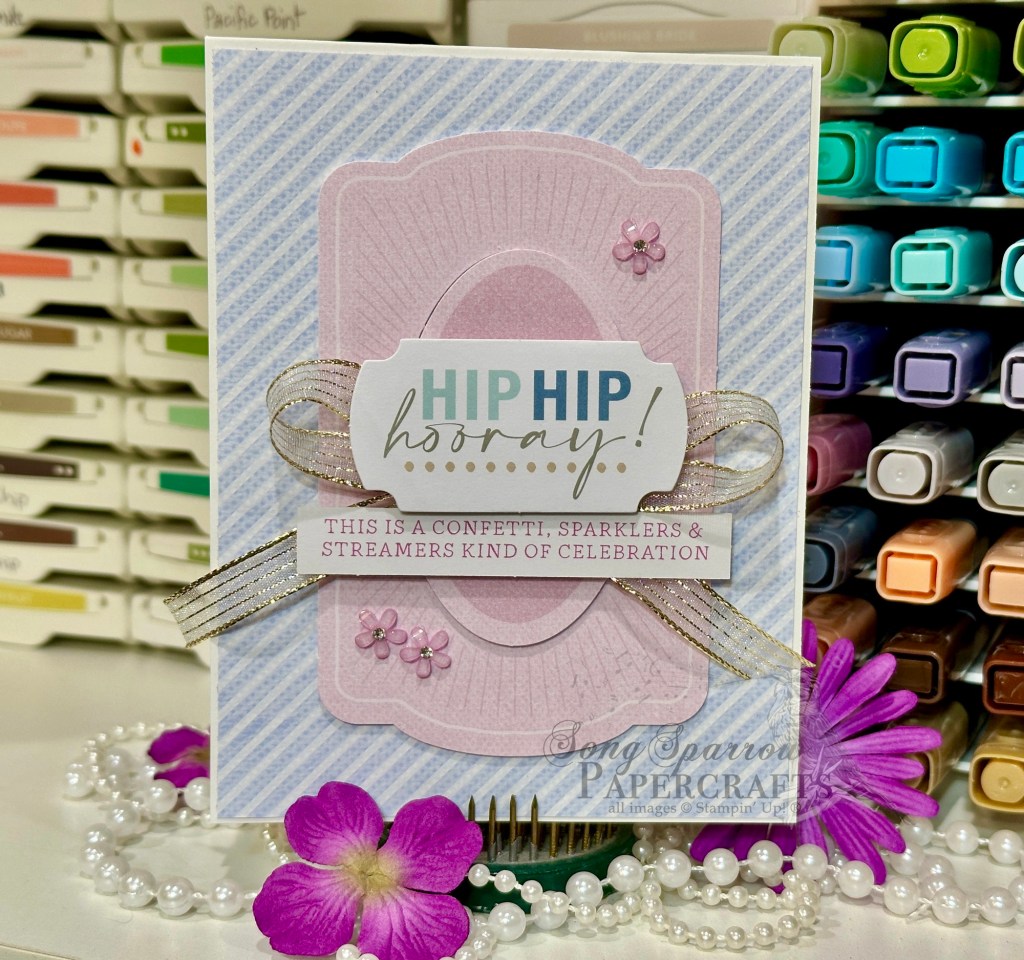
We get started with a base of Basic White cardstock. A sheet of the striped Cloud Cover paper from the Violet Dreams pack serves as our backdrop. A Fresh Freesia diecut element from the paper pack is our focal panel background, which is adhered to our card at different heights using dimensionals. Our sentiments come from two separate ephemera packs — the new Sincerely Noted and the Saying Something packs. The sentiments are adhered over a bow of striped gold ribbon using dimensionals. And we finish things off with a few adhesive flowers.

I hope you’ll drop in tomorrow to see what’s next in our clean & simple series!

Products used in today’s card:
Basic White CS
Violet Dreams DSP
Sincerely Noted, Saying Something ephemera
Gold striped mesh ribbon
Adhesive blooms
Dimensionals
Adhesives

Clean and Simple

Sending You Love

Happy Tuesday, everyone! Tuesdays are always exciting days for demos in SU! land because it’s corporate news day. And today, it’s opening of preorder today for the new catalogs. So I’m pouring through all of my tabs and trying to make some decisions about what I’d like to get in hand sooner rather than later.

But enough about that. Let’s get to today’s card. This week, I’m still looking for my missing crafty mojo so we’re keeping things clean & simple. And as promised yesterday, today I’m playing around with the Scenic Coast paper again.

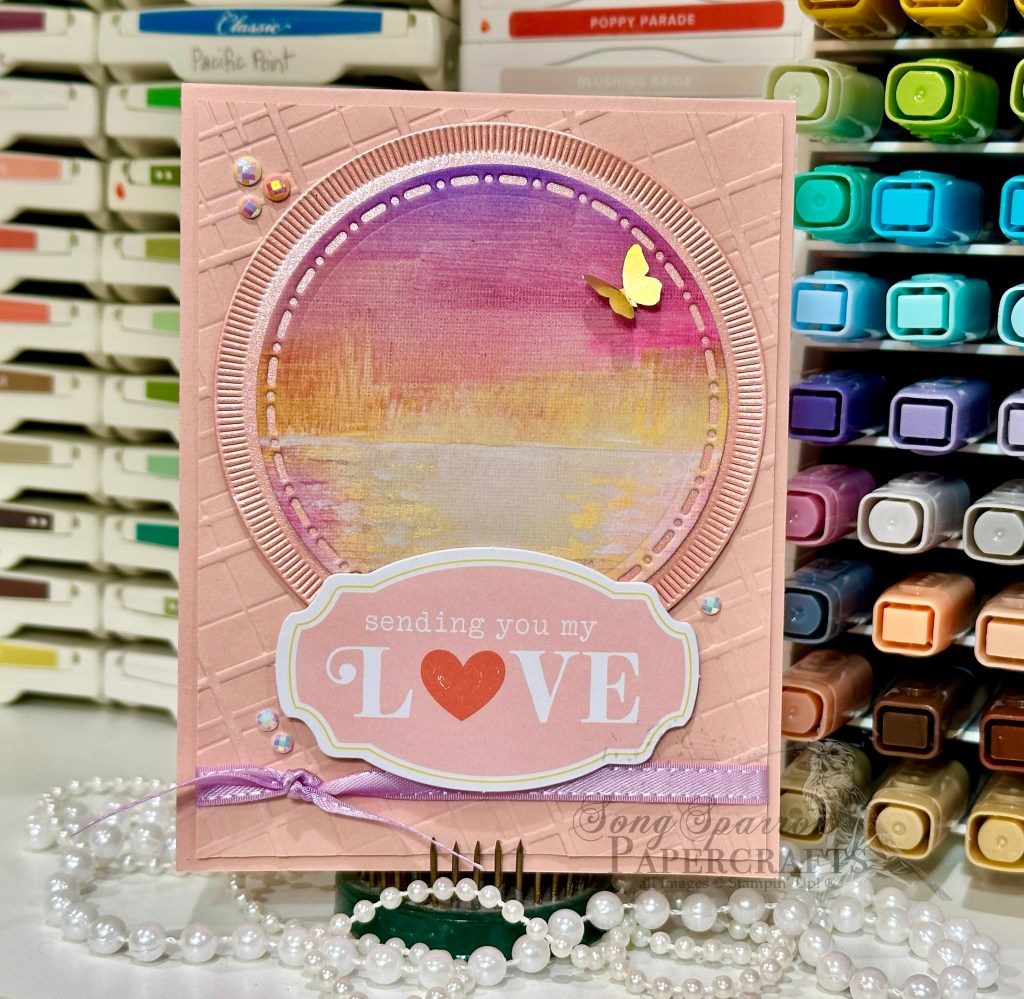
We get started with a base of Petal Pink cardstock. The base of our focal panel is also Petal Pink paper that has been machine embossed on the diagonal using the Forever Plaid embossing folder. A ribbon of Fresh Freesia is tied around the bottom and then the panel adhered to the card front with dimensionals. Our focal image is a sheet of the lovely Scenic Coast paper that has been diecut using the Spotlight on Nature dies and then matted with a circle of Crisp Cantalope pearlized paper that’s also cut with a larger Spotlight on Nature die. The full panel is adhered with dimensionals so it rises above the embossing. The sentiment panel is from the Sincerely Noted ephemera pack and adhered at the bottom of the focal panel with several layers of dimensionals. We finish things off with a scattering of pearlized faceted circles and a small gilded butterfly.

One thing I’m reminded of with this week’s design theme is that cards don’t have to have a lot going on to be beautiful or to speak from the heart. I hope you’ll drop in tomorrow to see what’s next in our clean & simple series!

Products used in today’s card:
Petal Pink CS
Scenic Coast, Crisp Cantalope pearlized DSP
Forever Plaid EF
Sincerely Noted ephemera
Spotlight on Nature dues
Fresh Freesia satin ribbon
Pearlized faceted circles
Gilded Wings accents
Dimensionals
Adhesives

Clean and Simple · Vacation

Scenic Hooray

Howdy, crafty friends! It’s been a minute. My mojo flat disappeared and the summer schedule got hectic, so I decided to take a little break. Work has been crazy busy. The kiddo is keeping us hopping with his bowling lessons & league. We’ve unplugged and taken a family vacation. And we’ve just generally loafed around and enjoyed some of the World Cup.

While all of that has been going on, there’s been so much happening in SU! land. Over the last several weeks, we’ve had an Online Exclusives launch, a new foiling system launch, and demos have gotten the sneak peek at the newest catalogs. I’m looking forward to digging in to the new things that have come to my crafty goody collection and hopefully can find my crafty mojo along the way. So this week we’re keeping things clean and simple. That’s literally our design theme. We’re going to let some awesome products take center stage without a whole lot of fuss.

First up is this fun card using the Scenic Coast patterned paper. I passed on ordering it when it first launched and it’s been such a hot item that it goes out of stock as quickly as Stampin’ Up! restocks it! But wanna know one thing I love about the SU! website? You can set up a notification for out-of-stock items on your must-have list, and you’ll get an e-mail as soon as the new batch hits the site. So I was able to swipe a package of the beautiful foiled Scenic Coast paper when it came back online a few weeks ago. And man, I love it even more now that I can see it in person!

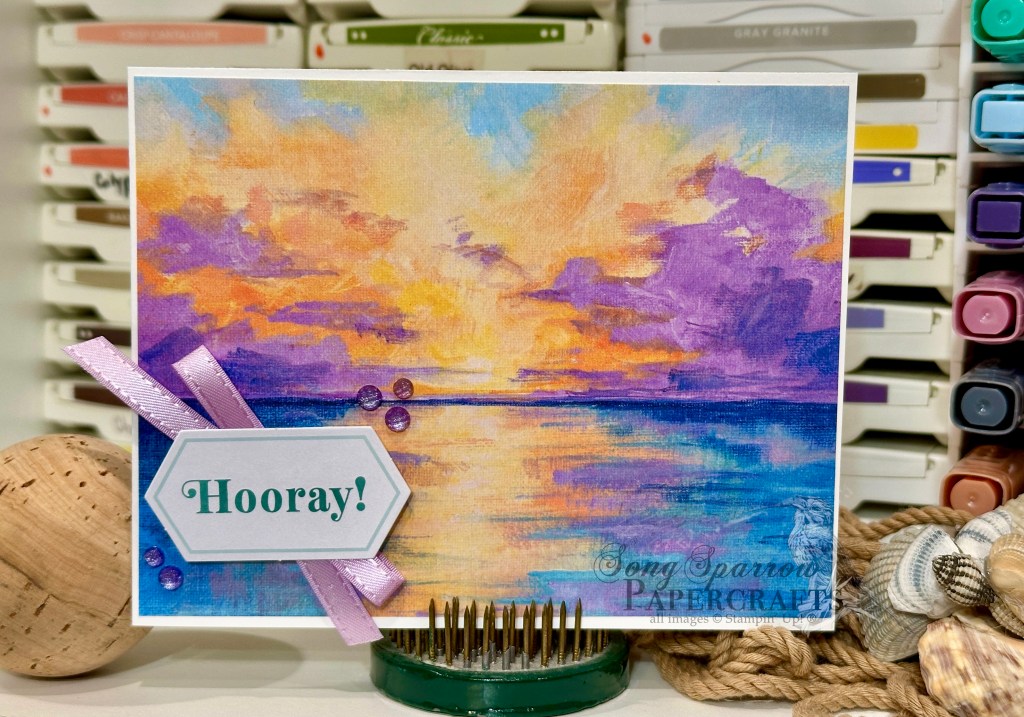
So this super simple card gets started with a base of white cardstock. To be honest, I tried a lot of different color combinations and decided that the contrast of the white with the paper really allows the gorgeous patterned paper sing the best. I finished things off with a simple sentiment from the Sincerely Noted ephemera set and adhered it over a bow of Fresh Freesia ribbon using several layers of dimensionals. I still have some of the beautiful (retired) purple shimmer gems in my stash and put them on either side of the sentiment for just a touch of additional sparkle. What’s super difficult to capture in photos is how beautifully the reflection in the water sparkles. It’s really something!

I have a feeling we’ll be playing the Scenic Coast for a few more designs this week. It just lends itself to clean & simple!

Product List
Clean and Simple

Beautiful Day

TGIF, everybody! We made it to Friday, and I am definitely looking forward to the weekend. Do you have fun plans for the weekend? I have all kinds of things on the to-do list and hope to cross some of those off.

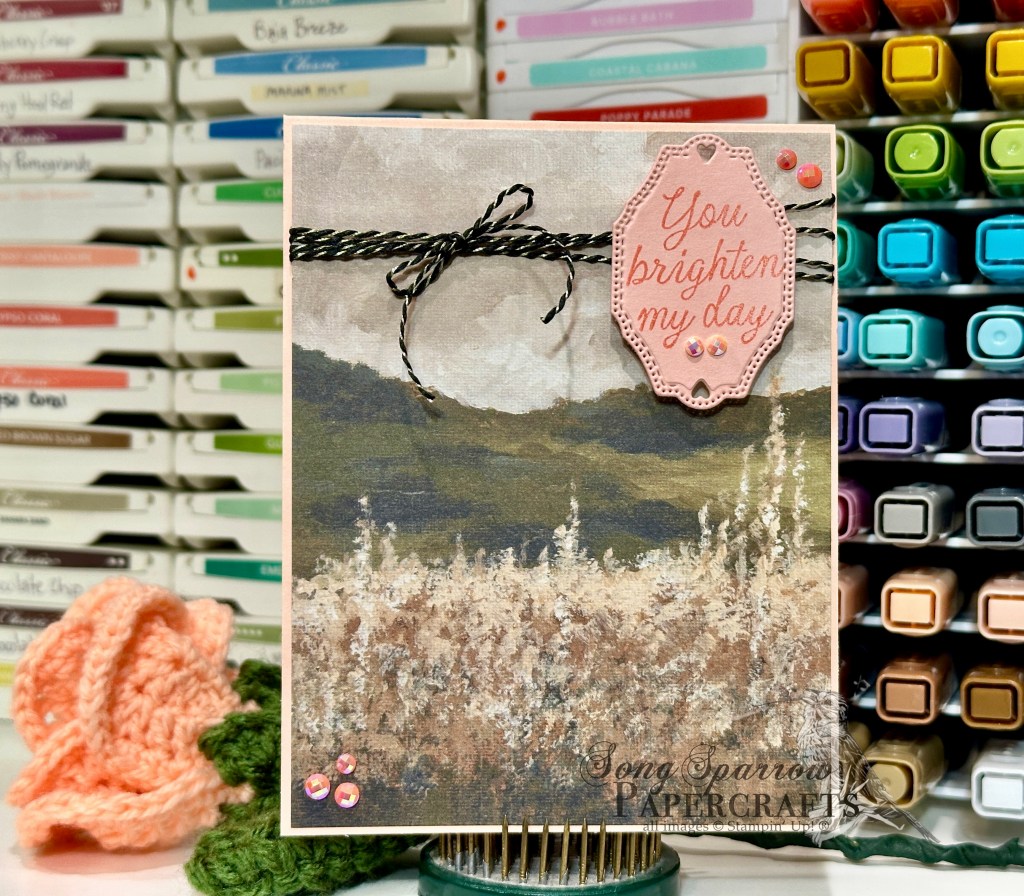
This week we’re working with the new Beautiful Gallery patterned paper pack. This pack has so many frame-worthy patterns that it makes it such a task to cut it down. Today we’re using one of my favorite paper-save-it techniques to all but a teensy strip of the beautiful meadow pattern from the pack. We’re pairing it up with the new Sweet Words & Labels dies and the Sunset Coast stamps to make this clean & simple design.

We get started with a base of Petal Pink cardstock. I chose the rolling meadow pattern sheet from the Beautiful Gallery paper pack as the focal panel for the card front and cut it so that there is just a tiny border of our Petal Pink around each side. Save that strip you have left because we’re going to be using it! The panel is wrapped with black & gold baker’s twine before being adhered directly to the card front. The sentiment from the Sunset Coast stamp set is stamped in Flirty Flamingo onto a sentiment panel diecut from Petal Pink using the Sweet Words & Labels dies. The sentiment is adhered over the twine wrapping with several layers of dimensionals to be sure it stands nice and proud over the twine. A few pearlized faceted circles in opposing corners finish things off with the subtlest of pink-hued twinkle.

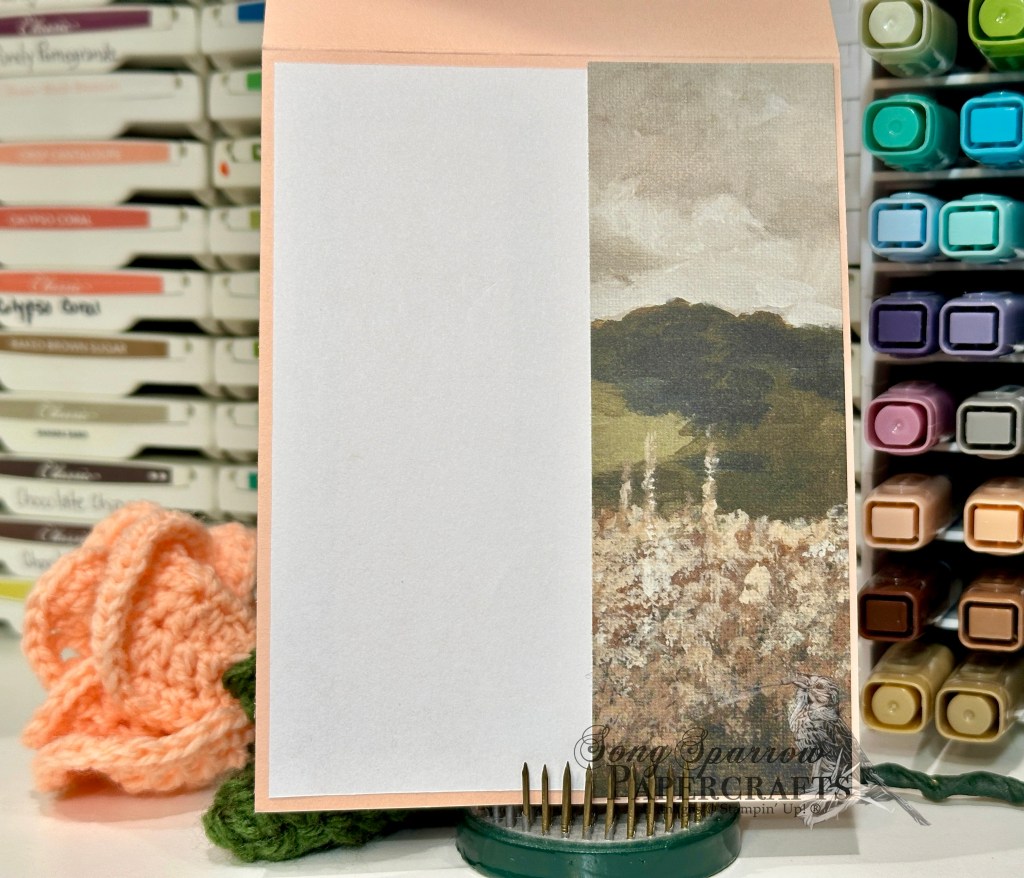
And we use that extra strip of the gorgeous paper to dress up the message panel on the inside of our card.

Such a clean and simple design and super easy technique to put the whole beautiful sheet of paper to work. What do you think? Tomorrow we’re going to cut some paper and combine some patterns. I hope you’ll drop in and check it out!

Product List
Clean and Simple · On Display

Just for You

Happy Tuesday, everybody. I still find it hard to figure out what day of the week it is after being home sick and just the holidays generally. Anybody else? Slowly but surely we’ll get back in the groove. But not before another holiday interrupts our week!

This week we’re playing with some of my new crafty goodies that arrived. And we’re keeping it simple again today with the new On Display stamp & die bundle. All of the little images in this set make it easy to make quick, clean & simple cards, which is super helpful when you’re short on time but don’t want your card to show short on thoughtfulness. Today we’re pairing up On Display with the current Product of the Month True Blue Florals paper to create this cutie.

We get started with a base of Balmy Blue cardstock and we’re using the floral pattern (that reminds me of my grandmother’s wallpaper) from the True Blue Florals paper pack as our backdrop. I wrapped this panel with some Misty Moonlight linen thread to tie all of our hues of blue together. The focal panel is cut from white cardstock with the smallest die in the Branching Out set and then matted with Misty Moonlight glimmer paper from the Peaceful Garden glimmer pack that’s diecut with the next size up. I stamped the sentiment from the On Display set directly onto the focal panel in the top-right corner. Our potted plants are cut with the On Display dies with a combination of Cajun Craze, Mossy Meadow, Oxidized Copper, and Shaded Spruce. They’re adhered onto our focal panel with dimensionals and then the full panel is adhered to our card front with dimensionals, as well. We finish things off with some Misty Moonlight flowers from the Hues of Blue flower set, along with some Secret Sea charming shimmer dots.

Doesn’t this feel like a picture in a picture? I just love that effect. And I love how the backdrop feels calm and familiar, just like my Granny’s house. This card would be perfect to welcome someone into a new home or simply to just say hello.

Tune in tomorrow as we take a peek in Granny’s curio cabinet. It will be fun to see what we find!

Product List
Words of Beauty

Great Friend

Happy Friday, everyone! This felt like both the longest and shortest week on record. I’m not quite sure how that happens, but that’s where we are. Needless to say, I’m ready for the weekend and an opportunity to unwind.

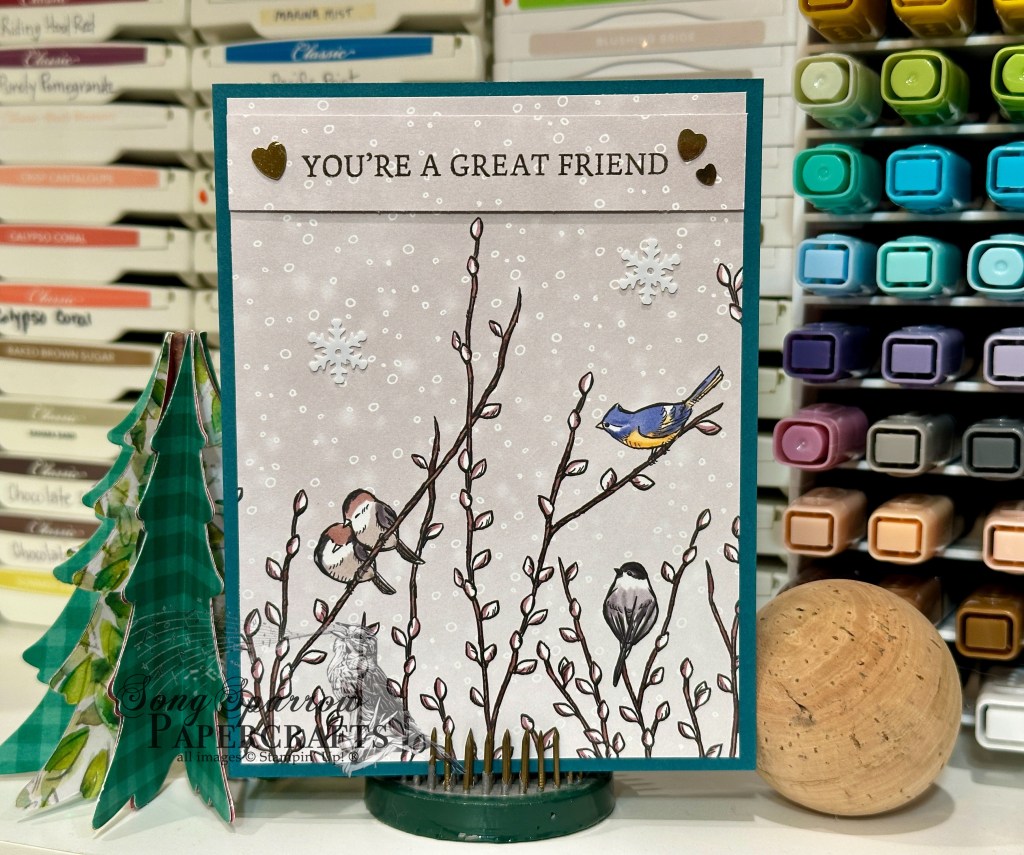
Today is clean & simple Friday as we continue our trek through our crafting stash to create outdoorsy designs. And today’s card comes together in a jiffy with the help of the new Words of Beauty stamp set and the Nests of Winter patterned paper. Let’s check it out.

Today’s clean and simple card gets started with a base of Pretty Peacock cardstock. I cut down the one sheet wonder from Nests of Winter into panels and used one of the panels for the focal panel on this card. The strip cut to make it fit the A2 card front is used as the sentiment panel. The sentiment from the new Words of Beauty stamp set is stamped in Early Espresso on the patterned strip and then adhered at the top of the focal panel with dimensionals. A few snowflakes add a realistic look to the light snowfall in our panel and then the adhesive gold hearts reinforce the theme of our sentiment.

Card designs don’t have to be complicated to convey a strong message. And I love how this card hits you in the feels! Tune in tomorrow to see how we wrap up our series this week.

Product List
Holiday Mini Catalog · Holidays

Wonderful Time

It is most definitely the most wonderful time of the year. Wanna know why? Two things: (1) it’s starting to feel like fall, which is my most favorite season; AND (2) it’s time for the new Stampin’ Up! Holiday Mini Catalog!!! Have you checked out all the new goodies in the shop today? What’s on your shopping list? I’ve already shopped twice and still have a few more things I’m on the fence about.

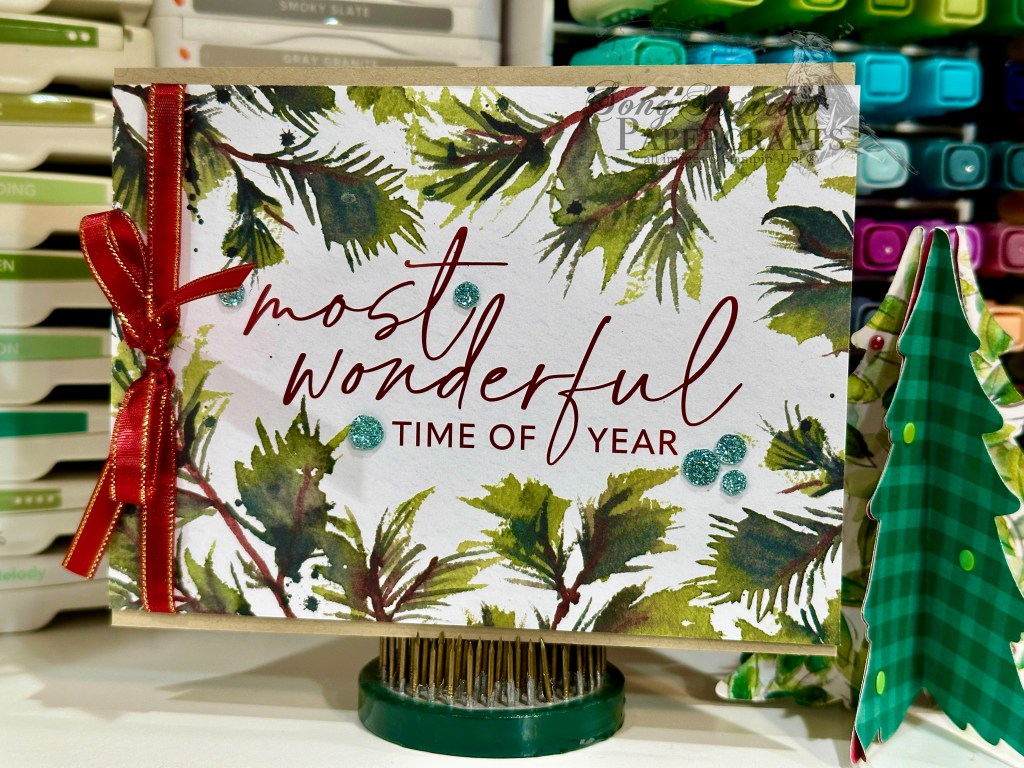
This week, we’re creating very clean & simple holiday cards using the Joyful Days Memories & More card pack, Greetings for You ephemera pack, and the Christmas Tags & More 6×6 designer series paper pack with coordinating ephemera sheets. Today’s card is maybe just about the simplest design of the whole week. You can literally turn out 6 cards just. like. that.

Today’s card starts with a base of Crumb Cake cardstock. I selected the most wonderful time of year card from the Joyful Days pack and cut off just enough so it fits horizontally on the card front. Before adhering with dimensionals, I wrapped the decorative card with some (sadly retired) Cherry Cobbler & Gold satin ribbon tied with a nice, big bow. I finished it all off with a scattering of Pool Party sequins from the Traditional Sparkling sequins pack. Easy peasy!

Tomorrow we’re going to be creating a holiday card that has long legs. You’ll have to drop by to see what I mean. *wink*

Product List