Botanicals · Hot Foil

Gilded Thoughts

Welcome to a new week, friends! I don’t know about you, but the weekend went by in a blur. And now here we are at the beginning of a brand new school year. It’s a big transition year for us as the kiddo starts his freshman year of high school. When they tell you time flies, they are not kidding!

This week brings about a new design theme as we take things outside. Sometimes I like having a broad, open-ended theme because it leaves a lot of possibilities for inspiration. And today’s card was inspired by the Hot Foil Craft Class. I really loved this card layout and knew it would easily adapt to fit this week’s theme. I loved having the opportunity to play with the new hot foil goodies in my stash this weekend, and today’s design uses the Classic Greetings and Butterfly Flight bundles.

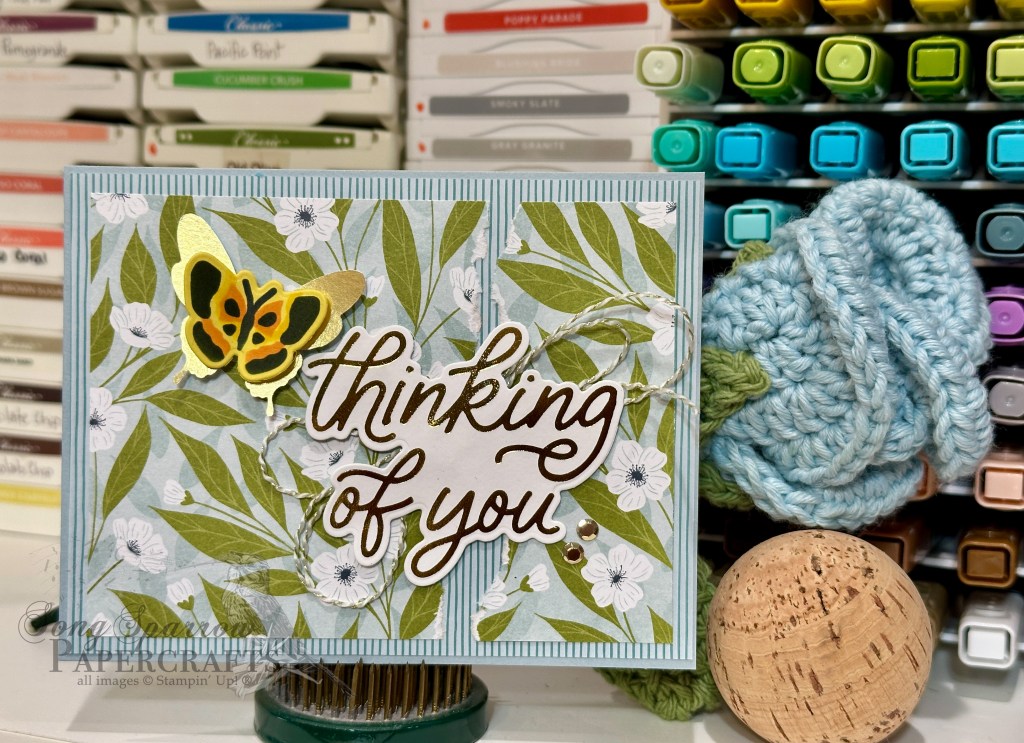
So we get started with a base of Cloud Cover cardstock. The striped pattern from the Everyday Essentials paper pack serves as our backdrop. I chose the sheet of white florals from the Lovely Blossoms paper pack that provided the perfect amount of blue contrast against the striped backdrop. This panel is torn to leave a rough-edged section on the right-hand side. Because I had a particular recipient in mind when making this card, I chose the thinking of you sentiment from the Classic Greetings sentiment set and hot foiled it in gold on white cardstock and then cut it out with the coordinating die. It’s adhered over a double bow of gold & white baker’s twine right over our fissure section. The double-layered butterfly is a combination of a gold gilded wing butterfly and a small butterfly created with the Butterfly Flight masks. I used a sheet of Crushed Curry as the base and then blended a combination of Crushed Curry, Timid Tiger, and Secret Sea inks to create the smaller butterfly. We finish things off with a few metallic gems to give a nice diagonal of gold elements.

I just love the little pop of contrast the butterfly provides. It’s the perfect eye-catcher for the sentiment. This layout is one that can truly be used for a whole host of color and pattern combinations, as well as a myriad of occasions.

Tomorrow’s design might bring in some of our other senses as we continue our trek in the great outdoors. I hope you’ll drop by!

Product List
Hot Foil

Violets & Butterflies

Happy weekend, everyone! I don’t know about you, but I have a lot on the weekend to-do list. I’ve crossed quite a few things off already but still have quite a bit to go.

But I took a nice crafty break to try out my new Stampin’ Up! Hot Foil System that launched last month. Can I be honest with you? I’ve actually been a little afraid to use it. *looking around* Don’t ask me why because it is SO easy to use! But there was just something intimidating about it to me and it had me frozen in my tracks. So if you ever find yourself there, you are not alone. I’ve been watching all sorts of videos and finally just sat down and gave it a try. Easy peasy! So we’re pairing up two sets of hot foil dies — Butterfly Flight and Classic Greetings — with the beautiful Violet Dreams paper to create this project.

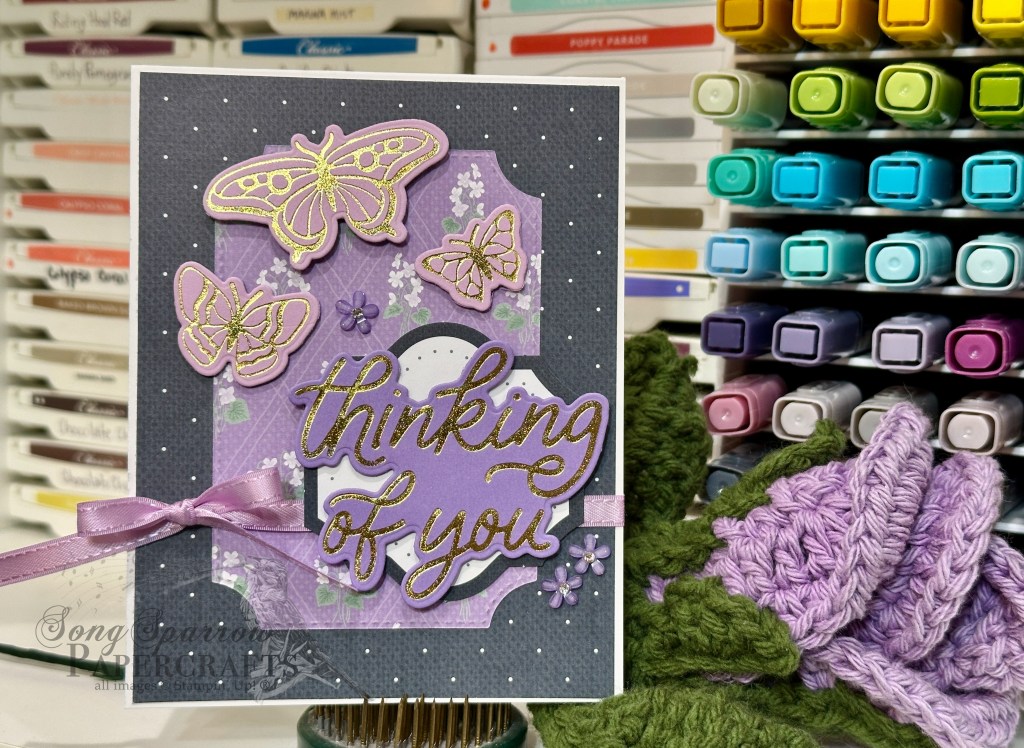
We get started with a very neutral base of white cardstock. I tried all sorts of colors back there but love how this made all of the elements pop so much better. The backdrop is the Secret Sea polka dot pattern from the Violet Dreams paper pack. The focal panel starts with a leftover panel I had diecut with the Branching Out dies for another project and just so happens to be the back side of the background panel. After getting both panels adhered to the card front, I wrapped the whole sheebang with some Fresh Freesia satin ribbon and then adhered the decorative panel (from the coordinating Violet Dreams precut pieces) with dimensionals.

Here’s where the fun part comes in — hot foil! I kept my foiling super simple since it was the first roll of the dice. I used the thinking of you sentiment from the Classic Greetings die set to create the sentiment by foiling in gold on Highland Heather cardstock and then cutting it out with the coordinating die. It’s adhered on our decorative panel with a layer of dimensionals. Next up are the butterflies using the Butterfly Flight hot foil die set. I lightened things up a bit by using Fresh Freesia cardstock to have a hue of contrast and help the butterflies stand out amongst the business of the patterns and elements on the card front. They’re adhered with varying layers of dimensionals above the sentiment. A few adhesive blooms in a darker shade of purple finish things off.

I’m looking forward to having a little bit more time to really play around with the foiling system. And the new foiling goodies that will arrive in the studio SOON! I’ll try to share some of the bonus foiling projects over on the socials. Next week we’re gonna be in the woods. I hope you’ll come along for the hike!

Product List
Coming Soon

Dreamy Warm Wishes

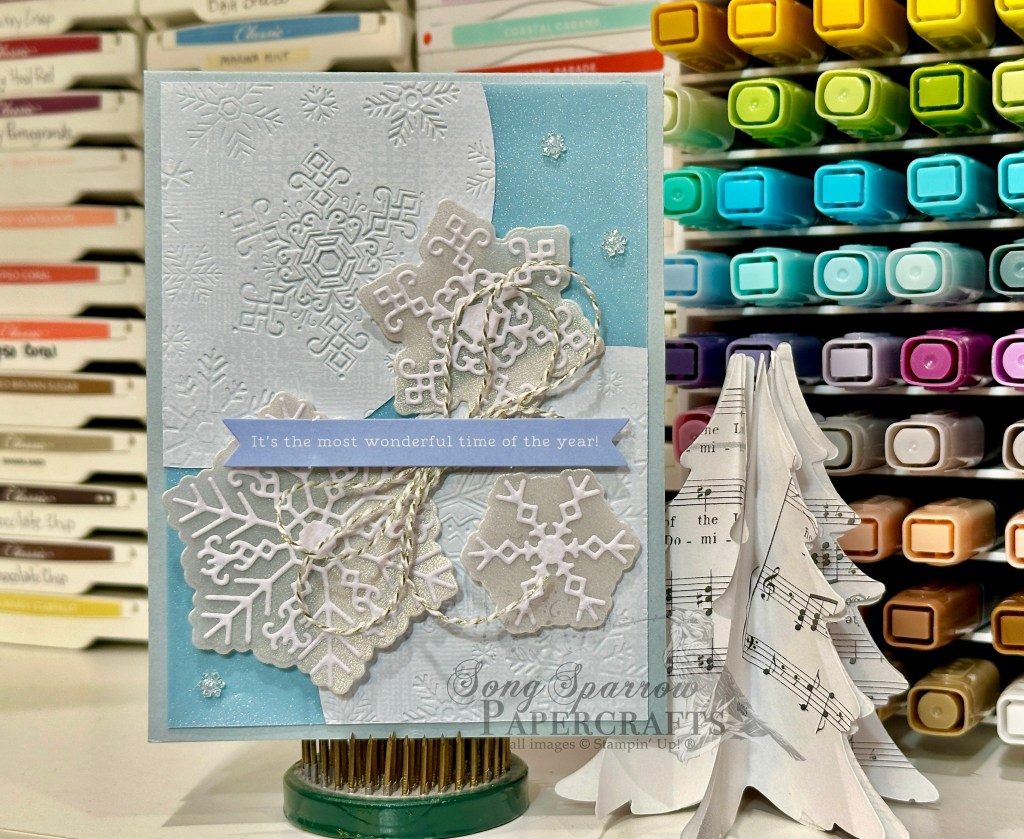
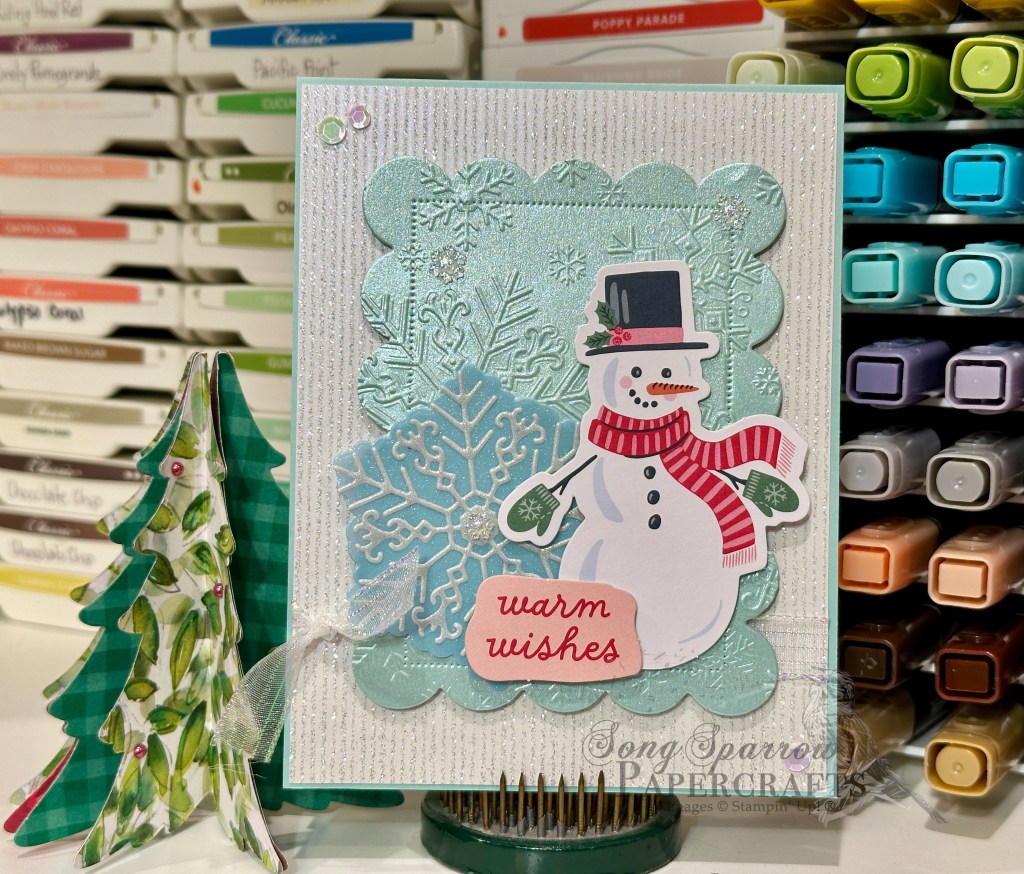
Welcome back for another sneak peek at all the new goodies in my crafty stash and a whole batch of products that will release in the September holiday catalog! I loved yesterday’s layout so much that I decided to do a little variation and throw in a few more glimpses of what’s to come. Just look at those dreamy snowflakes! The new bundle is just a gorgeous as it looks here!

So we get started with a base of Pool Party cardstock and let just a tiny bit peek around the edges of our background panel of Shimmering Stripes glittery paper. The panel is wrapped with some iridescent striped ribbon for a little touch of see-through sparkle. We’re using the Scalloped Christmas Cheer dies again to create our focal panel out of some Pool Party shimmer paper and then add some extra texture by running it through the new Dreamy Snowflakes embossing folder. And we’re using quite a few layers of dimensionals to be sure the panel stands nice and proud. Our focal section consists of three elements. In the background we have our delicate snowflake cut from blue and white shimmer vellum using the new Dreamy Snowflakes dies. Our focal image is the cute snowman from the Season of Celebration ephemera, along with the warm wishes sentiment. Dimensionals give us some depth of scene here. And we finish things off with the twinkle of clear snowflakes on our focal panel and a few iridescent sequins in opposing corners to draw the eye across our card.

This layout is super simple and very eye-catching. Definitely one to have in the stash when you want to put together a cute card in a hurry! Tomorrow I’m setting aside some time to complete the new gold foiling class and can’t wait to show you some of the results!

Products used in today’s card:
Pool Party CS
Shimmering Stripes, pastel shimmer, sunset shimmer vellum DSP
Season of Celebration ephemera (coming in Sept)
Scalloped Christmas Cheer, Dreamy Snowflakes dies (coming in Sept)
Dreamy Snowflakes EF (coming in Sept)
Adhesive sparkle sequins, adhesive snowflakes (coming in Sept)
Iridescent striped ribbon (retired)
Dimensionals
Adhesives

Clean and Simple

Happiest Season

Happy Friday! It’s a busy one for us today with student and parent orientation. But I’m popping on to give you all the deets on yesterday’s card I shared over on the studio socials.

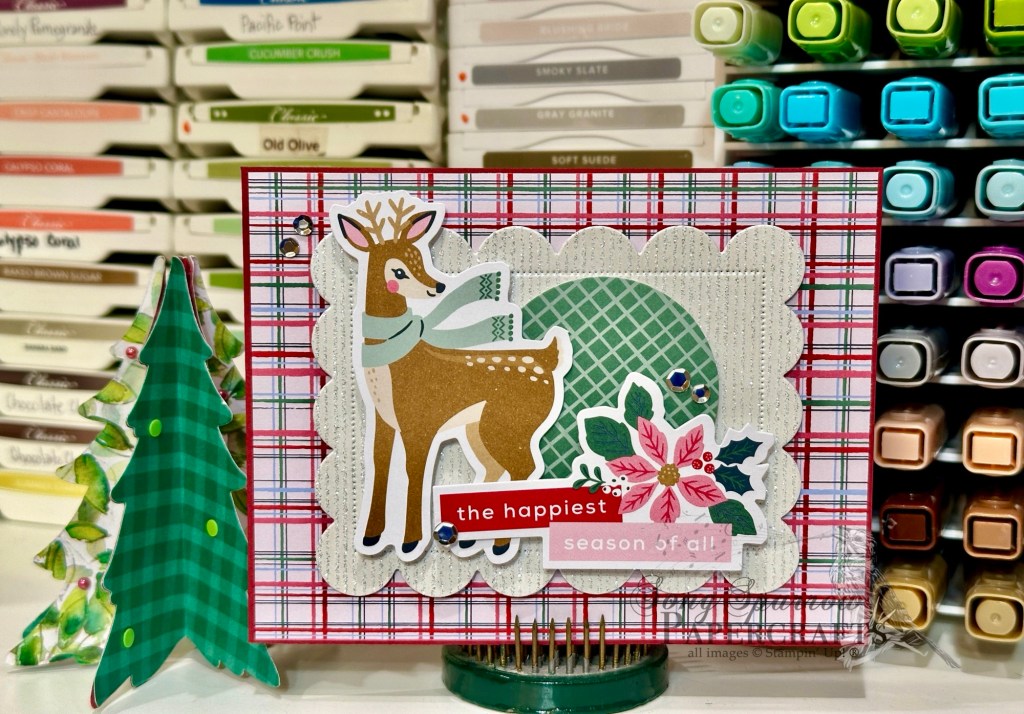
We’re getting some sneak peeks at new holiday products that will release in September. And this card gives you the first sneak of some new Christmas goodies.

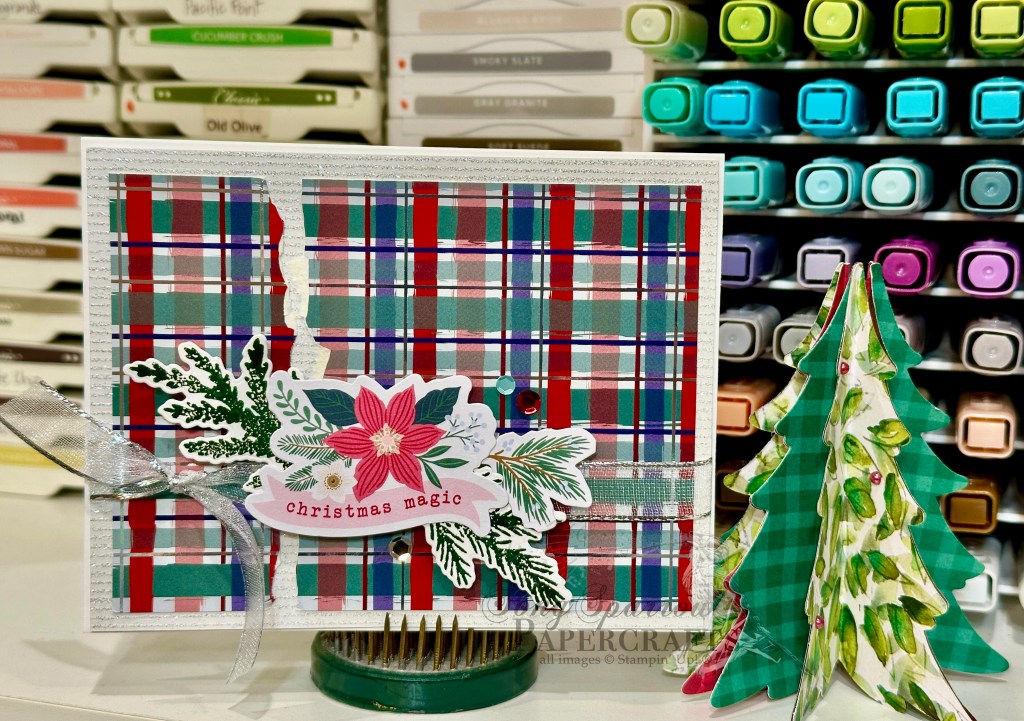
We get started with a base of Cherry Cobbler cardstock. A sheet of the new 6×6 Creative Celebrations paper serves as our backdrop. The focal point panel is a sheet of the Shimmering Stripes specialty paper cut with the new Scalloped Christmas Cheer dies adhered to our card front with dimensionals. All of our focal elements are from the new Season of Celebration ephemera pack and adhered to our scalloped panels with varying layers of dimensionals for extra depth of scene. We finish things off with a few silver sequins from the new adhesive sparkle sequins.

I really love the way the new ephemera packs are already adhesive — just peal and stick! This gives you lots of options for adhering them to your projects.

I hope to bring you a few more cards to finish out the week. Hope you’ll drop back by!

Products used in today’s card:
Cherry Cobbler CS
Creative Celebrations (coming in Sept), Shimmering Stripes DSP
Season of Celebration ephemera (coming in Sept)
Scalloped Christmas Cheer dies (coming in Sept)
Adhesive sparkle sequins (coming in Sept)
Dimensionals
Adhesives
Clean and Simple · Coming Soon

Fancy Heartfelt Thanks

Hey, friends, guess what day it is?! We’re halfway through this week already. Whew. Just like that. And we’re also halfway through a week of designs using new products fresh to the crafty stash!

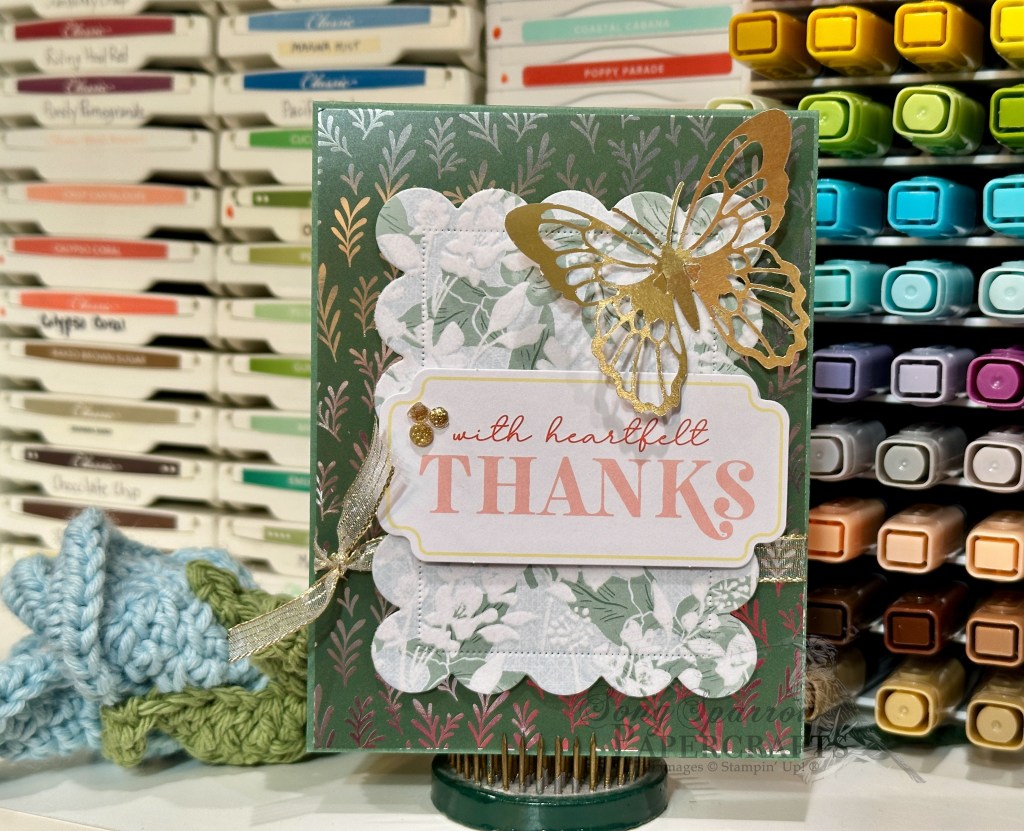
As promised, today we’re getting a sneak peek at a new set of dies that will release with the September holiday catalog — Scalloped Christmas Cheer dies. These scalloped rectangles are the perfect dress-me-up addition to your designs. And we’re pairing it up today with another peek into the new All Wrapped Up paper pack that will also release in the new holiday catalog. I tossed in a few of my current faves, like the Sincerely Noted ephemera, and a couple of my super loved retired goodies, like the butterflies.

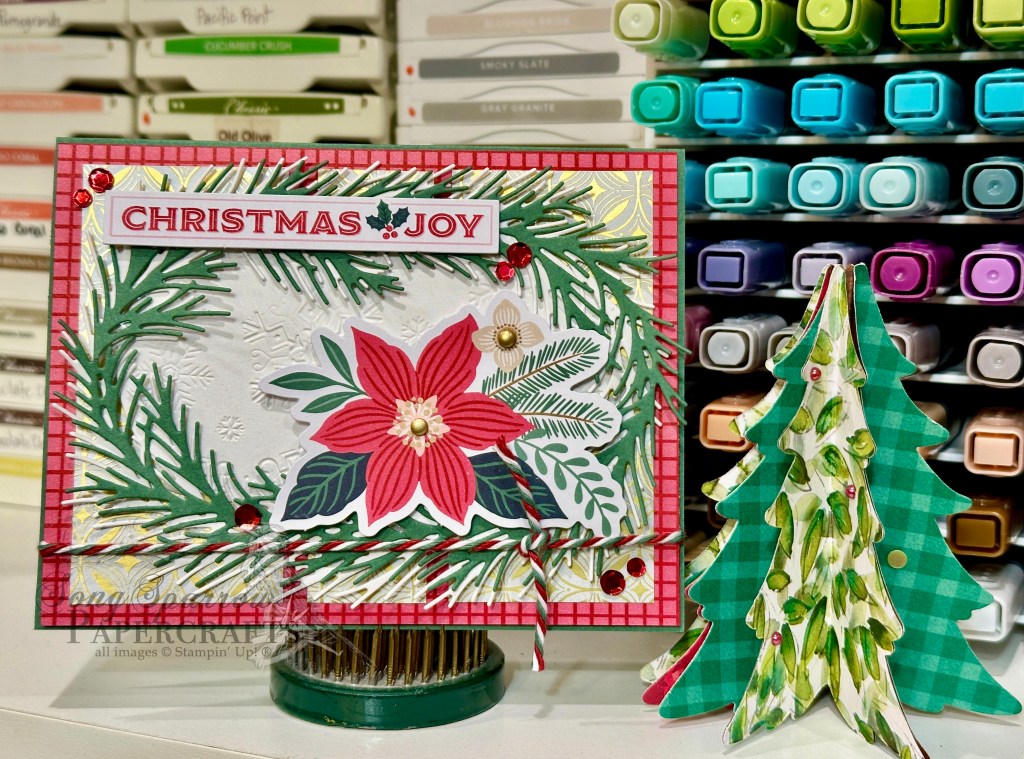
We get started with a base of Peaceful Pine cardstock. The foiled backdrop from the All Wrapped Up paper pack coordinates perfectly. The focal panel backdrop is a scalloped rectangle cut from a sheet of the Velvet Meadow paper using the new Scalloped Christmas Cheer dies and adhered over some gold striped sheer ribbon using dimensionals. The sentiment is from the Sincerely Noted ephemera pack — a current go-to of mine for something quick and mess-free — and is mounted on the scalloped panel with dimensionals. We finish things off with a beautiful gold butterfly and a few gold glitter dots from the 2025 Advent calendar.

I’m still in the clean and simple frame of mind, and there are lots of things in the crafty stash that make it a snap to put together a clean and simple card. Tomorrow we’ll preview some Christmas product for grins. I hope you’ll stop by!

Products used in today’s card:
Peaceful Pine CS
Velvet Meadow, All Wrapped Up (coming in Sept) DSP
Scalloped Christmas Cheer dies (coming in Sept)
Sincerely Noted ephemera
Gilded wings butterflies
Gold striped sheer ribbon
Gold glitter pieces (retired)
Dimensionals
Adhesives

Clean and Simple · Coming Soon

Wishing the Very Best

Happy Tuesday, everybody! It’s the last week of summer break for us, so we’re getting in all the last minute trips for clothes and shoes and supplies before it’s off to high school next week. Is it time for school to start in your area?

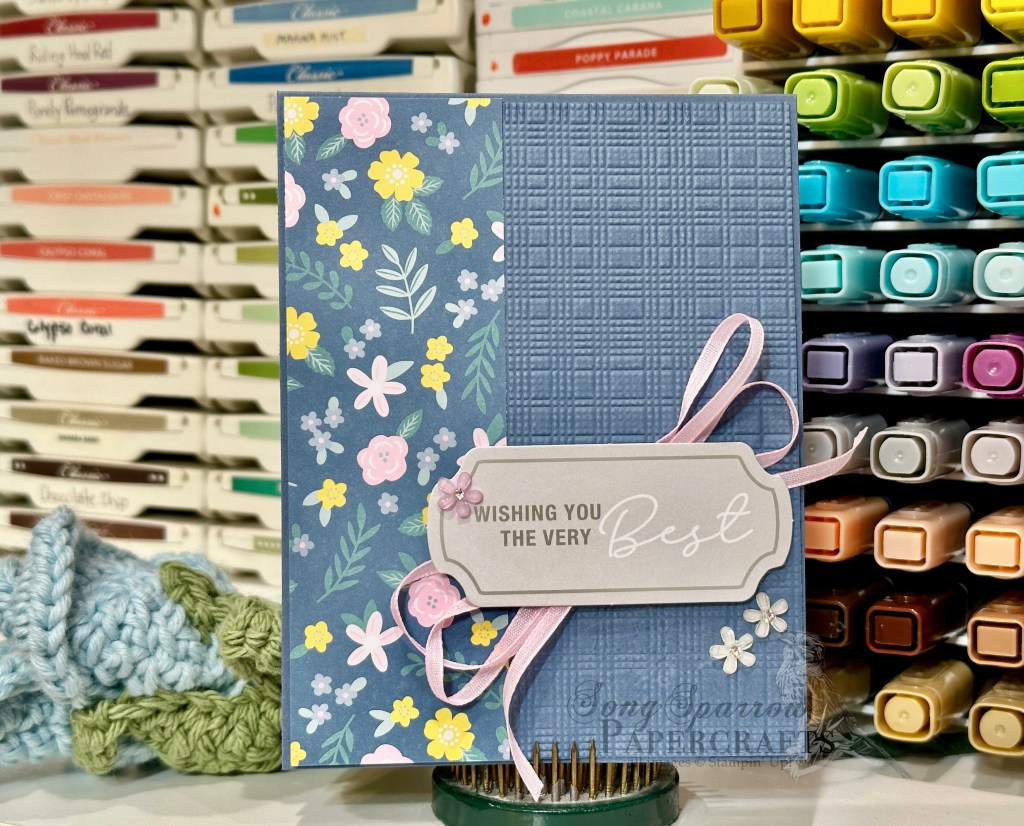
I’m having fun finding ways to use some of the new goodies that have arrived over the last couple of weeks. And today we have another little sneak peek of a product that will launch with the September holiday catalog — the Softly Woven embossing folder. It’s the perfect complement to the Everyday Essentials patterned paper.

We get started with a base of Misty Moonlight cardstock. The focal panel base is a quarter sheet of Misty Moonlight that’s machine embossed with the Softly Woven embossing folder and then a strip of the Everyday Essentials paper is adhered on the left side. The sentiment from the Sincerely Noted ephemera pack is mounted over a Bubble Bath linen bow using dimensionals. And then we finish things off with a few adhesive blooms. So simple, but isn’t it lovely?!

Tomorrow we’re going to play with some new dies. I hope you’ll drop back and check it out.

Products used in today’s card:
Misty Moonlight CS
Everyday Essentials DSP
Softly Woven EF (coming in Sept)
Sincerely Noted ephemera
Bubble Bath linen ribbon
Adhesive blooms
Dimensionals
Adhesives

Clean and Simple · Coming Soon

Wrapped in Hellos

Howdy, friends! Glad you stopped by. I took a little break last week for some professional work training and had oodles of catching up to do once I got back to the office at the end of the week. So there wasn’t any crafty time for me. Womp-womp! But I’m looking forward to diving in to brand new goodies that arrived while I was gone. And I’m also looking forward to snagging a few more goodies that go live for demos this week. There’s so much good stuff coming your way!

How would you like a little sneak peek at some goodies that will launch in the new September holiday catalog? I’ll drop a few little golden nuggets here and there over the course of this month. Today I’m previewing a gorgeous new pack of paper called All Wrapped Up, which includes a full set of foiled designs. Several of the new packs offer foiled papers, and quite a few of those are the thick, sturdy cardstock that would be perfect for gift boxes!

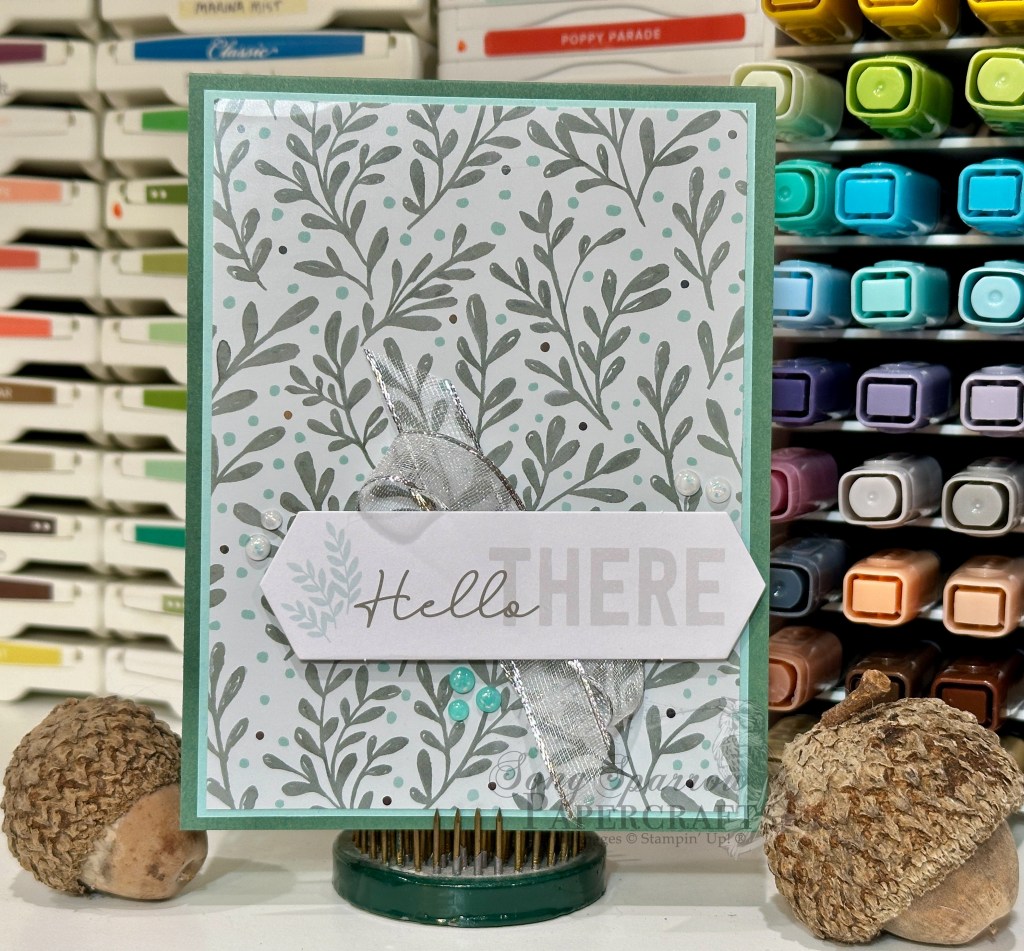
Today’s card starts with a base of Peaceful Pine cardstock. Our focal panel begins with a sheet of the new All Wrapped Up paper and is matted with a panel of Pool Party cardstock. The sentiment is from the Sincerely Noted ephemera pack and coordinates perfectly with this paper. I added some sheer silver-edged ribbon behind the sentiment and a few shimmering dots around the edges for the perfect pops of sparkly goodness.

I’m still in the clean and simple mindset and I loved how these products coordinated so perfectly. I’m looking forward to sitting down with my new foiling system and trying my hand at some of those new goodies this week too! I hope you’ll drop in and see what I pull out next!

Products used in today’s card:
Peaceful Pine, Pool Party CS
All Wrapped UP DSP (coming Sept 2026)
Sincerely Noted ephemera
Silver-edged trim (retired)
Shimmering dots
Dimensionals
Adhesives

Clean and Simple

A Friend Like You

TGIF and happy weekend, everybody! I actually had this card all ready to go last night but ran out of juice to do the photo editing and write-up. So it goes sometimes. We’re midway into a busy Saturday as we shuttle the kiddo around for bowling league and school supplies and the like. What are you up to this weekend?

This week, we’re keeping clean & simple at the forefront as I continue to hunt for my crafty mojo. I have to say that this particular card was a struggle for me. I knew what I wanted to put together but was having a hard time getting it right. So I picked the kiddo’s brain. Do you ever do that? Phone a friend? Sometimes it can be super helpful when you’re feeling stuck. What I needed to make this card right was the appropriate color palette, which seemed obvious after the kiddo pointed it out!

We get started with some Petal Pink cardstock as our card base and then use a sheet of the Lovely Blossoms paper as the backdrop for our focal section. The backdrop is wrapped in some retired Petal Pink striped ribbon before the panel is adhered to the card front with adhesive runner. Our focal section consists of the cute Pooh & Piglet image panel and then sentiment. The image panel is cut from a sheet of the Silly Old Bear paper using the coordinating Sweet Words & Labels dies. Both panels are adhered to our card front using layers of dimensionals. And we finish things off with some of the Petal Pink pearlized faceted circles for a little sparkle.

I just love how the image and the sentiment work together for this one, which I think is why I struggled so much with the layout at first. I was dead set on using the sentiment because nothing says wonderful friend like someone who holds your hand through life’s topsy-turvy moments!

I’m hoping to bring you one more clean and simple design to round out our week. But first….we have a few more things to knock off our Saturday to-do list!

Product List
Clean and Simple

Gallery Sympathy

Welcome back, friends! We’ve gotten a small reprieve from the heat here in North Texas as Tropical Storm Bertha moves ashore in the Gulf and we’re getting some much-needed wind. So now instead of feeling like we’re in a furnace, it just feels like you’re standing in front of the hair dryer. Could be worse? And that also meant that my office was a touch cooler today also as the streak of no-AC days continues.

Here in the craft room, it’s nice and cool (I’m actually freezing!) and I whipped up another clean and simple card as I continue searching for my crafty mojo. I’m on an ephemera kick — the Sincerely Noted pack, to be precise — as it makes another appearance in today’s card, along with the Beautiful Gallery paper.

We have just a couple of elements involved in this card. Our card base is made from Crumb Cake cardstock, and we use a whole sheet of the Beautiful Gallery paper to create our focal panel. The sentiment is from the Sincerely Noted ephemera pack and is adhered over our focal panel with dimensionals. We finish off with some pearlized faceted dots on either side of our sentiment. And that. is. it. Simple. Understated. Classy.

I hope you’ll pop in tomorrow to see what clean and simple design we might put together next. Not even I know at this point. *snicker*

Product List
Clean and Simple

Hip-hip Hooray for Birthdays

Welcome back, everyone! I’m still looking for my missing crafty mojo, and it doesn’t help that we’re in the middle of a typical Texas summer roasting session. AND the AC is out in part of my office. Womp-womp all the way around!

But I did manage to eke out another clean & simple design today. And we’re letting the Violet Dreams paper and diecut sheet take center stage with our ephemera.

We get started with a base of Basic White cardstock. A sheet of the striped Cloud Cover paper from the Violet Dreams pack serves as our backdrop. A Fresh Freesia diecut element from the paper pack is our focal panel background, which is adhered to our card at different heights using dimensionals. Our sentiments come from two separate ephemera packs — the new Sincerely Noted and the Saying Something packs. The sentiments are adhered over a bow of striped gold ribbon using dimensionals. And we finish things off with a few adhesive flowers.

I hope you’ll drop in tomorrow to see what’s next in our clean & simple series!

Products used in today’s card:
Basic White CS
Violet Dreams DSP
Sincerely Noted, Saying Something ephemera
Gold striped mesh ribbon
Adhesive blooms
Dimensionals
Adhesives