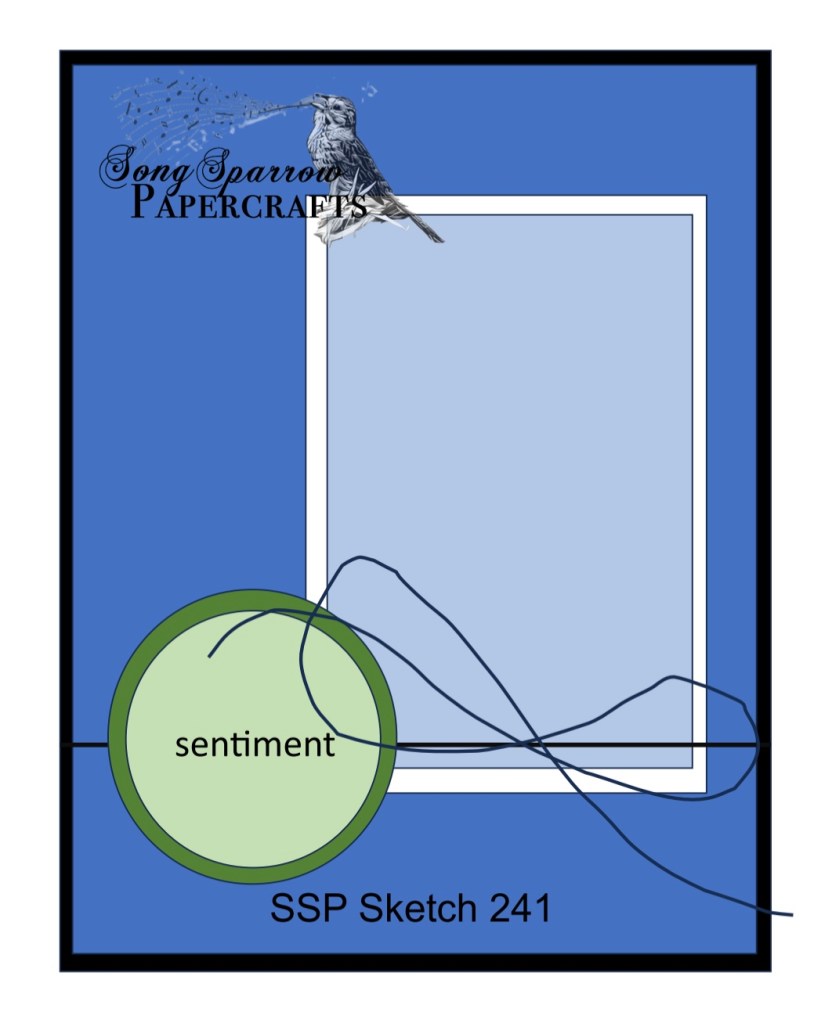
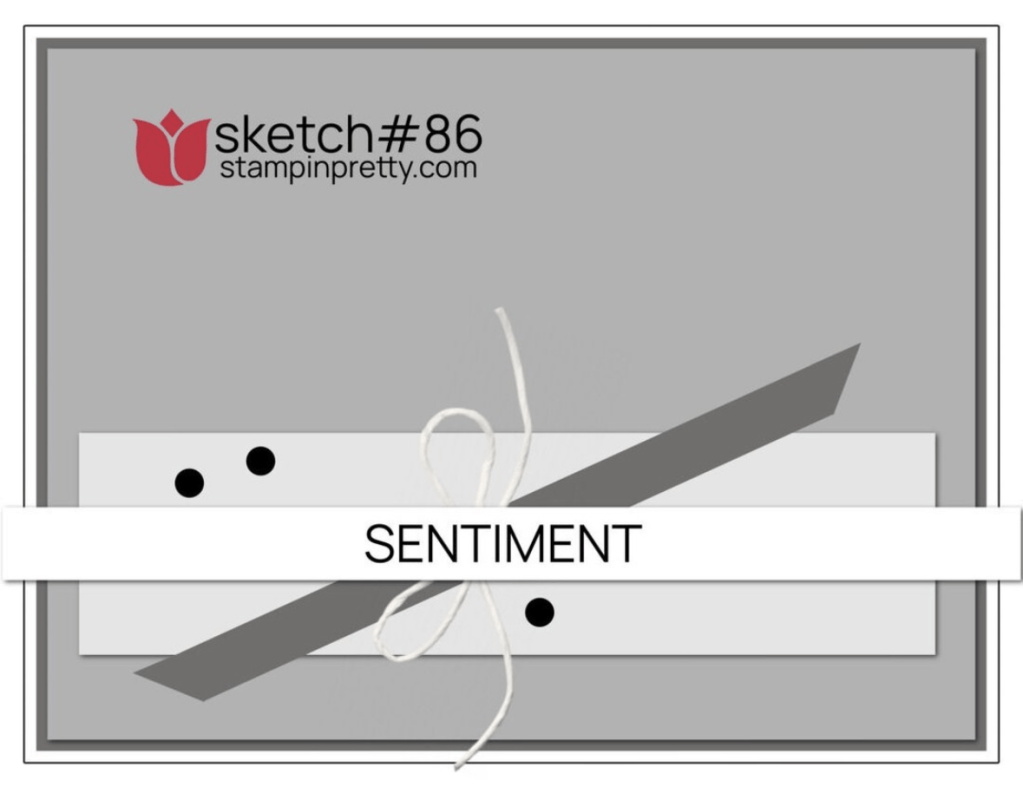
This week we’re exploring all of the ways that we can use our holiday products to make everyday cards. For this week’s Sketchy Fridays, we’re taking a little detour from the Annual Catalog and, instead, are taking a page from my personal sketch book. And today, we’re pairing our sketch with the new Take a Bow patterned paper and Joyful Images ephemera both of which will be available on September 6th.

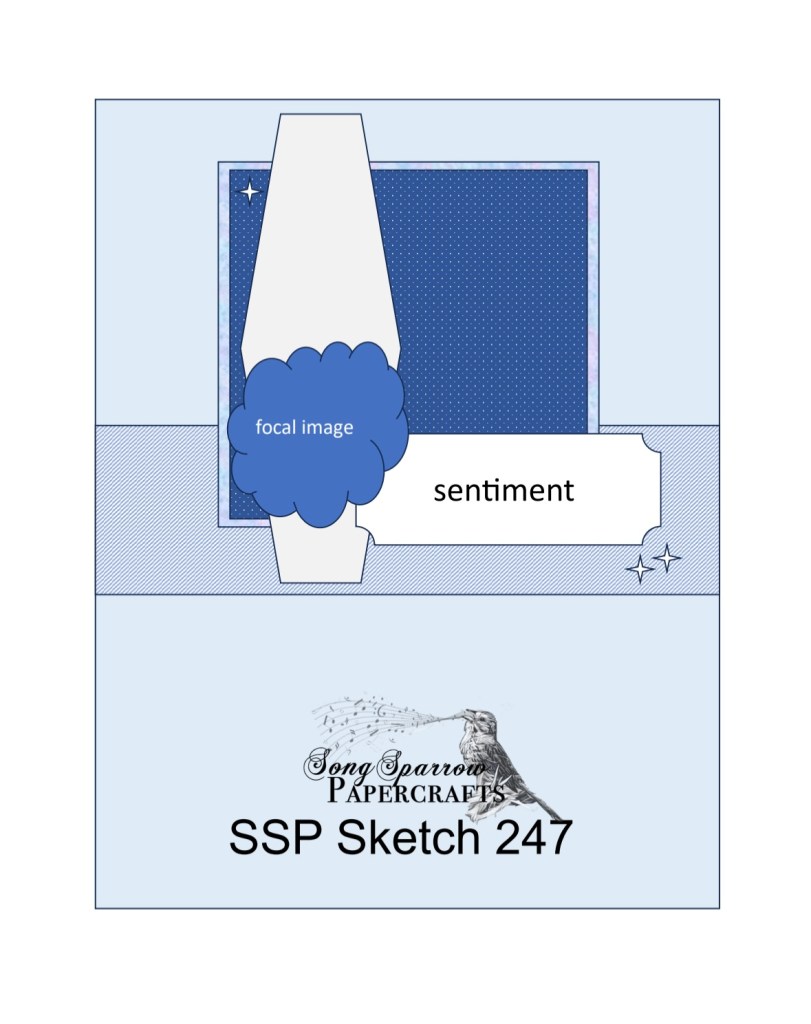
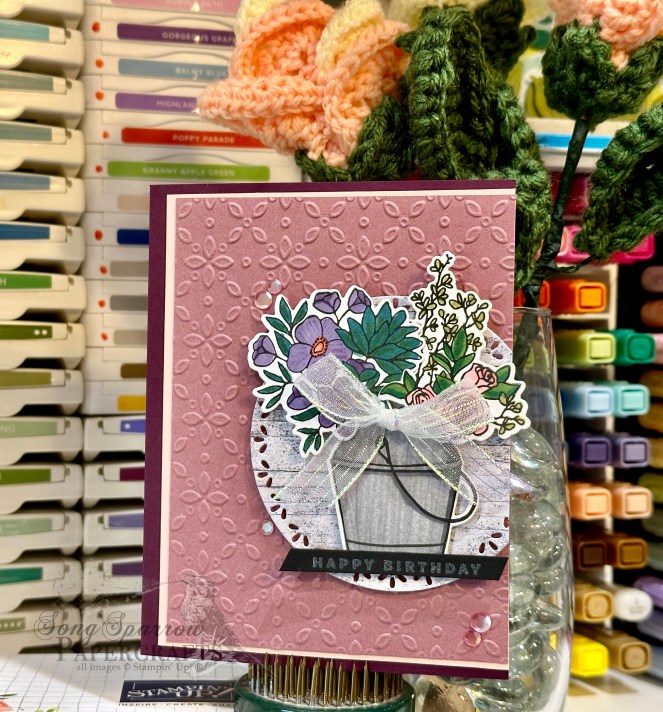
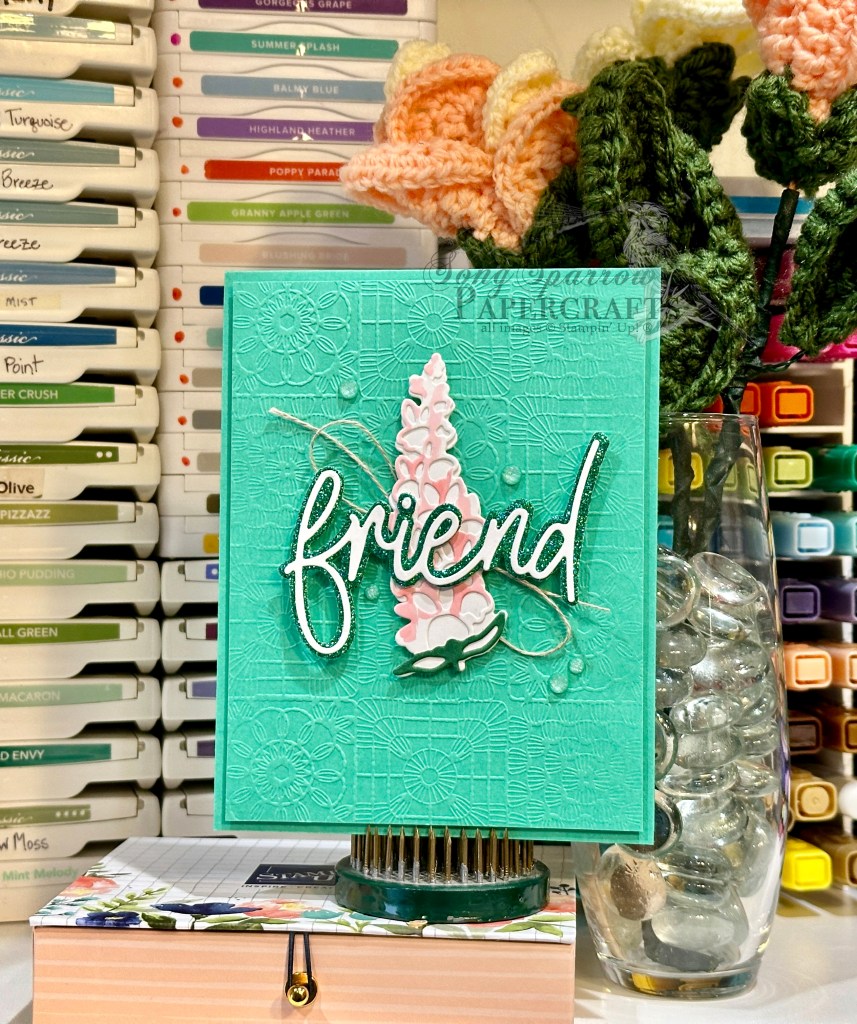
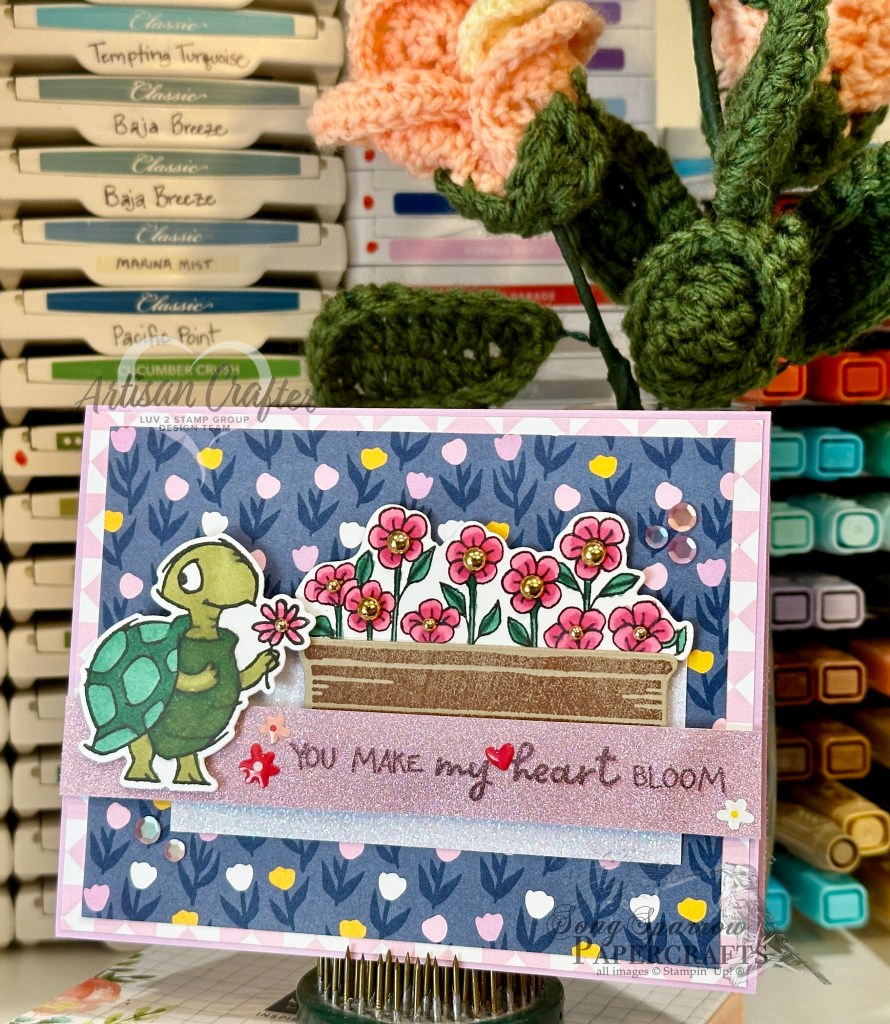
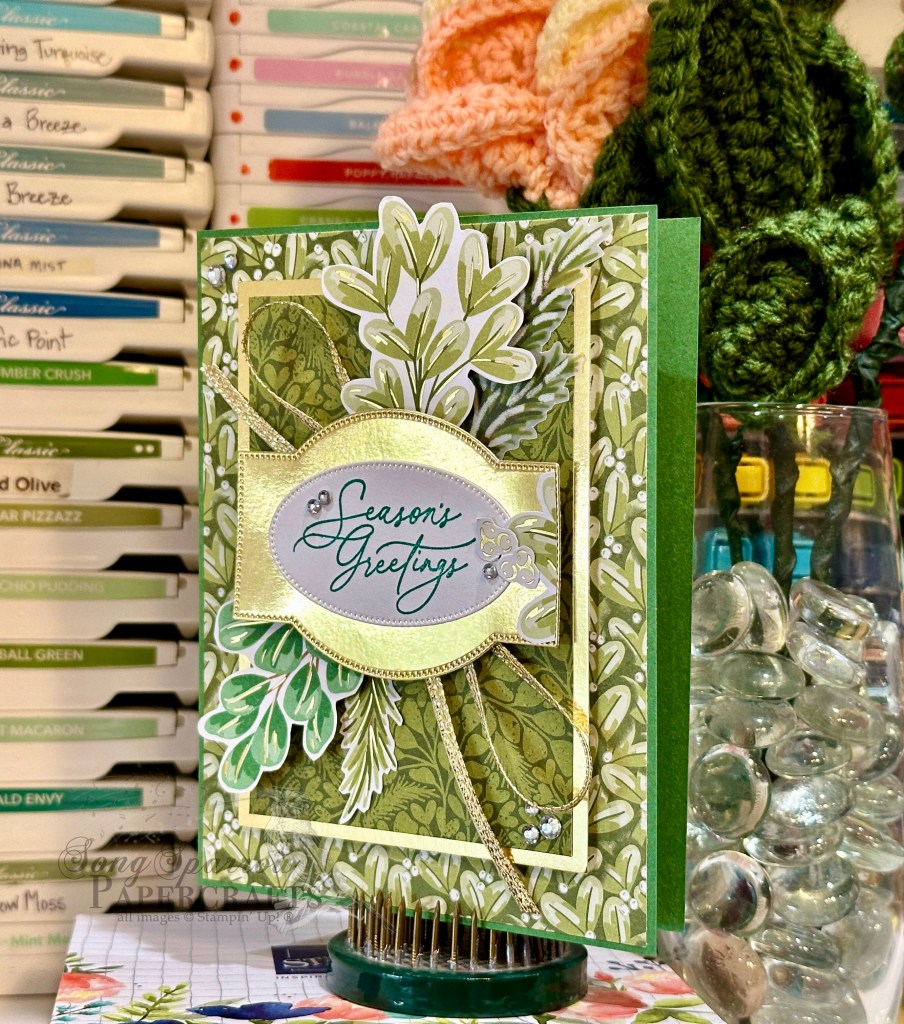
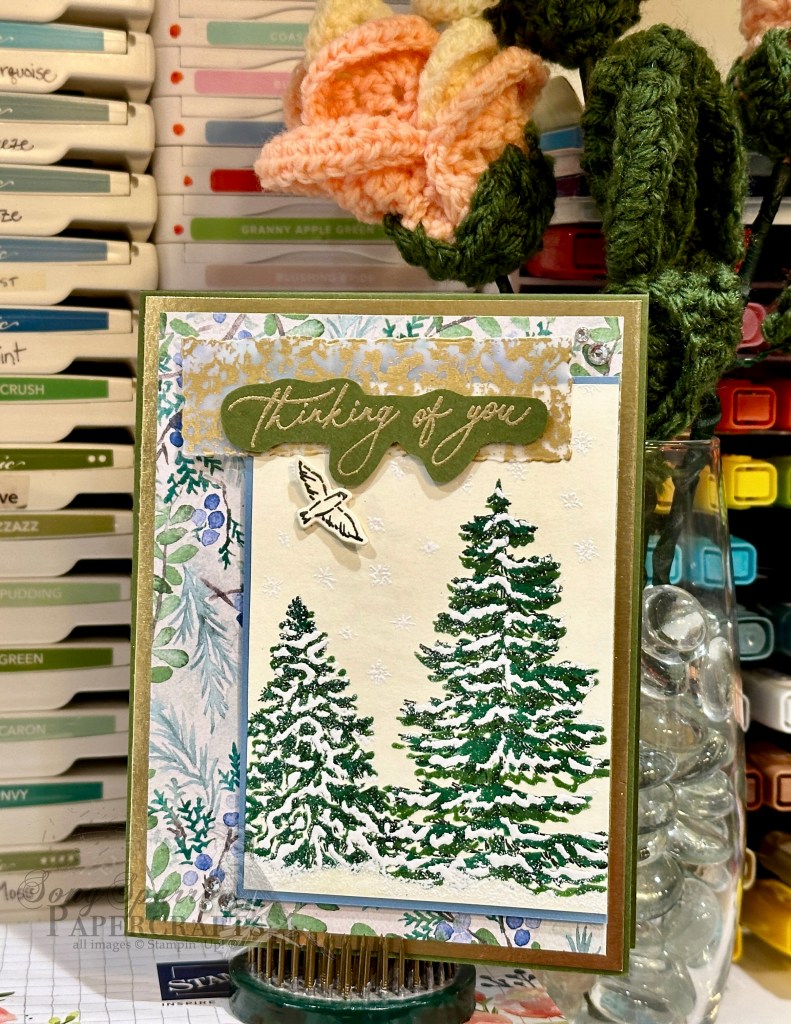
We get started with a base of Balmy Blue cardstock. Our center strip of patterned paper is from the Take a Bow paper pack and provides a colorful grounding base for our focal panel. Our focal panel backdrop consists of a piece of Garden Green cardstock embossed with the Cute Crochet embossing folder that is mounted on the mercury vellum sheet. The mug of hot chocolate is from the Joyful Images ephemera pack. A few adhesive peppermints add some visual texture and interest. The sentiment from Simply Zinnia is stamped in black on white cardstock and then diecut using the Autumn Leaves die. A faux bow of gold trim behind brings another pop of gold to the design, tying our full focal panel together as one. The mug and sentiment are adhered over a Graceful Greenery vellum panel diecut with the Nested Essentials dies. Iridescent faceted gems across the design help the eye pass across and to the sentiment.
We’re closing out our design series tomorrow with a stunning sympathy card. You don’t want to miss it!
Products used in today’s card:
Balmy Blue, Garden Green, Basic White cardstock
Take a Bow (coming soon!), Graceful Greenery vellum, mercury vellum DSP
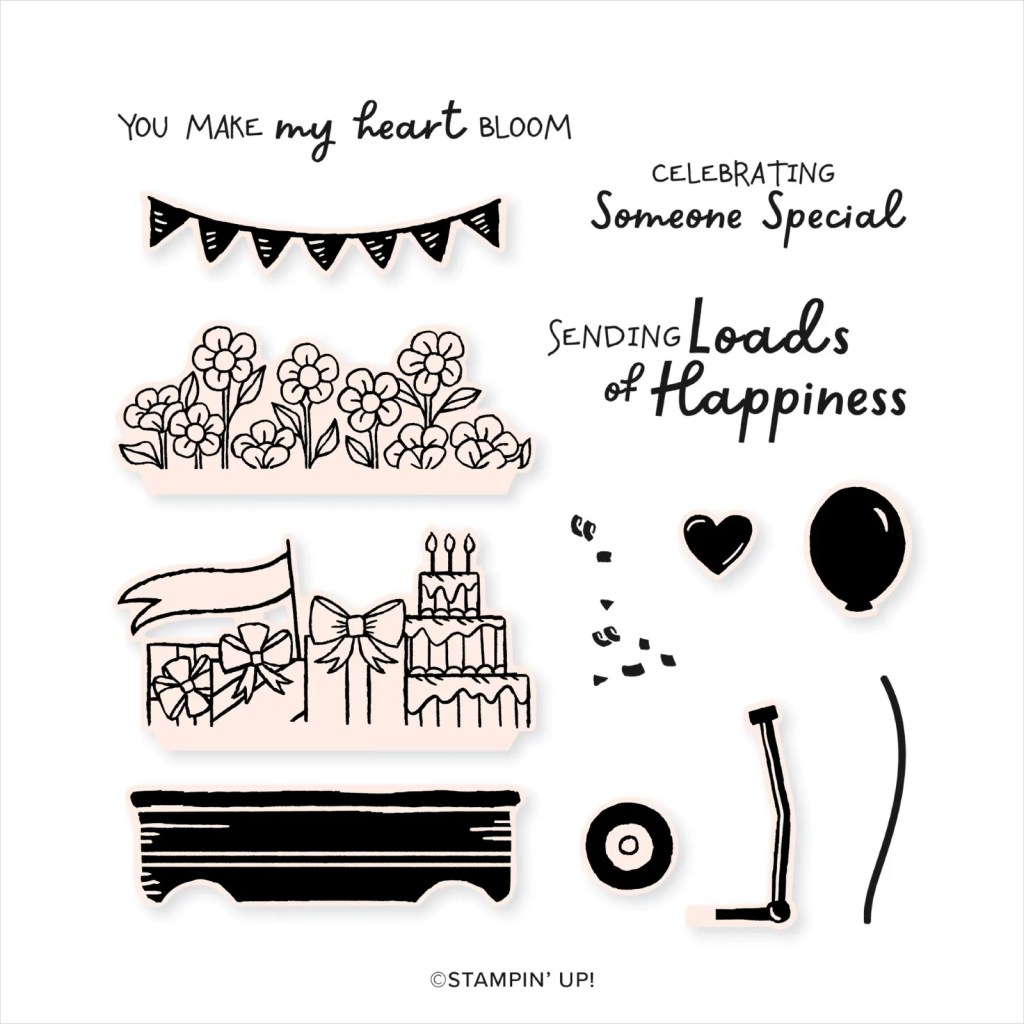
Simply Zinnia stamps
Nested Essentials, Autumn Leaves dies
Cute Crochet embossing folder
Joyful Images ephemera (coming soon!)
Real Red & White peppermints (coming soon!), iridescent faceted gems
Gold trim
Dimensionals
Adhesives


 Specialty Designer Series Paper")

 Specialty Designer Series Paper")
")


 Trim Combo Pack")


 Luster Specialty Paper")
 Specialty Designer Series Paper")
")


")
")