Christmas · Holiday Mini Catalog · Sketchy Fridays

Sketchy Fridays: Take a Bow, Frosty

Welcome to Friday, everyone! This week, we’ve been All About Christmas and have been taking a tour through all of the fun holiday products that Stampin’ Up! offers.
Today is another installment of Sketchy Fridays, where each week we’ll be using a card sketch to design our featured card. Right now, we’re working through a full series of designs using the card sketches found on page 22 of the current Stampin’ Up! Annual Catalog.

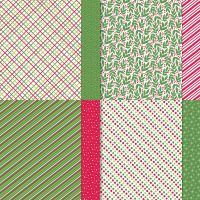
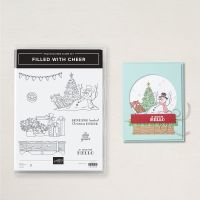
This week’s card is based on Sketch #17 and features the snowman from the Filled With Cheer stamp set and the fun Take a Bow designer series paper in the new Stampin’ Up! Holiday Mini catalog.
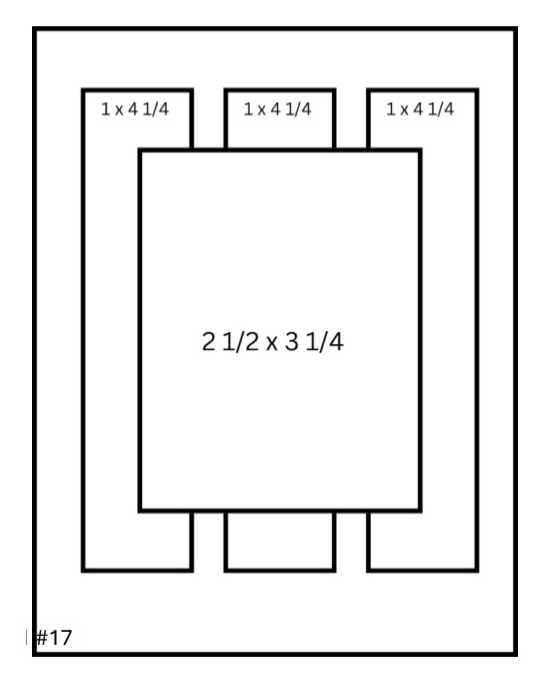
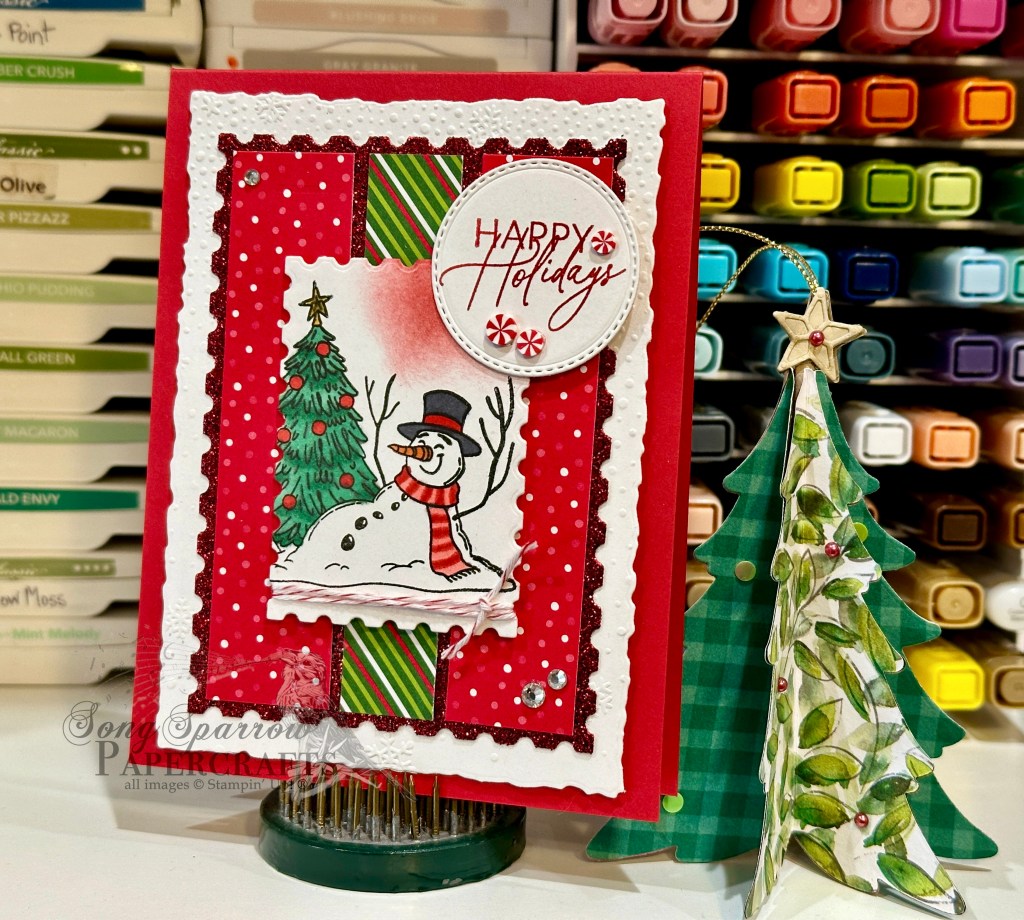
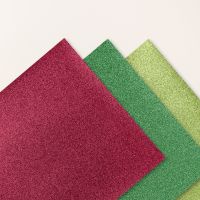
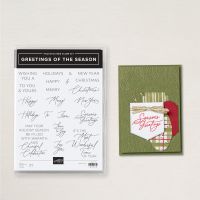
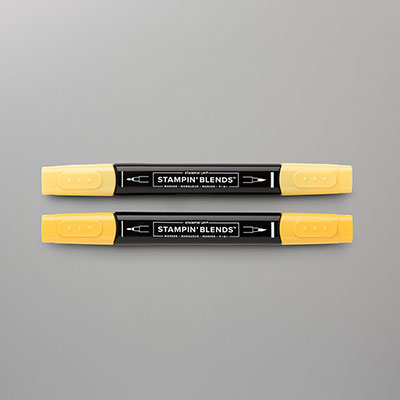
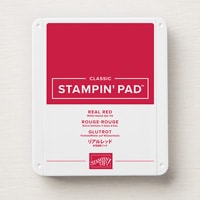
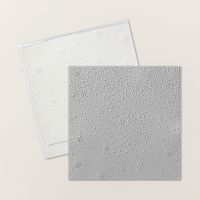
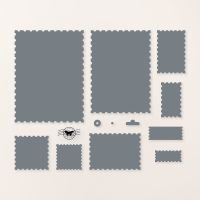
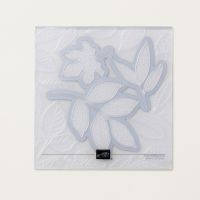
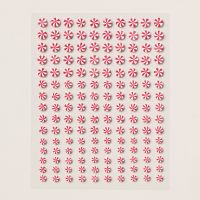
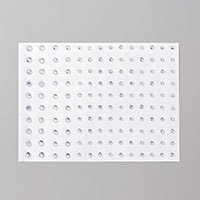
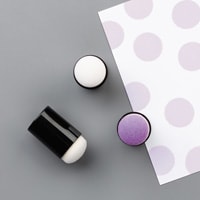
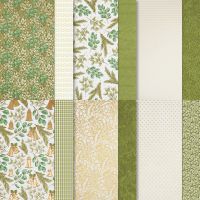
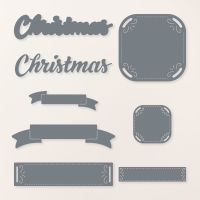
We get started with a base of Real Red cardstock. I chose a sheet of the new Take a Bow designer series paper for the strip elements in the sketch and used both sides of one sheet of paper. I felt like the focal panel needed to be more than simple strips of patterned paper and this is where I chose to add two additional layers to bring everything together. I used some of the red Festive glimmer paper as the mat immediately behind our paper strips, and this mat is cut using the Perennial Postage die. And then to help the whole focal panel pop against our card base, I added a mat of white cardstock that has been diecut with the Deckled Rectangle die and then embossed using the Snowflake Sky embossing folder. Our focal panel is stamped with the snowman from the Filled With Cheer stamp set and then diecut with the Perennial Postage dies so that we’re just capturing the snowman and Christmas tree. The snowman is colored with Stampin’ Blends. Red and white baker’s twine is twisted around the bottom of our panel to tie everything together (no pun intended). The top-right edge of our panel is lightly sponged with Real Red ink to create a nice backdrop for our separate sentiment panel. The sentiment from Greetings of the Season is stamped in red on white cardstock and then diecut with the circle die from Changing Leaves and then adhered over our sponged focal panel corner. The focal panel is adhered to the backdrop with dimensionals. A few peppermints and rhinestones finish things off and help draw the eye across and to the more important elements on our card.

I love sketches because they give me a great place to get started. Sometimes I stick to a sketch just as it is. And other times, like today, I venture just a tiny bit outside the lines. I really love the simplicity of today’s sketch, but as I started working with it in conjunction with all of the elements in today’s card design, I felt like we needed a few extra layers to be sure everything works together but also, and more importantly, to ensure that all of the elements really pop.

Tomorrow we’re revisiting a few old favorites as we make our way through the enchanted Christmas forest. I hope you’ll pop by and check it out!

Products used in today’s card:
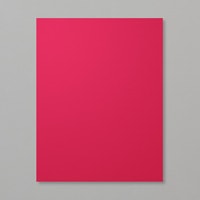
Real Red, Basic White cardstock
Take a Bow, Festive glimmer DSP
Filled With Cheer, Greetings of the Season stamps
Stampin’ Blends
Snowflake Sky embossing folder
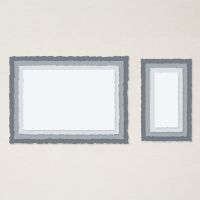
Perennial Postage, Deckled Rectangles, Changing Leaves dies
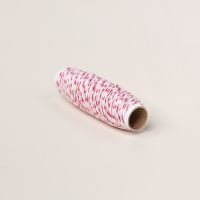
Red & white twine
Peppermints
Rhinestones
Dimensionals
Adhesives

Product List
Christmas · Holiday Mini Catalog · Holidays

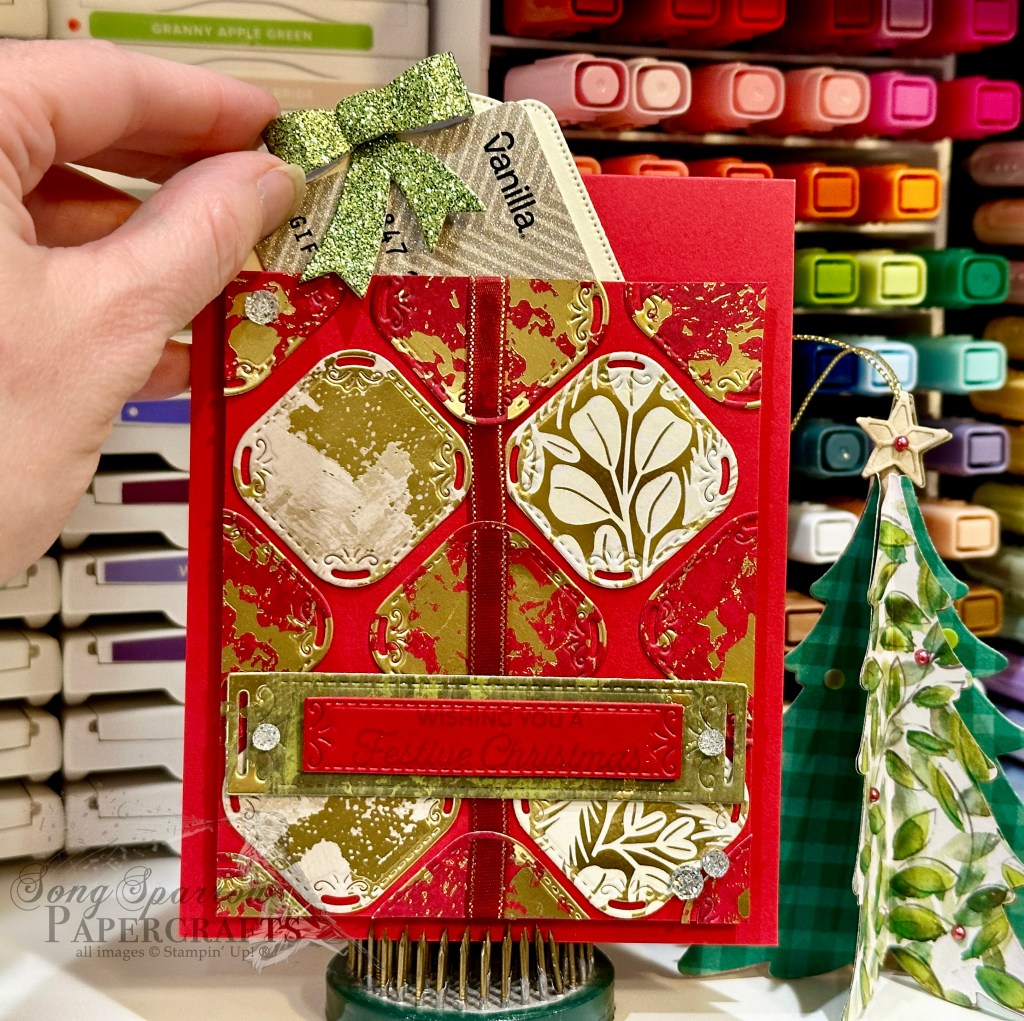
Festive Christmas Gift

Do you ever include a gift with a Christmas card? Do you ever find yourself looking for cute and/or creative ways to include the gift? Today, we’re looking at a fun way to include a gift card with this year’s Christmas card to friends or relatives. This card is literally a gift that keeps giving!

For our special gift card, we’re pairing some of the beautiful new patterned paper packs with the dies from the Season of Elegance Suite included in the new Stampin’ Up! Holiday Mini catalog. So let’s take a closer look at how this all comes together.

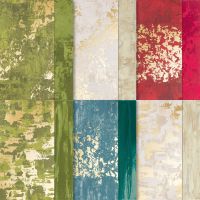
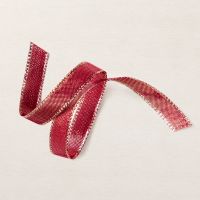
We get started with a base of Real Red cardstock. Our focal gift panel also starts with a base of Real Red that is cut down to leave enough room at the top for our decorative gift card insert. Using the smaller square from the Peaceful Season dies, we cut squares from two sheets of the Season of Elegance paper and one sheet of the Season of Green & Gold paper pack. I alternated the red and cream-colored rows and tried to ensure the center squares lined up so that the Cherry Cobbler & Gold ribbon element ran cleanly from top to bottom. Our sentiment from the Trucking Along stamp set is stamped tone-on-tone on Real Red cardstock and then diecut using the Peaceful Season die, which is matted with the larger rectangle banner from the same die set. The sentiment panel is adhered at the bottom of our package focal panel using dimensionals. I added Drusy embellishments to the panel for added sparkle and to ensure the eye moves to the sentiment. We adhere our full focal panel to the card front using foam strips on three sides to create a pocket behind the panel.

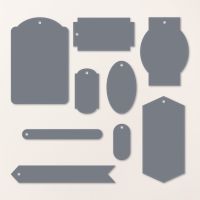
Our gift card holder is a piece of Very Vanilla cardstock that is diecut with the largest tag in the Greetings of the Season die set. We create the bow for the top by cutting Garden Green Festive glimmer paper with the Peaceful Evergreens dies. The bow is assembled with glue dots and then adhered to the top of our tag with dimensionals. You can lightly hold a gift card in place by placing a few glue dots on the back and then placing it on the tag. Tuck it into the pocket and you have an instant gift in more ways than one!

I really love how this turned out and can’t wait to use this design this year. It’s always fun to be able to present a gift card in a fun and creative way and with a lengthier note.

Tune in tomorrow for a new Sketchy Fridays card design and see what our snowman is getting up to!

Products used in today’s card:
Real Red, Very Vanilla cardstock
Season of Elegance, Season of Green & Gold, Festive glimmer DSP
Trucking Along stamps
Peaceful Season, Peaceful Evergreens, Greetings of the Season dies
Cherry Cobbler & gold metallic ribbon
Drusy embellishments
Foam strips
Dimensionals
Adhesives

Product List
Christmas · Holiday Mini Catalog · Holidays

Trucking In Christmas Cheer

We’re already halfway through this week and halfway through our All About Christmas week. I really love making holiday cards, so I’m having a great time working with all of the wonderful holiday products that Stampin’ Up! currently has to offer.

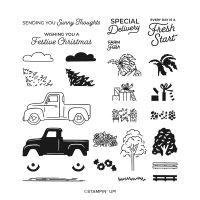
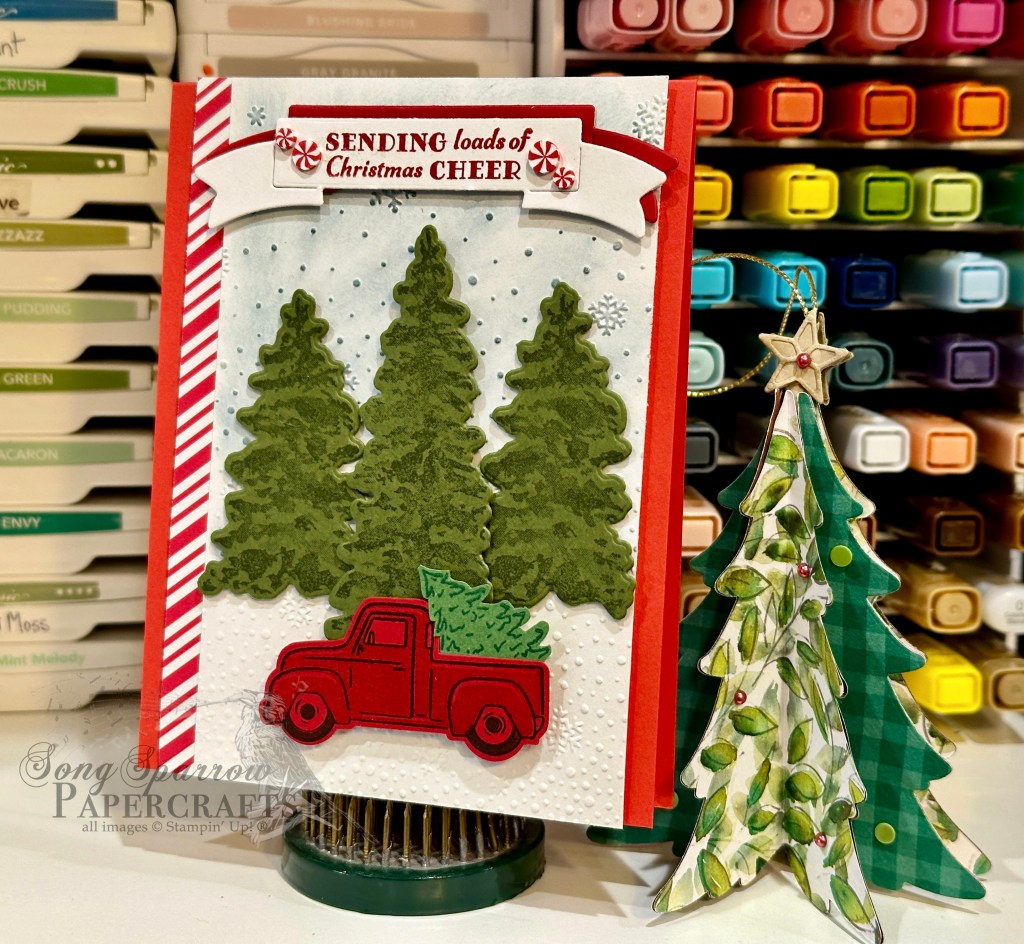
Today, we’re combining a little new with some old as take a drive to the tree farm in the woods to pick our Christmas tree. Do you like having a real tree or do you prefer artificial Christmas trees? I love real trees but unfortunately have allergies that prevent me from having real trees inside. Today’s card pairs the famous Trucking Along bundle with the Peaceful Evergreen set. Let’s take a closer look.

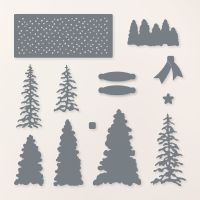
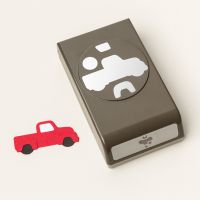
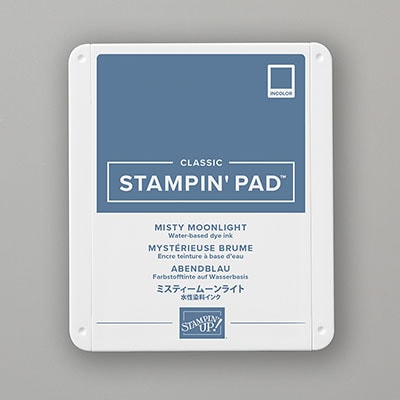
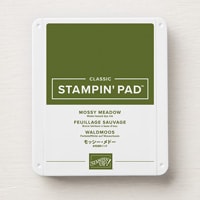
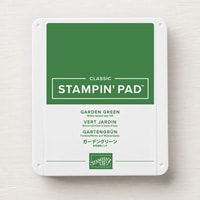
We get started with a base of Poppy Parade cardstock. I loved the contrast that this color provides with the Real Red in the other card elements. Our focal panel base consists of a piece of white cardstock that has been embossed using the Snowflake Sky embossing folder and the candy cane striped sheet of patterned paper from the Take a Box paper pack. To add a little definition to the snowy sky and create a definitive sky in our panel, I used my sponge dauber to add a little Misty Moonlight to the top of the embossed panel. Our grove of evergreens is created using the Peaceful Evergreens stamps and dies. I stamped two different sizes of evergreens on Mossy Meadow and then diecut them using the coordinating dies. They’re adhered to our focal panel using dimensionals. Our truck is stamped in black on Real Red cardstock using the Trucking Along stamp set and then punched with the coordinating punch. The tree in the truck bed is stamped tone-on-tone on Garden Green cardstock and then cut out with paper snips. The truck is adhered on extra dimensionals in front of our evergreens. Our sentiment from Filled With Cheer is stamped in Real Red on white cardstock and then diecut using the Peaceful Season banner die. I cut a second banner from Real Red to mat the sentiment panel and help it stand out. It’s adhered to the top of our focal panel, just like that welcome banner at the tree farm. A few adhesive peppermints on either side of the sentiment finish things of nicely.

The next time I make this card, I think I will stamp the truck on white cardstock instead. While I like the richness of the red we get by stamping the truck tone-on-tone, I like the background of our punched image blending in more to our snowy background. Try it out and see what you think!

Tomorrow we’re getting a look at a cool technique for creating a gift card and holiday card in one. Hope you’ll pop in and check it out!

Products used in today’s card:
Poppy Parade, Real Red, Mossy Meadow, Garden Green, Basic White cardstock
Take a Bow DSP
Filled With Cheer stamps
Trucking Along stamps & punch
Peaceful Evergreens stamps & dies
Peaceful Season dies
Snowflake Sky embossing folder
Real Red & white peppermints
Dimensionals
Adhesives

Product List
Christmas · Holiday Mini Catalog · Holidays

Sledding Season’s Greetings

Do you ever say to yourself, “This year, I’m not going to wait until November to start on my Christmas cards.” Yeah, me too. Wanna know what’s funny about being a paper crafter and most especially a card maker? I always ended up starting my Christmas cards in November!

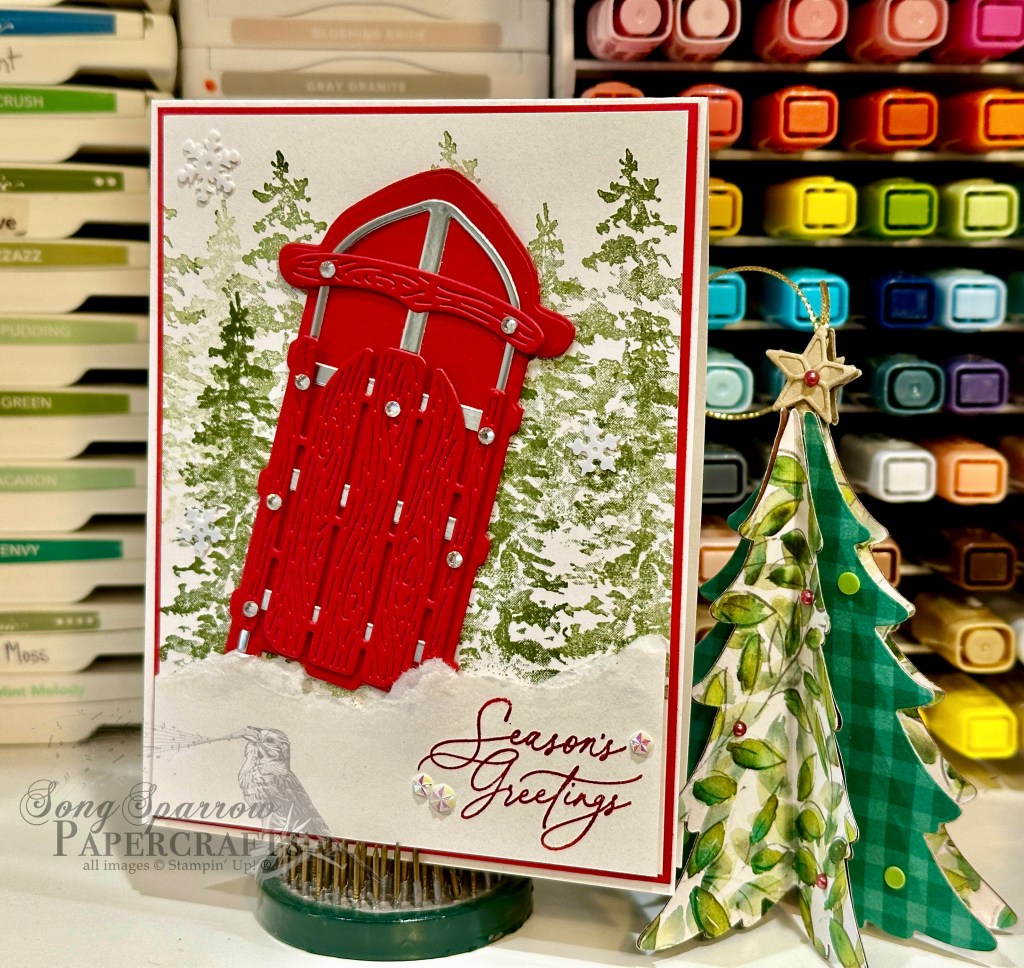
So this week, I’m trying to help us all out by getting started with the Christmas design mojo a little earlier. Today, we’re pairing up two of the new holiday sets from Stampin’ Up! — Sophisticated Sled and Peaceful Evergreens. And I based today’s design on an older single-image SU! stamp that had a sled leaning up against a doorway in a snowdrift. Anyone remember that one? I thought it would be fun to give a nod with something similar.

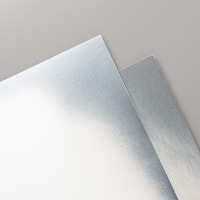
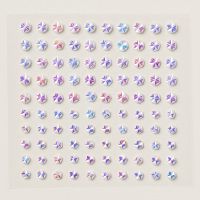
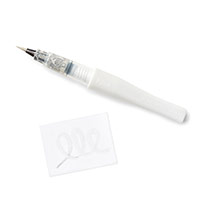
We get started with a base of Basic White cardstock. The main focal panel is also white cardstock and it’s been matted with Real Red to help everything in our focal panel really pop. I used a piece of scrap paper to mask off snowdrifts as I stamped the background of trees using the Peaceful Evergreens stamps. To create the depth in the scene, I used the stamp-off method to get a variety of hues of Mossy Meadow. To keep a simple color palette, I diecut the sled using the Sophisticated Sled dies from silver foil and Real Red. Rhinestones serve as the connecting rivets and add a little sparkle to our sled. The sled is adhered to the background with dimensionals. I tore a piece of white cardstock to make the bottom snowdrift and stamped the sentiment from Greetings of the Season in the bottom corner and then adhered the torn panel over the background and base of the sled with several layers of dimensionals. Adding some Wink of Stella at the top of the torn panel gives a more realistic snowdrift look and a little sparkle. A few iridescent faceted gems on either side of the sentiment help draw the eye and a few snowflakes in the trees add a little realism to our snowy scene.

I love the simplicity of the scene and how quickly it came together. Tomorrow we’ll be trucking through the forest in search of our tree. I hope you’ll ride along!

Products used in today’s card:
Basic White, Real Red cardstock
Silver foil SP
Peaceful Evergreens, Greetings of the Season stamps
Sophisticated Sled dies
Rhinestone jewels, iridescent faceted gems, snowflake assortment
Wink of Stella
Dimensionals
Adhesives

Product List
Christmas · Holiday Mini Catalog · Holidays

Christmas Greenery

Welcome to Monday, crafty friends! I hope you all enjoyed a nice weekend. Here in North Texas we’re beginning to enjoy the first of a string of very fall-like temperatures in the mornings and it’s been glorious!

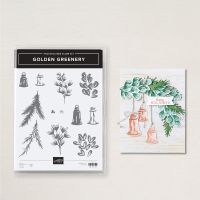
This week starts a new design series and we’re All About Christmas! I know it’s hard to want to think about the holidays when we’re not even officially into fall yet. But as you know, beautiful Christmas cards don’t just make themselves! *wink* Today’s card features the Golden Greenery stamps and dies, as well as several of the new patterned paper packs that just launched in the Stampin’ Up! Holiday Mini catalog.

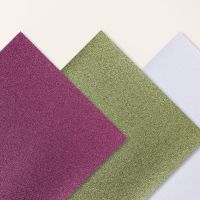
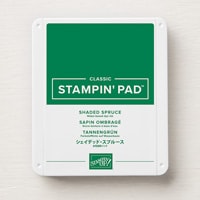
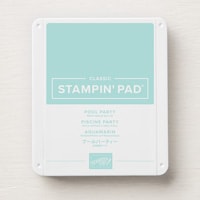
So let’s get a closer look at today’s card. We get started with a base of Mossy Meadow cardstock. Our focal panel base consists of two coordinating gold foil patterns — the foiled greenery patterned paper from the Season of Green & Gold paper pack and the Old Olive pattern from the Season of Elegance paper pack. I love how the gold foiling in each sheet plays off each other so well to give a cohesive sheen to the background. To create the layers of greenery, I began by stamping two different greenery patterns from the Golden Greenery stamp set onto Soft Sea Foam cardstock. These greenery bunches come together in two steps, and I used a combination of Shaded Spruce and Pool Party to create the stems of leaves. Each one is then diecut with the coordinating Golden Greenery dies. I also cut coordinating stems of the same varieties from shimmer papers using the detailed dies in the set. I chose a mixture of greens to cut the evergreen fronds. All of the stems are then layered up with dimensionals to give a variety of height to the bunch. The sentiment is broken into two parts for a little added drama. The Merry panel is diecut from white using the Peaceful Season dies and Merry is then stamped in Real Red in the center. A twist of Cherry Cobbler & Gold metallic ribbon is adhered behind the panel. Christmas is diecut from Real Red glimmer paper using the Peaceful Season die and then placed to overlap the sentiment panel and greenery. A few red iridescent discs add a pop of sparkle across the card front.

The style of this card would be what my grandmother would have referred to as “plop decorating.” You literally just plop things where they look good. And this card certainly made me smile as I plopped greenery and thought of her!

I hope you’ll pop in tomorrow as we take a little sleigh ride.

Products used in today’s card:
Mossy Meadow, Soft Sea Foam, Garden Green, Shaded Spruce, Basic White cardstock
Season of Elegance, Season of Green & Gold, Basic White shimmer, Festive shimmer DSP
Golden Greenery stamps & dies
Greetings of the Season stamps
Peaceful Season dies
Cherry Cobbler & Gold metallic ribbon
Iridescent discs
Dimensionals
Adhesives

Product List
Holiday Mini Catalog

Holiday Mini Catalog is LIVE

You guys! The Stampin’ Up! Holiday Mini catalog is now LIVE. Between thinking that the catalog launched on the 6th and THEN thinking the 4th was a Tuesday, I just messed up the launch date six ways to Sunday. But it’s TODAY! So if you’ve been anxiously awaiting some of products I’ve spotlighted or you’re just simply curious to see what’s new from Stampin’ Up!, now is your chance to check it all out!

https://susanfox-bowen.stampinup.net/

Holiday Mini Catalog · Holidays

Let’s Celebrate

Happy Monday, everyone! Can you believe we’re halfway through August already?! Me either! But that means, we’re just a few short weeks away from the launch of the Stampin’ Up! Holiday Mini catalog. And trust me when I say you’re gonna love it!

This week, we’re starting a new design series. We’re going to be looking at our holiday products from a different angle, taking them beyond the holidays into the everyday.

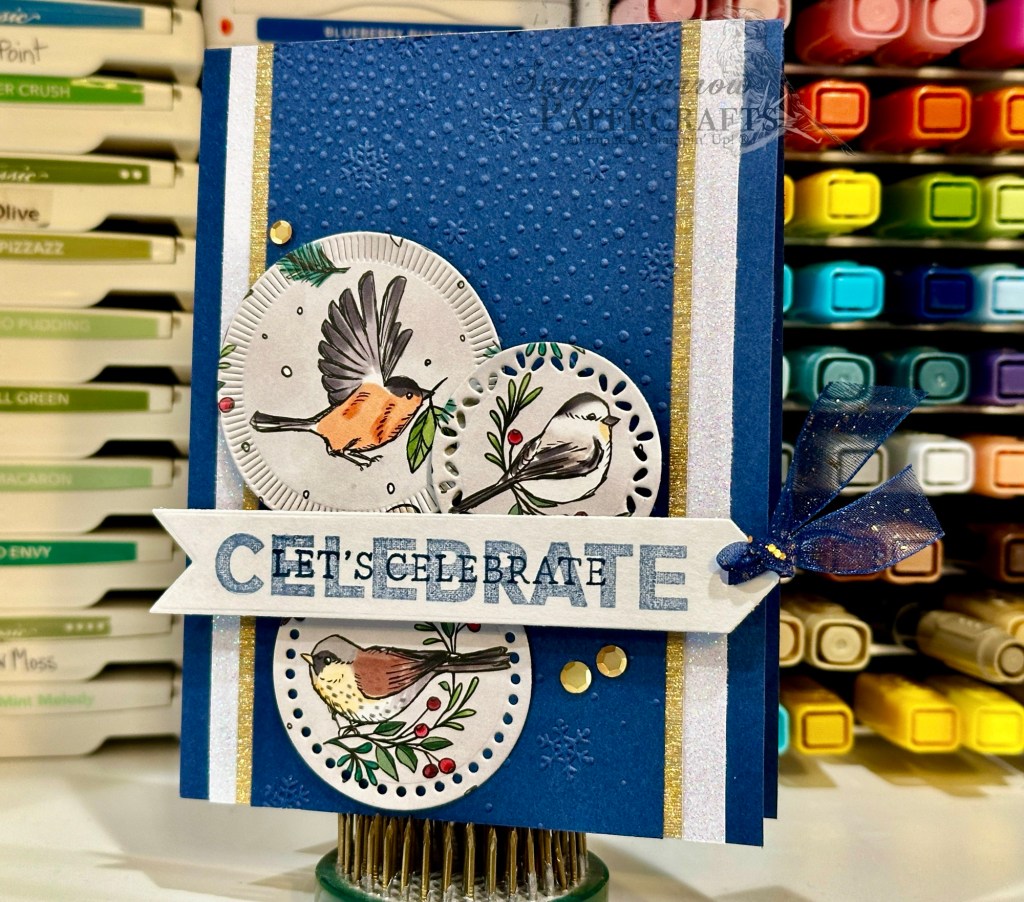
And today, we’re starting with the new Nests of Winter designer paper. We’re using the detailed bird patterned paper to create a celebratory card. While it’s a little wintery, the design doesn’t feel like a holiday card. This card would be perfect for a winter birthday, promotion, retirement, or graduation.

We get started with a base of Night of Navy cardstock. Our focal panel backdrop consists of a narrow panel of Night of Navy embossed with the Snowflake Sky embossing folder and two mats — white glimmer paper and textured gold specialty paper. The cluster of birds are diecut from the Nests of Winter designer paper using the Spotlight on Nature dies. The sentiments are stamped in navy on white cardstock using the Happy Little Things and Friends for Life stamp sets and then diecut using the Greetings of the Season banner die. I’ve tied Night of Navy & Gold sheer ribbon through the end. Our sentiment panel overlays the focal images. And the design is finished with a few gold sequins to draw the eye across the design.

Tune in tomorrow for another twist on the Nests of Winter.

Products used in today’s card:
Basic White, Night of Navy cardstock
White glimmer, textured gold, Nests of Winter (coming soon!) DSP
Happy Little Things, Friends for Life stamps
Spotlight on Nature, Greetings of the Season dies
Snowflake Sky embossing folder
Night of Navy & Gold sheer ribbon
Neutrals sequins
Dimensionals
Adhesives

Coming Soon · Holiday Mini Catalog

Christmas in the Air

I don’t know about you, but I’ve had a ball digging into my box of Stampin’ Up! Holiday Mini catalog preorder goodies and sharing sneak peeks with you. One of the many perks of being a demonstrator is having the opportunity to order new items early, and I love being able to share my excitement about new products with you.

Today, we’re getting a look at a new embossing folder called Painted Trees, which is part of the larger suite that we worked with yesterday. This embossing folder is on the larger side, which is perfect for anyone who prefers making larger-sized cards. For today’s card, I kept things really simple. Let’s take a look.

We get started with a card base of Basic White cardstock. While cut to a standard size, I did orient the score line at the top of the portrait orientation. The base of our front panel is a sheet of the new Take a Bow designer paper. For our focal panel, we start with a quarter panel of Pool Party cardstock, which is cut down so that a narrow border of our base shows on all sides. I then machine embossed this panel using the Painted Trees embossing folder. I oriented the tallest tree so that it would be in the center of my panel, which gives just partial images of the smaller trees on either side. Using my sponge daubers, I went over the embossed portions with Mossy Meadow and Old Olive inks to bring out the details of each tree. I then sponged around the trees with Pool Party ink to give more depth and variation to the sky in the background. I used my water painter to flick diluted white craft ink on the panel to give the look of fluffy falling snow. Our sentiment panel is diecut from Garden Green cardstock using the Peaceful Season dies and then the sentiment from Peaceful Season is heat embossed in white. The word Christmas is diecut from white glimmer paper using the Peaceful Season die. I thread the silver & white sheer ribbon through the ends of the sentiment panel and tied a bow on one end to affix it to the card front. A few adhesive snowflakes finish things off.

I just love this embossing folder and can think of so many other sets that could be paired with it to create some really beautiful scenes. But this design is super simple and easy to replicate and is definitely going into my rotation of Christmas cards this year!

Next week, we’re going to look at our designer papers a little differently. I hope you’ll tag along as we turn patterns that may seem seasonal into designs for all occasions.

Products used in today’s card:
Basic White, Pool Party, Garden Green cardstock
White glimmer, Take a Bow (coming soon!) DSP
Peaceful Season stamps & dies (coming soon!)
Painted Trees embossing folder (coming soon!)
White embossing powder
Silver & white sheer ribbon
White snowflakes
Dimensionals
Adhesives
Coming Soon · Holiday Mini Catalog · Sketchy Fridays

Sketchy Fridays: Cheer All Year

This week has come and gone in a flash! We’ve survived the first full week of school and are starting to feel like we’re getting back into the school year rhythm. Definitely looking forward to the weekend and having some down time!

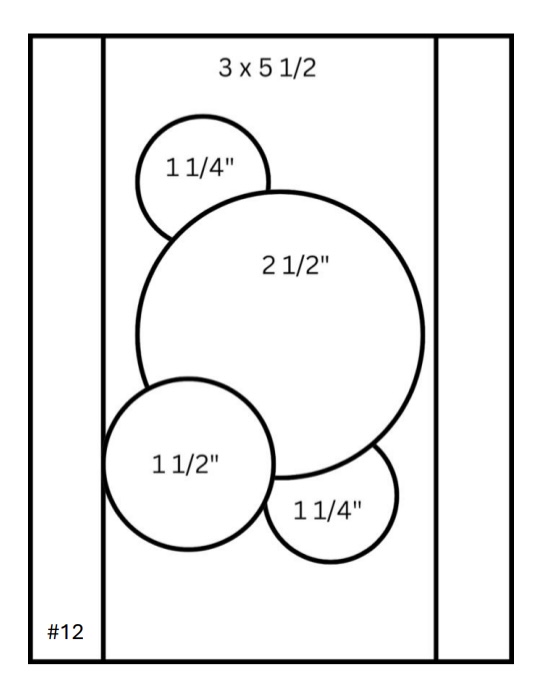
And speaking of Fridays, it’s time for another installment of Sketchy Fridays, where each week we’ll be using a card sketch to design our featured card. Right now, we’re working through a full series of designs using the card sketches found on page 22 of the current Stampin’ Up! Annual Catalog.

This week’s card is based on Sketch #12 and features several products from the new Stampin’ Up! Holiday Mini catalog that launches on September 6th.

We get started on our card today with a base of Cherry Cobbler cardstock. Our background panel consists of a mat of Festive Glimmer paper and a sheet of the gorgeous new Season of Elegance patterned paper. Our focal images are diecut from Cherry Cobbler using the Peaceful Season dies. On our larger square, I’ve heat embossed the sentiment from Peaceful Season in gold. The word Christmas is diecut from Festive Glimmer Paper and Gold Foil using the Peaceful Season dies and then adhered with dimensionals. Our larger square is adhered with dimensionals to ensure the sentiment is front and center. A twist of gold trim and some drusy embellishments draw extra attention to our sentiment. I added a few earth tones shimmer gems around the cluster of focal images to help the eye pass across the design.

One of the fun things about sketches is remembering that they’re a starting point for your design. You can stick to the spirit of the sketch without compromising on an idea for using something a little different. Take, for example, the circles in the sketch. For this card, I wanted to showcase the new Peaceful Season dies, which does not have any circles, but look how beautifully the rounded squares work here in this layout. Dare to color outside the lines the next time you’re using a sketch. You’ll be glad you did!

Tomorrow, we’ll be in the evergreens. I hope you’ll pop by and check it out!

Products used in today’s card:
Cherry Cobbler cardstock
Festive Shimmer (coming soon!), Season of Elegance (coming soon!), gold foil DSP
Peaceful Season stamps & dies
Gold embossing powder
Drusy embellishments, earth tones shimmer gems (both coming soon!)
Gold trim
Dimensionals
Adhesives
Coming Soon · Holiday Mini Catalog

Joyful ephemera

This week, we’re getting a sneaky peek at some of the upcoming products that will release with the new Stampin’ Up! Holiday Mini catalog, which officially goes live on September 6th. Today’s card features some of the new ephemera packs. What are ephemera packs, you might wonder? Well, the packs in the current lineup offer colorful words, images, and/or sentiments that are preprinted and ready to be added to your card. They’re a wonderful way to make beautiful cards when you are short on time.

For today’s card, we’re using a combination of the new Joyful Images Ephemera and Joyful Sayings Ephemera. We’re pairing them up with the new Take a Bow designer series paper pack and Sketch #5 from the Stampin’ Up! Annual Catalog. Let’s take a closer look at how it all comes together.

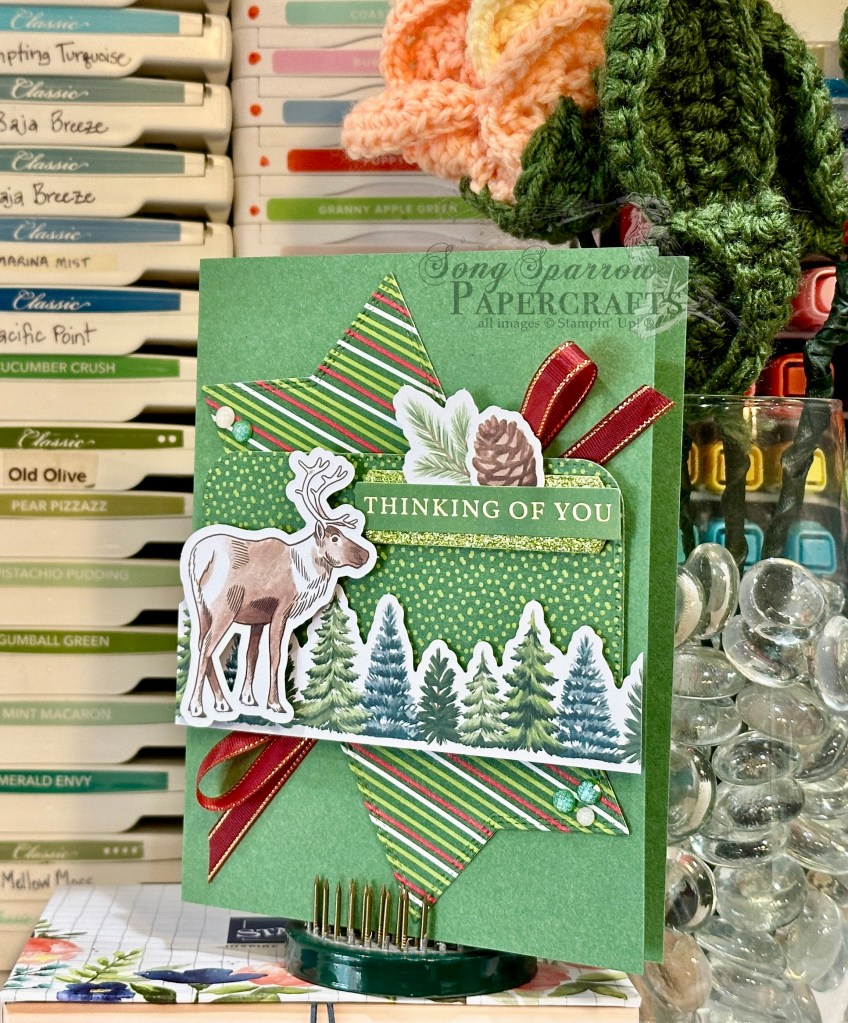
We get started with a base of Garden Green cardstock. Our striped banner background element is a sheet of the new Take a Bow paper that is diecut with the Nested Essentials banner dies using the extension method. The green spotted background element is another pattern included in the Take a Bow paper pack and is diecut using the largest square in the Nested Essentials set using the extension method. This panel serves as the backdrop for the focal images of evergreens and an elk from the Joyful Images pack. These adhered to the background panel with varying layers of dimensionals. Our sentiment comes from the Joyful Sayings pack and an evergreen sprig and pinecone are added to tie everything together. The sentiment is matted with a banner of Festive Glimmer paper and then adhered on the focal panel with dimensionals. A faux bow of Cherry Cobbler & Gold satin ribbon behind the focal panel adds another pop of red. A few Earth Tones shimmer gems add sparkle and draw the eye across our card design.
This card came together in a jiffy and I love having the ephemera packs on hand to make cute cards on the fly. I chose a more neutral theme for today’s card, but the pack has images that would make cute Christmas or winter-themed cards. We’ll take a closer look in the coming weeks.

Tomorrow we’re diving into the Season of Elegance suite, and I think you’re going to love it! Pop in and check it out.

Products used in today’s card:
Garden Green cardstock
Take a Bow, Festive Glimmer DSP (both coming soon!)
Joyful Images, Joyful Sayings ephemera (both coming soon!)
Cherry Cobbler & Gold satin ribbon (coming soon!)
Earth Tones shimmer gems (coming soon!)
Dimensionals
Adhesives