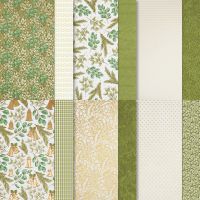
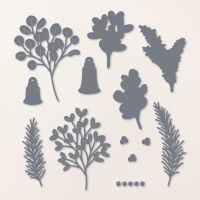
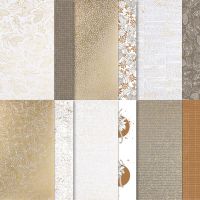
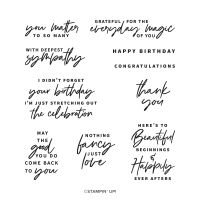
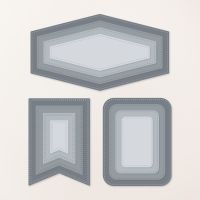
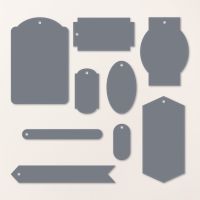
Coming Soon · Holiday Mini Catalog · Peaceful Garden

Monochromatic Peace

We’re winding down this week, and I don’t know about you but I’m ready for the weekend ahead. The first week of school is always a rough transition as we work to find the school year rhythm again. Poor fella had a rough day yesterday after leaving some important papers and his school computer at home. Learning personal responsibility is tough!

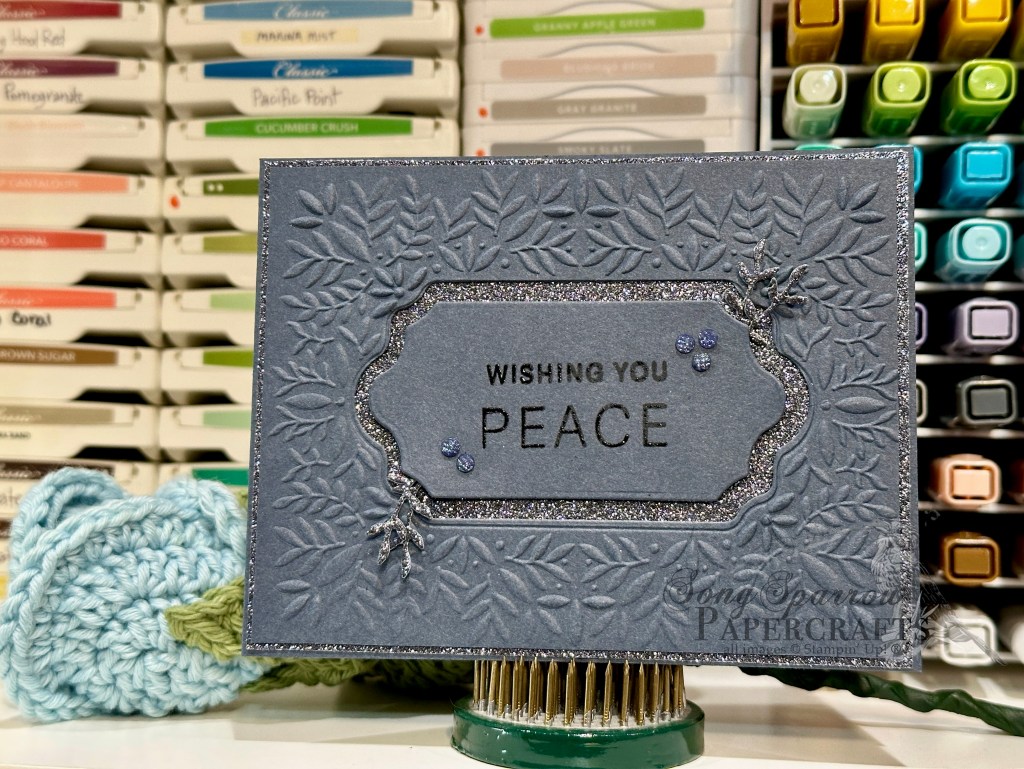
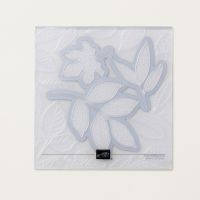
This week, we’ve been working with a brand new suite of products that is due to release in September in the SU! Holiday Mini catalog. Peaceful Garden lends itself to a whole host of different styles and seasons. Today I thought it would be fun to work in a monochromatic color palette and with just a few simple elements from the suite. So our featured color is one of the new In Colors called Secret Sea and we’re letting the lovely Peaceful Greenery embossing folder do all of the heavy lifting for our design.

We start with a base of Secret Sea cardstock. Our Secret Sea focal panel is machine embossed with the Peaceful Greenery embossing folder and then matted with Secret Sea glimmer paper. One thing I love about the Peaceful Greenery embossing folder and Peace on Earth dies is that the decorative panels are made to inlay in the center of the debossed portion of the embossing folder. So I used the largest die to cut out the debossed section. And then I used the smaller die to cut down the cutout piece and create a smaller panel for the sentiment. The sentiment from Peace on Earth is stamped in Versamark and heat embossed with clear embossing powder. I cut some of the smaller greenery elements from a scrap of Secret Sea glimmer paper and adhered them on opposing corners of the sentiment panel before adhering the sentiment panel to the center of the card front with dimensionals. A few shimmer dots finish things off perfectly.

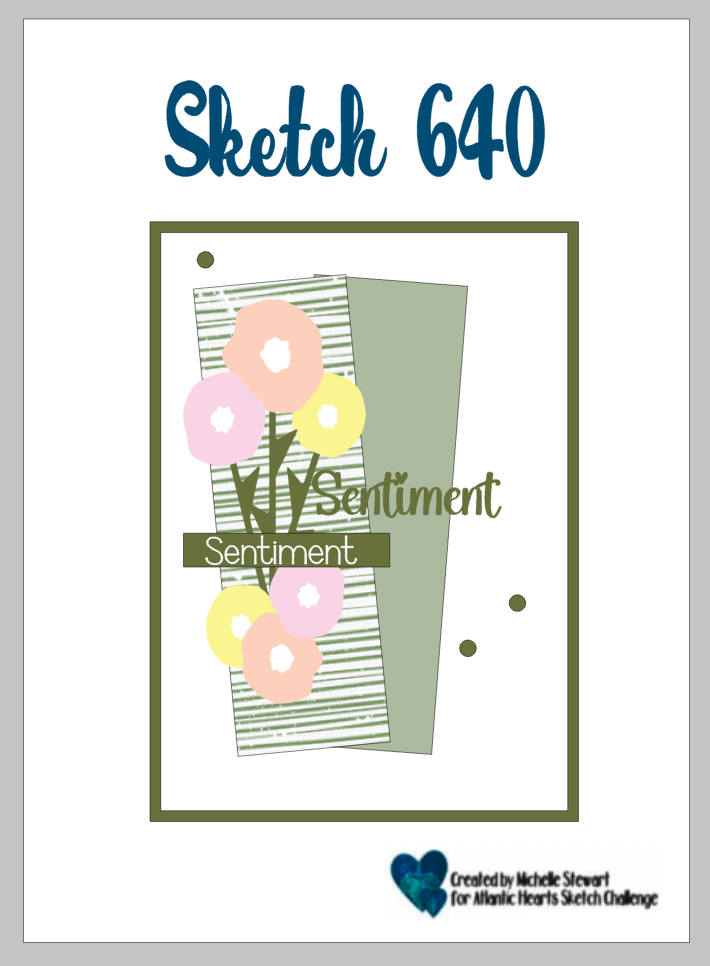
Tomorrow we’ll be using a sketch to create our card. I hope you’ll drop in and see what’s in store!

Products used in today’s card:
Secret Sea cardstock
Peaceful Garden glimmer SP (coming in Sept)
Peace on Earth stamp & die bundle (coming in Sept)
Peaceful Greenery embossing folder (coming in Sept)
Clear embossing powder
Charming shimmer faceted dots
Dimensionals
Adhesives
Coming Soon · Holiday Mini Catalog · Peaceful Garden

Peaceful Greenery

Welcome to the midway point of the week. The first week of school is always a whirlwind as we get back into the groove of the schoolyear schedule, and this year is no exception. Hopefully we’ll start finding our groove a little better next week, but for now we’re just flying by the seats of our pants! *grin*

This week, all of our designs feature the Stampin’ Up! Peaceful Garden suite which is due to release in September in the new Holiday Mini catalog. Today, I wanted to give a look at the Peaceful Greenery embossing folder.

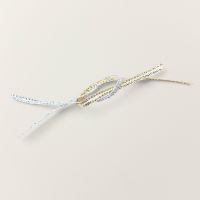
We get started with a base of Night of Navy cardstock. The backdrop for our focal panel is a sheet of vine pattern from the Peaceful Garden paper pack. This panel is machine embossed with the Peaceful Greenery embossing folder. To ensure that the embossed pattern stood out against the complimentary patterned background, I used my finger to “shade” the embossing with platinum ink from my metallic ink stash. The embossed image has a perfect shaped portion in the center where the stacked dies from the Peace on Earth set fit. The sentiment from Peace on Earth is stamped in Misty Moonlight on white and then cut with the smallest die. The panel is then matted with Secret Sea glimmer paper from the Peaceful Garden pack that has been cut with the larger die. The full panel is adhered to the card front with dimensionals. I cut two of the larger twigs from the die set from silver glimmer paper and held them together with some of the Misty Moonlight silver edged ribbon. Drusy embellishments draw the eye down and across the design so that the eye takes in all the details.

I hope you’ll drop by tomorrow to see what else this lovely embossing folder can do!

Products used in today’s card:
Night of Navy, Basic White cardstock
Peaceful Garden DSP, Peaceful Garden glimmer (coming in September!)
Peace on Earth stamp & die bundle (coming in September!)
Peaceful Greenery embossing folder (coming in September!)
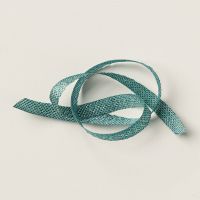
Misty Moonlight silver edged ribbon (coming in September!)
Drusy embellishments
Dimensionals
Adhesives
Coming Soon · Holiday Mini Catalog · Peaceful Garden

Wishing You Love

Welcome back, friends! I hope your week has gotten off to a good start. We have successfully navigated the first day of school. The kiddo was pretty stoked that he had friends in every class. And we’re just glad that he had a great day and seems to be at least moderately excited about this school year.

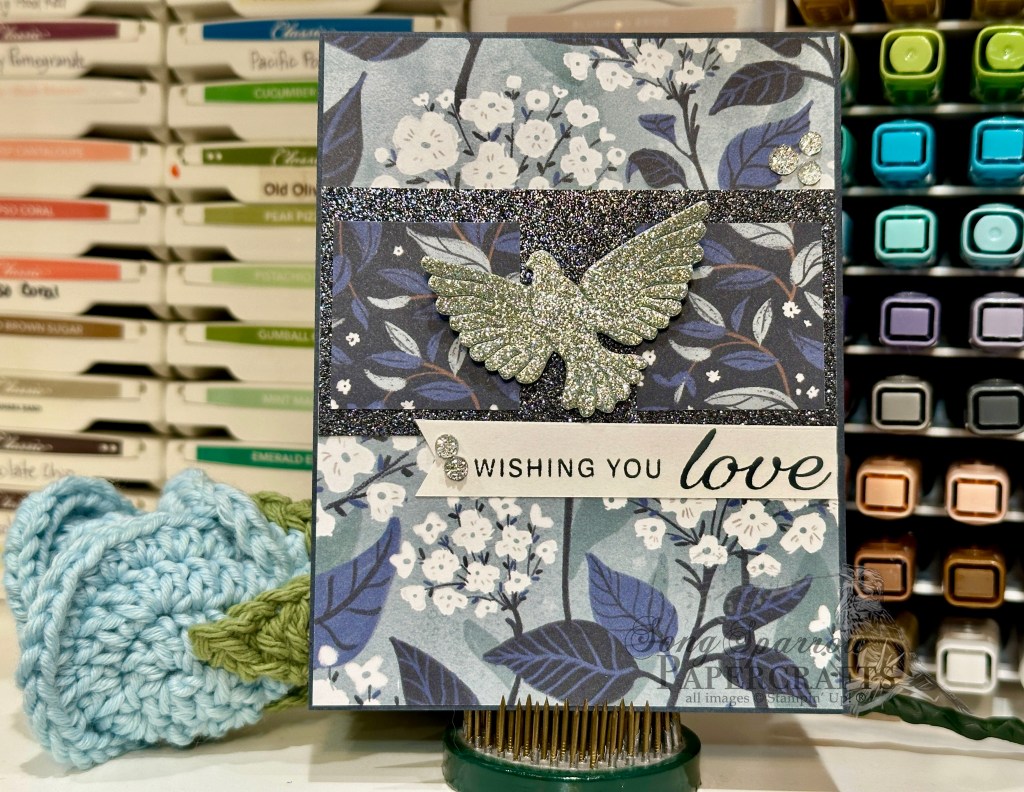
On to some crafting, shall we? This week, we’re working with a brand new suite from the upcoming Holiday Mini catalog – Peaceful Garden. And the beautiful paper takes center stage in today’s card.

We get started with a base of Secret Sea cardstock. (Does anyone else love the moodiness of this new shade of blue?) A sheet of the floral stems from the Peaceful Garden paper pack serves as the backdrop for our card. A strip of the coordinating Secret Sea glimmer paper serves as the focal panel on which we have two small squares of the vine patterned from the Peaceful Garden pack. The hovering dove is cut from a sheet of silver glimmer paper using the Peace on Earth dies and secured to the panel with dimensionals. Extra dimensionals under the wings give the realistic look of wing movement. The sentiment from Peace on Earth is stamped on white cardstock in Secret Sea ink. One end of the panel is snipped to create the sentiment banner that is adhered underneath the larger focal panel. A few drusy embellishments on either side help draw the eye across our design so that you take in each element.

Tomorrow we’ll be exploring a few of the other elements included in the suite. I hope you’ll drop in and see some of the other awesome goodies in this amazing suite.

Products used in this card:
Secret Sea, Basic White cardstock
Peaceful Garden DSP & glimmer paper (coming Sept 3!)
Peace on Earth stamp & die bundle (coming Sept 3!)
Drusy embellishments
Dimensionals
Adhesives
Coming Soon · Holiday Mini Catalog · Peaceful Garden

Peaceful Prayers

Happy Monday, crafty friends! It was a busy weekend that went by way too fast for us as we spent the last weekend soaking up summer and preparing for the new school year that begins today.

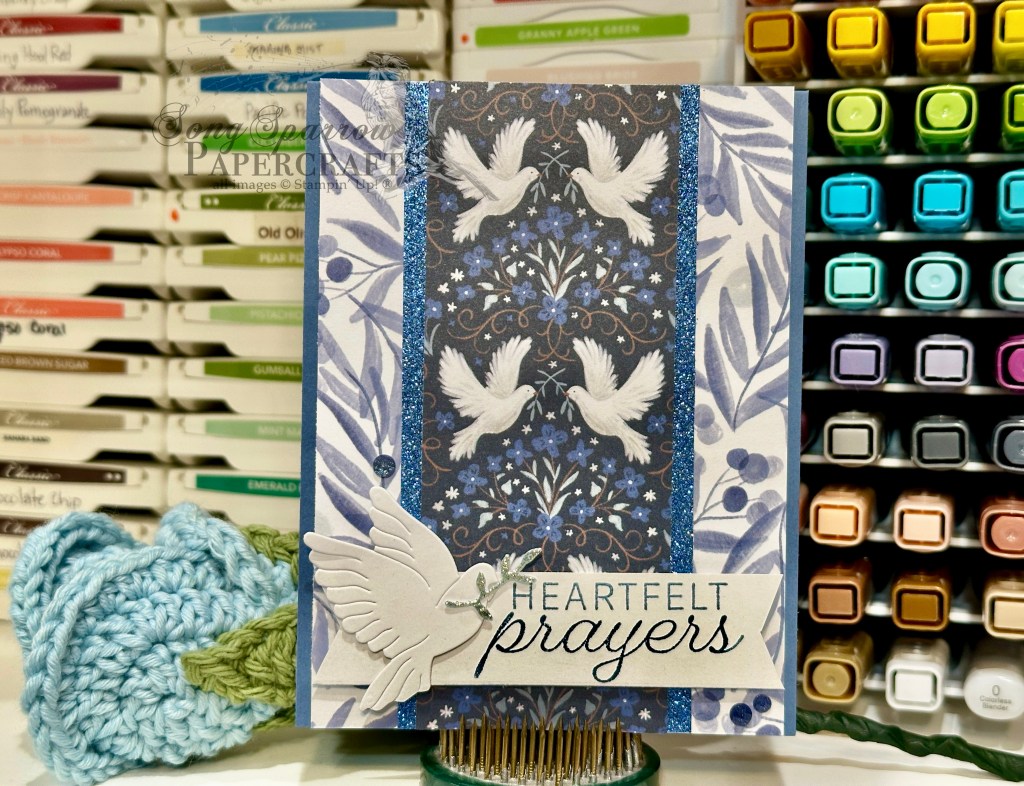
I am SO excited about this week’s featured design products. We’re going to be using the *new* Peaceful Garden suite of products, which releases in the new Holiday Mini catalog on September 3rd. This suite includes beautiful patterned paper, coordinating glimmer paper, stamps, dies, an embossing folder, gorgeous ribbon, and fun embellishments. I just love the beautiful blue color palette of this suite! And today’s super simple design features the gorgeous patterned papers.

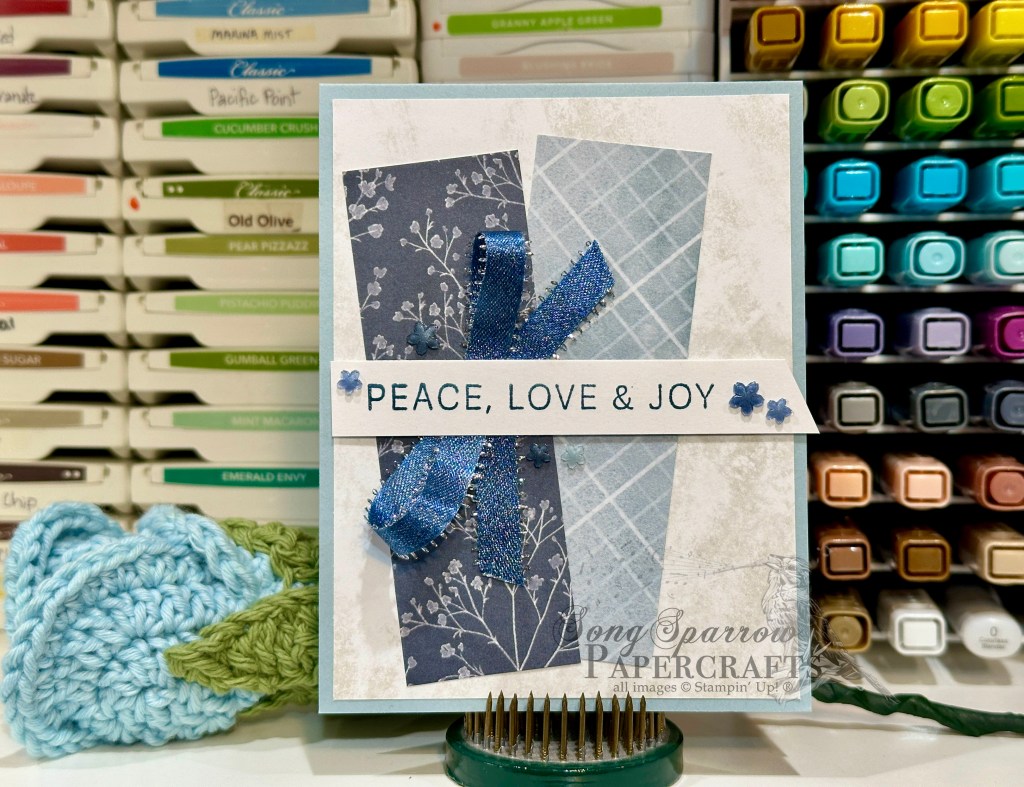
We get started with a base of Misty Moonlight cardstock. I chose two coordinating patterns from the Peaceful Garden paper pack – the beautiful doves and greenery sheets. I loved the repeating pattern of the doves and chose to cut one of the vertical strips of repeating pattern to serve as the centerpiece of this design. To give a little eye relief and add a little punch, I separated the dove strip from the greenery with a strip of blue glimmer paper from the coordinating pack. The sentiment from the Peace on Earth stamp set is stamped in Misty Moonlight on a strip white cardstock and then notched on each end to create the banner. I offset the sentiment to allow for the diecut dove on the left. The dove is cut from white cardstock using the Peace on Earth dies and adhered to the sentiment panel with dimensionals. I also cut and added a branch of greenery cut from silver glimmer paper. The sentiment panel is adhered at the bottom of the front panel with dimensionals. A few charming shimmer faceted dots on either side of the sentiment panel add a little extra color-coordinated sparkle.

This suite really does make it easy to create beautiful cards in a snap. I can’t wait to show you more!

Products used in today’s card:
Misty Moonlight, Basic White cardstock
Peaceful Garden DSP & glimmer paper (coming Sept 3!)
Peace on Earth stamp & die bundle (coming Sept 3!)
Charming shimmer faceted dots
Dimensionals
Adhesives
Fun Folds · Holiday Mini Catalog · Tutorials

Big Hugs

Howdy, everyone, and happy Saturday! We are officially to the weekend. We’re counting down the last week of summer break over here, so there are lots of things on the to-do list to be sure the kiddo is ready for his first week of 8th grade! What about you? What will your weekend plans have you doing?

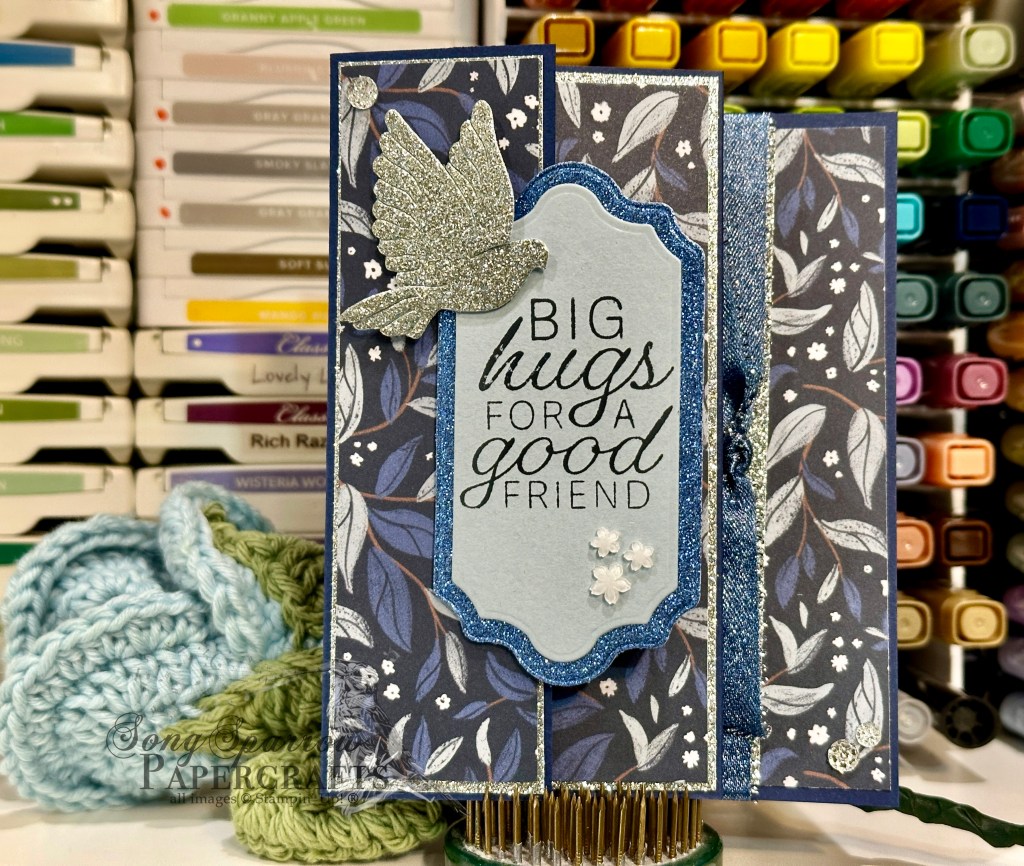
Here in the craft room, we’re wrapping up our full week of fun fold designs. And today, I’m giving you a sneak peek of a full suite of products that will be available in the Holiday Mini catalog on September 3rd. We’re using the Peaceful Garden Suite to create a 4-Panel Accordion Fold. Demos were able to purchase this suite early as part of the special Creativity Now event in June, and I’ve saved using it until we got closer to the official release date for customers.

We get started by cutting down a 12×12 piece of Night of Navy cardstock and then score it to create the accordion base. I chose the leaf and vine patterned sheet from the Peaceful Garden paper pack as my focal paper and then matted these strips with the coordinating silver glimmer paper. The sentiment panel is created using the Peace on Earth stamp & die bundle included in the Peaceful Garden suite. I finished things off with a few Hues of Blue flowers and Misty Moonlight trim from the suite, along with a few drusy embellishments.

I dressed this fun fold up a bit by adding mats for each of the patterned paper panels. When you’re using heavier glimmer paper, like the sheets from Peaceful Garden, this will add some extra weight to your card. You could simplify this by omitting the extra mats or using lighter weight glimmer paper.

How would you like to give the 4-panel accordion fold a try? You can download the free PDF tutorial here.

It’s been a lot of fun learning some new fun folds this week. And there are quite a few that will be going into my more regular rotation. Do you have a favorite from this week’s fun fold series? Tell me in the comments!

Next week, we’re going to be exploring a super fun stamp bundle called Sweet Jar that has a new coordinating holiday stamp set called Jar of Joy. I hope you’ll pop in and see all of the fun things we can do with these cute stamps & punch!

Products used in today’s card:
Night of Navy, Cloud Cover, Basic White cardstock
Peaceful Garden, Peaceful Garden glimmer DSP (coming in September!)
Peace on Earth stamp & die bundle (coming in September!)
Misty Moonlight & silver edged ribbon (coming in September!)
Hues of blue flowers (coming in September!), Drusy embellishments
Dimensionals
Adhesives
Holiday Mini Catalog

Hello, Fall Wreath

This week, we’re using the Nests of Winter suite by Stampin’ Up! to create our designs. This suite of products includes coordinating stamps & dies, patterned paper, an embossing folder, twine, and shimmer gems. Today’s card showcases the versatility of this set as we make a lovely fall design.

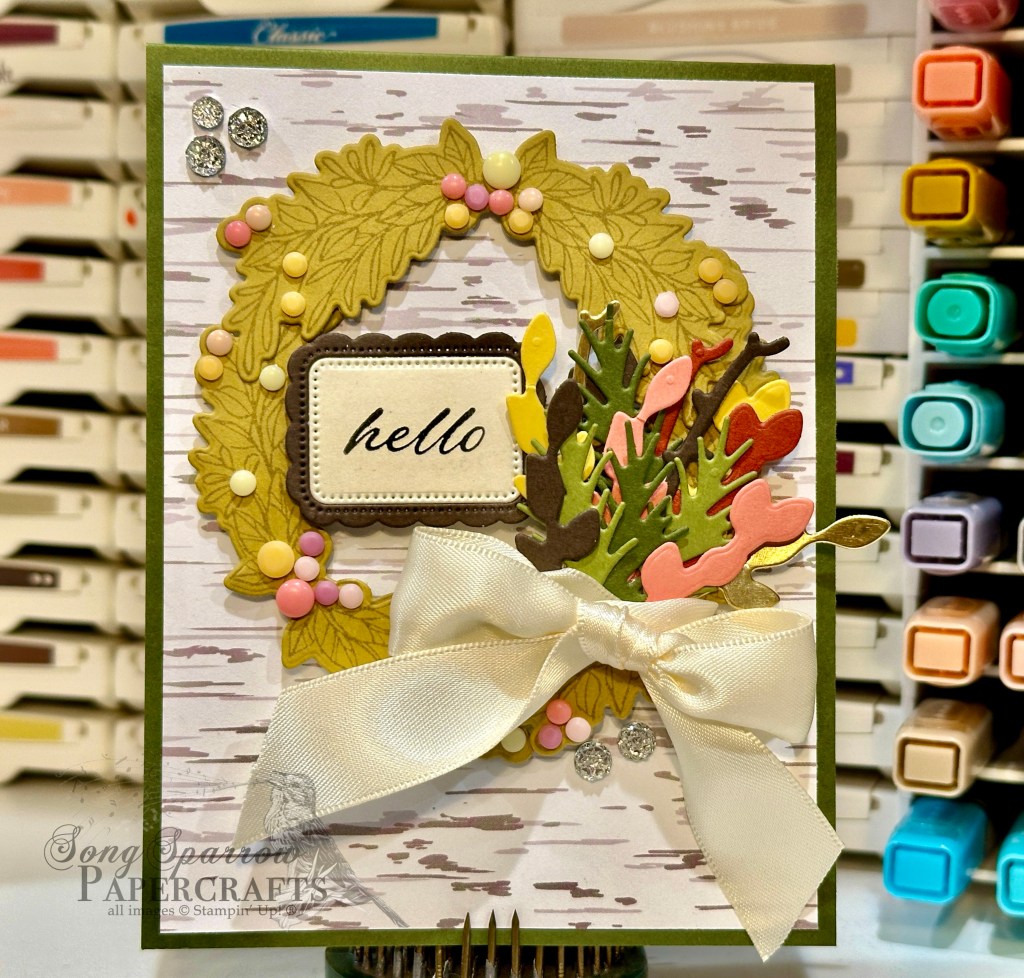
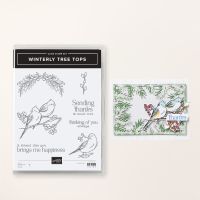
I don’t know if you’re one to change your decor based on the seasons, but I really love to do that. Some seasons I go more “all out” than others, but I have some very basic elements around the house that change based on the season. One thing I’m sure to change is the wreath on my front door, which inspired today’s design. The greenery swag in the Winterly Tree Tops set is perfect for wreath-making!

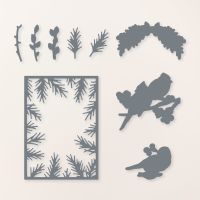
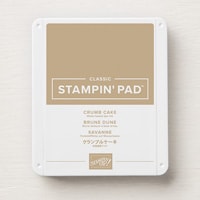
We get started on our card with a base of Mossy Meadow cardstock. Our background panel is the woodgrain pattern from the Nests of Winter patterned paper pack. I just love the old barn door look here! Our wreath is made with the greenery swag image from the Winterly Tree Tops stamp set. The image is stamped in Crumb Cake on Wild Wheat cardstock. The berries are completed with a combination of In Color resin dots and Rainbow dots using a combination of pinks, oranges, and yellows to really reflect our fall color palette. I decided to mimic the look of fall wreath picks and used the smaller greenery elements in the Winterly Tree Tops die set to accomplish this. The picks are a combination of Early Espresso, Old Olive, Mossy Meadow, Calypso Coral, Daffodil Delight, Cajun Craze, and gold foil papers. They’re tied together with some of the lovely Very Vanilla satin ribbon. Our greeting placard is a combination of Very Vanilla and Early Espresso cardstock diecut using the Unbounded Love dies and the sentiment is stamped from Wonderful Thoughts is stamped in black. Everything is adhered with dimensionals to really give the look of a wreath hanging on the door. A few drusy embellishments add a little sparkle and really bring our eyes across the lovely wreath.

Tomorrow we’re going to be using a new sketch and once again using our Nests of Winter to create a lovely fall-inspired card design. Come check it out!

Products used in today’s card:
Mossy Meadow, Very Vanilla, Calypso Coral, Daffodil Delight, Cajun Craze, Old Olive, Early Espresso cardstock
Nests of Winter, gold foil DSP
Winterly Tree Tops stamps & dies
Unbounded Love dies
Rainbow dots, In Color resin dots
Very Vanilla satin ribbon
Drusy embellishments
Dimensionals
Adhesives
Product List
Holiday Mini Catalog

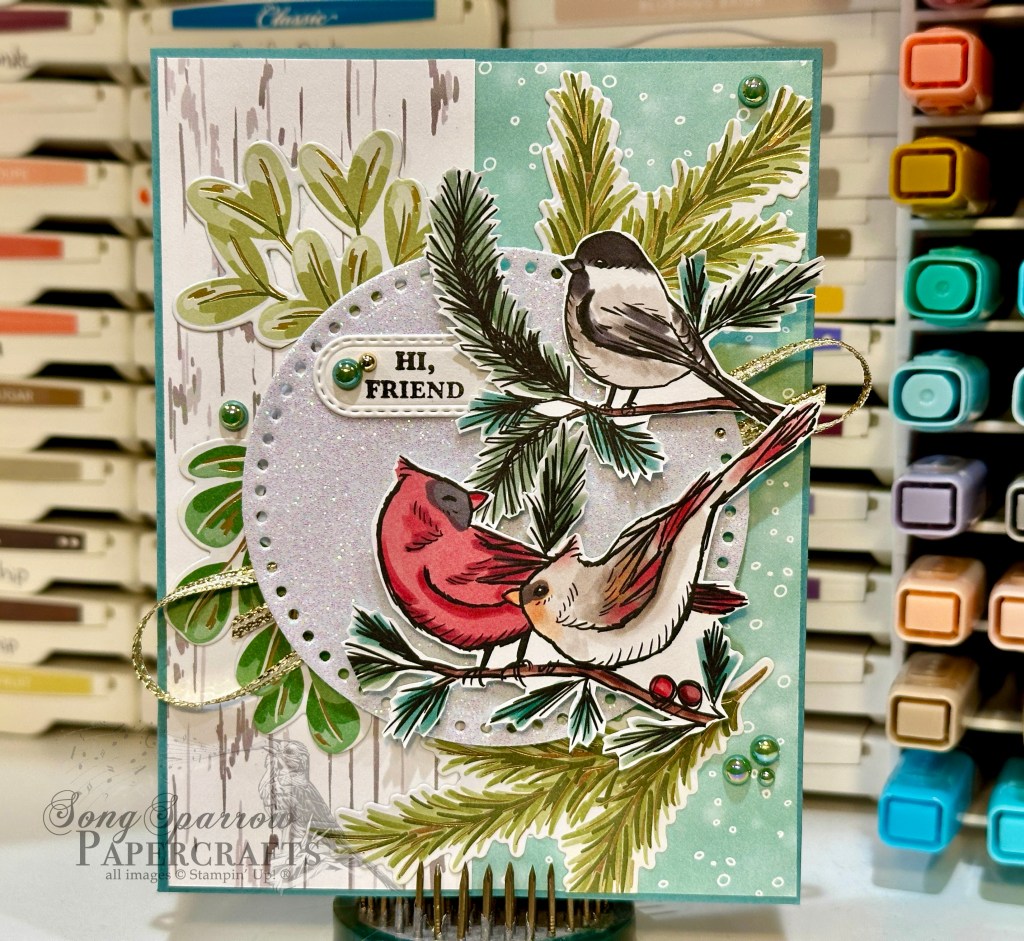
Hi, Friend

We’ve made it to the halfway point of the week already, friends. I don’t know about you, but I have more things to do than I have time to do them these days! I’m preparing for 2 craft shows this month and my craft room looks like it! *snicker*

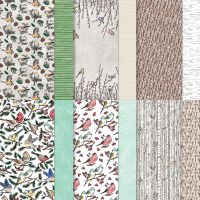
This week, we’re using the Stampin’ Up! Nests of Winter suite of products to create our projects. Today, we’re pairing up the lovely patterned papers with a few other current products in the SU! lineup to create this lovely Hello card.

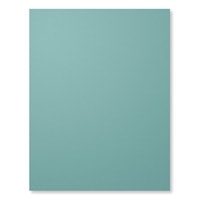
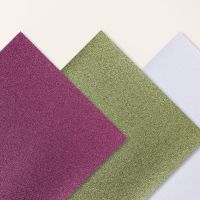
We start with a base of Lost Lagoon cardstock. I love how this base brings out the subtle hues in the greenery around the birds. The background panel consists of the snowy and woodgrain patterns from Nests of Winter. Our focal panel is all about the birds. I chose to fussy cut the chickadee and pair of cardinals from the sheet from Nests of Winter to serve as our focal images. Our birds are layered on top of a sparkly glimmer paper circle cut with the Spotlight on Nature dies and greenery cut from the Season of Green & Gold paper with the Golden Greenery dies. A twist of gold trim behind the panel complements the sparkle of the gold-foiled greenery. The sentiment from Wonderful Thoughts is stamped in black on white cardstock and then diecut with the Changing Leaves dies and tucked behind the greenery. A few blooming pearls across our design help the eye move across our focal panel to take in every detail.

Tomorrow we’re going to build a fall design with our feature suite. I hope you’ll pop in and see how it turns out!

Products used in today’s card:
Lost Lagoon, Basic White cardstock
Nests of Winter, white glimmer, Season of Green & Gold DSP
Wonderful Thoughts stamps
Golden Greenery, Spotlight on Nature, Changing Leaves dies
Gold trim
Blooming pearls
Dimensionals
Adhesives
Product List
Holiday Mini Catalog

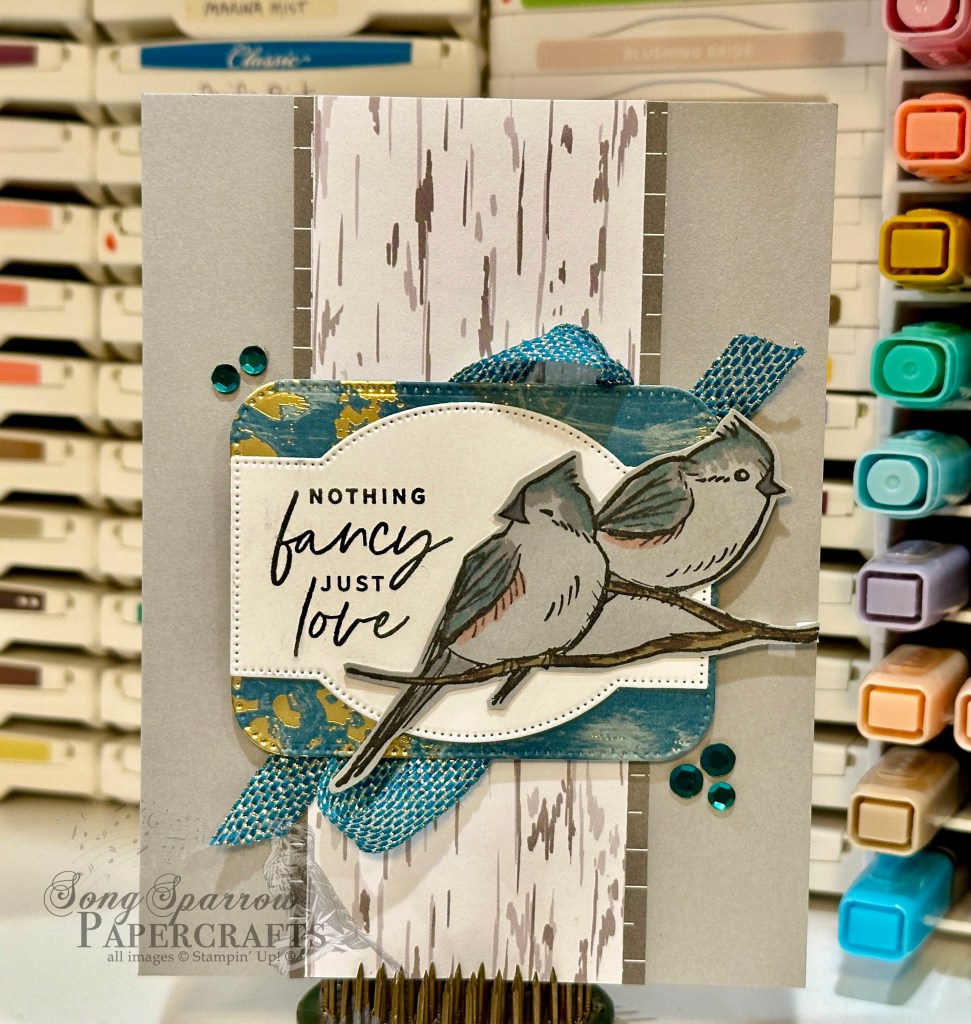
Nested Love

It’s starting to feel a lot more like fall in North Texas as our mornings are beginning to be more brisk. Fall is one of my favorite seasons, and one of the things I love about fall is that our winter bird friends return. My son got the family into bird watching when he was younger and we have enjoyed it ever since. We have birds that come and go from our area each year, and we enjoy looking for them.

This week, we’re using the Stampin’ Up! Nests of Winter to suite to design our projects. This suite of products includes lovely patterned paper, stamps, and dies that all share bird images. Today, we’re using a very simple layout to create our design.

We get started with a base of Smoky Slate cardstock. Our center background panel is a strip of patterned papers. The woodgrain pattern is from the Nests of Winter pack, while the mat is from Nature’s Sweetness. I love how the mat really accentuates the colors and shading in the woodgrain pattern.

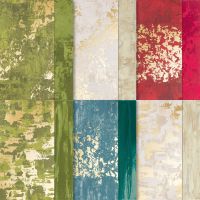
Our focal panel also has several layers. The base is a piece of the Pretty Peacock Season of Elegance foiled paper that is diecut using the Nested Essentials set. I wanted to pull in pops of color that would accentuate the blue undertones in the birds’ feathers.

The sentiment panel is a piece of white cardstock diecut using the Greetings of the Season dies, and then the sentiment from Wonderful Thoughts is stamped in black on the left side to allow for our focal image. Our duo of birds is stamped in black on Smoky Slate and then colored with Stampin’ Blends. I used a combination of Smoky Slate, Pretty Peacock, and Calypso Coral to shade the birds to resemble tufted titmice—some of my favorite little winter birds. I fussy cut the birds to omit the seasonal greenery to keep things more seasonally neutral for this card design.

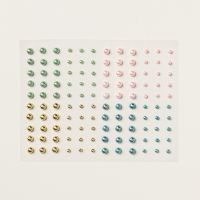
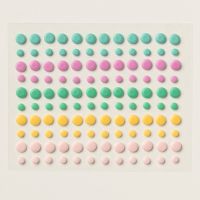
The focal panel is adhered with dimensionals over a twist of the Pretty Peacock & Gold metallic ribbon. Groups of Pretty Peacock sequins are added on either side of our focal panel for a pop of sparkle and to help move the eye across our design.

Tomorrow we’re going to be using more of the images from the papers in this suite. I hope you’ll pop by.

Products used in today’s card:
Smoky Slate, Basic White cardstock
Nests of Winter, Season of Elegance, Nature’s Sweetness DSP
Winterly Tree Tops, Wonderful Thoughts stamps
Nested Essentials, Greetings of the Season dies
Stampin’ Blends
Pretty Peacock & Gold metallic ribbon
Sequins trio
Dimensionals
Adhesives
Product List
Holiday Mini Catalog

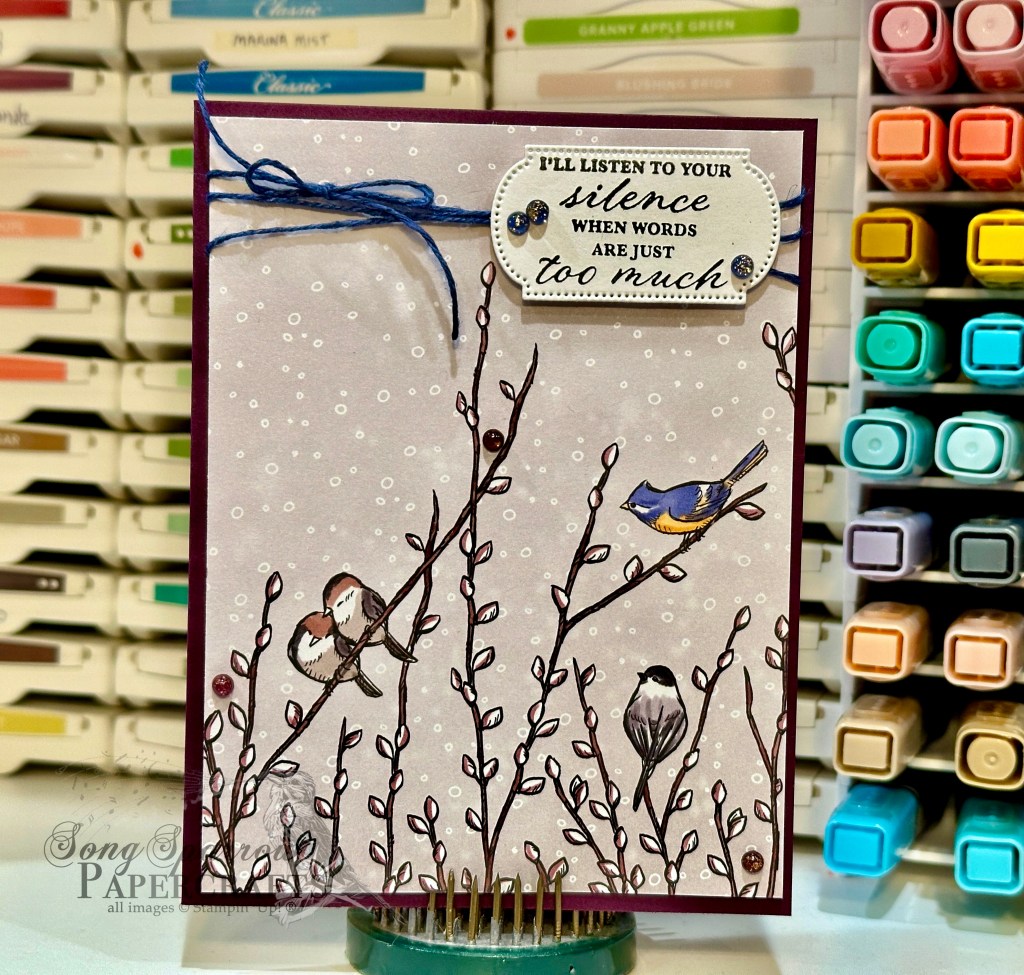
When Words Are Too Much

Welcome to a brand new week. It’s the last day of September. Who else is reeling a little bit about that?!

This week, we’re starting a brand new series using the Stampin’ Up! Nests of Winter suite. We’re starting off super simple by letting the beautiful paper do all the talking. With so many of you dealing with the aftermath of Hurricane Helene, this sentiment felt appropriate today. The photos of the damage left behind is simply overwhelming! Our prayers are definitely with you all.

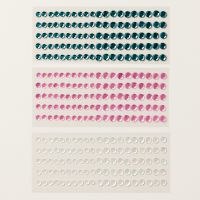
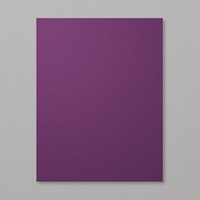
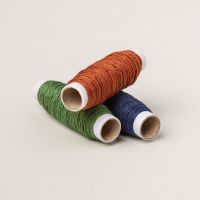
We start our card with a base of Blackberry Bliss cardstock. I love how that pulled the subtle purple hues in this paper more forward. I chose the one-sheet-wonder sheet from the Nests of Winter paper pack as our focal sheet for this card. I twisted the Night of Navy linen thread around the top. I love how this makes the little blue bird in our focal sheet really pop. The sentiment from Wonderful Thoughts is stamped in black on white cardstock and then diecut using the Greetings of the Season dies. I added a few regal foiled dots on the sentiment panel and scattered a few among the branches below.

This clean and simple design is a great way to let a gorgeous piece of paper do all the heavy lifting. Check in tomorrow to see more from this lovely suite of products.

Products used in today’s card:
Blackberry Bliss, Basic White cardstock
Nests of Winter DSP
Wonderful Thoughts stamps
Greetings of the Season dies
Natural Tones linen thread
Regal foiled dots
Dimensionals
Adhesives
Product List
Autumn · Holiday Mini Catalog

Autumn Birthday Greenery

It’s a beautiful weekend here in North Texas and things are beginning to feel a little more fall-like. The Great State Fair is now underway and morning temperatures are cooling off. I would be remiss if I didn’t express thoughtful concern for all of those who have been or will be impacted by Hurricane Helene. Please know that our thoughts and prayers are with you and we wish you fair weather for cleanup very soon!

Today we’re wrapping up our series of card designs using the Stampin’ Up! Season of Green & Gold suite, which is concluding with a mini series of fall designs using these products. One of the many ways that you can get more “bang for your buck” is to look for unique ways to use your crafting supplies. In the case of the Golden Greenery stamps and dies, we’re taking inspiration from all of the fall foliage that begins its color transformation this time of year. And today’s design highlights some fronds of fall foliage in the foreground of a field of Queen Anne’s lace.

We get started with a base of Cajun Craze cardstock. Our background panel is a sheet of Splendid Autumn patterned paper. Our fall foliage is diecut from Cajun Craze using the Golden Greenery dies. To create the buds on one of the stems, we use the heart die from the Filled with Fun set to cut hearts from a variety of cardstock colors, including Crushed Curry, Real Red, Garden Green, red Season of Elegance foiled paper, and blue Oxidized Copper paper, and then adhere them to the base stems with glue dots. Our rusty stems of foliage are adhered to our background panel with dimensionals. We then layer in a little sparkle in the background with some sprigs diecut from Peach Pie glimmer paper using the Changing Leaves dies. The sentiment from Greetings of the Season and Everyday Greetings is stamped in Copper Clay on white cardstock and then diecut using the Greetings of the Season banner die. Some gold trim is tied around the end and the panel is then adhered in front of our foliage with dimensionals. A few copper sequins finish things off and help the eye pass neatly over the card front and settle on the sentiment.

Next week we’re touring the Nests of Winter suite. I hope you’ll pop by and see all the ways you can make this beautiful suite of products work for you!

Products used in today’s card:
Cajun Craze, Crushed Curry, Real Red, Garden Green, Basic White cardstock
Season of Elegance, Oxidized Copper, In Color glimmer, Splendid Autumn DSP
Everyday Greetings, Greetings of the Season stamps
Golden Greenery, Filled with Fun, Changing Leaves, Greetings of the Season dies
Gold trim
Neutrals sequins
Dimensionals
Adhesives
Product List