We made it to the weekend — whew! Yesterday turned out to be a bit busier than anticipated. The kiddo participated in the first round of basketball tryouts, and let’s just say it got off to a bumpy start. Quite literally. He’s got quite the nasty bump & bruise on his knee that we spent the evening nursing. Hoping it looks better after a good night’s rest!
As promised though, we’re strolling through Sleepy Hollow today. And look who we rustled up — Casper and friends! The new Frightfully Fun suite is so fun and we’re dazzling it up with some shimmery touches for the perfect pops of fun!
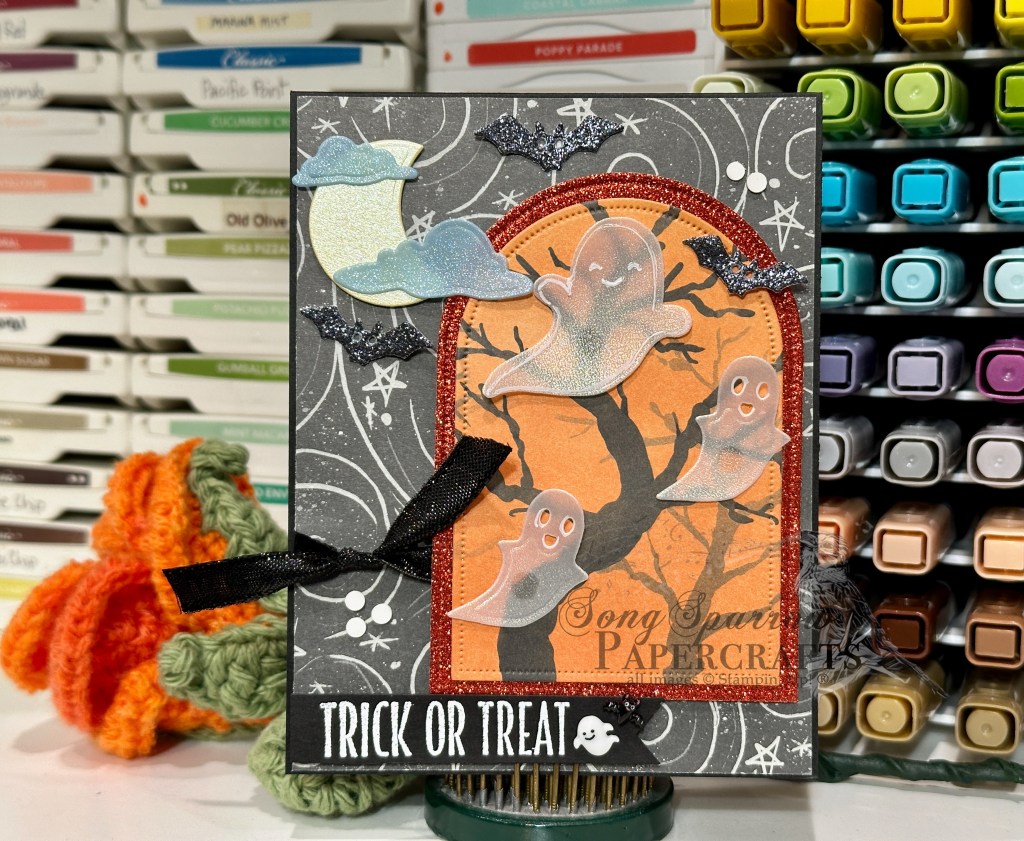
We get started with a base of black cardstock. A sheet of the swirling stars paper from the new Frightfully Fun paper pack gives us our spooky backdrop. And we wrap it with some black shiny ribbon before adhering to the card front. The Everyday Arches dies help us create our matted focal panel with a combo of orange Autumn Woodland glimmer paper and Frightfully Fun scary woods paper. Our cute little ghosties are diecut with the Oh My Fright dies and I added some detailing to each with a white chalk pen. Our dies also help us create the rest of our scene. The moon is a sheet of the pale yellow pastel shimmer paper with the clouds from a sheet of the blue Sunset shimmer vellum. Our bats are cut from Secret Sea glimmer paper and I added some detailing around the eyes with the chalk pen. Our sentiment from the Oh My Fright stamps is heat embossed in white on black paper and then cut into a banner shape before being adhered to the bottom corner of our card front. We finish things off with some dots and ghosts and bats from the Ghosts and Dots embellishments pack.
It’s a busy one today but I’m hoping to get some crafty playtime this afternoon to work on some 3D projects for an upcoming craft show.
Products used in today’s card:
Basic Black CS
Frightfully Fun, Autumn Woodland glimmer (coming in Sept), Peaceful Garden glimmer, pastels shimmer, Sunset shimmer vellum DSP
Everyday Archie’s dies
Oh My Fright bundle (coming in Sept)
Versamark
Black & clear EP
Ghosts & dots (coming in Sept)
Black shiny ribbon (coming in Sept)
Dimensionals
Adhesives