Welcome to another bright & shining Monday. I don’t know about you, but it was a busy weekend for us. The kiddo finished up his summer bowling league and took some lessons in preparation for the start of the fall league. So we spent a lot of time at the bowling alley. But given the inferno we’re experiencing here in North Texas, that worked out just fine!
This week, we’re starting a new card series called In the Woods. Each we’ll be using products from Stampin’ Up! that fit our weekly theme. Today, I’m feeling all the fall vibes and thought it would be appropriate to get started with the Changing Leaves bundle paired up with the Splendid Autumn designer series paper that launches next week on September 6th.
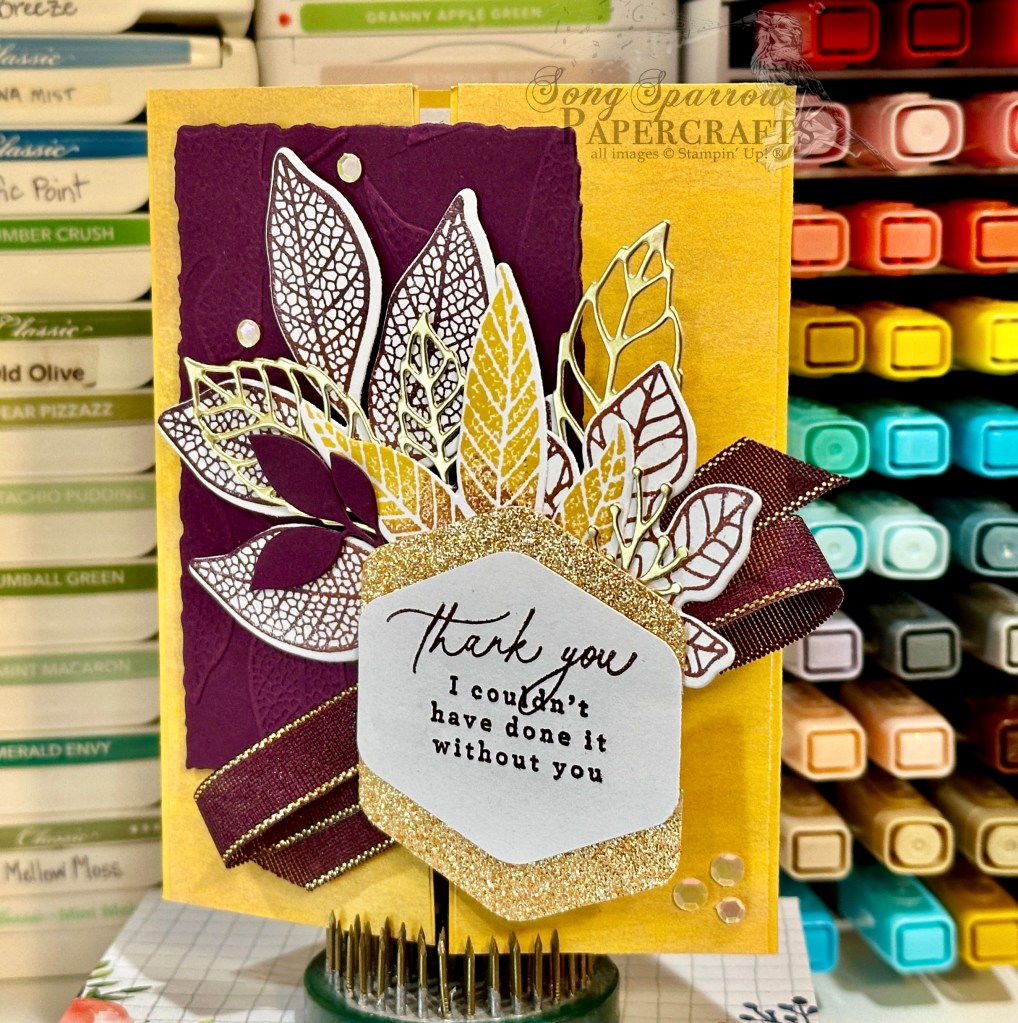
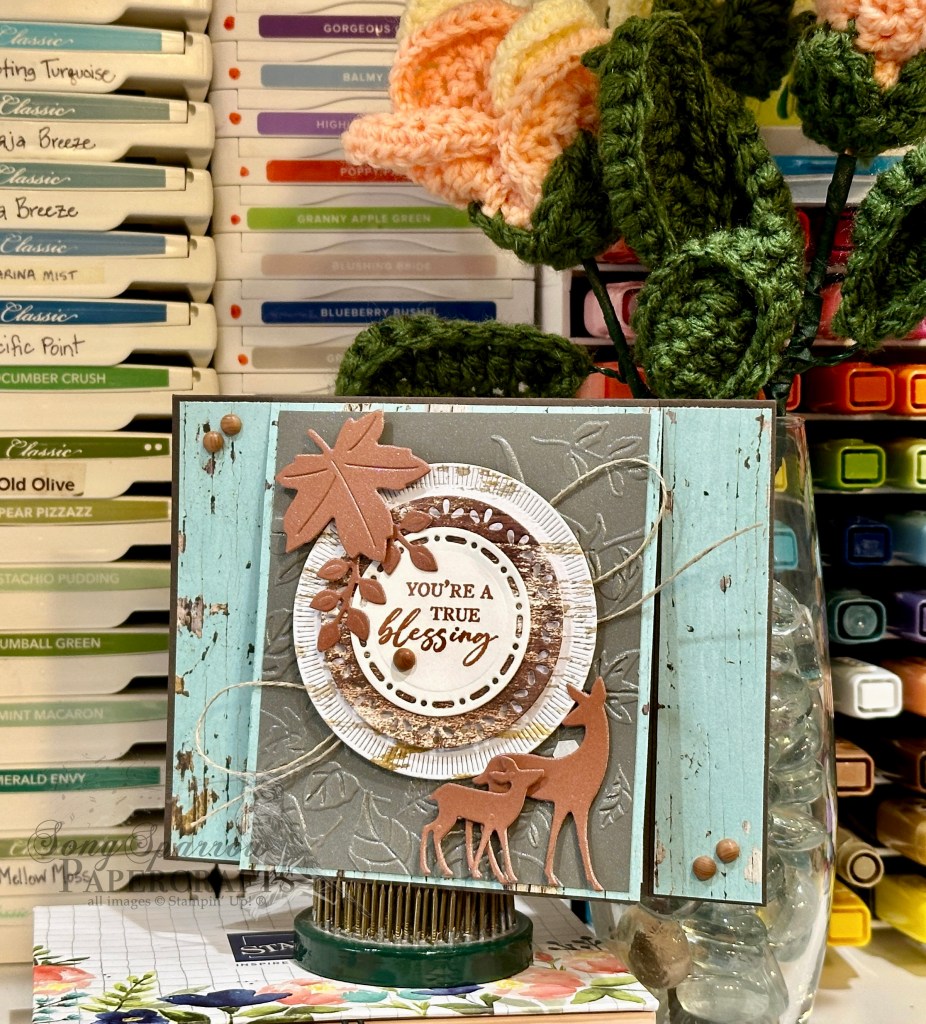
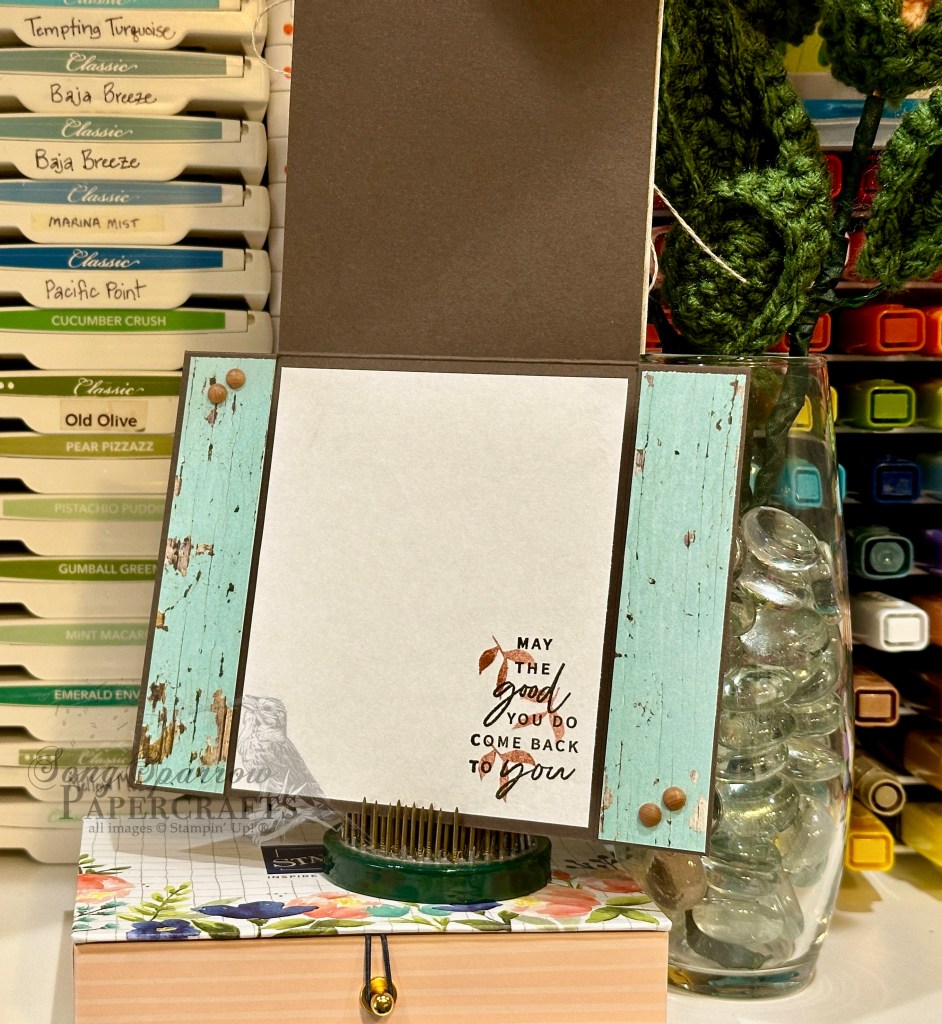
To give an opportunity for our gorgeous leaves from the Changing Leaves bundle to take center stage, we’re working with the barn fold today. And we get started on today’s card with a base of Crushed Curry cardstock. We cover each of the front flaps of our barn fold with a strip of paper from the Splendid Autumn paper pack. The pattern is a very subtle brushed, grainy texture that gives some nice depth in our color palette. Next up, we emboss a quarter panel of Blackberry Bliss cardstock using the Changing Leaves hybrid embossing folder and then diecut it into a smaller panel with one of the larger Deckled Rectangles dies. On a quarter sheet of white cardstock, I traced the outside of the trio of leaves from the Changing Leaves die set in pencil to make it easier to stamp each of the leaf images and then diecut all at once. I used a combination of fall colors to ink each leaf from the stamp set, including Copper Clay, Blackberry Bliss, and Crushed Curry, and imitated the look of leaves in a color metamorphosis by going over sections of each leaf with other colors for a subtle two-toned look. I diecut a few additional leaves in gold foil and Blackberry Bliss and then layered everything together to create a leafy focal section behind the sentiment panel. Our hexagonal sentiment panel consists of a white center panel and mat of Peach Pie glimmer paper. The sentiments from Everyday Greetings and Changing Leaves are stamped in Blackberry Bliss. Our focal panel section is finished off with Blackberry Bliss & Gold textured ribbon from the upcoming Holiday Mini catalog, releasing next week on September 6th. A few shiny sequins finish things off with a little extra sparkle and help draw the eye across all the gorgeous design elements on the front of this card.
Tomorrow we’re working with another fun fold design and another gorgeous sheet from the Splendid Autumn paper pack to create a gorgeous peek-through scene. You won’t want to miss it!
Products used in today’s card:
Crushed Curry, Blackberry Bliss, Basic White cardstock
Splendid Autumn (coming soon!), gold foil, In Color glimmer DSP
Changing Leaves stamps, dies & hybrid embossing folder
Deckled Rectangles
Everyday Greetings stamps
Hexagon punch
Blackberry Bliss & Gold textured ribbon (coming soon!)
Shiny sequins
Dimensionals
Adhesives


 Specialty Paper")


")
")


 Designer Series Paper")


")