It’s a bright and shiny new week already! It was a busy weekend for us between bowling league activities and lessons, holiday gatherings, and holiday preparations. Whew — I feel like I need a weekend from my weekend. What about you?!
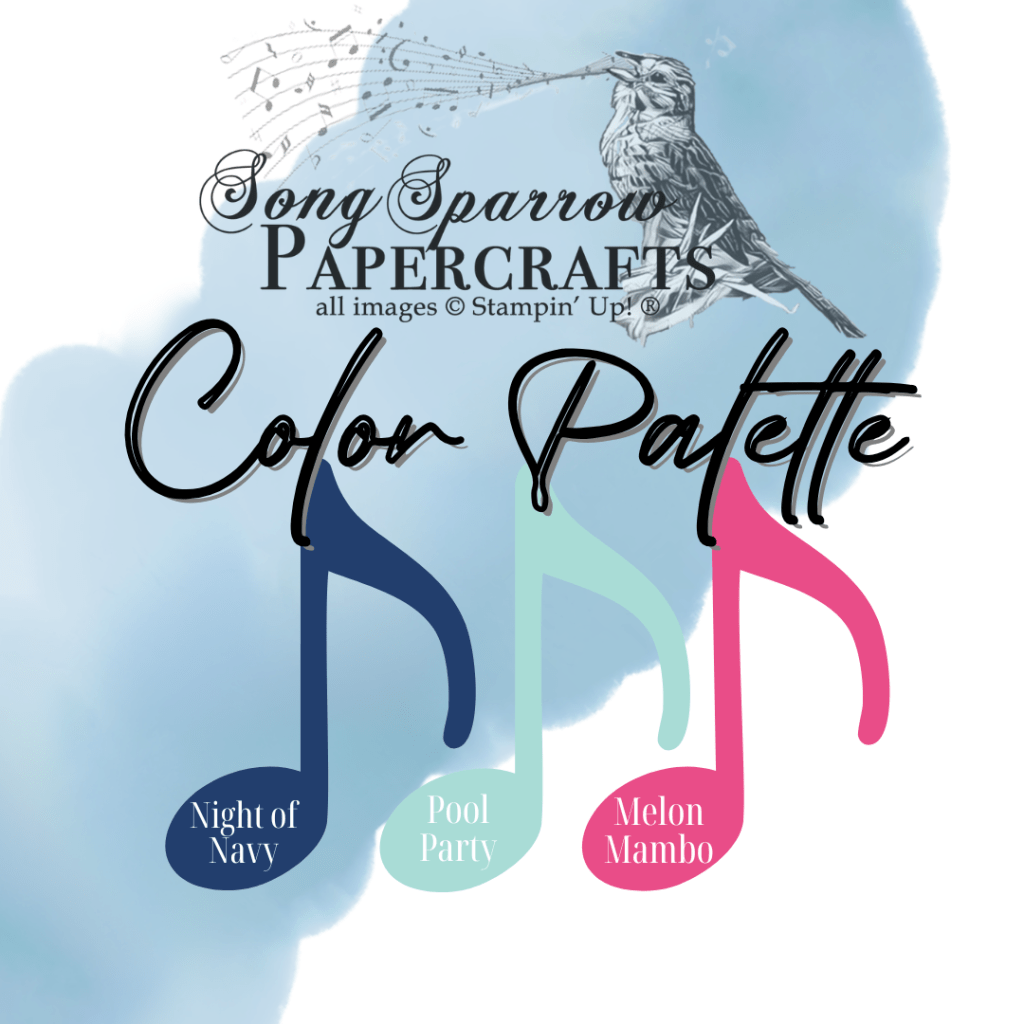
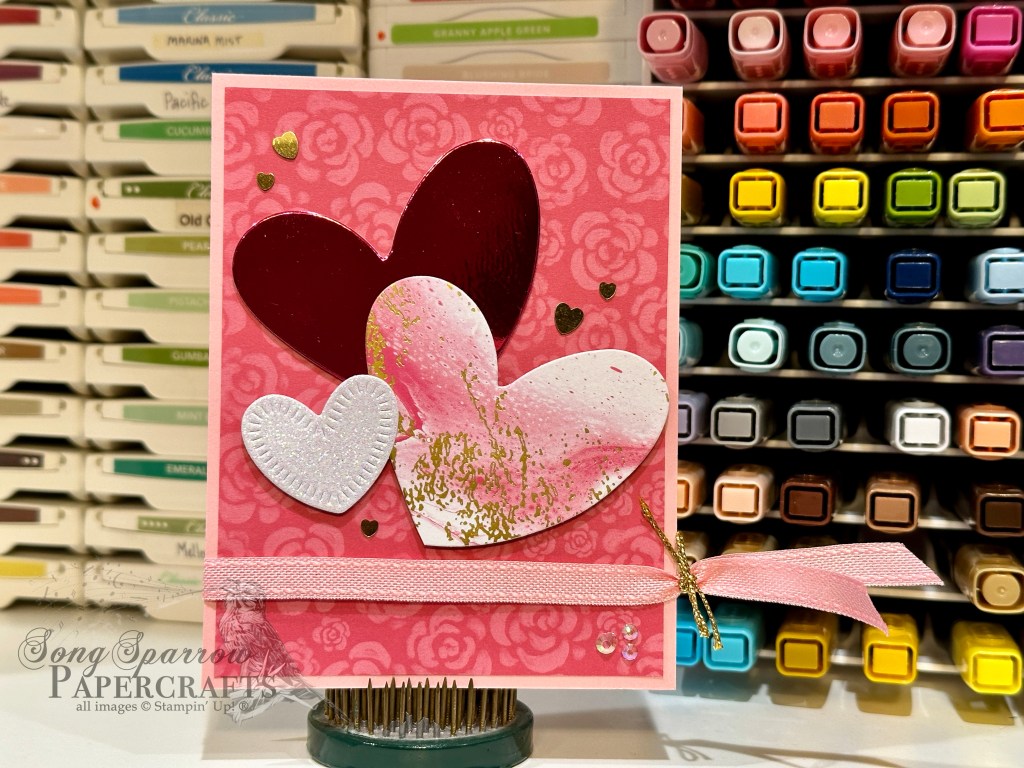
As promised, this week we’re going to be getting some sneak peeks at some of my favorite items from the upcoming Stampin’ Up! January Mini and Sale-a-Bration catalogs. Today’s card is based on a super fun color combination that our Luv 2 Stamp Group is working a challenge with right now — Night of Navy, Pool Party, and Melon Mambo. As soon as I saw this combo, I knew exactly what new products I was going to pair to show you. So let’s get a closer look.

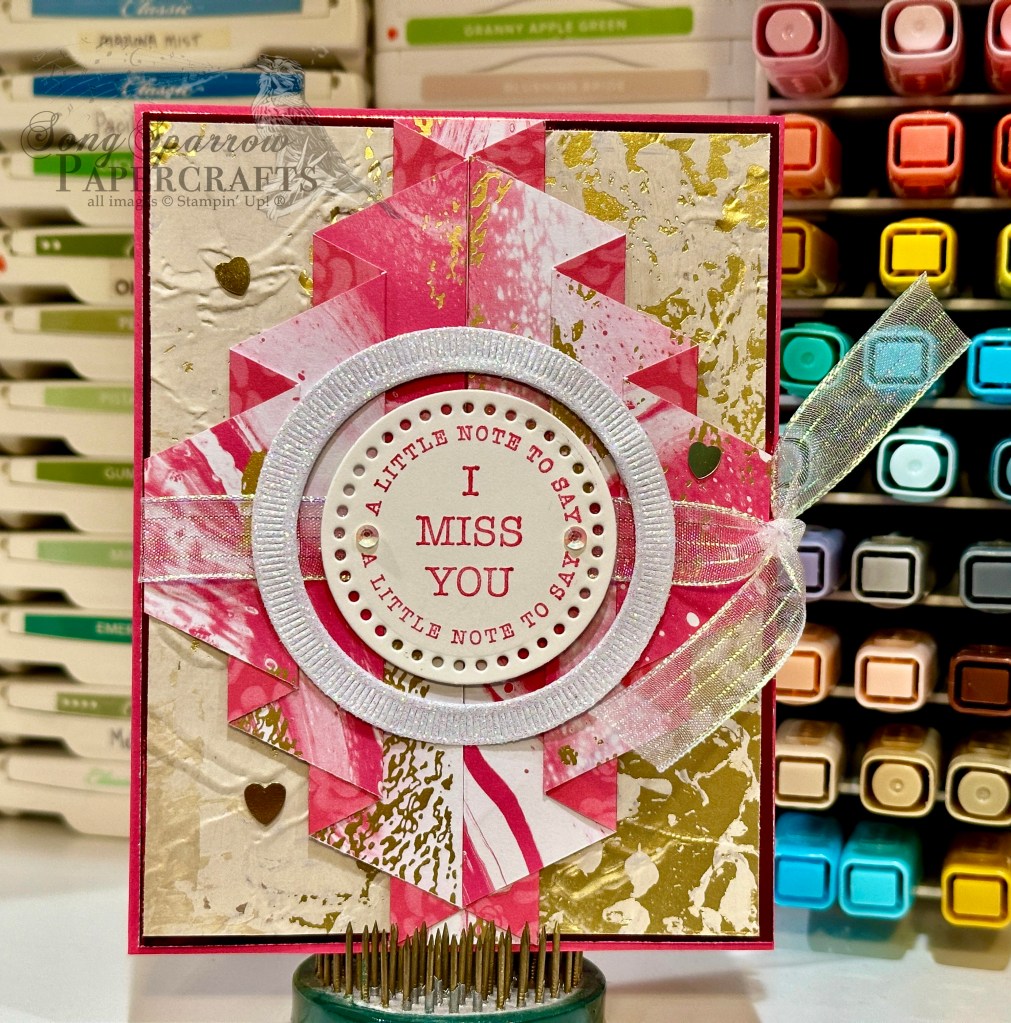
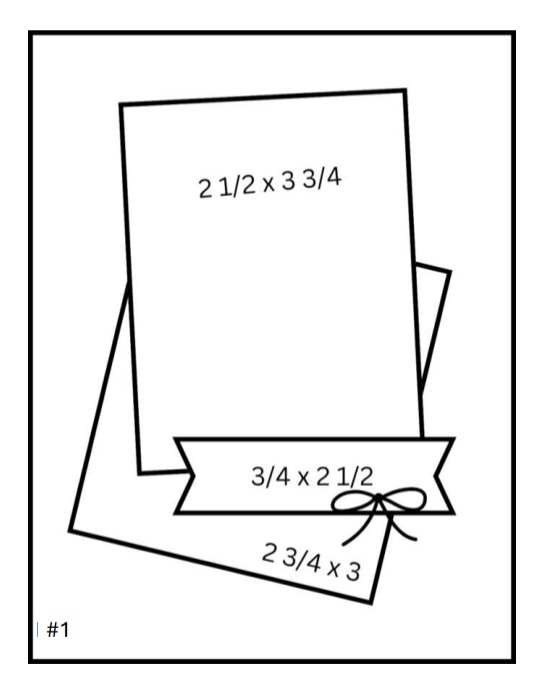
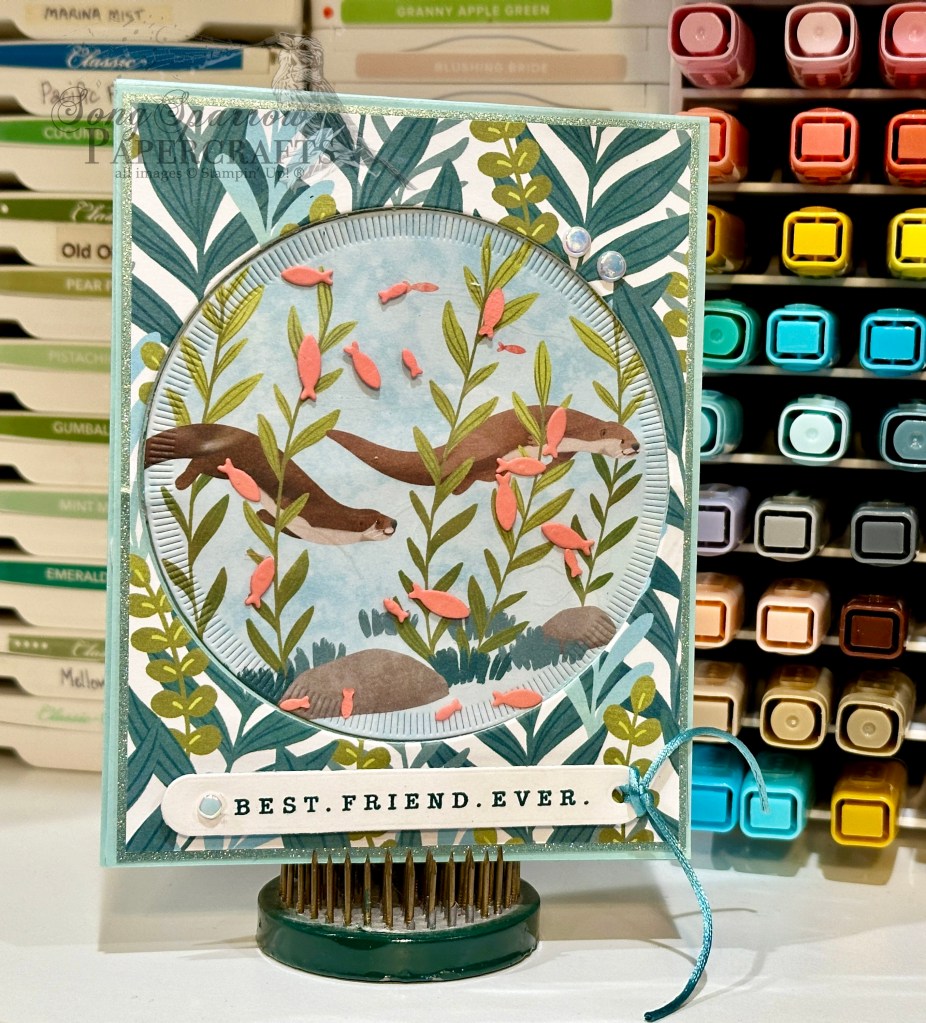
I decided to use a sketch from the Annual Catalog to simplify the design process, so this design is based on Sketch #16. We get started with a base of Melon Mambo cardstock. The focal panel consists of the lovely new Toadstool Gardens designer paper, which is a Sale-a-Bration freebie, and a double mat of Night of Navy and the new pastel ombré glimmer paper, which will launch in the January Mini. I wrapped this panel with some Pool Party crinkle ribbon and then placed the sentiment panel over it. The sentiment from the new Mixed Labels stamp set is stamped on white cardstock and then diecut with the coordinating sentiment die from the Mixed Labels die set. I used the size-up sentiment die to cut the mat from the same Pool Party pastel ombré glimmer paper. Dimensionals behind both the sentiment panel and main panel give this card some dimension. I added some shiny sequins for a touch of sparkle across the focal panel.
I’ll be sharing more product previews this week, so I hope you’ll pop in and see what caught my eye from the new January catalogs!
Products used in today’s design:
Melon Mambo, Night of Navy, Basic White cardstock
Pastel ombre glimmer (coming soon!), Toadstool Gardens (coming soon!) DSP
Mixed Labels bundle (coming soon!)
Pool Party crinkle ribbon
Shiny sequins
Dimensionals
Adhesives


")

")


")


 Glimmer Specialty Paper")

")


 Trim Combo Pack")


 Specialty Designer Series Paper")
 Foil Sheets")


 Striped Trim")


 Specialty Paper")


")
