Happy Friday, everybody! I’m super excited to be (legitimately) wearing long sleeves & pants today as we’ve had our first major cool front of the season push through here in N. Texas. We’re not expected to get out of the 80s today. And if you’re at all familiar with Texas in August, well, this is quite a treat!
It’s definitely feeling like fall here which makes this week’s card theme all the more apropos. We’re working with the new Online Exclusive suite by Stampin’ Up! called Gathering Together. And once again, we’re pairing it up with the new Beautiful Pumpkins bundle to create a fun fall card design. All of the new products are set to drop on Tuesday, and everything is really and truly a must see!
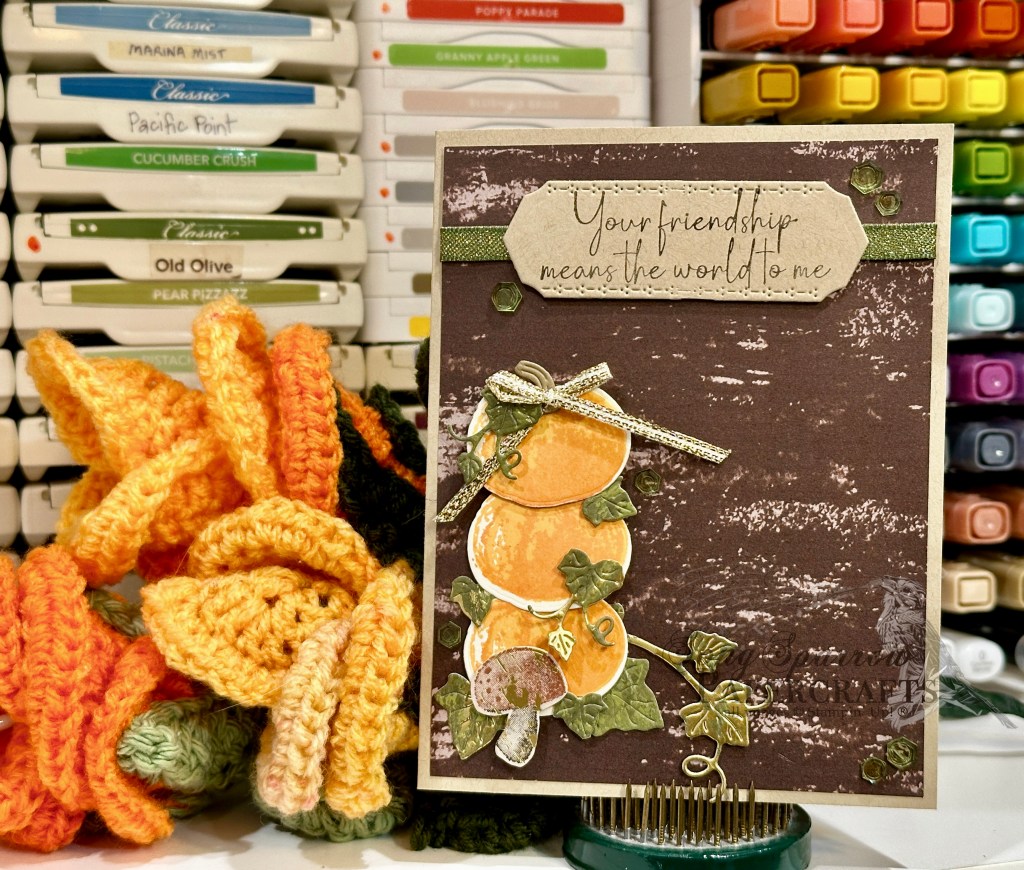
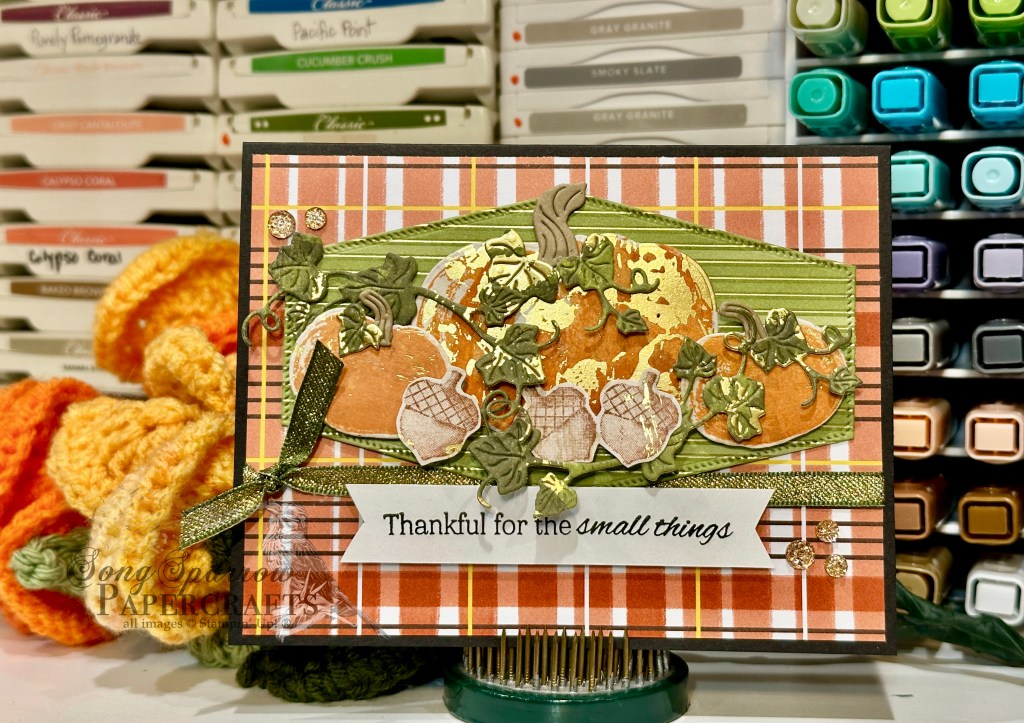
Today’s card gets started with a base of Crumb Cake cardstock. I chose a sheet of the woodgrain pattern from the Gathering Together paper pack as the background for this design. The Beautiful Pumpkins stamps and dies create our focal image section. The pumpkins are stamped on Very Vanilla cardstock and cut with the coordinating dies. I decided to the use the Season of Elegance sheet for the vines and leaves because I loved the little touch of shimmery gold peeking out between the stacked pumpkins. The stem is cut from Crumb Cake and a lovely bow of gold trim sits atop the heap of gourds. Just for funsies, I added a mushroom from the Gathering Moments bundle that I had leftover from earlier this week to add a fun and whimsical detail at the bottom of the tower. The sentiment from Beautiful Pumpkins is stamped on Crumb Cake and diecut with the Mixed Labels die using the extension method. It sits atop some Mossy Meadow & Gold ribbon, which helps tie all of our focal elements together. We finish things off with some Shades of Green hexagons.
Tomorrow we’ll be finishing off this week’s series of sneak peeks at the upcoming fall products release. I hope you’ll drop in and see how we finish things off….it’s sure to be a showstopper!
Products used in today’s card:
Crumb Cake, Very Vanilla cardstock
Gathering Together (coming Tues), Season of Elegance DSP
Beautiful Pumpkins bundle (coming Tues)
Gathering Moments bundle (coming Tues)
Mossy Meadow & Gold ribbon, gold trim
Shades of Green hexagons
Dimensionals
Adhesives