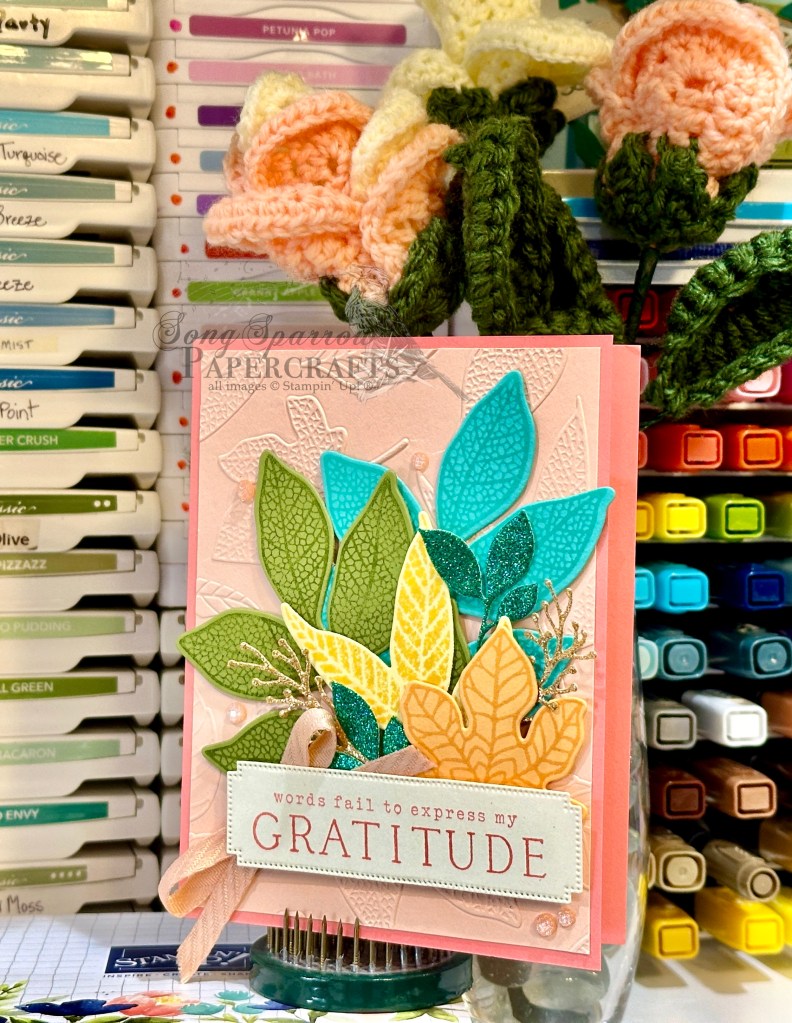
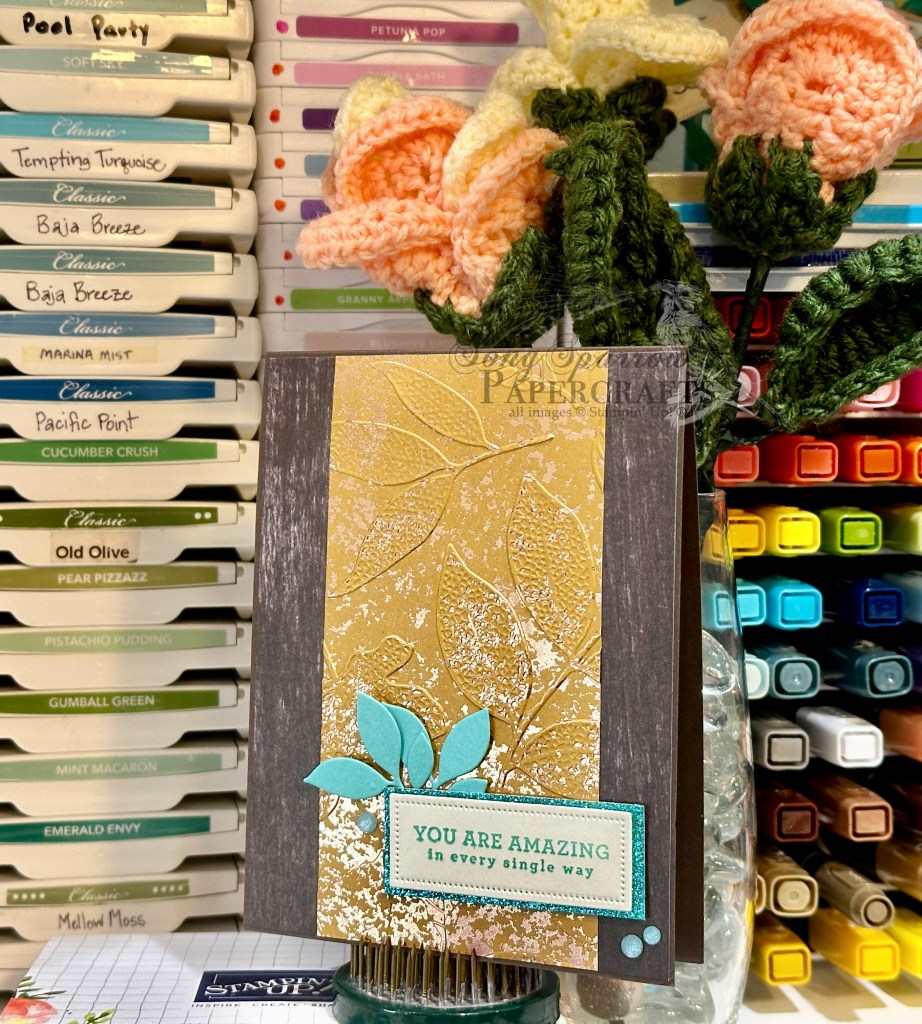
This week, we’re getting a sneak peek at the upcoming Online Exclusive called Changing Leaves. This bundle includes photopolymer stamps, coordinating dies, and a hybrid embossing folder. Today, I wanted to highlight another way you can use this set to create something other than a fall-themed card with a bright and cheery color palette and a fun complimentary product pairing.
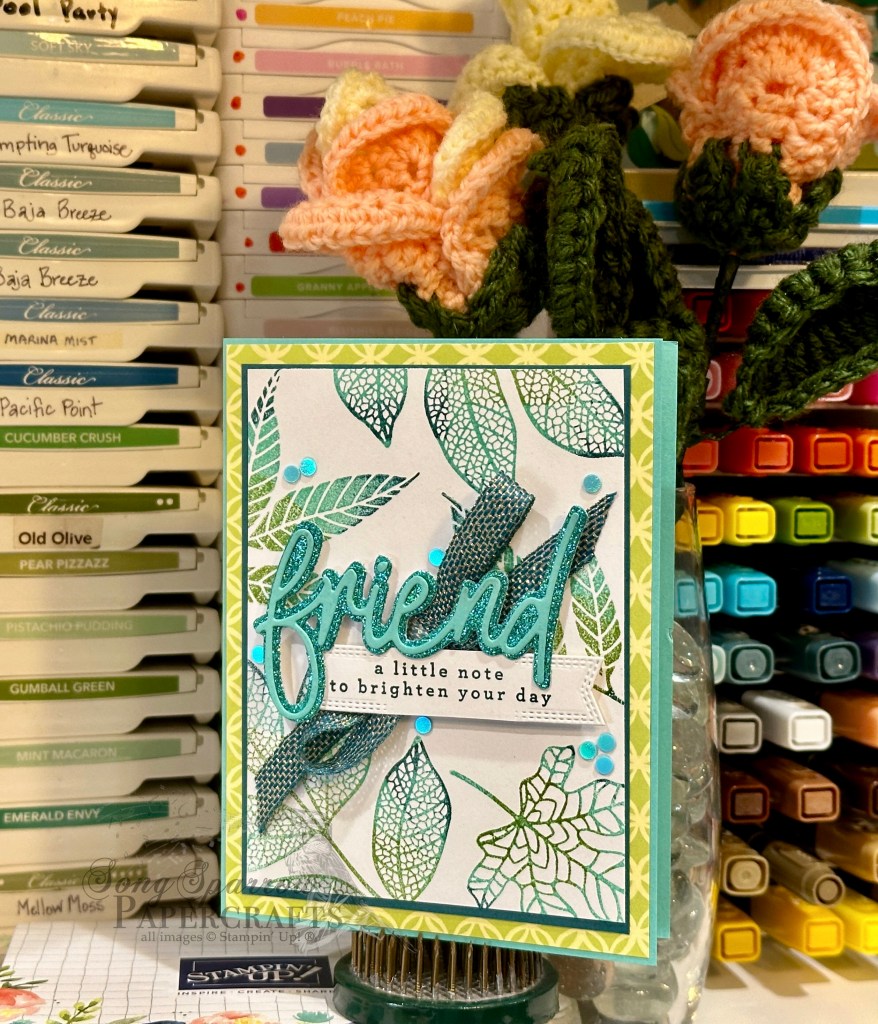
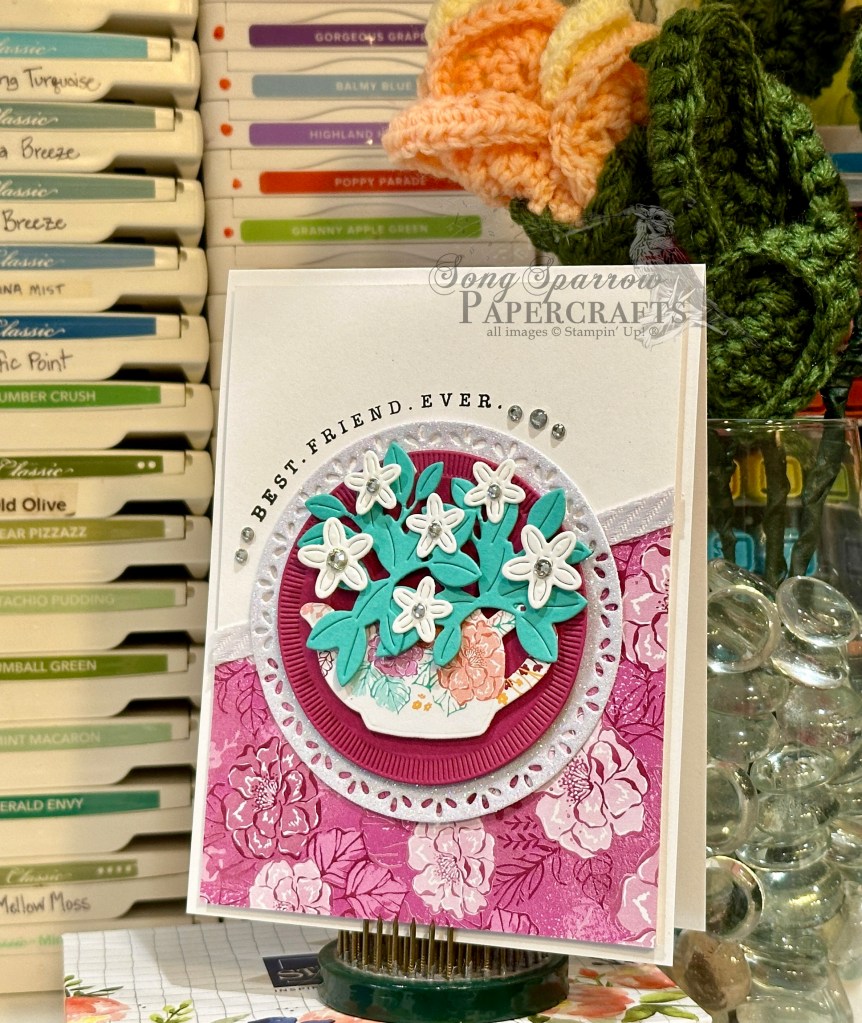
Today’s card is all about a little friendly encouragement. With a fun color palette and incorporation of the Friends for Life set, we have a a terrific note to brighten someone’s day.
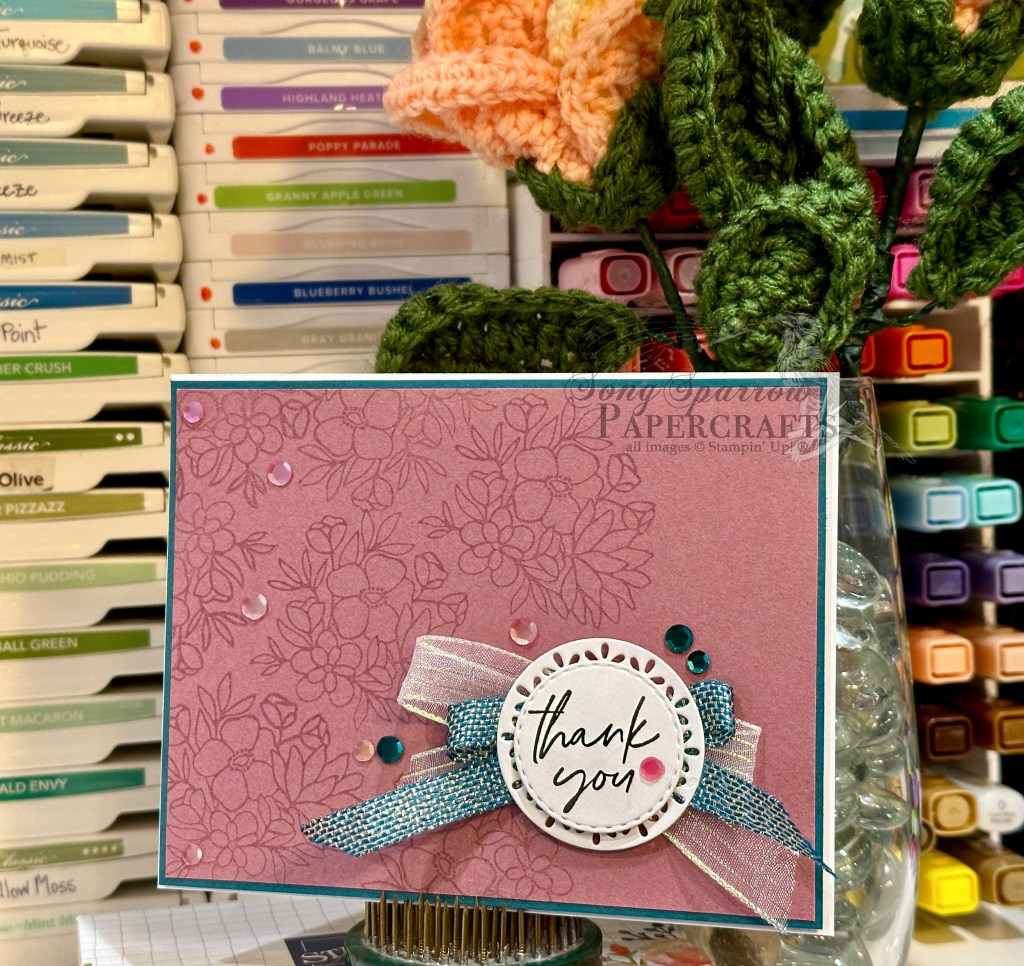
We get started with a card base of Summer Splash cardstock. Our background panel is a sheet of the Flowering Zinnias designer paper. Our focal panel backdrop is a leaf pattern using the Changing Leaves stamps. I used one of my larger stamp blocks to arrange my leaf stamps in a pattern I liked. I then layered the ink on the stamps for an ombre-looking effect by starting with Summer Splash over the entirety of the leaf images, then placing Old Olive up the centers, and then lightly tapping the edges with Pretty Peacock. I stamped these twice to get my panel, cut it to size, and then matted with Pretty Peacock for a nice contrast against the Flowering Zinnia DSP panel.
For the sentiment panel, start by diecutting the word friend using the Friends for Life dies. The background is Summer Splash glimmer paper, while the detail lettering is Summer Splash cardstock. The sentiment from Changing Leaves is stamped in Pretty Peacock on white cardstock and then diecut using the smallest banner from the Nested Essentials die set using the extension method. I liked the look of stitching on either end of the sentiment banner to really draw the eye in and give some interest. The sentiment is mounted on dimensionals over a twist of Pretty Peacock & Gold metallic ribbon. A scattering of the blue iridescent discs gives some eye-catching sparkle to draw the eye in.
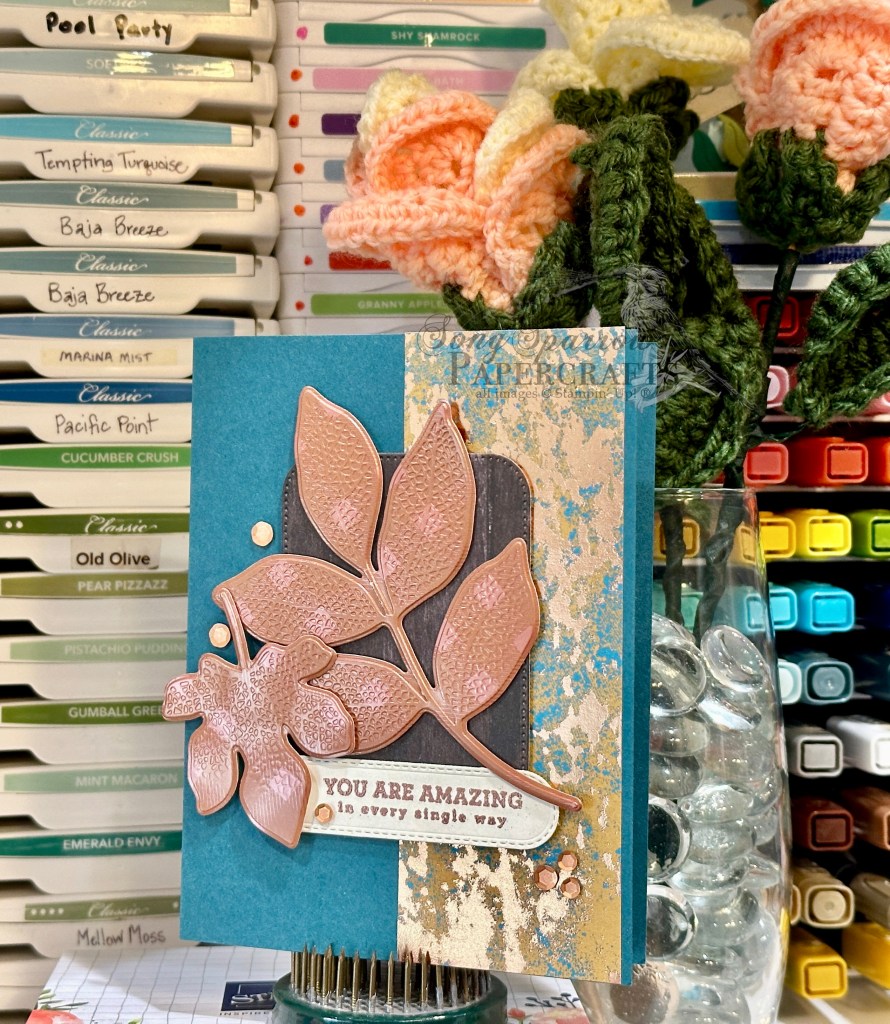
Tomorrow we’re wrapping up our sneak peek of the Changing Leaves bundle with an earthy palette. I hope you’ll pop by and take a look.
Products used in today’s card:
Summer Splash, Pretty Peacock, Basic White cardstock
Flowering Zinnias, In Color Glimmer DSP
Changing Leaves stamps
Friends for Life, Nested Essentials dies
Pretty Peacock & Gold metallic ribbon
Iridescent discs
Dimensionals
Adhesives


 Specialty Paper")
 Designer Series Paper")


")


 Metallic Ribbon")


")


 Diagonal Trim Combo Pack")


")


 Designer Series Paper")
 Specialty Designer Series Paper")
 Specialty Designer Series Paper")


")
")


 Striped Trim")


 Designer Series Paper")
 Glimmer Specialty Paper")