We’re already halfway through this week. Hard to believe, isn’t it?! This week, we’re working with the Saying Hey stamp set by Stampin’ Up! to create card designs of all kinds. Today’s clean and simple card design pairs our featured stamp set with the Friends for Life set. This card also works in my favorite color family and uses some of my favorite techniques.
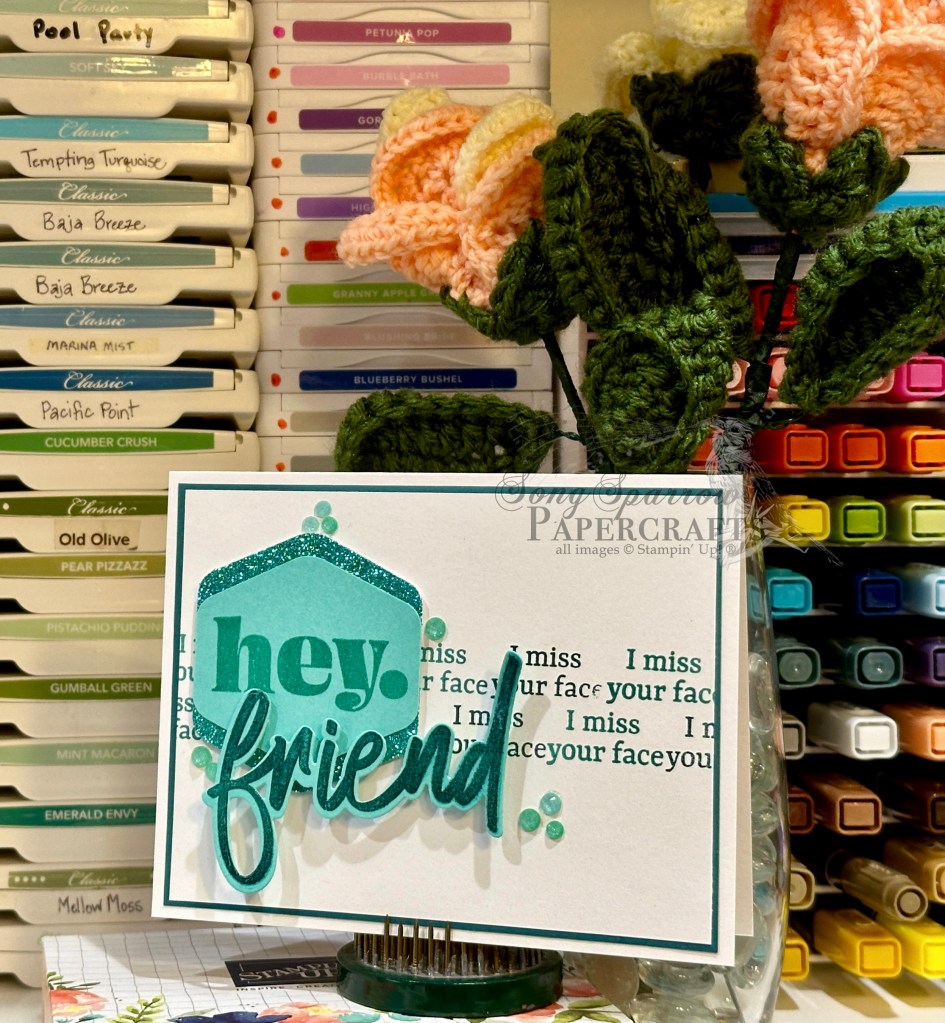
We get started with a card base of white cardstock. Our focal panel is matted with a panel of Pretty Peacock cardstock. Only a small border peeks out around the edges to really help our center focal section pop. Our focal panel of white cardstock has a strip of text as the backdrop for the focal panel. This one sentiment is stamped in a repeating pattern of Pretty Peacock and Coastal Cabana inks across two lines, which is just enough width to nicely frame the focal point panel. Stamping part of the sentiment as a backdrop is one of my favorite techniques for repeating the card theme.
Our focal point consists of two large font sentiments. I stamped HEY from the Saying Hey stamp set tone-on-tone on Coastal Cabana cardstock. The sentiment is then punched with the Heartfelt Hexagon punch. A second hexagon is punched from Summer Splash glimmer paper, cut in half, and then mounted behind the sentiment panel to serve as an eye-catching mat. The word FRIEND from Friends for Life is stamped in Pretty Peacock on Coastal Cabana and heat embossed with clear embossing powder for an extra pop and twinkle. Each sentiment element is mounted on the panel with dimensionals. Things are finished off with In Color glimmer gems to draw the eye across the card design.
TIP: you can make any ink color sparkle with clear embossing powder. This is one of my favorite ways to punch up text on card designs when I really want them to stand out. Want to know more? Tune in to this week’s episode of Terrific Tuesdays to catch it all in action.
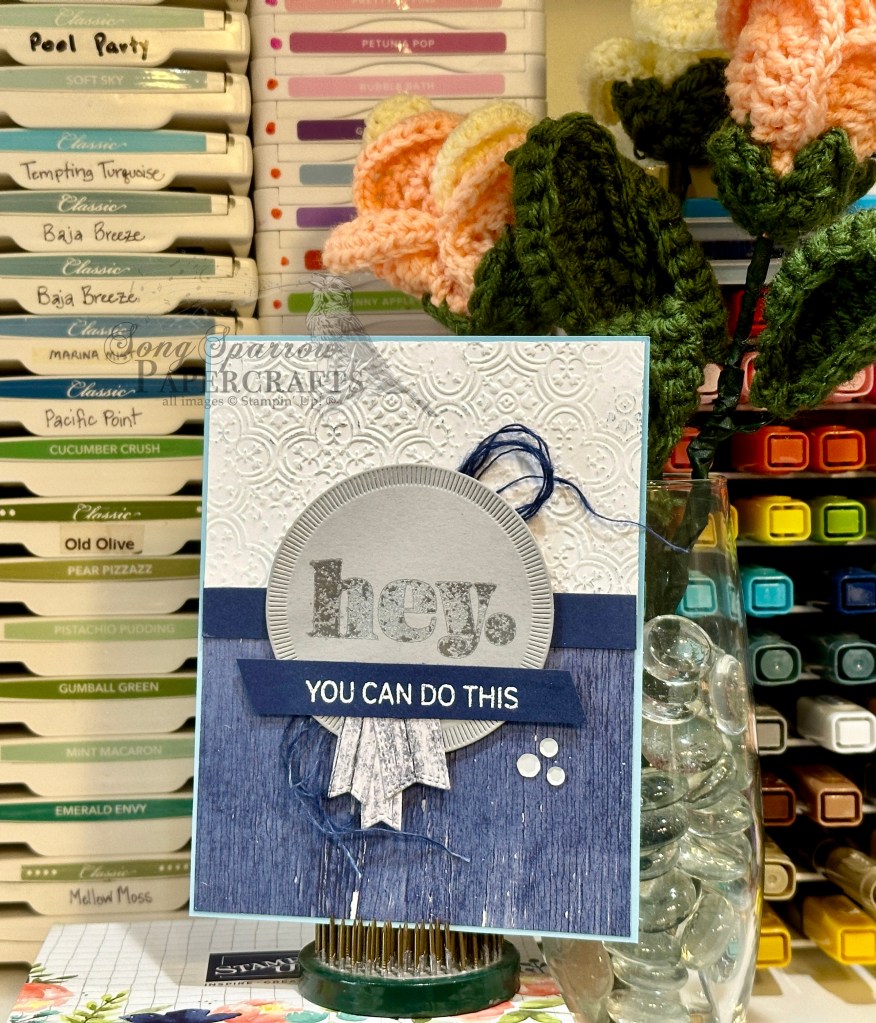
Tomorrow we’ll be using a sketch but with a twist. Tune in tomorrow to learn all about it!
Products used in today’s card:
Basic White, Pretty Peacock, Coastal Cabana cardstock
In Color glimmer paper
Saying Hey, Friends for Life stamps
Friends for Life dies
Heartfelt Hexagon
In Color shimmer gems
WOW! embossing powder
Dimensionals
Adhesives


 Specialty Paper")
")
")
")


 Designer Series Paper")
 Specialty Designer Series Paper")
 Specialty Designer Series Paper")


 Designer Series Paper")


 Diagonal Trim Combo Pack")


 Striped Trim")


 Sheer Ribbon")


 Specialty Designer Series Paper")
")


