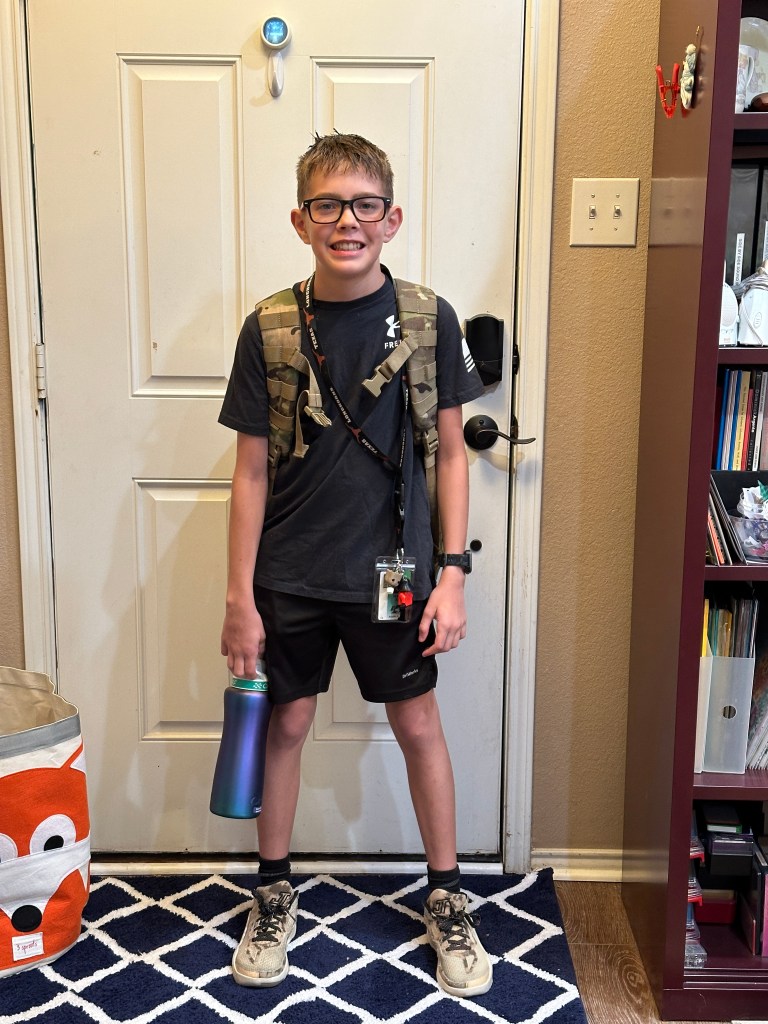
Well, the kiddo had a great first day of school yesterday and now we’re just working on getting back into the schoolyear routine. Anyone else feel like that gets more challenging as they get older? For now, I’m just trying to stay afloat and keep all of the balls in the air. So things will be a little less predictable here in Song Sparrow land this week.
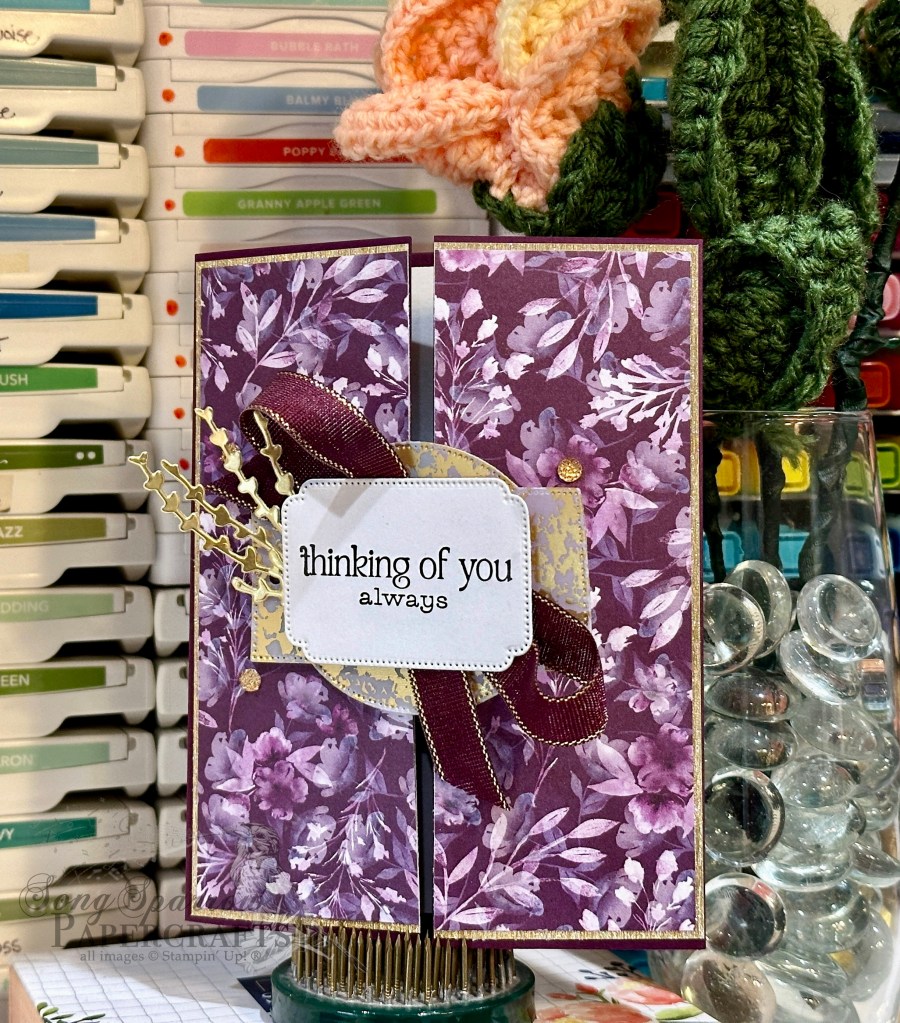
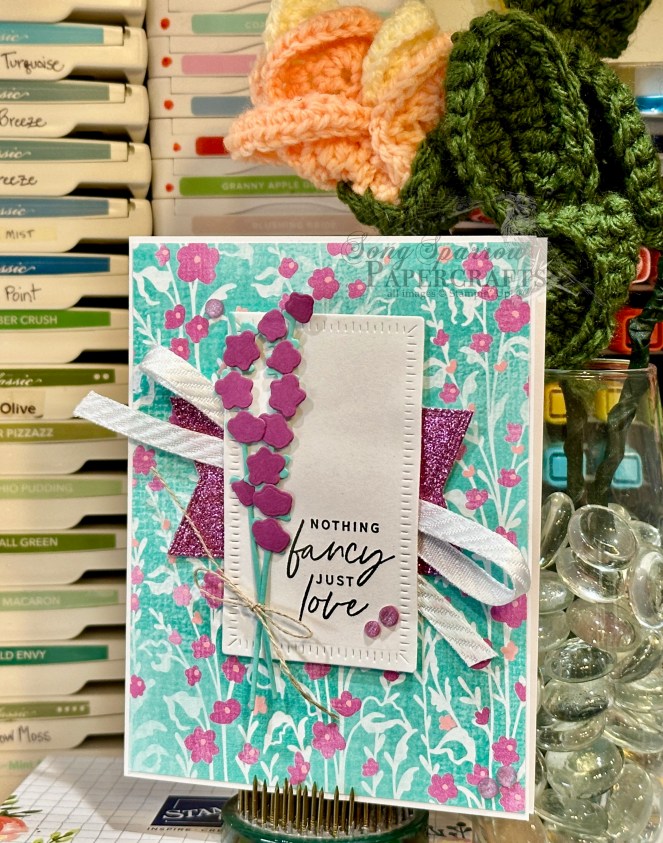
Speaking of this week, we’re on to a new card design series. Each day this week, we’re going to taking a sneak peek at items that will be offered in the upcoming Stampin’ Up! Holiday Mini Catalog. And today, we’re looking at another pack of gorgeous patterned paper called Splendid Autumn. This 6×6 paper pack is another in the line of watercolor paper designs and, just like the packs that have come before it, Splendid Autumn does NOT disappoint! Each and every sheet is just stunning. And today, it’s standing front and center in this clean and simple card design. So let’s get a closer look at how this comes together.
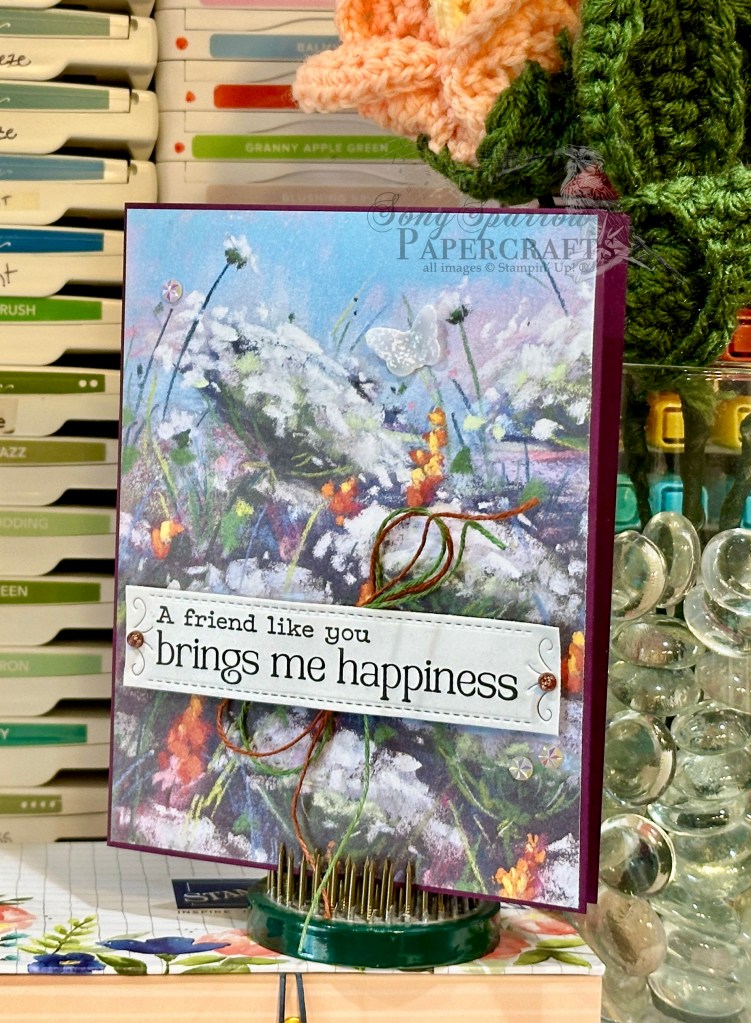
We start with a base of Blackberry Bliss cardstock. I chose the bridal wreath wildflower patterned sheet from the Splendid Autumn designer series paper pack as the focal panel. The sentiment from the new stamp set called Winterly Tree Tops is stamped on white cardstock and then diecut using the new set of dies called Peaceful Season. I added some Blackberry Bliss gems to the center of each design on each end of the sentiment for a little added sparkle. Before adhering the sentiment with dimensionals to the focal panel, I added a faux bow of Cajun Craze and Garden Green linen thread behind. A few extra iridescent faceted gems and a little butterfly diecut from Graceful Greenery vellum diecut with the Painted Lavender die finish things off nicely.
I’ll be showing you more of the newest patterned papers in the coming weeks, but what do you think of this teaser? Is this paper not just beautiful?! Tune in tomorrow as we take a look at another soon-to-release paper pack, along with its coordinating stamp and die set. You really won’t want to miss it!
Products used in today’s card:
Blackberry Bliss, Basic White cardstock
Splendid Autumn DSP (coming soon!)
Winterly Tree Tops stamps (coming soon!)
Peaceful Season (coming soon!), Painted Lavender dies
Natural Tones linen thread (coming soon!)
Regal foiled dots (coming soon!), iridescent faceted gems
Wink of Stella
Dimensionals
Adhesives


 Specialty Paper")
 Specialty Designer Series Paper")


 Designer Series Paper")
 Foil Sheets")


 Designer Series Paper")
 Specialty Designer Series Paper")
")


 Specialty Paper")
")


")


")


")


")


 Designer Series Paper")


 Diagonal Trim Combo Pack")


