Happy Thanksgiving, everyone! Our family has so very much to be thankful for this year. Most importantly is that we’re all here to celebrate together. After my husband’s very serious health crisis early in the year, we do not take for granted that he is here and he is healthy and recovering!
A quiet holiday week at work has turned out to be quite busy, and so once again, I’m mostly playing catchup this week. But I’m thankful to have a job that I really enjoy and that provides for my family. Even if it does cut into my favorite hobby! *wink-wink*
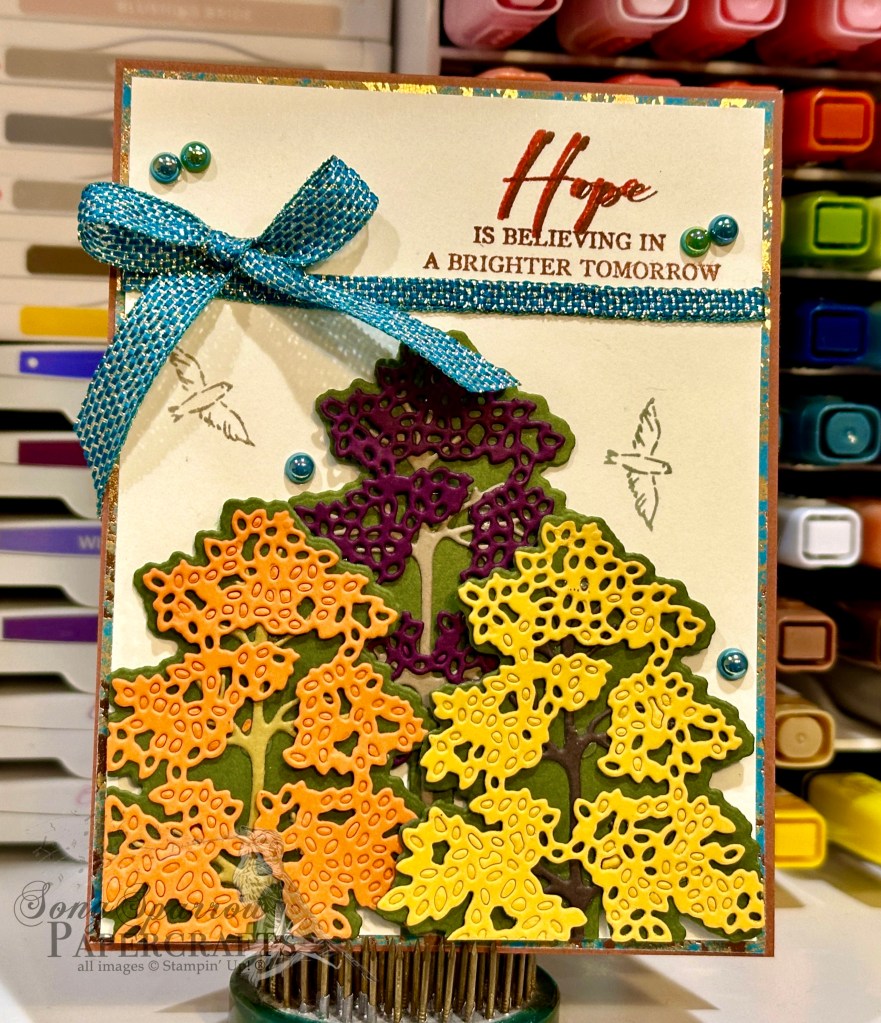
And speaking of my new job, I wanted to create a little festive holiday art that I could display in my bookshelf. And so today’s project uses the ever so lovely Seasons of Green and Gold Suite of products to create the festive 6×6 framed project. This is a simple white frame that I purchased on Amazon.
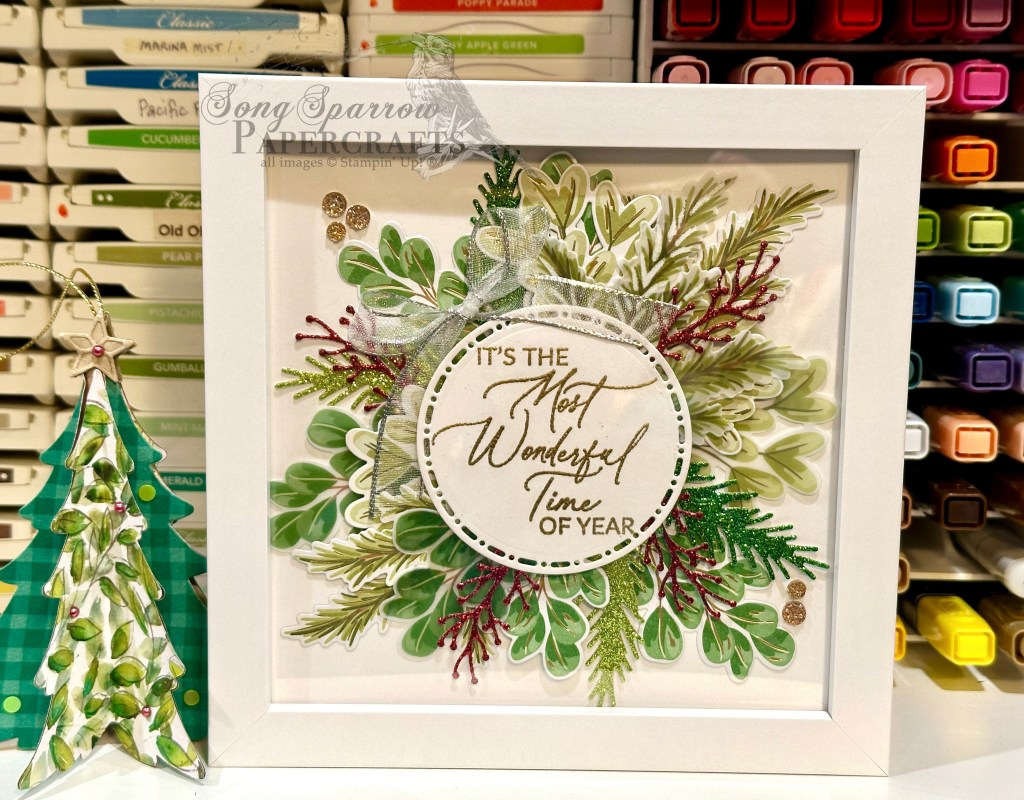
We start with a 6×6 piece of white cardstock as the base for our greenery spray. The greenery is diecut from the Season of Green & Gold patterned paper and Graceful Greenery vellum using the coordinating Golden Greenery dies. I also mixed in a few green Festive Glimmer paper sprigs for a pop of sparkly fun. Our pops of red are also diecut from Festive Glimmer paper but use the small sprig from the Changing Leaves die set. The greenery is adhered to the white cardstock in varying layers, which are created with dimensionals. The sentiment from Greetings of the Season is heat embossed in gold on white cardstock and diecut with the Spotlight on Nature die set. A ribbon of silver and white sheer ribbon dresses the sentiment panel with some shimmer. And drusy embellishments in the corners catch the eye and move it across our decorative piece. I really love how this turned out and can’t wait to put it out in my office!
Today’s card is a part of the Luv 2 Stamp Group Instagram Hop, which goes live at 9 AM Pacific Time (PST). Click here to head over to my Instagram feed at 9 AM Pacific/11 AM Central and check out what the other demos in our L2S Group have created for you today!
Product List
 Specialty Designer Series Paper")
 Specialty Designer Series Paper")
 Glimmer Paper")
")


 Sheer Ribbon")


")


 Striped Trim")


 Glimmer Specialty Paper")


")


 Trim Combo Pack")


")
")


 Designer Series Paper")
 Designer Series Paper")
")


 Satin & Sheer Ribbon")
 Diagonal Trim Combo Pack")


 Specialty Paper")


 Specialty Designer Series Paper")


 Metallic Ribbon")


 Designer Series Paper")
")


 Specialty Designer Series Paper")
")
")


