Welcome to the last bright & shiny new week of 2024! It’s hard to believe that this year is almost gone, but on a personal level, I can’t say that I’m disappointed to see the year go. It’s been a tough year for our family, and we’ll be glad to see a new year with new possibilities and fewer hardships!
In just a little over a week, the new Stampin’ Up! January Mini and Sale-a-Bration catalogs will officially launch. You’ve gotten smaller glimpses into some of my favorite products from the upcoming catalogs, and now we’re going to spend some time looking at all of these wonderful sets a little more closely. And I’m going to be pairing together products, as well, so you can see just how well they can work together.
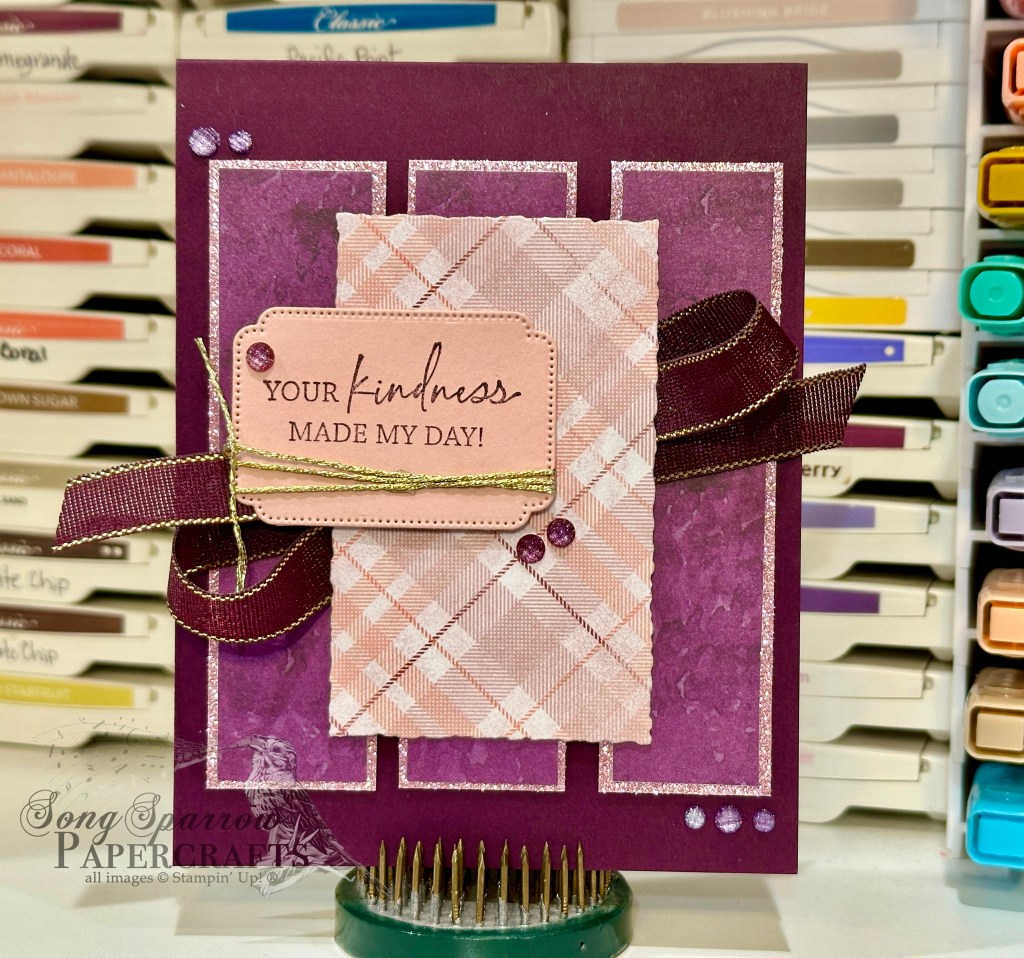
This week, we’re getting started with the Beautiful Butterflies stamps & dies bundle. Stampin’ Up! has given even more versatility with this set of dies as we get to see a new half-panel cutting feature at work. And today’s design is my first foray into putting this new die feature into action.

We get started with a base of Blackberry Bliss cardstock. I scored the standard-sized base as usual and then used the half-panel die to cut just one panel of the card base. This gives a solid base panel and then the decorative flap on top. I chose a sheet of the purple Bloom Impressions Sale-a-Bration paper to serve as the backdrop for the decorative top panel and inside sentiment panel. The inside white sentiment panel is also cut using the half-panel die and then adhered over the Bloom Impressions paper to create a slight shadowing effect with the front decorative panel. The decorative butterfly panel is dressed up with the purple ombre glimmer paper and purple shimmer gems around the edges of the wings. The sentiment from the Beautiful Butterflies stamp set is stamped in Blackberry Bliss ink on white cardstock and then diecut with the smaller sentiment die included in the Beautiful Butterflies dies. A strip of Blackberry Bliss & Gold ribbon serve to ground the sentiment panel. A scattering of the Sale-a-Bration purple sequins give some additional sparkle and draw the eye across our card design and to the sentiment.
Drop by tomorrow to see more of the Beautiful Butterflies bundle!
Products used in today’s design:
Blackberry Bliss, Basic White cardstock
Bloom Impressions (coming soon), Pastel ombre (coming soon) DSP
Beautiful Butterflies stamps & dies (coming soon)
Purple sequins (coming soon), Purple shimmer gems
Blackberry Bliss & Gold ribbon
Dimensionals
Adhesives