We’re having SNOW much fun here in North Texas, where we’ve woken up to a layer of fresh snow. After a full day of sleet and snow yesterday, things were already well covered before it got dark and we all turned in. Not sure that it will hang around long this time, but it sure is pretty!
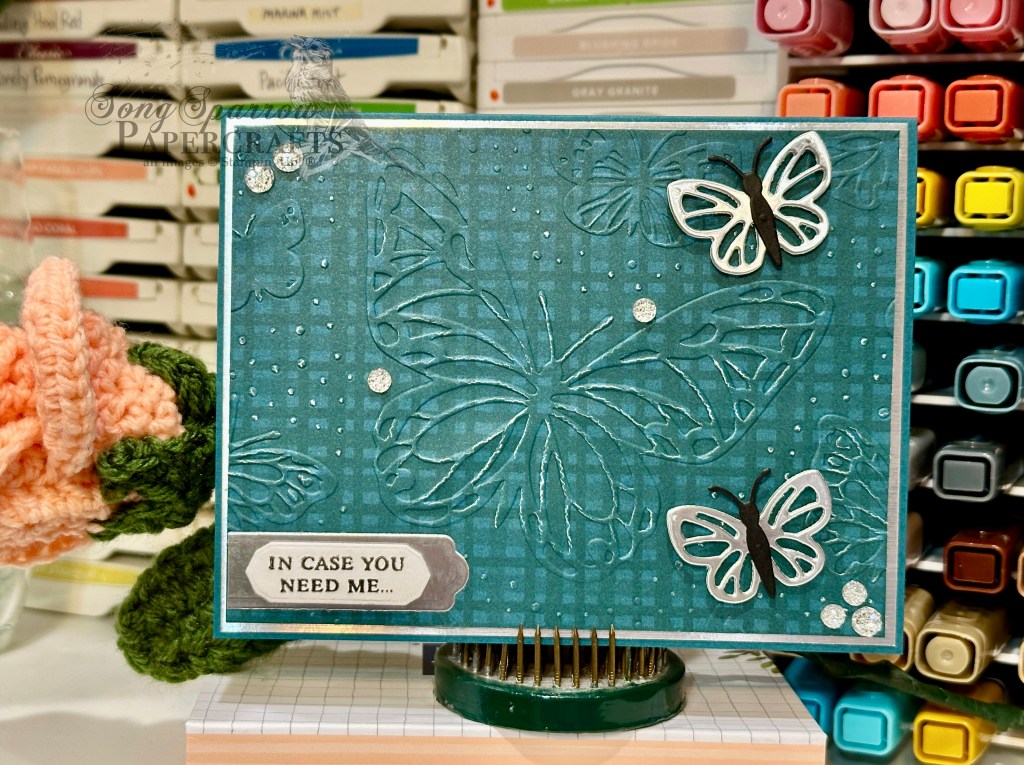
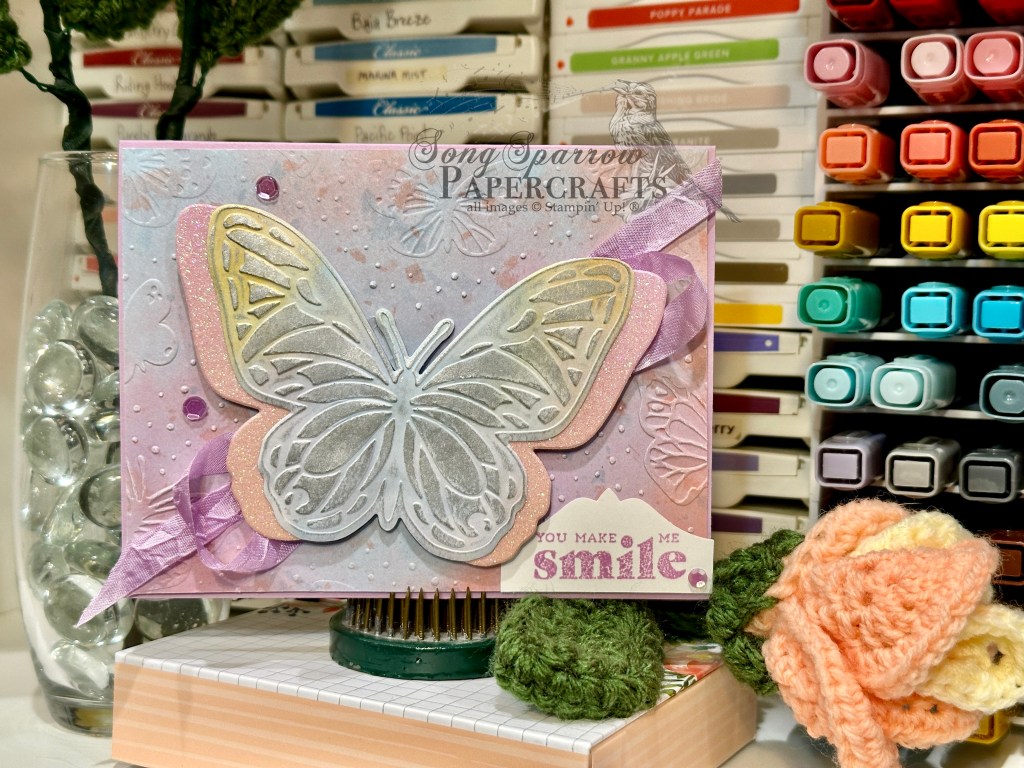
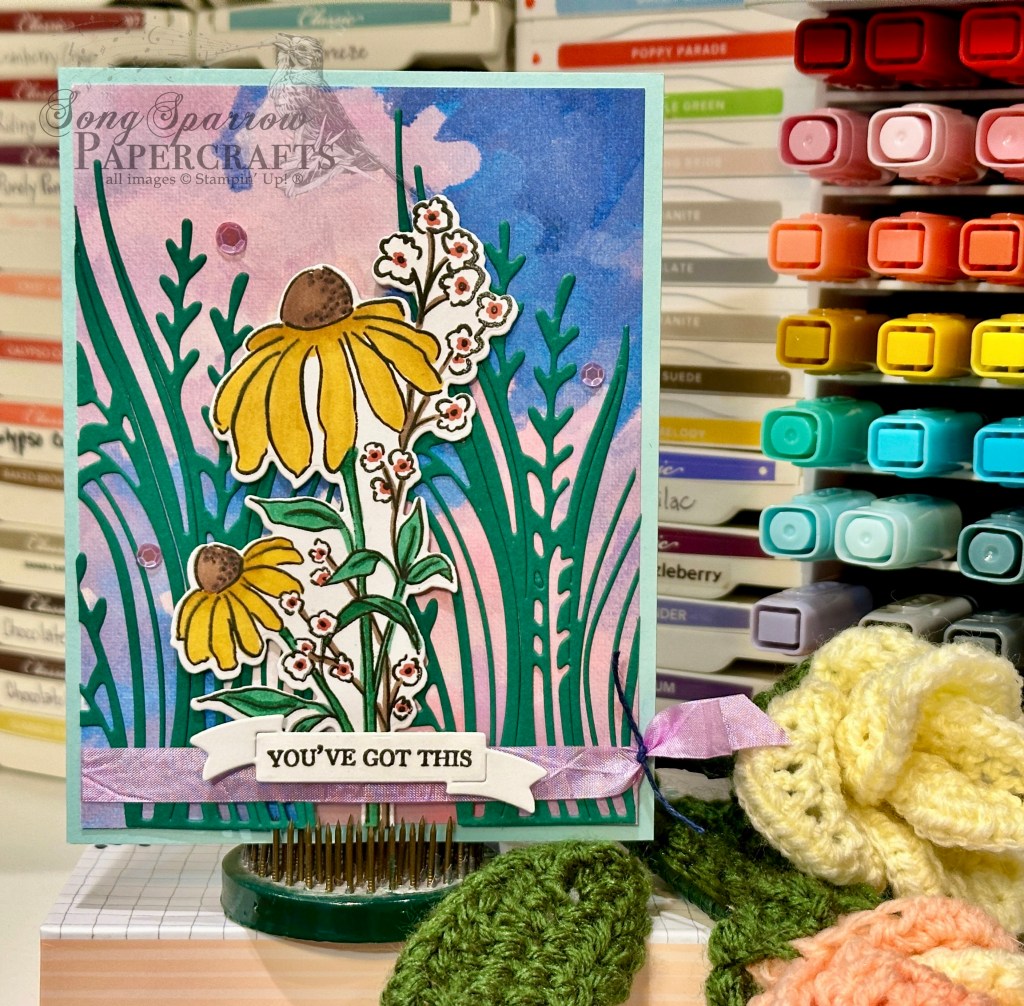
But on to the business that is happening in the warmth of my craft room. This week, we’re getting a look at the new suite of products called Mixed Media Florals. And today’s design is pairing the gorgeous paper with the coordinating Memories & More kit.

And it just so happens to be time for a new installment of Sketchy Fridays, where we’re using a card sketch to design our featured card. Right now, we’re working through a full series of designs using the card sketches found in current Stampin’ Up! catalogs.
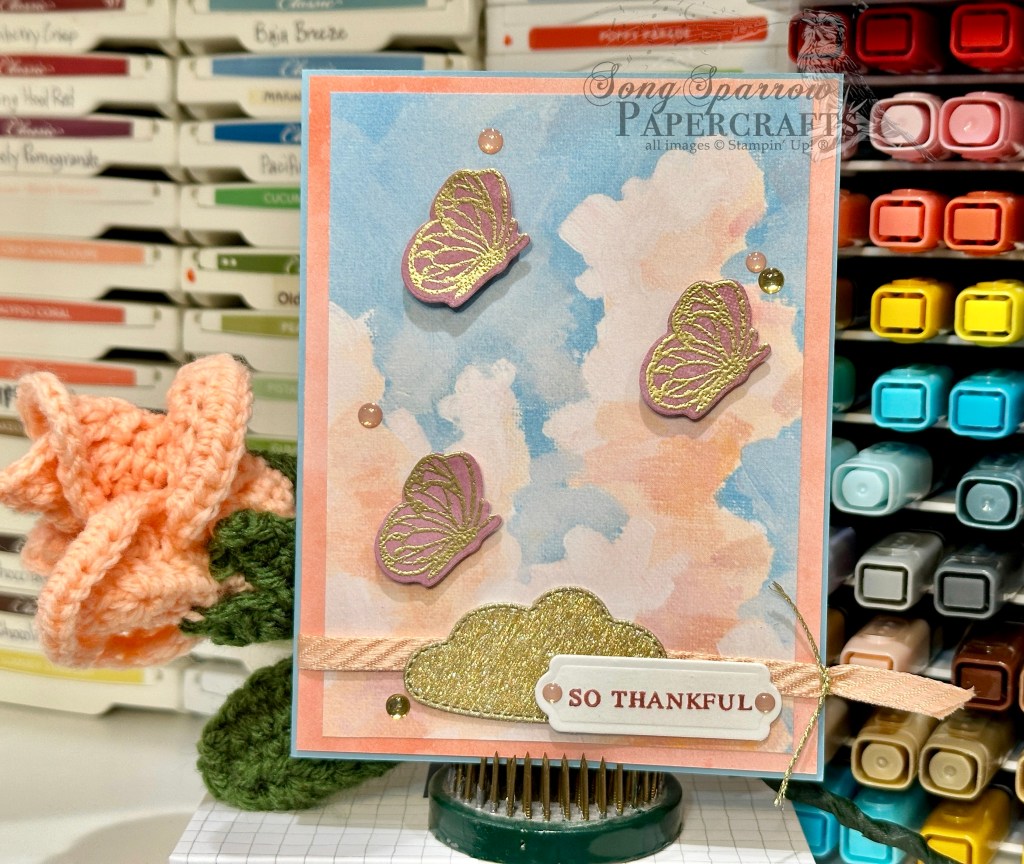
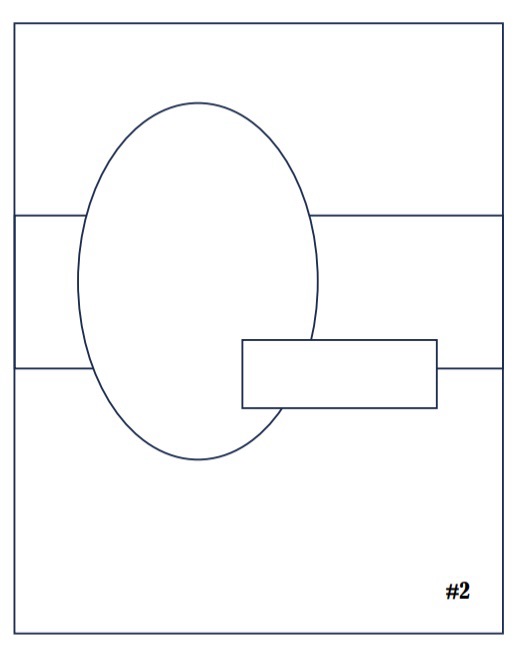
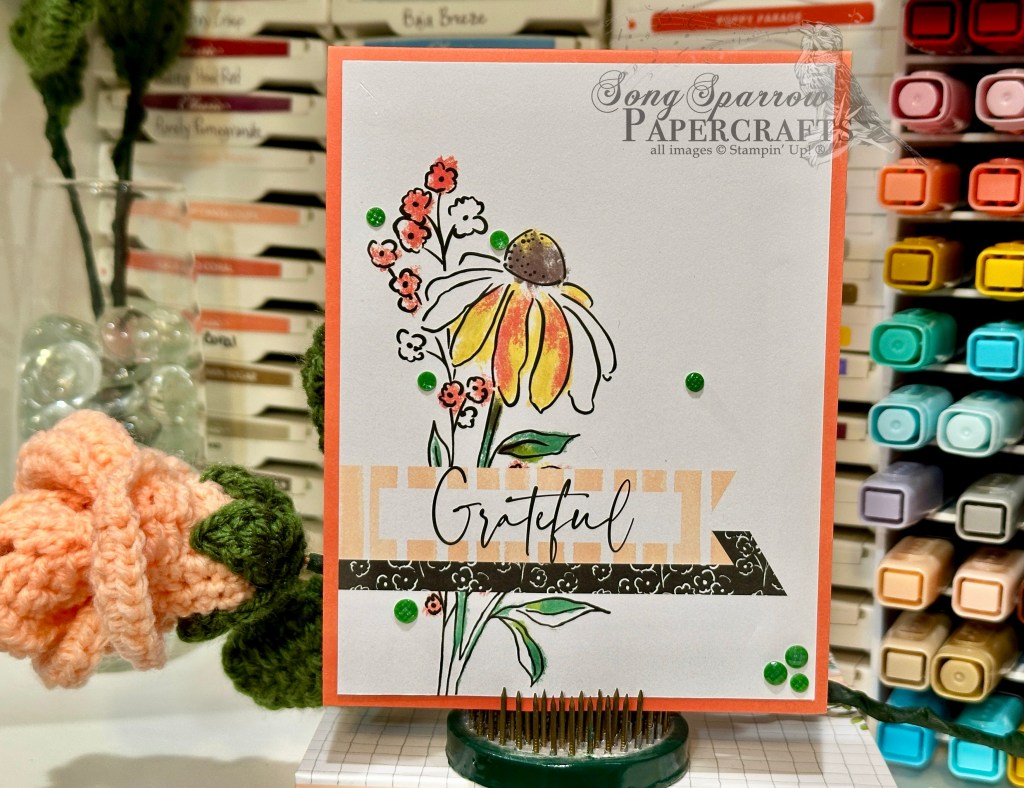
This week’s card is based on Sketch #2 from the Stampin’ Up! Holiday Mini Catalog because I just couldn’t resist how perfectly it tied all of the fun, and very different, elements from the Mixed Media Florals together. What’s fun about today’s use of the sketch is that it serves more as a jumping off spot for the design, and I really love how this design evolved as I began working with all of the elements.
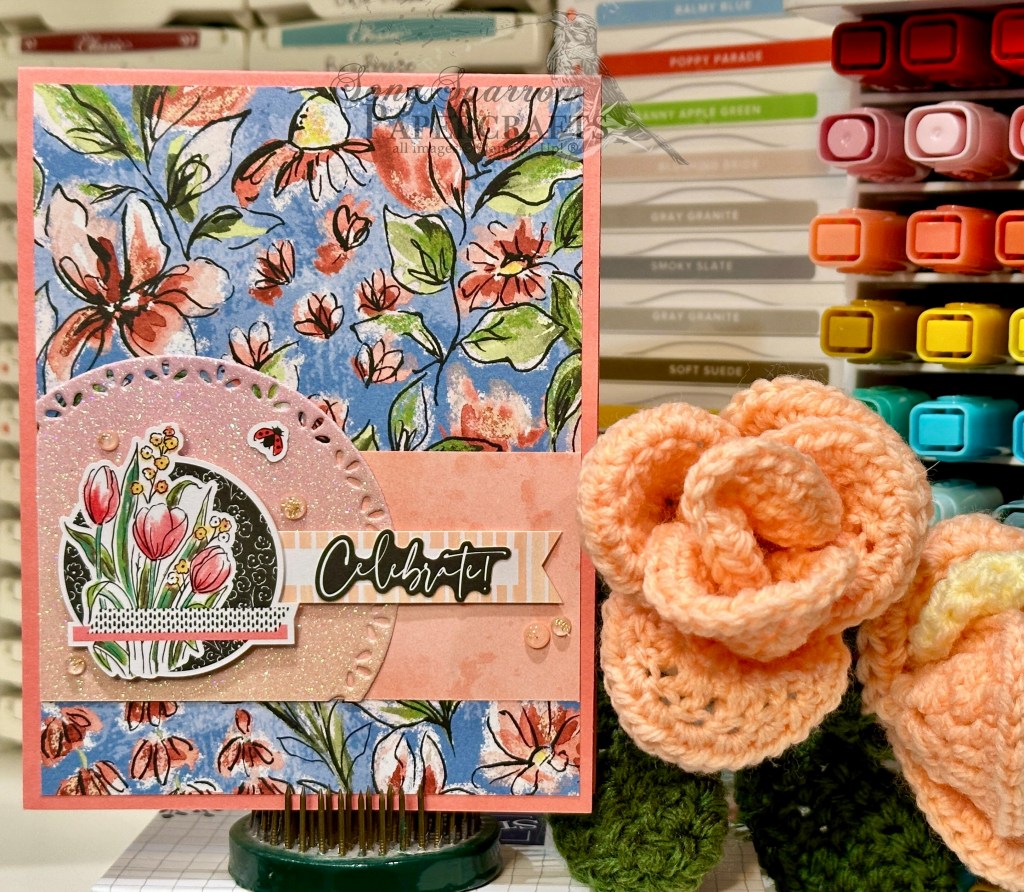
We get started with a base of Flirty Flamingo cardstock. A gorgeous sheet of paper from the Mixed Media Florals paper pack serves as the backdrop for the focal section of our design. I used a strip of the Beautiful Bokeh paper to serve as the anchor for the focal section. A partial cut of the Spotlight on Nature circle from a sheet of the new pastel ombre glimmer paper serves as the oversized mat for the focal image and sentiment and definitely add some interest as a partial shape. The focal image is a sticker from the Mixed Media Florals Memories & More kit and is adhered over the mat using dimensionals. The banner and sentiment are also from the Memories & More kit and are placed to overlap both sections of our full focal panel to tie the elements together visually. I added a ladybug and some foiled gems to catch the eye and add some whimsy.
Tomorrow we’ll be closing out our Mixed Media Floral series with a super fun and simple design.
Products used in today’s card:
Calypso Coral cardstock
Mixed Media Florals, Pastel ombre glimmer, Beautiful Bokeh DSP
Mixed Media Florals Memories & More
Petal Pink foiled gems
Dimensionals
Adhesives

 Designer Series Paper")
 Specialty Paper")


 Glimmer Paper")


 Designer Series Paper")

")


 Seam Binding Ribbon")


 Designer Series Paper")
 Specialty Designer Series Paper")
")

")


 Satin Ribbon")