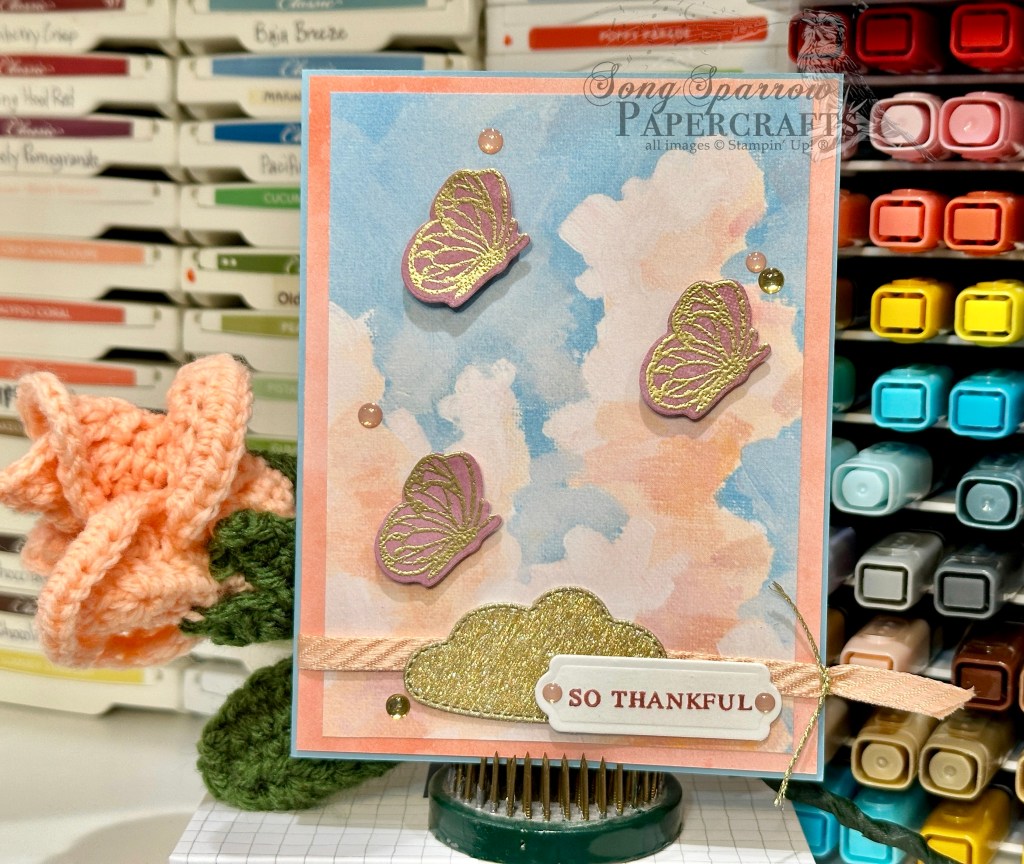
We’re rounding out our up-close look at the Beautiful Butterflies suite today. This gorgeous suite of products launches on Tuesday in the Stampin’ Up! January Mini catalog and includes stamps, dies, hybrid embossing folder, and designer paper. Today’s design keeps it simple by pairing the stamps and dies with the lovely Regal Winter paper.
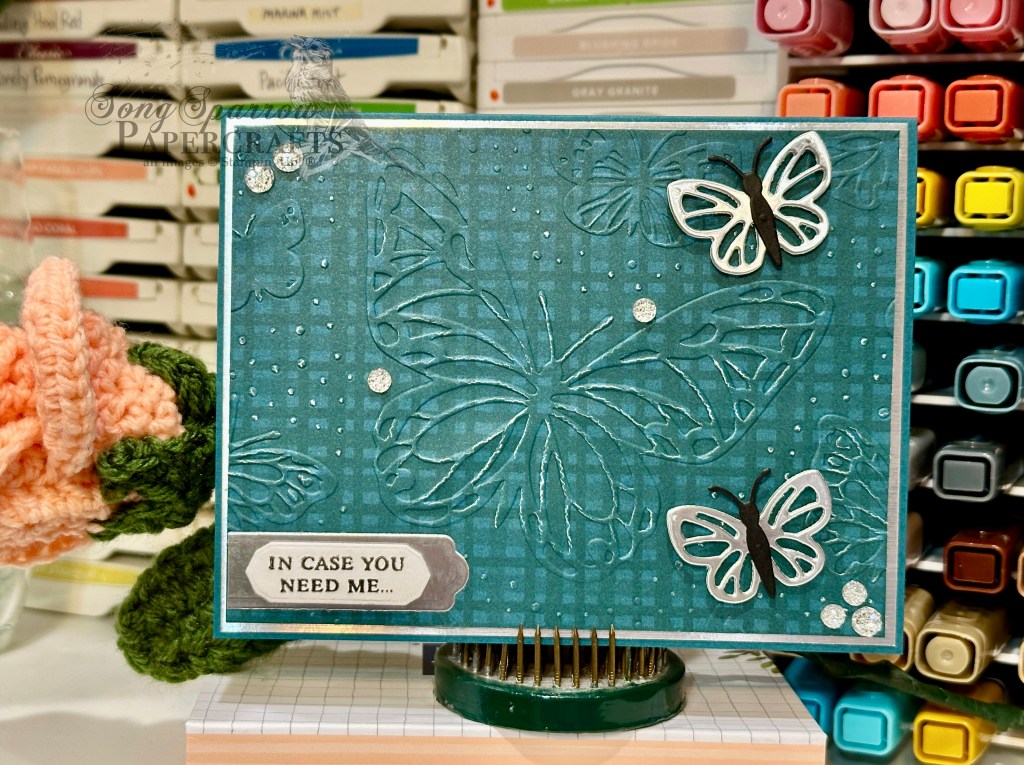
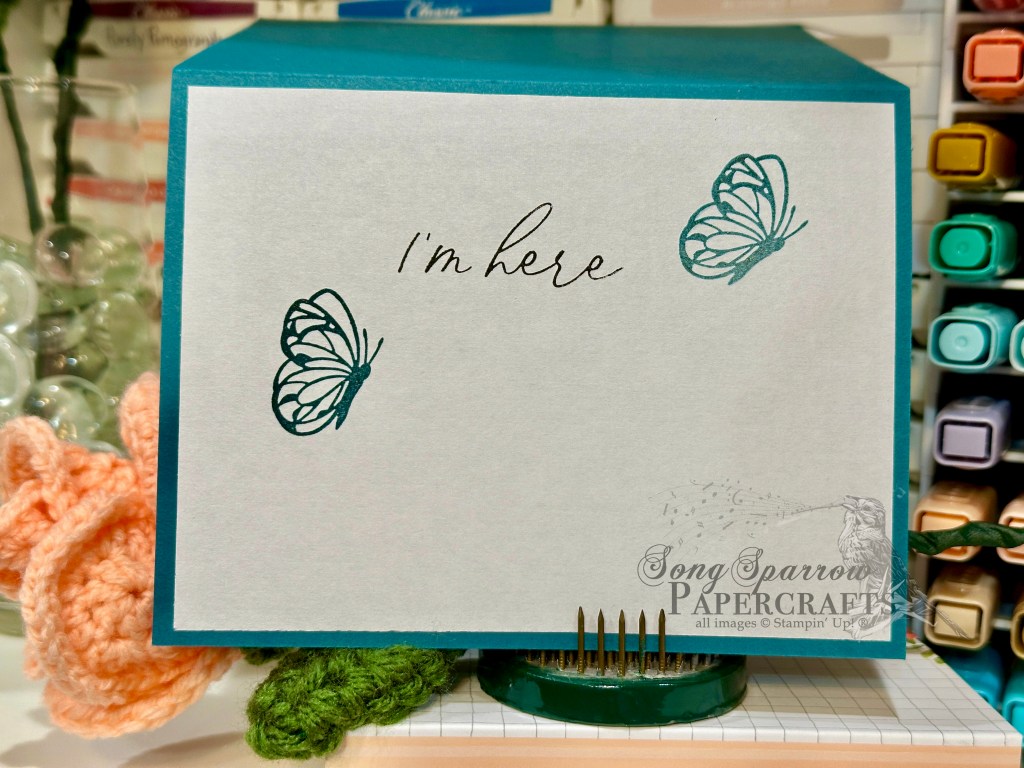
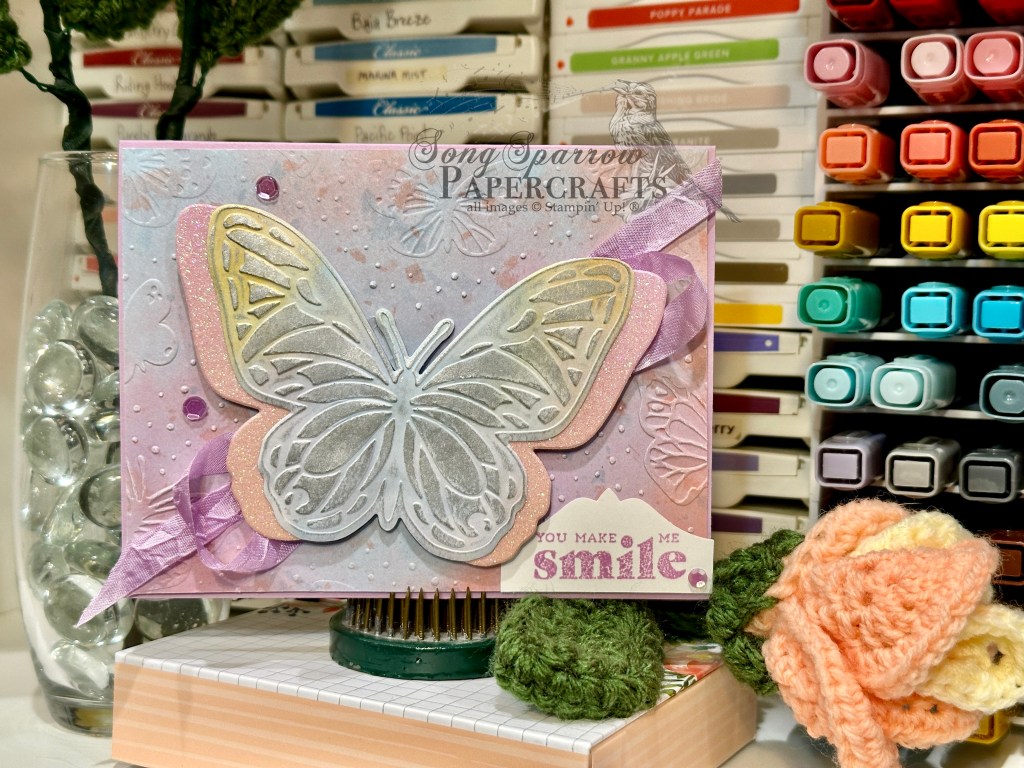
We get started with a base of Pretty Peacock cardstock. I chose the coordinating plaid pattern from the Regal Winter designer series paper pack as the backdrop and matted with silver foil specialty paper. The plaid is embossed with the Beautiful Butterflies embossing folder, and I love how the folder gives a deep impression that scars the paper so the white center shows through for a distressed look. The two smaller butterflies are cut from silver foil specialty paper with the bodies cut basic black cardstock using the Beautiful Butterflies dies. The sentiment from the Beautiful Butterflies stamp set is stamped on white cardstock and then diecut with the smallest Mixed Labels die and matted with a portion of the largest banner die from the Beautiful Butterflies set. A few drusy embellishments scattered across the card front draw the eye across the full embossed panel. I finished the sentiment on the inside message pael and added a few butterflies to complete our theme.
Next week we’re going to be working with the Mixed Florals bundle. I hope you’ll stop by to see how this bundle can work for you!
Products used in today’s design:
Pretty Peacock, Basic White, Basic Black cardstock
Regal Winter, Silver foil DSP
Beautiful Butterflies bundle (coming soon)
Beautiful Butterflies embossing folder (coming soon)
Mixed Labels dies (coming soon)
Drusy embellishments
Dimensionals
Adhesives