It’s another bright & shiny week. Are you ready for it? We enjoyed a nice weekend of family time. It’s always a great start to the week coming off a solid family-togetherness weekend. And with a teenager in the house, I’ll take as many of those as I’m given! *wink*
We’re starting a new design series this week and another week of Stampin’ Up! Holiday Mini catalog sneak peeks. This week, we’ll be working with a new Online Exclusive suite called Gathering Together. The suite includes some beautiful foiled fall-inspired paper, coordinating stamps & dies, an embossing folder, linen twine, and embellishments. I personally chose products from this suite because they pair beautifully with other current products, like the Season of Elegance paper pack and Mossy Meadow & Gold ribbon.

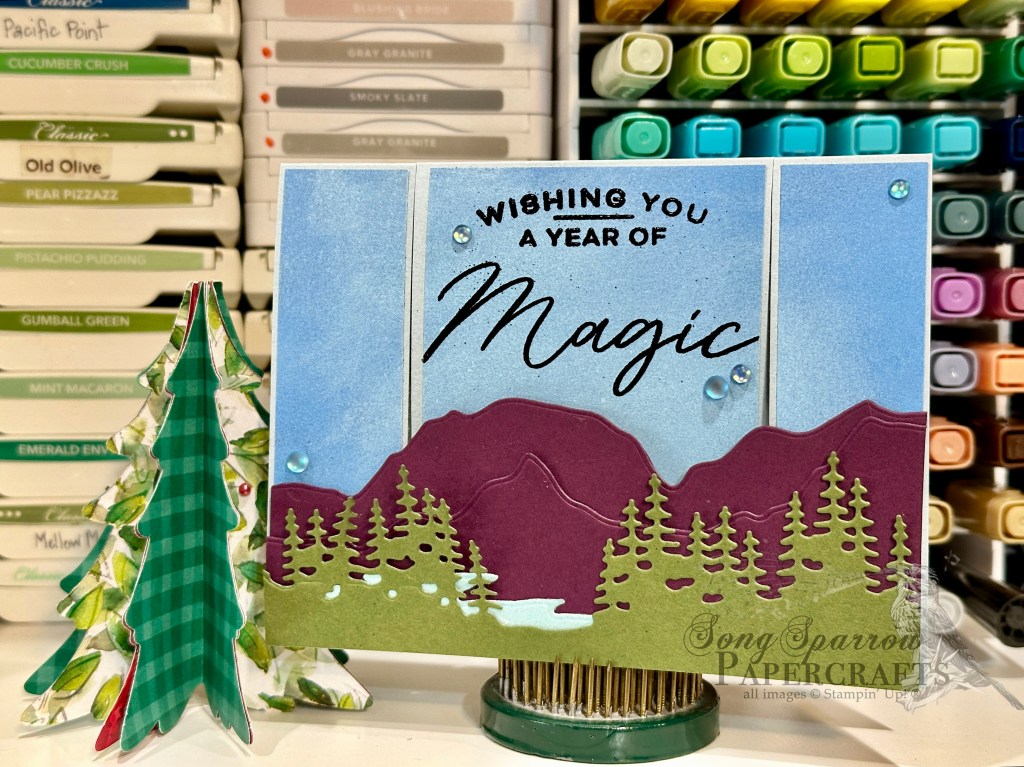
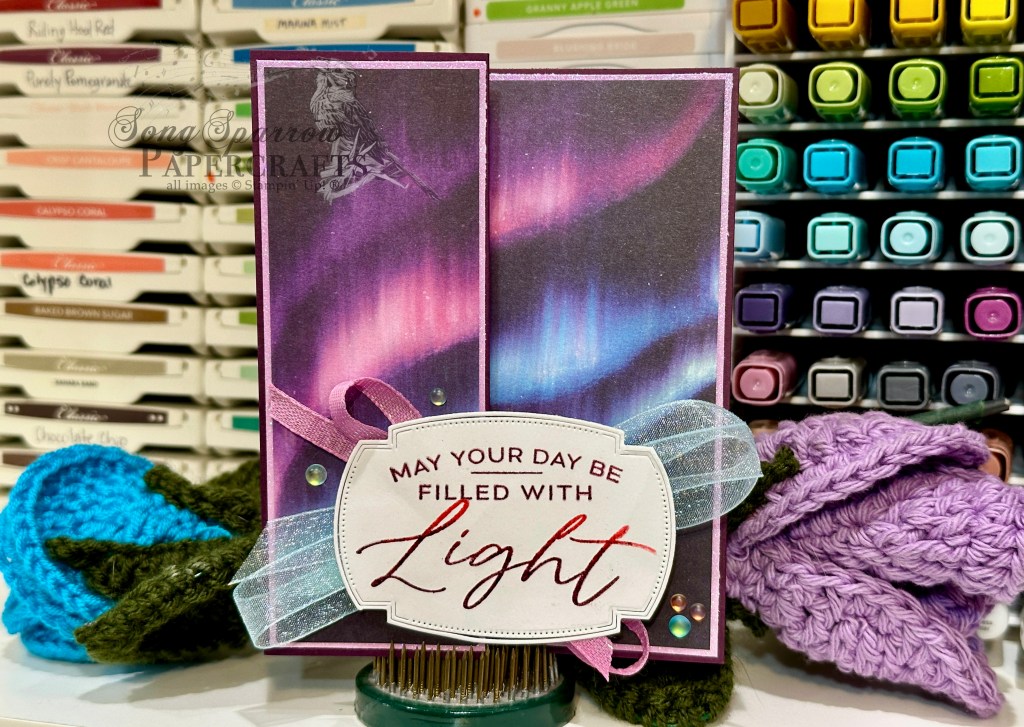
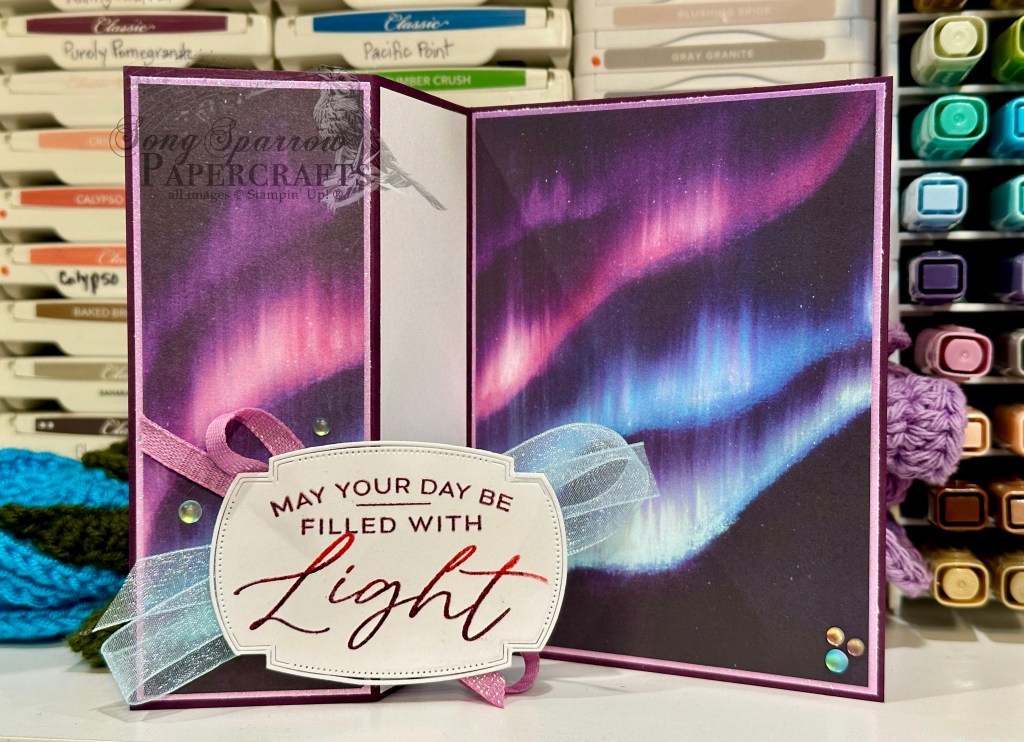
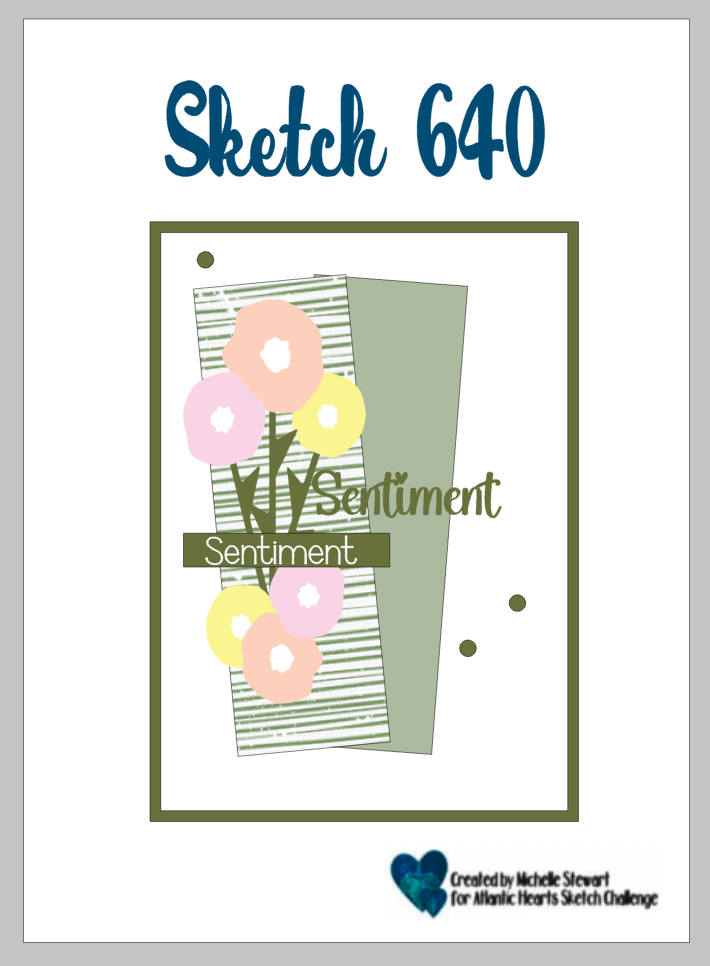
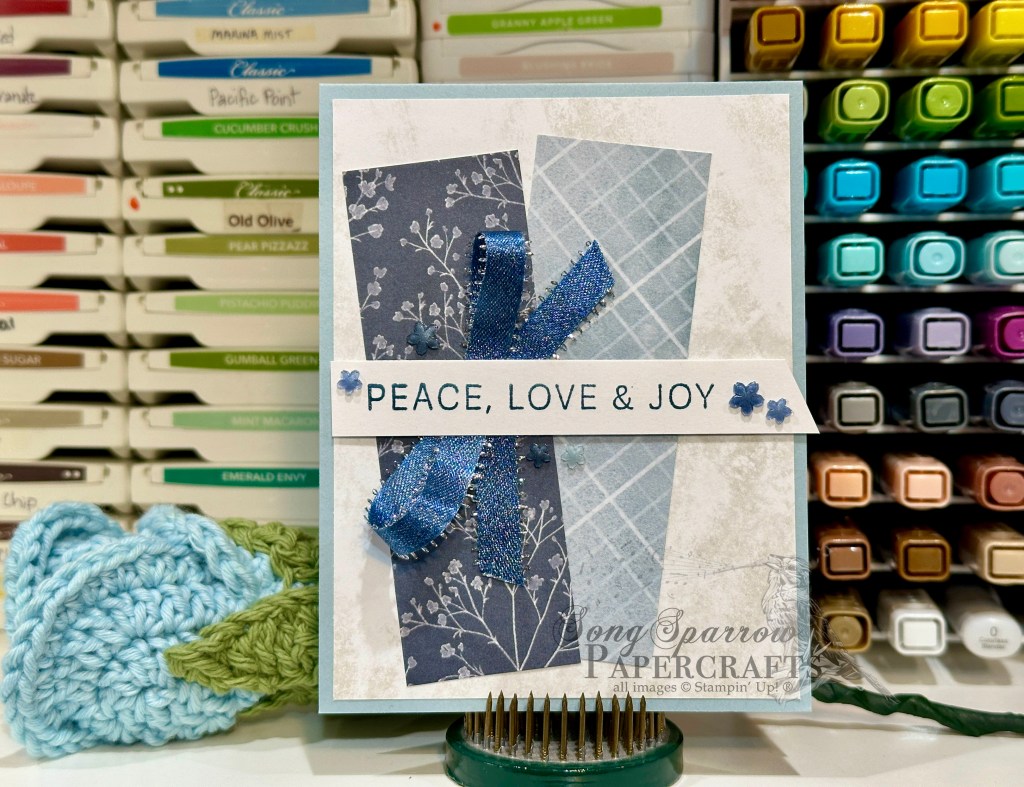
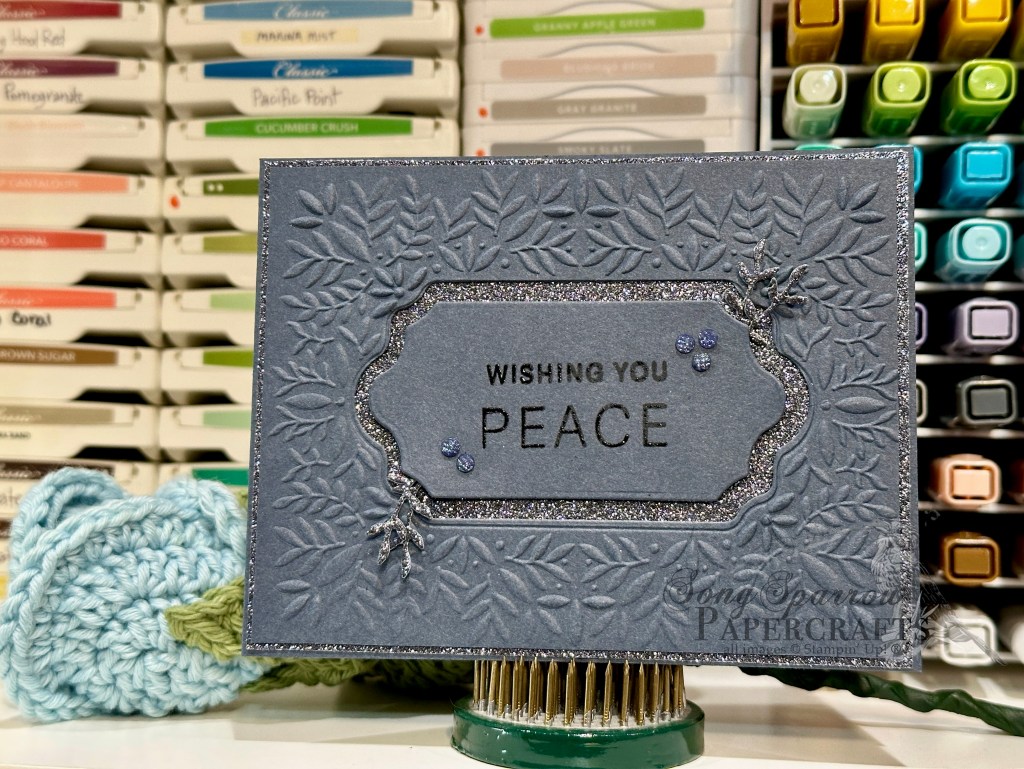
I used a clean and simple card sketch to turn out this beauty. We get started with a base of Early Espresso cardstock. I cut a piece of the foiled leaf paper from the Gathering Together paper pack to serve as the backdrop for the focal panel in the center. The sentiment from the Gathering Moments stamp set serves as our focal point and is stamped in Cajun Craze on a piece of Very Vanilla cardstock that is diecut with the Traditional Labels dies. I cut a second panel from gold specialty paper, cut it in half, and mounted it behind the sentiment panel as a mat. The two leaves from Gathering Moments are stamped in Cajun Craze & Mossy Meadow on two different sheets of Season of Elegance paper and then cut with the coordinating Gathering Moments die and mounted on opposing corners of the sentiment panel using dimensionals. Cajun Craze & Gold dots on either side of sentiment bring the eye in to the center. The sentiment panel is mounted on dimensionals over a bow of Mossy Meadow & Gold ribbon in the center of the card. We finish things off with a few Drusy embellishments for a bit of extra sparkle.
I hope you’ll pop in tomorrow to see some cool features of the gorgeous dies in this set.
Products used in today’s card:
Early Espresso, Very Vanilla cardstock
Gathering Together (coming next week), Season of Elegance, gold foil DSP;
Gathering Moments stamps & dies (coming next week)
Cajun Craze & Gold dots (coming next week), drusy embellishments
Mossy Meadow & Gold ribbon
Dimensionals
Adhesives