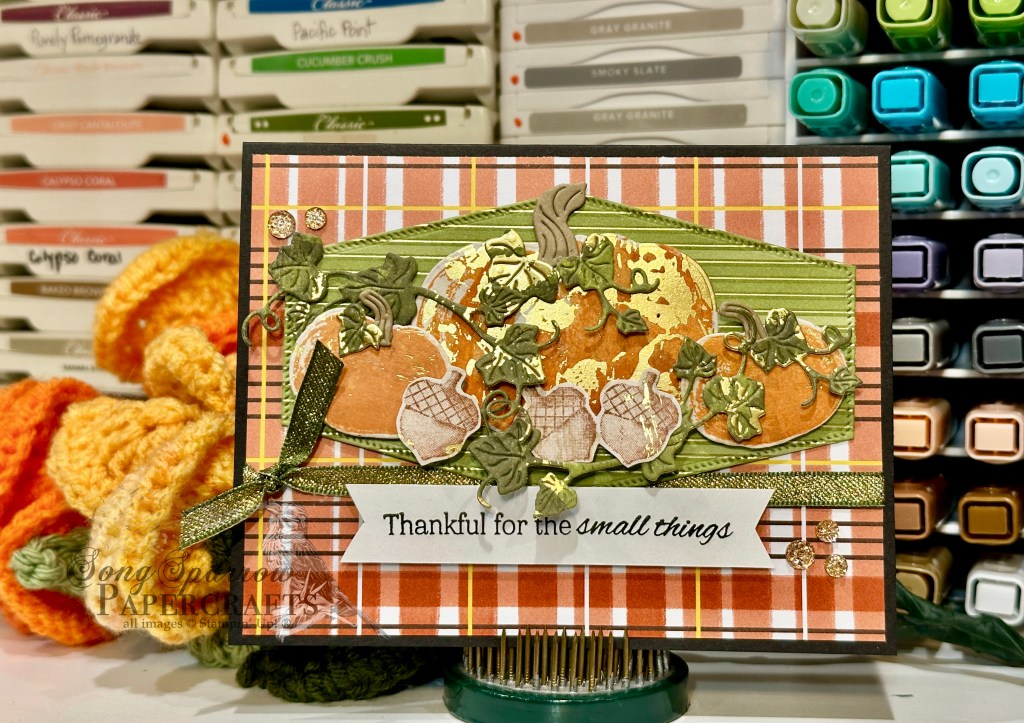
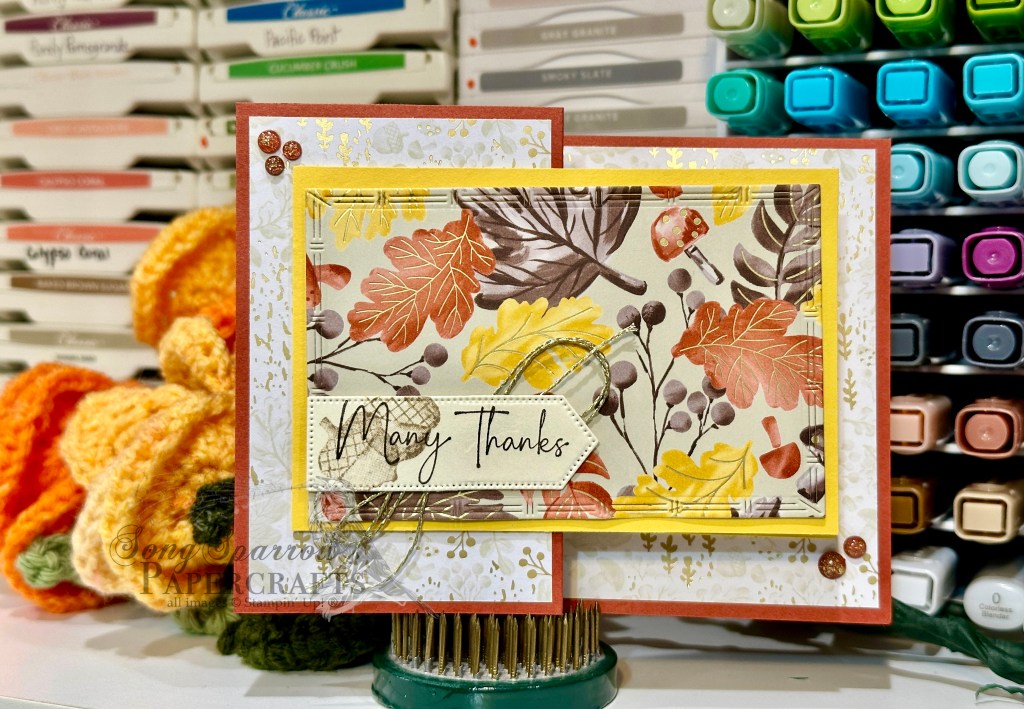
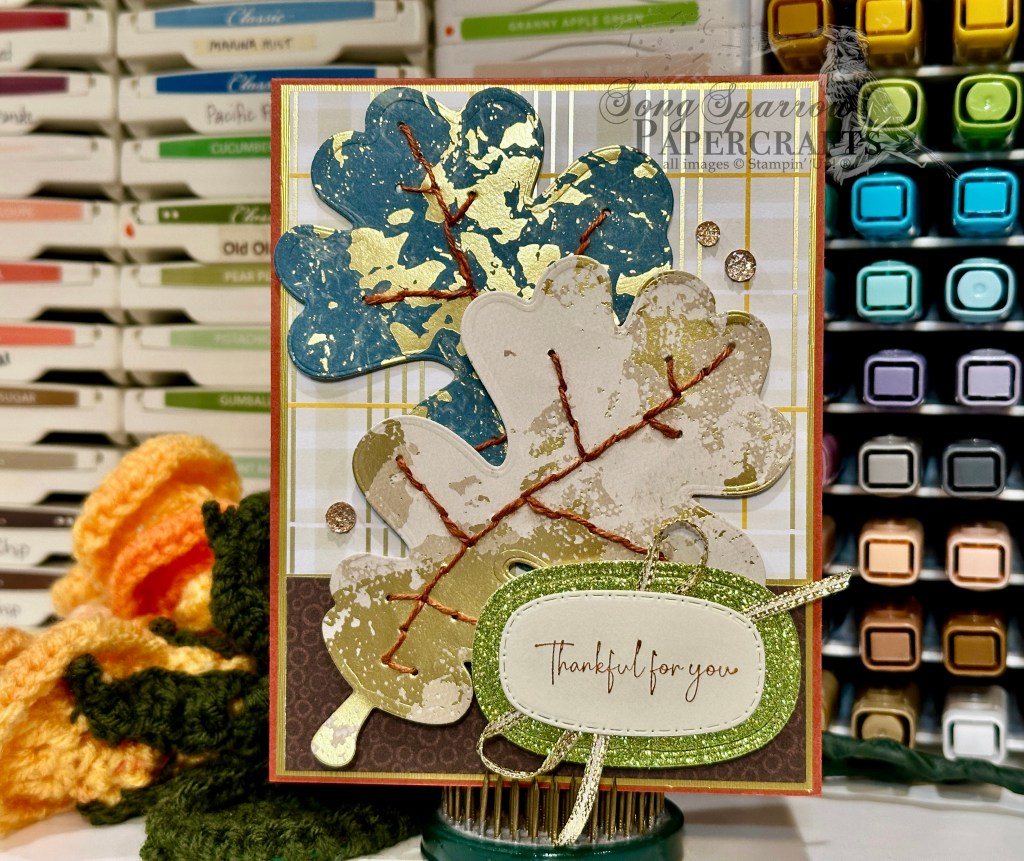
It’s hard to believe that we’re already quickly approaching the weekend. It’s been a super busy week, so it’s really just flying by. I’m gonna need two weekends just to recover. *ha!* So have you gotten to check out all the new goodies that launched yesterday? Which ones are your must-haves? I’m looking forward to playing around more with my faves from the new Holiday Mini catalog & the new Online Exclusives. And since it’s craft show season, I’ll have even more reasons to be in the craft room creating fun new projects!
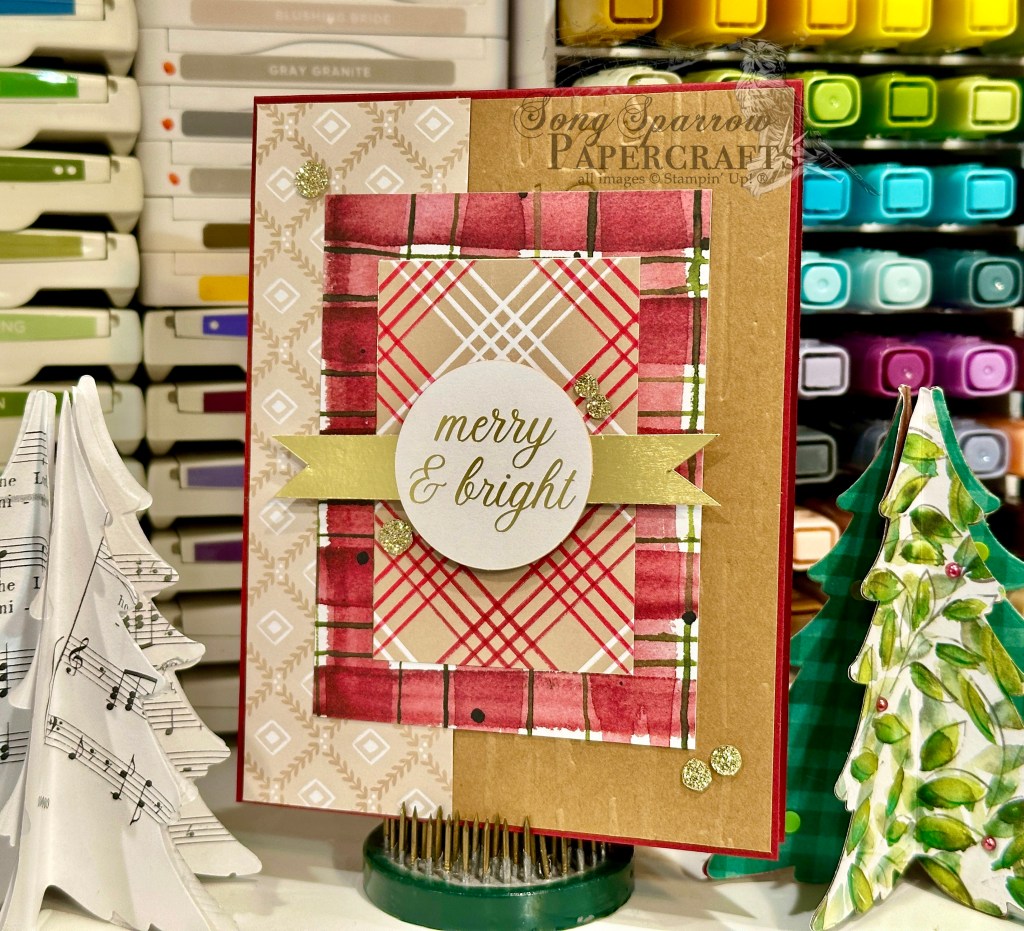
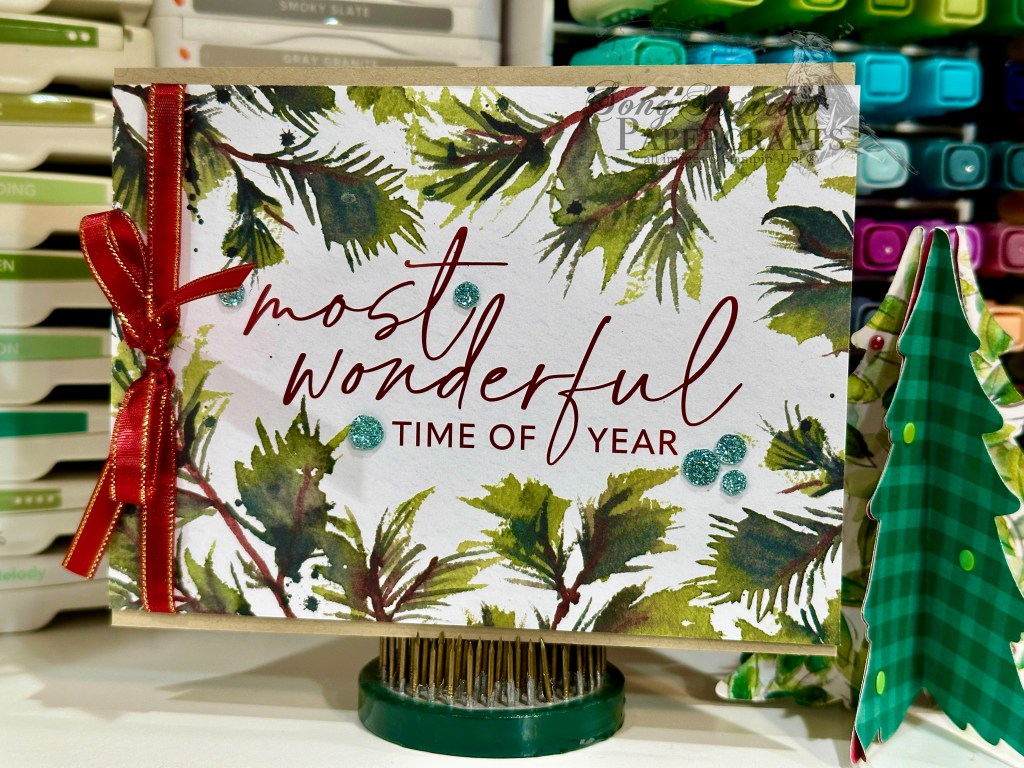
This week, we’re getting a look at some of the must-haves that I got from the new release. And we’re using the new products to create clean & simple holiday cards. Today’s card combines the Joyful Days Memories & More cards with the Christmas Greenery Dies and the Gathering Together patterned paper to create a design that extends well beyond the traditional Christmas holidays. With the more masculine, neutral color palette, you can easily use this design from fall through winter. And that’s a design I can get behind!
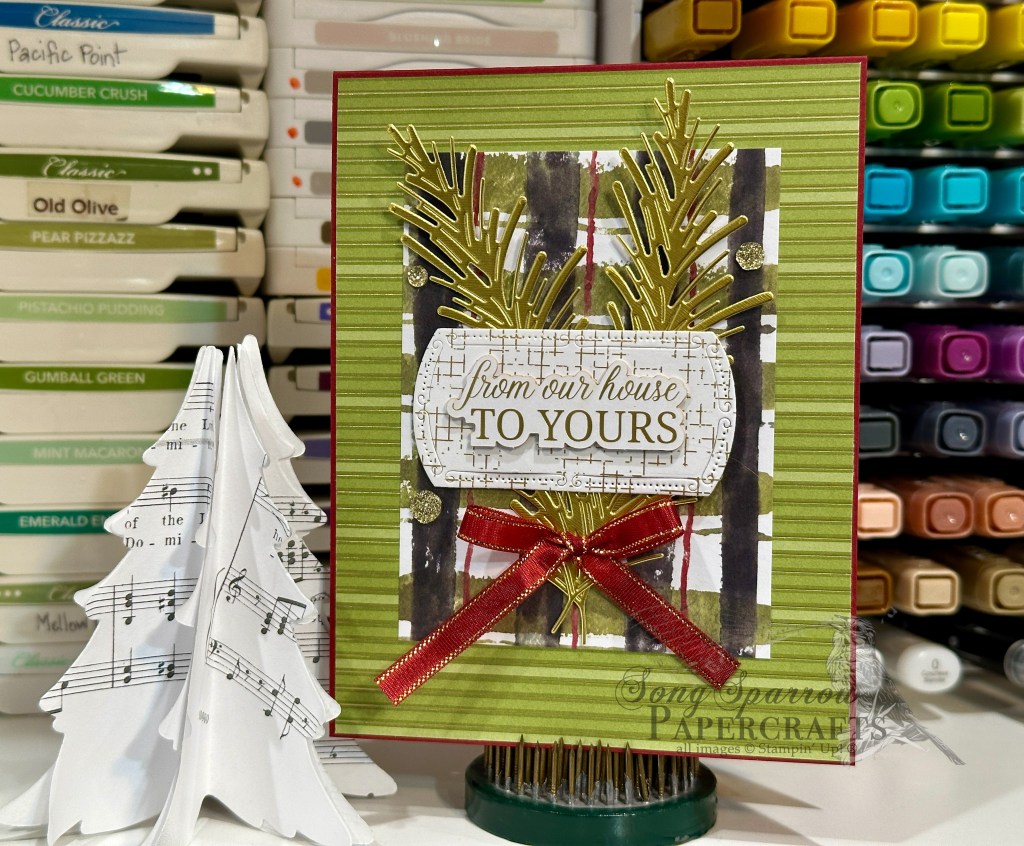
We start with a base of Cherry Cobbler cardstock to tie with the subtle striping in our focal panel plain backdrop. I chose a sheet of the striped foiled Old Olive paper from the Gathering Together paper pack as the full-panel backdrop. It coordinates perfectly with the Joyful Days card that serves as our focal panel background. The evergreen branches are cut from gold foil specialty paper using the Christmas Greenery dies and are tied together with some (now retired) Cherry Cobbler & Gold satin ribbon. The sentiment is from the Greetings for You ephemera pack and is mounted on a small panel of gold & white foiled grid paper from the Nature’s Sweetness paper pack and cut using the Traditional Labels dies. I added some dimensionals behind the sentiment and then behind the full panel when adhering over the greenery to be sure they catch the eye. Some extra sparkle from the traditional sparkling sequins add the perfect coordinating gold finish.
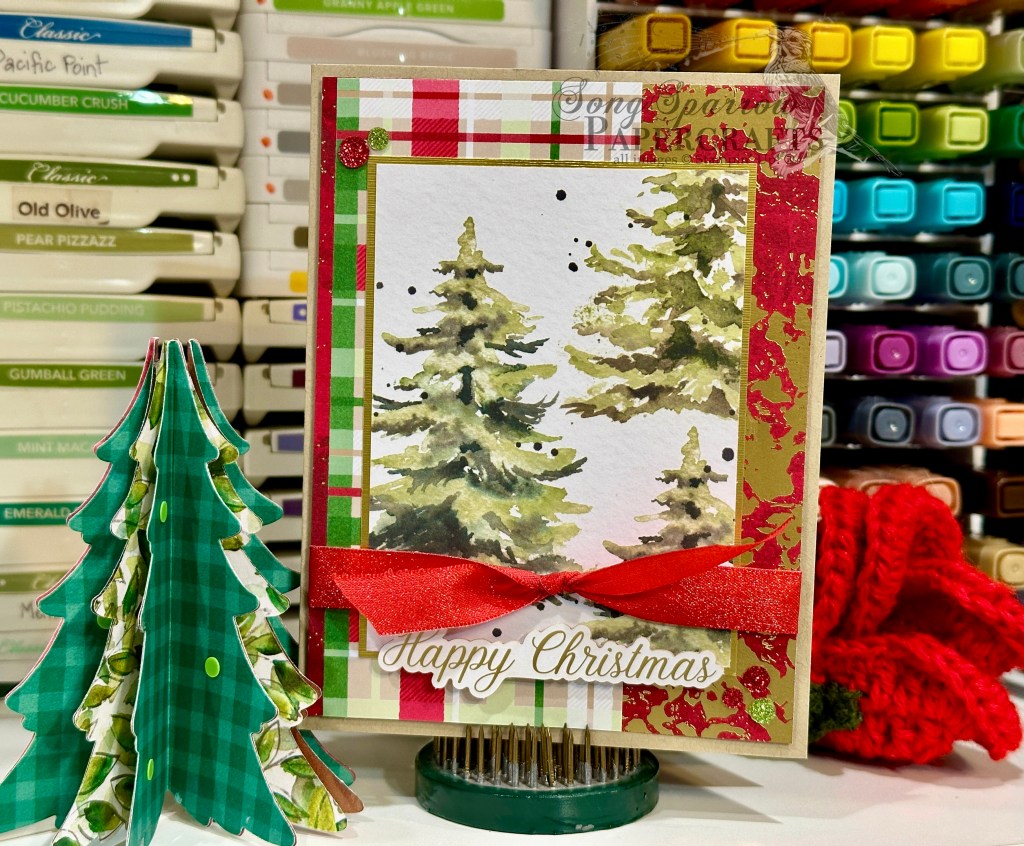
Tomorrow we’re headed to the trees … the Christmas trees. I hope you’ll drop by and check out O Tannenbaum!
Product List![Cherry Cobbler 8-1/2" X 11" Cardstock [ 119685 ]](https://assets1.tamsnetwork.com/images/EC042017NF/119685s.jpg "Cherry Cobbler 8-1/2\" X 11\" Cardstock [ 119685 ]")
![Gathering Together 12" X 12" (30.5 X 30.5 Cm) Specialty Designer Series Paper [ 165969 ]](https://assets1.tamsnetwork.com/images/EC042017NF/165969s.jpg "Gathering Together 12\" X 12\" (30.5 X 30.5 Cm) Specialty Designer Series Paper [ 165969 ]")
![Nature's Sweetness 12" X 12" (30.5 X 30.5 Cm) Specialty Designer Series Paper [ 162616 ]](https://assets1.tamsnetwork.com/images/EC042017NF/162616s.jpg "Nature's Sweetness 12\" X 12\" (30.5 X 30.5 Cm) Specialty Designer Series Paper [ 162616 ]")
![Gold Foil Sheets [ 132622 ]](https://assets1.tamsnetwork.com/images/EC042017NF/132622s.jpg "Gold Foil Sheets [ 132622 ]")
![Christmas Greenery Dies [ 165872 ]](https://assets1.tamsnetwork.com/images/EC042017NF/165872s.jpg "Christmas Greenery Dies [ 165872 ]")
![Traditional Labels Dies [ 165864 ]](https://assets1.tamsnetwork.com/images/EC042017NF/165864s.jpg "Traditional Labels Dies [ 165864 ]")
![Joyful Days Memories & More Card Pack [ 165822 ]](https://assets1.tamsnetwork.com/images/EC042017NF/165822s.jpg "Joyful Days Memories & More Card Pack [ 165822 ]")
![Greetings For You Mix & Match Ephemera Pack (English) [ 166208 ]](https://assets1.tamsnetwork.com/images/EC042017NF/166208s.jpg "Greetings For You Mix & Match Ephemera Pack (English) [ 166208 ]")
![Cherry Cobbler & Gold 1/4" (6.4 Mm) Satin Ribbon [ 164028 ]](https://assets1.tamsnetwork.com/images/EC042017NF/164028s.jpg "Cherry Cobbler & Gold 1/4\" (6.4 Mm) Satin Ribbon [ 164028 ]")
![Traditional Sparkling Sequins [ 165875 ]](https://assets1.tamsnetwork.com/images/EC042017NF/165875s.jpg "Traditional Sparkling Sequins [ 165875 ]")
![Mini Stampin' Dimensionals [ 144108 ]](https://assets1.tamsnetwork.com/images/EC042017NF/144108s.jpg "Mini Stampin' Dimensionals [ 144108 ]")
![Mini Glue Dots [ 103683 ]](https://assets1.tamsnetwork.com/images/EC042017NF/103683s.jpg "Mini Glue Dots [ 103683 ]")
![Crumb Cake 8-1/2" X 11" Cardstock [ 120953 ]](https://assets1.tamsnetwork.com/images/EC042017NF/120953s.jpg "Crumb Cake 8-1/2\" X 11\" Cardstock [ 120953 ]")
![Stampin' Dimensionals [ 104430 ]](https://assets1.tamsnetwork.com/images/EC042017NF/104430s.jpg "Stampin' Dimensionals [ 104430 ]")