This week, we are looking at all the ways we can use parts of the Stampin’ Up! suite of products called Country Woods. In particular, we’ve been focusing on the Country Flowers bundle, which includes stamps and coordinating dies, and the Country Woods designer series paper. Today, we continue with a brand new fun fold design.
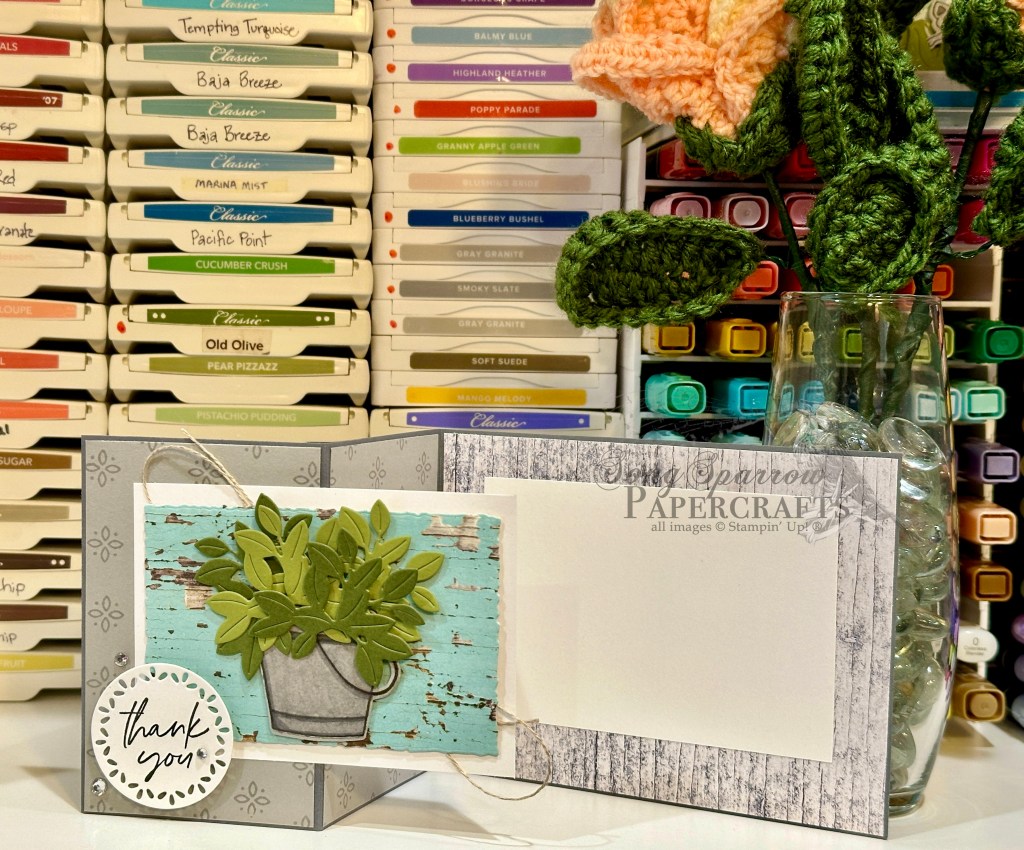
Today’s fun fold is called the Front Panel Z-fold. What I love about this particular fun fold is that you can make it as simple or as complicated as you want. For this card design, I went somewhere in the middle. This design requires a little fussy stamping and some die cutting but all-in-all comes together pretty quickly once you get the hang of it. You can download the full PDF tutorial for today’s card, which includes a complete materials list and measurements, by clicking here. But for now, let’s take a closer look at how this card comes together.
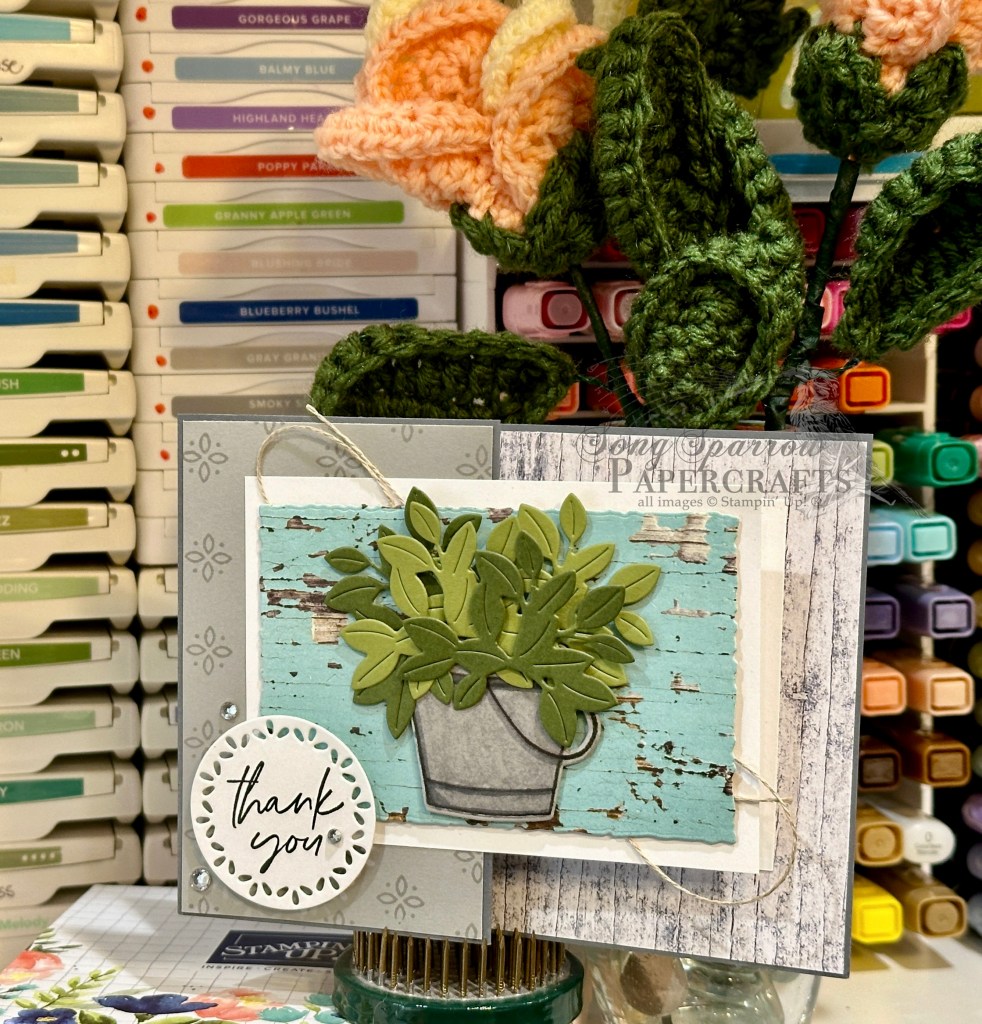
Our card front consists of the smaller panels of the Z fold. Using the small detail stamp from the Country Flowers stamp set, we stamp a repeating pattern tone-on-tone on Smoky Slate cardstock. I chose a very symmetrical pattern and used a sheet of grid paper along with grid lines on my stamp block to accomplish this. This stamped panel is then cut into two smaller panels that are just a tick smaller than the card base. We cut a second quarter panel of white cardstock to make an identical sized mat that is adhered on the outermost fold to precisely overlay the inside message panel.
We start with a card base of Basic Gray cardstock. Our card base is of standard size and scored to give us our Z panel. The full-sized panel is our inside message panel, while our Z fold serves to give us a look inside with the overlapping front focal panel. For the inside panel, we cut a sheet of the gray woodgrain panel just a little smaller. The inside message panel is a quarter sheet of white cardstock that has been cut to size and then adhered to the center of the woodgrain panel. Be sure you only adhere to the outermost small panel so that your card will open. Next, we diecut a piece of the Pool Party woodgrain pattern from the Country Woods paper pack using the Deckled Rectangles die set. Using a glue dot, a faux bow is adhered diagonally across the front white mat and then the Deckled Rectangle piece is adhered over it using dimensionals. Using the Country Flowers stamps, stamp a bucket in black ink on Smoky Slate. I used Stampin’ Blends to provide shading and shadowing to the bucket, then diecut the bucket using the coordinating die from the Country Flowers die set. The greenery is cut from Old Olive and Mossy Meadow cardstock using the die from Country Flowers. The bucket and greenery are adhered with layers of dimensionals to give realistic visual planes. The sentiment from Something Fancy is stamped in black on white cardstock and then diecut using the Spotlight on Nature die set. The sentiment is adhered over the corner of the image panel using dimensionals. To draw the eye to the sentiment, rhinestone basic jewels are placed in a triangle around the sentiment panel.
Want to watch how this card comes together? You can watch the full episode of this week’s Terrific Tuesdays where we walk through the making of this card:
Tune in tomorrow for another fun fold design that showcases the beautiful greenery in the Country Flowers bundle. You want want to miss it!
Products used in today’s card:
Basic Gray, Smoky Slate, Old Olive, Mossy Meadow, Basic White cardstock
Country Woods DSP
Country Flowers stamps & dies
Something Fancy stamps
Deckled Rectangles, Spotlight on Nature dies
Stampin’ Blends
Linen thread
Rhinestone basic jewels
Dimensionals
Adhesives
