Howdy, crafting friends. Welcome to another sparkly day filled with crafty fun. This week, we’re pulling out a whole host of Stampin’ Up! products to make some masculine cards. And with Father’s Day around the corner, it only seems appropriate to make a few masculine cards to honor the special dads in our lives.
Today, we’re keeping things on the simple side with this high-flying design. You’ll notice that the bulk of this card is comprised of the new Take to the Sky designer paper. Did you know that there is a full sheet of perfect focal images included in the Take to the Sky designer series paper pack? Simply cut them apart and you have an instant focal point for your cards! Let’s take a closer look at how this design comes together.
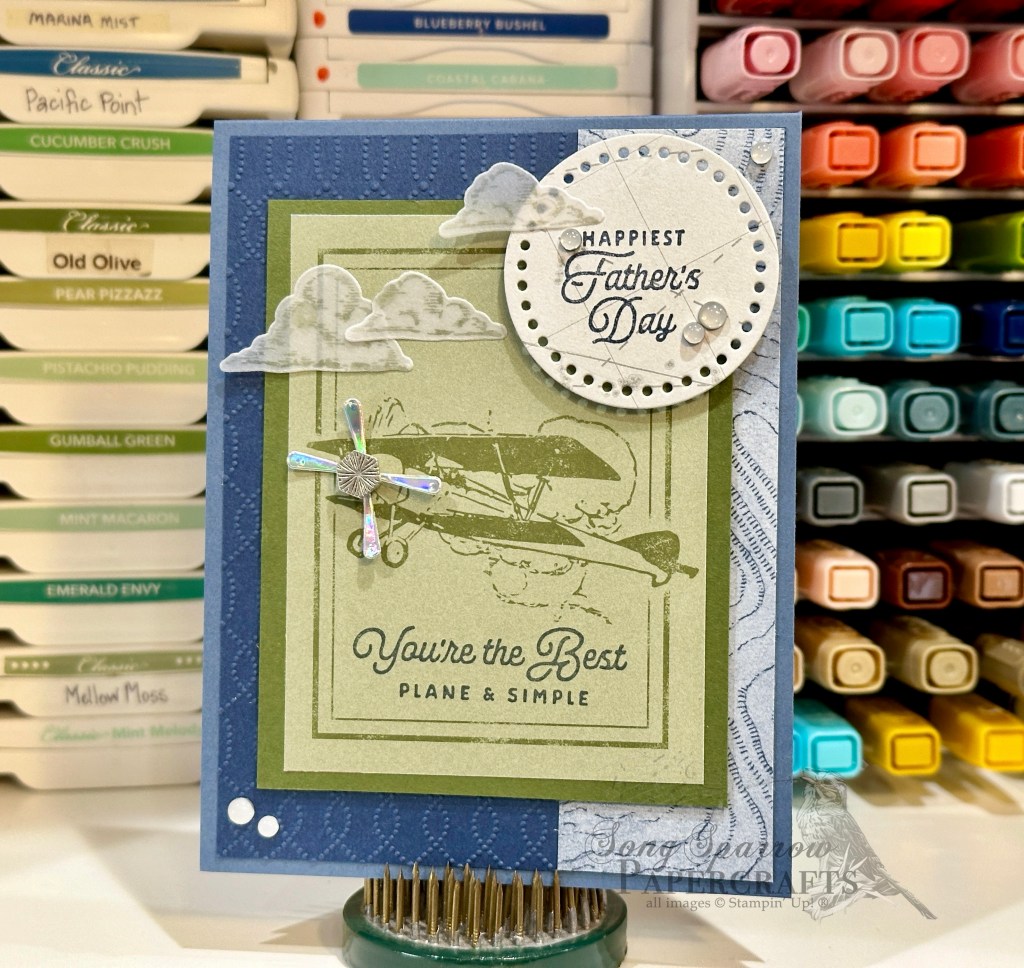
We get started with a base of Misty Moonlight cardstock. Our background panel consists of a base of Night of Navy cardstock that has been machine embossed with the Softly Sophisticated embossing folder — a retired Sale-a-Bration product from earlier this year. I loved that the pattern resembled a topography map, which is the piece of patterned paper from Take to the Sky that I’ve paired with it here. The current So Swirly embossing folder would work equally as well here for the same reason.
Our focal panel consists of a mat of Mossy Meadow cardstock for the perfectly pre-printed panel from the Take to the Sky paper. To dress up the pre-printed panel and tie it with our theme, I diecut the pair of propellers from silver foil specialty paper using the Adventurous Sky dies. An Industrial Trinket serves as the propeller hub. To complete the illusion of our plane flying in the sky, I stamped clouds on vellum using the Adventurous Sky stamps and then diecut them with the coordinating die. They’re affixed to our focal panel and sentiment panel using glue dots. The sentiment panel is diecut from the navigation map paper using the Everyday Details dies and the sentiment from the Adventurous Sky stamp set is stamped in the center. The sentiment panel is adhered using dimensionals so it stands above the scene. White transparent dots finish off our card and help draw the eye diagonally across the design.
Tomorrow we’re going to rummage through the tool box. I hope you’ll pop in and see what shows up!
Products used in today’s card:
Misty Moonlight, Night of Navy, Mossy Meadow, vellum cardstock
Take to the Sky, Silver foil DSP
Adventurous Sky stamps & dies
Everyday Details dies
Softly Sophisticated embossing folder (retired)
Transparent dots
Dimensionals
Adhesives
