Hot Foil

Violets & Butterflies

Happy weekend, everyone! I don’t know about you, but I have a lot on the weekend to-do list. I’ve crossed quite a few things off already but still have quite a bit to go.

But I took a nice crafty break to try out my new Stampin’ Up! Hot Foil System that launched last month. Can I be honest with you? I’ve actually been a little afraid to use it. *looking around* Don’t ask me why because it is SO easy to use! But there was just something intimidating about it to me and it had me frozen in my tracks. So if you ever find yourself there, you are not alone. I’ve been watching all sorts of videos and finally just sat down and gave it a try. Easy peasy! So we’re pairing up two sets of hot foil dies — Butterfly Flight and Classic Greetings — with the beautiful Violet Dreams paper to create this project.
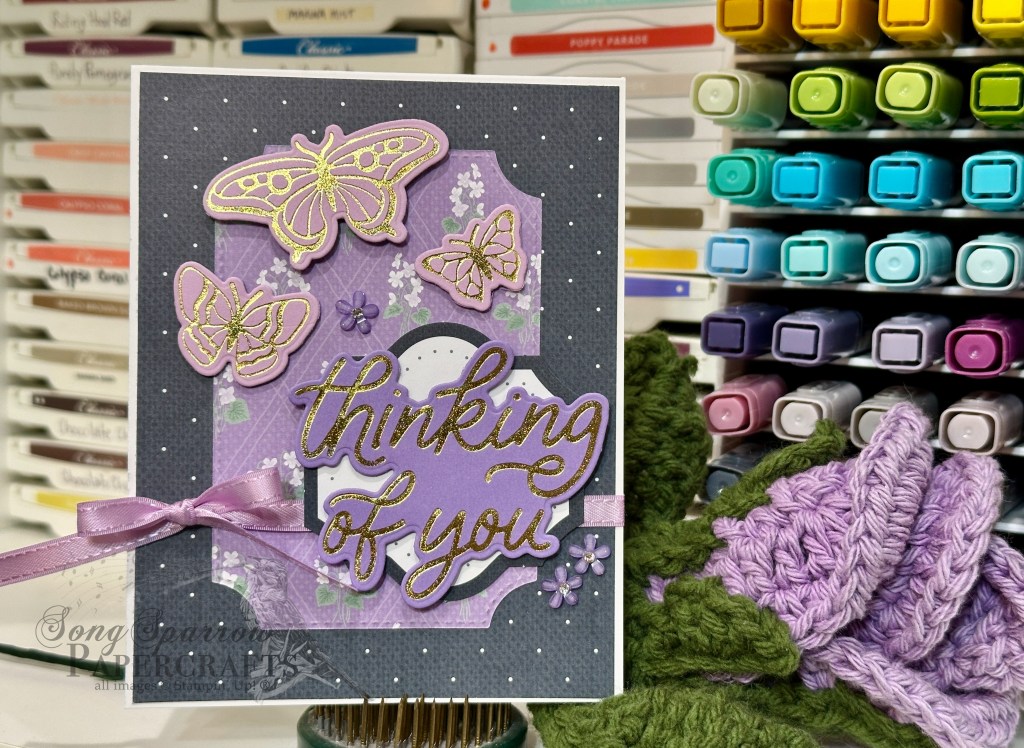
We get started with a very neutral base of white cardstock. I tried all sorts of colors back there but love how this made all of the elements pop so much better. The backdrop is the Secret Sea polka dot pattern from the Violet Dreams paper pack. The focal panel starts with a leftover panel I had diecut with the Branching Out dies for another project and just so happens to be the back side of the background panel. After getting both panels adhered to the card front, I wrapped the whole sheebang with some Fresh Freesia satin ribbon and then adhered the decorative panel (from the coordinating Violet Dreams precut pieces) with dimensionals.

Here’s where the fun part comes in — hot foil! I kept my foiling super simple since it was the first roll of the dice. I used the thinking of you sentiment from the Classic Greetings die set to create the sentiment by foiling in gold on Highland Heather cardstock and then cutting it out with the coordinating die. It’s adhered on our decorative panel with a layer of dimensionals. Next up are the butterflies using the Butterfly Flight hot foil die set. I lightened things up a bit by using Fresh Freesia cardstock to have a hue of contrast and help the butterflies stand out amongst the business of the patterns and elements on the card front. They’re adhered with varying layers of dimensionals above the sentiment. A few adhesive blooms in a darker shade of purple finish things off.

I’m looking forward to having a little bit more time to really play around with the foiling system. And the new foiling goodies that will arrive in the studio SOON! I’ll try to share some of the bonus foiling projects over on the socials. Next week we’re gonna be in the woods. I hope you’ll come along for the hike!

Product List
Clean and Simple

Hip-hip Hooray for Birthdays

Welcome back, everyone! I’m still looking for my missing crafty mojo, and it doesn’t help that we’re in the middle of a typical Texas summer roasting session. AND the AC is out in part of my office. Womp-womp all the way around!

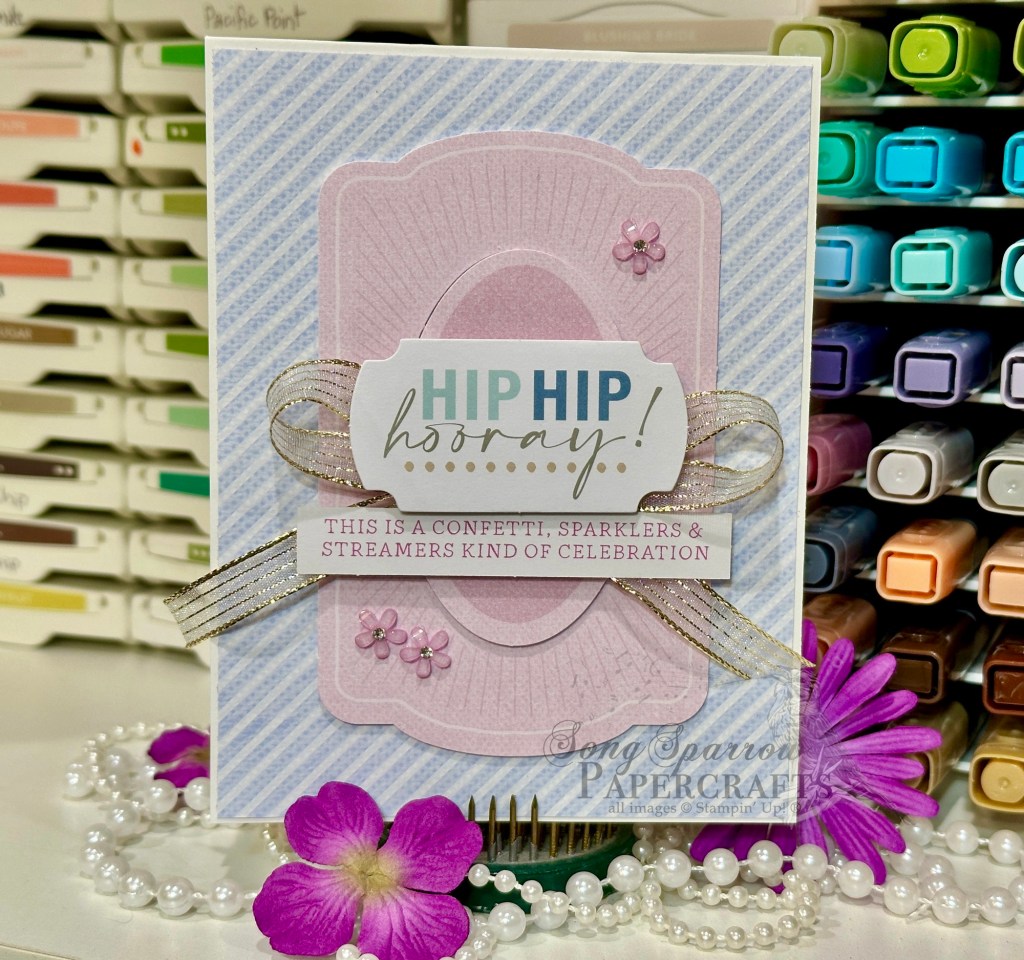
But I did manage to eke out another clean & simple design today. And we’re letting the Violet Dreams paper and diecut sheet take center stage with our ephemera.

We get started with a base of Basic White cardstock. A sheet of the striped Cloud Cover paper from the Violet Dreams pack serves as our backdrop. A Fresh Freesia diecut element from the paper pack is our focal panel background, which is adhered to our card at different heights using dimensionals. Our sentiments come from two separate ephemera packs — the new Sincerely Noted and the Saying Something packs. The sentiments are adhered over a bow of striped gold ribbon using dimensionals. And we finish things off with a few adhesive flowers.

I hope you’ll drop in tomorrow to see what’s next in our clean & simple series!

Products used in today’s card:
Basic White CS
Violet Dreams DSP
Sincerely Noted, Saying Something ephemera
Gold striped mesh ribbon
Adhesive blooms
Dimensionals
Adhesives

Online Exclusives

Birthday Blues

Welcome back on this Saturday. How’s your weekend going so far? We’ve had lots of things to cross off the around-the-house to-do list so it’s been a busy one around here. But now it’s time to put the feet up and relax.

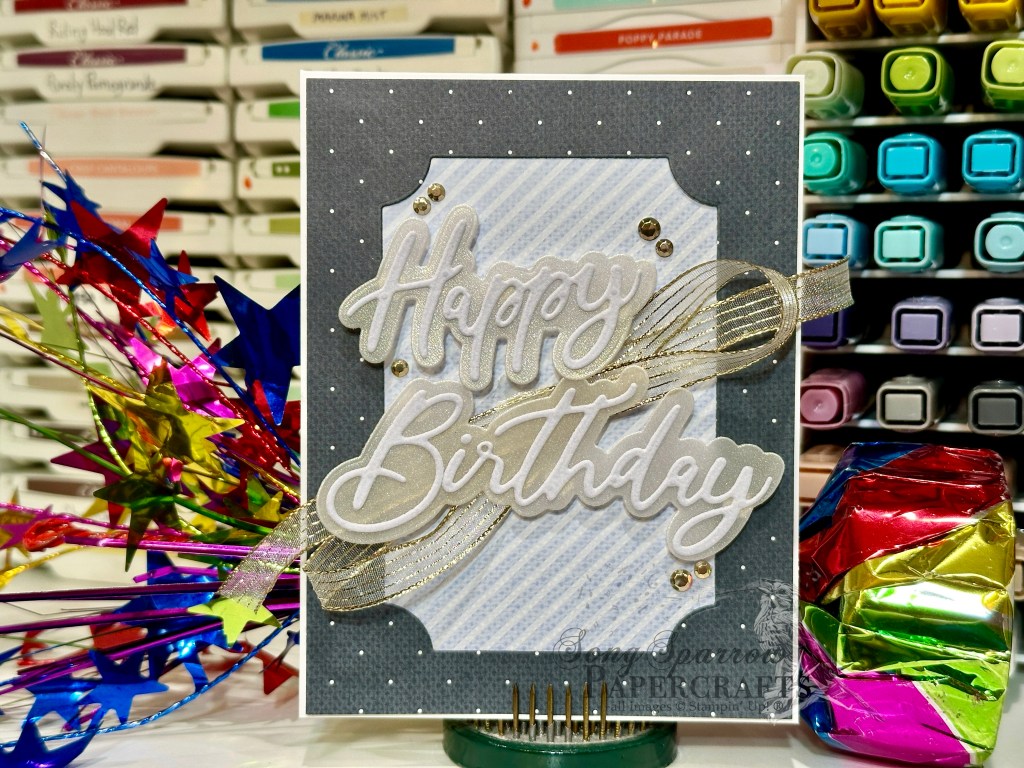
This week we’re getting a sneak peek at the new Violet Dreams suite that will release in just a few weeks. And today I wanted to show how you can easily use this suite to create beautiful masculine designs. So I’m turning to one of my favorite sentiment sets right now — the Words & Wishes dies.

We get started with a base of white cardstock. I choose the sheet of Secret Sea dotted paper from the Violet Dreams paper pack to serve as the backdrop. A panel is cut from this sheet with the Branching Out dies to allow for the lighter Cloud Cover striped pattern to tuck in behind and shine through our new window. The sentiment is a combination of shimmer vellum and velveteen specialty papers cut with the Words & Wishes happy birthday dies. The sentiment is mounted over some gold sheer ribbon with dimensionals. And we finish things off with some gold metallic gems around the sentiment to draw the eye across our design.

While I might turn to this suite more often for more delicate and feminine designs, I always like to explore how each product can lend itself to neutral and masculine designs, too. Next week is all about summer. I hope you’ll come along for all the summer fun!

Products used in today’s design:
White CS
Violet Dreams (releasing in July), shimmer vellum, velveteen DSP
Words & Wishes, Branching Out dies
Striped gold sheer ribbon
Metallic gems
Dimensionals
Adhesives

Online Exclusives

Birthday Violets

Welcome back, everyone! And TGIF. It’s certainly been quite a day around here as heavy rain on both commutes nearly necessitated a boat. Seriously though, I made it fine, but we got crazy amounts of rain today. I hope you’re dry & cozy wherever you are.

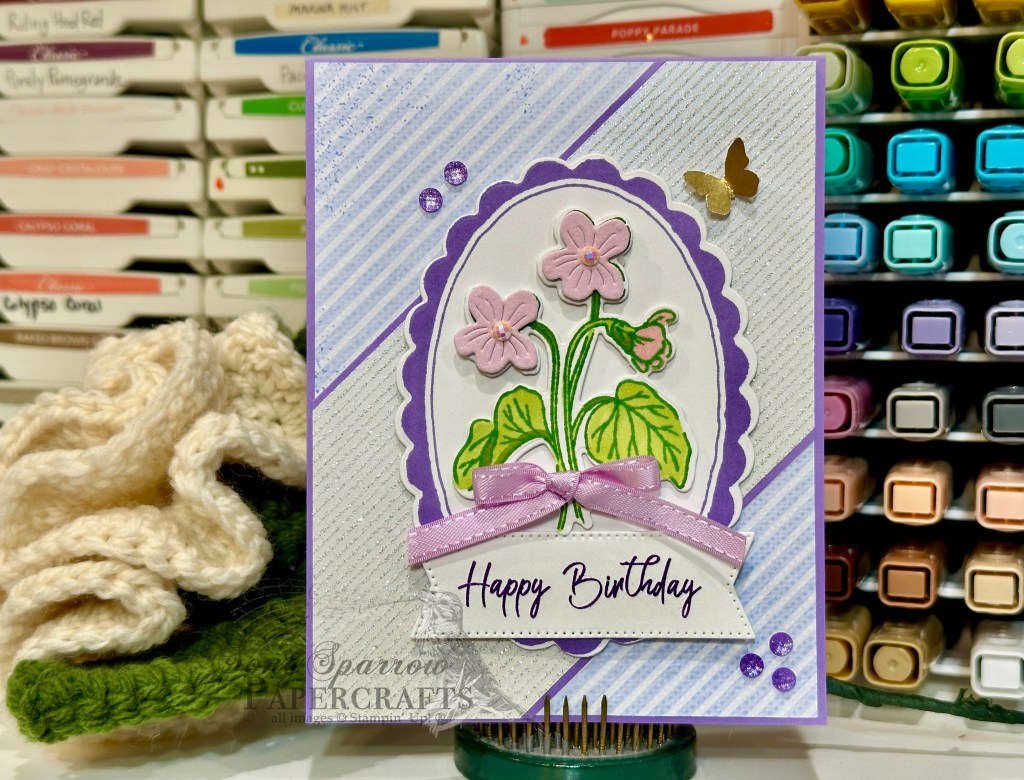
This week we’re getting a sneak peek at the new Violet Dreams suite that will release in just a few weeks. This suite has some gorgeous paper, coordinating specialty paper, a stamp set with coordinating dies, satin ribbon, and gemstone floral embellishments. And for this card, we’re getting a look at almost all of it.

So we get started with a base of Highland Heather cardstock. The background cross-stripe pattern in the background is from the Violet Dreams paper pack and then we use the Shimmering Stripes specialty paper to create a sparkly striped pattern in the center with a little bit of the Highland Heather as a mat. Our focal panel is a combination of images from the Framed Violets stamp set to create our oval frame and violet images and then cut them out with their coordinating dies. Some Granny Apple Green and Pretty in Pink Stampin’ Blends give us the shading on our violet image with a few velveteen pieces for some added texture. We add a bow of Fresh Freesia Satin to finish our violet bouquet. The sentiment from the Rolling Waves stamp set is stamped in Gorgeous Grape on white cardstock and then cut into the banner with the Stylish Shapes dies and affixed under the violet. We finish things off with some pearlized circles and fine purple shimmer gems, along with our little butterfly friend from the Gilded Wings accents pack.

We’ll be finishing up our sneak peek tomorrow. I hope you’ll drop by to see what else this beautiful suite can do!

Products used in today’s design:
Highland Heather, white CS
Violet Dreams, Shimmering Stripes (both releasing in July), velveteen DSP
Framed Violets stamps & dies (releasing in July)
Rolling Waves stamps
Stylish Shapes dies
Fresh Freesia satin ribbon (releasing in July)
Gilded Wings accents (releasing in July)
Stampin’ Blends
Pearlized faceted circles, fine shimmer gems
Dimensionals
Adhesives

Online Exclusives

Happy Violets

Howdy, folks! I’m glad you’ve dropped by. Although it’s still technically spring here in North Texas, it’s certainly starting to ramp up and feel like summer. I’m sure all of our World Cup fans have been lamenting the temps and humidity this week because it’s not been fun even for us natives!

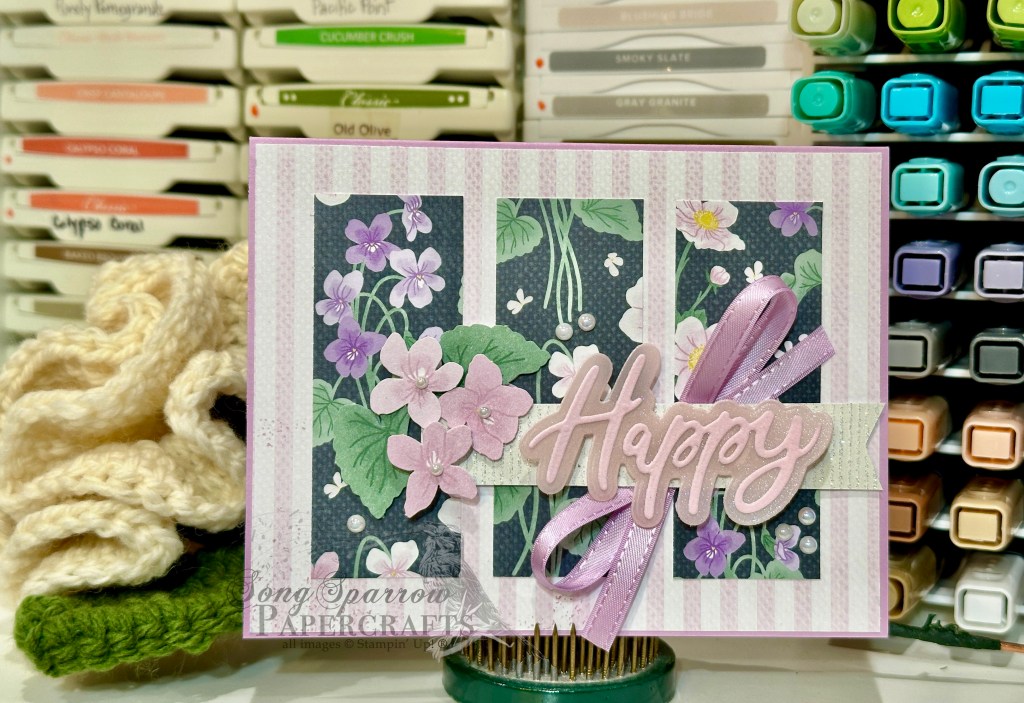
But what IS cool is the new Violet Dreams suite that will release in the latest batch of Stampin’ Up! Online Exclusives in just a few short weeks. And today we’re pairing it up with the Words & Wishes dies to create this lovely mailbox pick-me-up.

We get started with a base of Fresh Freesia cardstock. I chose the subtle striped patterned sheet from the Violet Dreams paper pack as the backdrop for this one. We have some nice contrasting floral patterned paper as our accent strips. The sentiment panel has several elements. First, we have the backdrop of the Shimmering Stripes banner where we start building the sentiment. It’s adhered over a bow of Fresh Freesia satin ribbon using dimensionals. The sentiment itself is cut from a combination of pink shimmer vellum and pink velveteen specialty papers using the Words & Wishes dies. It sits neatly in the center of the bow atop several layers of dimensionals. Then we add some small floral accents from the precut accents sheet included in the Violet Dreams paper pack. Dimensionals give us lots of depth of field with our flowers. We finish things off with some iridescent pearls for some classy sparkle.

I had this post all ready to go last night and then forgot to post it. Oy! So you’ll get a two-for-one special today. *snicker* Later today we’re going to include the coordinating stamps & dies from the Violet Dreams suite. I hope you’ll drop by and check it out.

Products used in today’s design:
Fresh Freesia CS
Violet Dreams, Shimmering Stripes (both releasing in July), shimmer vellum, velveteen DSP
Words & Wishes dies
White & gold ribbon
Fresh Freesia satin ribbon (releasing in July)
Iridescent pearls
Dimensionals
Adhesives

Online Exclusives

Hovering Hello

Howdy, friends! And happy Wednesday. We’re halfway through this week, but it sure feels like it should be Friday already! It’s been a busy one at the office and my tail is just dragging. Ever have weeks like that? Sure felt good to play a little in the craft room this evening though.

And speaking of that, this week we’re going to get a look at some of the new things in my crafty stash that haven’t seen any love yet. And first up, we have a sneak peek at a brand new suite that will launch in just a few short weeks called Violet Dreams. And let me tell you, it is scrumptious! So much beautiful detail in the paper, the stamps, and the dies. You are going to love it!

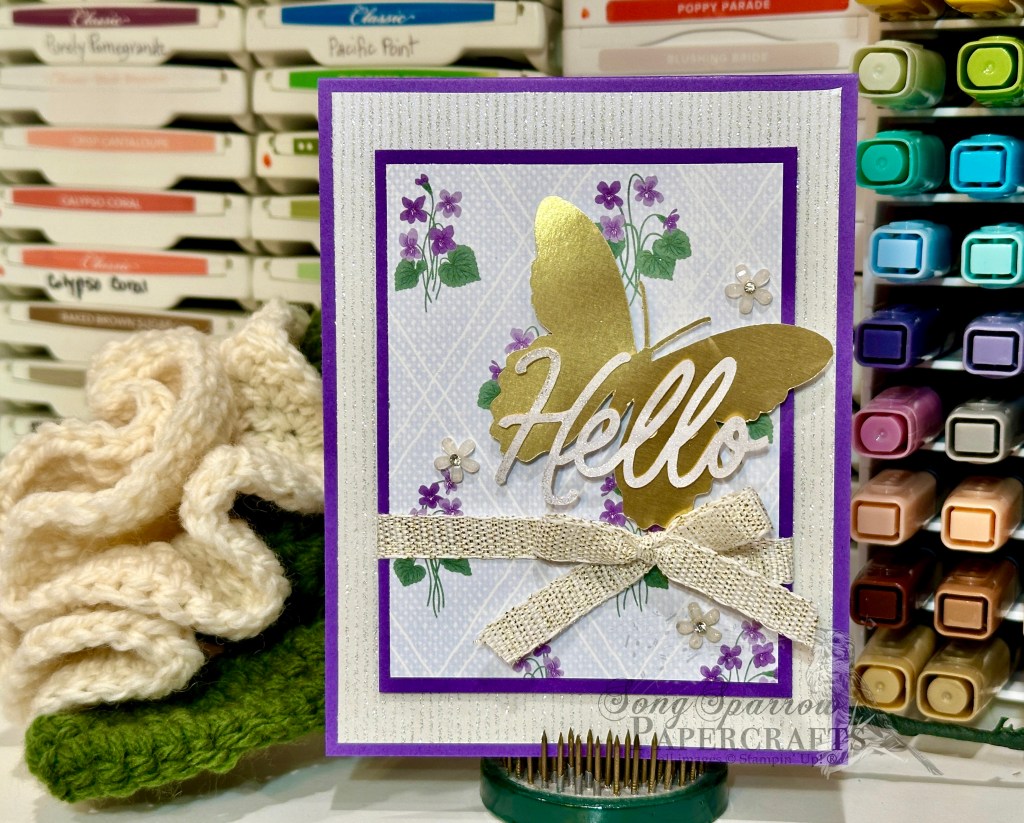
So our sneak peek card gets started with a base of Gorgeous Grape cardstock. Our backdrop is a sheet of the new Shimmering Stripes specialty paper. The focal panel is a sheet of the new Violet Dreams patterned paper on a mat of Gorgeous Grape. I tied a bow of white & gold ribbon around the bottom. The hello sentiment is from the Saying Something ephemera pack and is coated with Wink of Stella to give the perfect amount of twinkle against the beautiful butterfly from the new Gilded Wings butterfly pack. We finish things off with some of the new adhesive blooms from the Violet Dreams suite.

I can’t wait to show you more of this beautiful suite this week. I hope you’ll drop back by to get some more peeks at all of these wonderful goodies!

Products used in today’s design:
Gorgeous Grape CS
Violet Dreams, Shimmering Stripes DSP (both releasing in July)
Saying Something ephemera
Gilded Wings accents (releasing in July)
White & gold ribbon
Adhesive blooms (releasing in July)
Wink of Stella
Dimensionals
Adhesives