Fall

Piles of Blessings

Welcome to a brand new week AND month, crafty friends! This week, we have a new design theme — All About Autumn. And I have all kinds of fun new twists and techniques to show you using a whole host of products from Stampin’ Up! We get started today with the Changing Leaves bundle and the emboss resist watercolor technique.

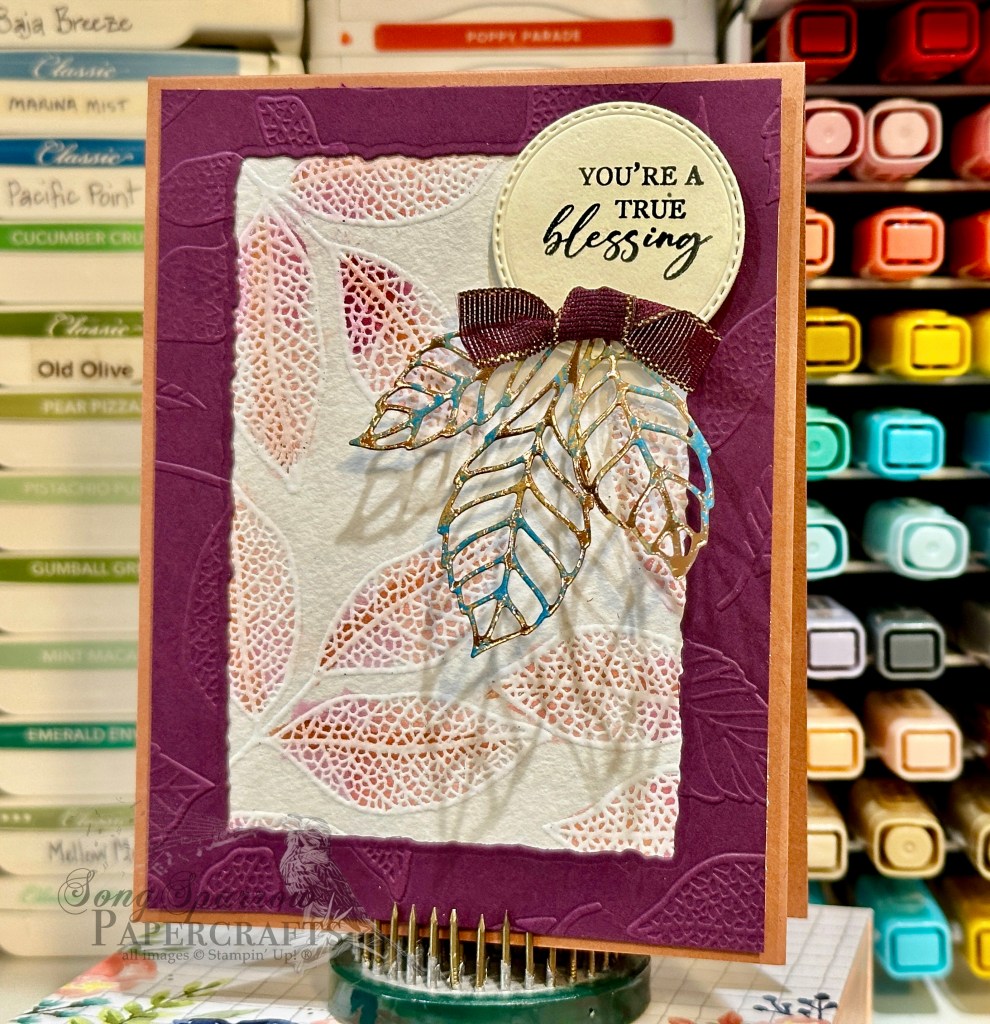
Our card base is Copper Clay cardstock and scored at the top for this portrait orientation design. For our focal panel, we start with a panel of watercolor paper. I stamped the largest leaf from Changing Leaves and heat embossed with white embossing powder. Using the water color painter, I used a combination of Blackberry Bliss, Copper Clay, and Flirty Flamingo ink to watercolor the leaves. The focal panel is then matted with a frame of Blackberry Bliss that has been embossed with the Changing Leaves embossing folder and the center portion is cut out using the Deckled Rectangles dies to make the frame. The framed panel is then mounted to the card base with dimensionals. The sentiment from Unbounded Love is stamped in black on Very Vanilla cardstock and then diecut with the decorative circle from Changing Leaves. The leaves are cut from Pretty Peacock Oxidized Copper paper using the elm leaves from the Changing Leaves die set. A twist of Blackberry Bliss & Gold textured ribbon is adhered over the leaves at the bottom of the sentiment panel using glue dots. The sentiment panel is adhered to the focal panel with dimensionals.

I just love the emboss resist technique and need to remember to incorporate it more into card designs. There are so many different applications and effects that can be achieved with this one technique!

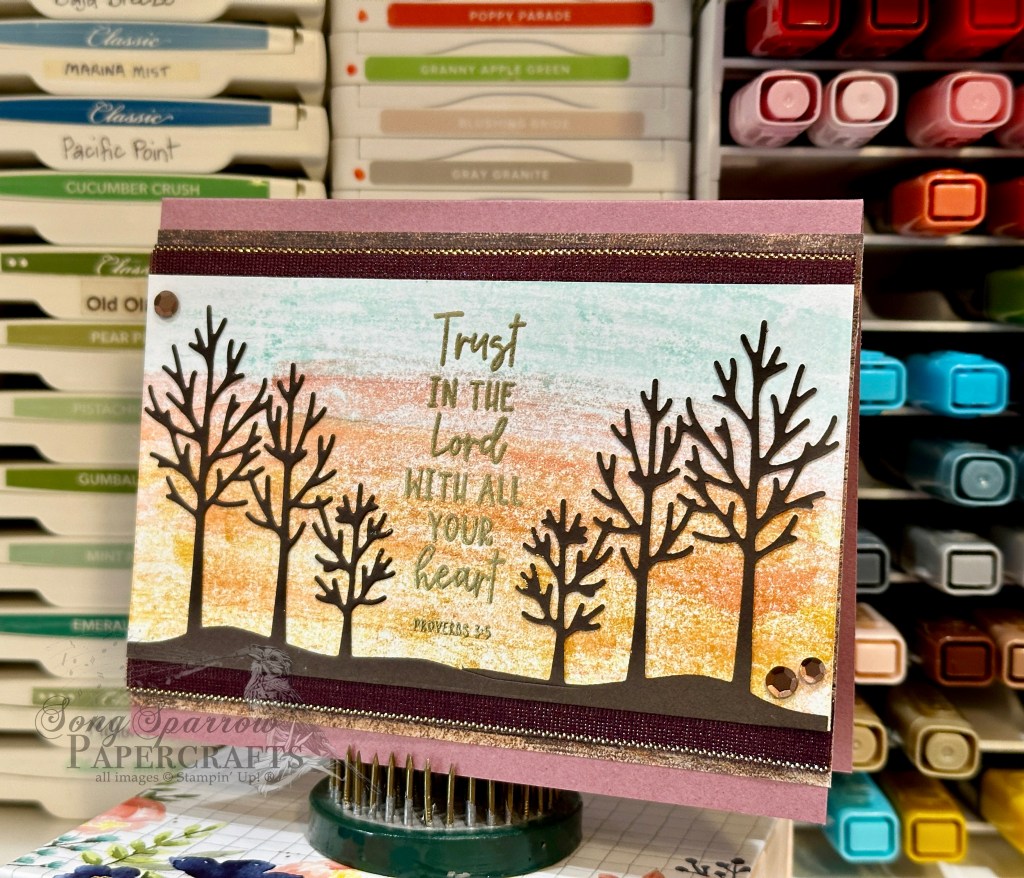
Tune in tomorrow as we get a second look at the very cool Stampin’ Blends acetate rub technique.

Products used in today’s card:
Copper Clay, Blackberry Bliss, Very Vanilla cardstock
Oxidized Copper, watercolor SP
Changing Leaves bundle
Unbounded Love stamps
Deckled Rectanges dies
White embossing powder
Blackberry Bliss & Gold textured ribbon (coming tomorrow!)
Dimensionals
Adhesives

Product List
Frosted Forest

Trust in the Lord

We’re closing out the month of August and our week of In the Woods card designs. I’m still reeling over the fact that today is the last day of August! But I suppose I shouldn’t be surprised since the temps here in North Texas certainly reflect the usual magma-level heat we’re accustomed to in late August.

Today, we’re trekking through the woods at dusk. We’re pairing up the Frosted Forest dies with a fun new Stampin’ Blends background technique. This card was inspired by a recent Stampin’ Up! Artisan (@thecraftyoinkpen) spotlight on Frosted Forest. And I decided I wanted to create my own dusky background using Stampin’ Blends to finish up my projects for a current Luv 2 Stamp Group team challenge. So let’s see how this all comes together.

We get started with a base of Moody Mauve cardstock. Our focal panel is a piece of white cardstock that has been “painted” with Stampin’ Blends using an acetate rub technique. I used a combination of Daffodil Delight, Calypso Coral, and Pool Party Stampin’ Blends to create the dusky background. I’ll be sharing more on this Stampin’ Blend acetate rub technique in the next episode of Terrific Tuesdays, so be sure you tune in this coming week to learn all about it! I created a continuous panel of trees from Early Espresso cardstock using the die from the Frosted Forest die set and the extension method and then adhered it to the blended panel using a fine tip glue pen. The sentiment from Courage & Faith is heat embossed in gold between the two groves of trees. The focal panel is matted with Blackberry Bliss & Gold textured ribbon and the darker woodgrain panel from the Country Woods designer paper pack and adhered to the card front with dimensionals. For a little extra twinkle, I added some brown sequins in opposing corners.

Isn’t this just a beautiful backdrop for the trees? I just love this new background technique and can’t wait to tell you all about it on Tuesday! Speaking of which, next week is All About Autumn. I hope you’ll stop in each day to see how we’re putting some of the new items from the Holiday Mini Catalog to a unique use for our design theme!

Products used in today’s card:
Moody Mauve, Early Espresso, Basic White cardstock
Country Woods DSP
Courage & Faith stamps
Frosted Forest dies
Gold embossing powder
Blackberry Bliss & Gold textured ribbon (coming soon!)
Neutrals sequins
Dimensionals
Adhesives

Product List
Terrific Tuesdays · Winter

Warm Feelings

We’re continuing our trek through the woods today with a fun new-to-me card technique called a fractured card design. I’ve seen this card layout featured a number of times in my inspiration searches but, honestly, thought it was going to be too difficult to learn and so I passed it by. But I decided to do a little more research on fractured card designs and do you want to know what I discovered? It’s probably the easiest “hard” card you’ll ever learn! Let’s take a look and you’ll see what I mean.

What I love about this particular card layout is that it’s a great way to showcase designer series paper patterns. And there are all kinds of variations that make this card layout easy to adapt to any patterned paper and keep your cards interesting even when using the same patterns multiple times.

For today’s card, we get started with a base of Blueberry Bushel cardstock. I used white cardstock as the backing for the fractured panel. I chose to showcase the Winter Meadow designer series paper and chose two coordinating patterns. Silver serves as a nice compliment to the wintery feel and a terrific sparkly backdrop. Pretty Peacock serves as our fracture strips and draws out the predominant color in our patterned paper pieces. The sentiment from the new Peaceful Season stamp set is stamped in Blueberry Bushel and then diecut on the diagonal using the Perennial Postage die. A faux bow of silver ribbon and few iridescent faceted gems draw the eye front and center to the sentiment.

Want to know how to make today’s card step-by-step? You can catch this week’s of episode of Terrific Tuesdays to see a fractured card design come together from start to finish and see first-hand how versatile this design can be. I’ve also provided a FREE PDF tutorial here. Please note that some of the products shown will not be available until September 4th.

Products used in today’s card:
Blueberry Bushel, Pretty Peacock, Basic White cardstock
Winter Meadow, silver foil DSP
Peaceful Season stamps (coming soon!)
Perennial Postage dies
Silver trim
Iridescent faceted gems
Dimensionals
Adhesives

Product List