Fall · Fun Folds

Fabulous Friend

It’s really beginning to feel and look like fall here in Texas. Fall is my favorite season. At its peak, the main street to our house is lined with trees that look like fire. I try to run errands often once the trees begin to turn just to be able to watch the progression and transformation into a street lined with the beautiful colors of a warm fire.

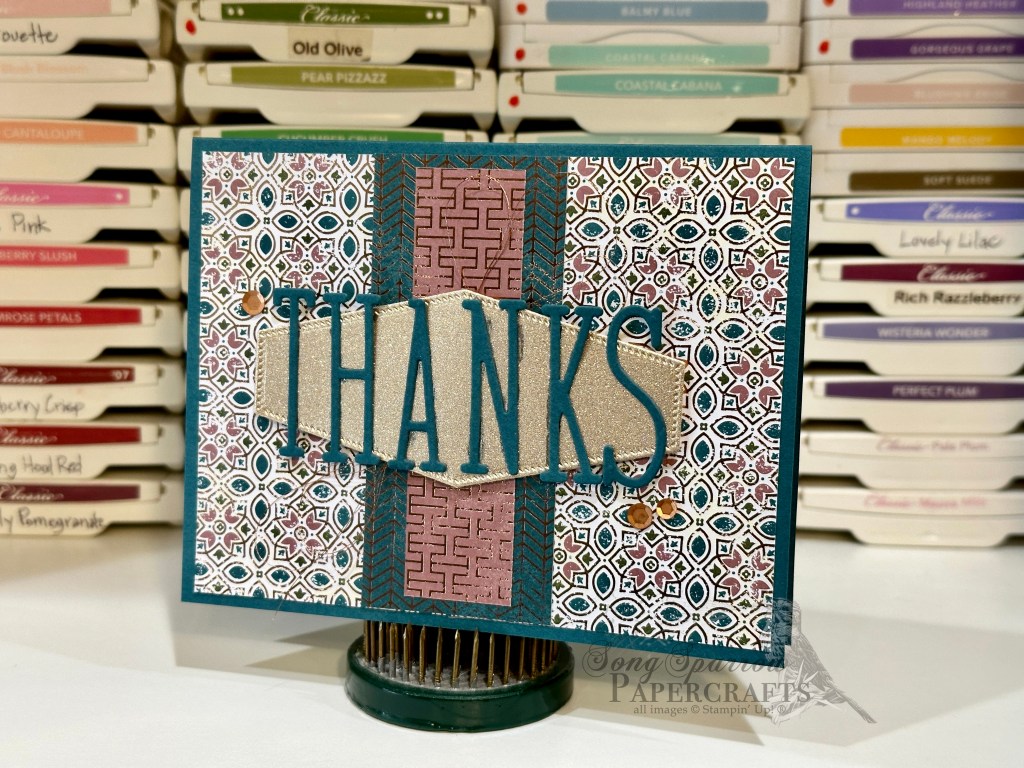
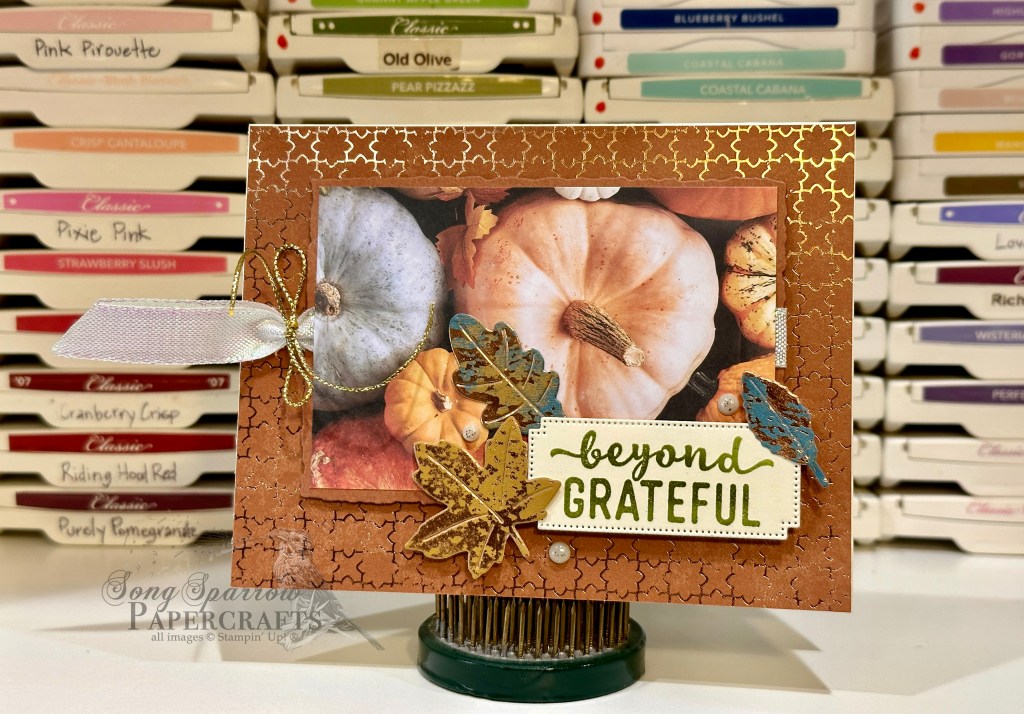
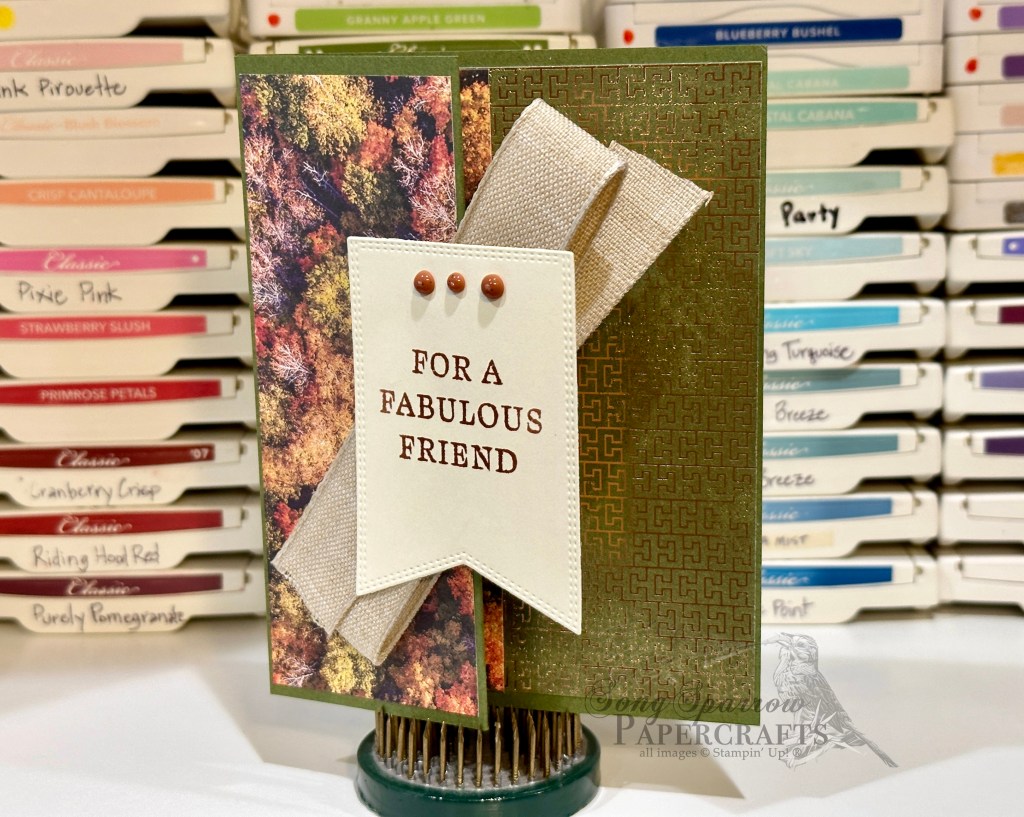
And that brings us to today’s design which uses the beautiful All About Autumn designer paper. It has been so popular that it sells out as quickly as Stampin’ Up! can restock the shelves. I was lucky enough to get a sampling and just this week snagged a whole pack!

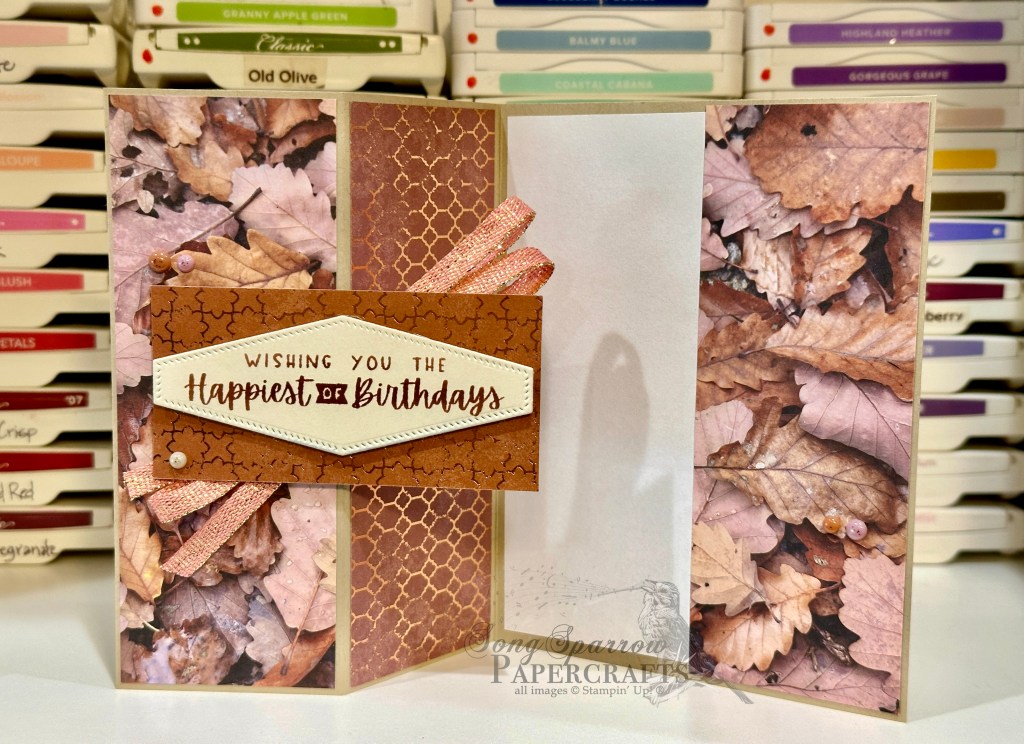
The card base for today’s card is Mossy Meadow cardstock. The fun fold design begins with the single Z-fold. (Hop over here for a PDF tutorial.) I selected the beautiful grove of trees and the foiled side of the limbs of leaves sheets of DSP. The grove of trees pattern is cut into 2-inch strips and adhered on the left of the outside and inside panels. The foiled sheet is approximately 3 inches wide to allow some overlap with the tree pattern. The inside sentiment from Heartfelt Hexagon is stamped on a 2-inch strip of white paper and the panel is adhered in the center on the left side of the center card fold (at 4 1/4 inches).

The outside sentiment from Bold Bouquet is stamped on a Very Vanilla banner diecut using the Nested Essentials dies. A strip of natural finish ribbon is layered behind the sentiment panel and adhered to the outside tree panel. Because I wanted a large focal point on the front of the card, the z-fold must be modified to a half-barn fold by adhering the two smaller panels together to ensure the sentiment and message panel inside the card are visible and accessible. And I absolutely love the result! If you want to see the evolution of this design, hop on over to Instagram to catch the reel.

TIPS for this design: 1) you can turn a one-line sentiment into a block using a simple masking technique. I inked each word individually and covered the inky words I didn’t want to stamp using a piece a masking tape; 2) you can keep a ribbon in place using staples.

Products used:
Mossy Meadow, Very Vanilla cardstock
All About Autumn DSP
Bold Bouquet, Heartfelt Hexagon stamps
Nested Essentials dies
Adhesive-backed speckled dots
Natural finish ribbon
Adhesives

All ads on this site are posted by WordPress and are based on your personal browsing history. I do not control ad content.

Clean and Simple

Better with You

The Country Floral Lane designer paper is so fun to work with. When I saw the sheet of patterned paper used in today’s card design, I knew it needed to become an encouragement card.

A sheet of Blushing Bride cardstock serves as the card base. I used the Playing in the Rain stamps for the sentiment and focal image. The adorable turtle holding the flower is the perfect complement to this designer paper. The sentiment panel base is diecut from Calypso Coral using the Nested Essentials dies. The sentiment is stamped on the panel using the Playing in the Rain stamps. I stamped the turtle in black ink on white cardstock and colored with the Stampin’ Blends markers. Then it’s diecut using the coordinating Playing in the Rain dies and adhered directly to the panel. The panel and turtle are elevated with dimensionals. A few fine sparkle gems add a little touch of twinkle to the design and just that little bloop of happiness.

Products used:
Blushing Bride (retired), Calpypso Coral, white cardstock
Country Floral Lane DSP (retired)
Playing in the Rain stamps & dies
Nested Essentials dies
Fine sparkle gems
Stampin’ Blends markers
Dimensionals
Adhesives

All ads on this site are posted by WordPress and are based on your personal browsing history. I do not control ad content.

Clean and Simple

Riding in With Thanks

Today’s design features another pattern from the Country Floral Lane designer series paper. All of the designs in this paper pack are fun and happy and lend themselves well to all sorts of occasions — even thinking of you or encouragement cards. In this case, I designed a thank-you card to send to my upline for all of her help with a recent craft fair.

The bicycle design works great for this cute peek-a-boo fun fold design. I started with a base of Blushing Bride cardstock and cut 1″ from the bottom of the front panel to give the peek-through to the bottom of the base panel. To achieve the peek-through with the paper, I separated the designer paper between the bicycle and floral patterns and then adhered the strip of floral pattern to the bottom of the message panel inside the card so that it shows through when the card is closed. The sentiment is stamped on white using the Heartfelt Hexagon and Circle Sayings stamp sets. The sentiment panel is popped up on dimensionsals and is the visual center of the card front. A few sequins add some sparkle and draw the eye to the sentiment. Simple but so cute! Don’t you think?

This is such a fun design and can easily be adapted to use any product you have on hand. If you wanna give a peek-through card a try, feel free to download the PDF tutorial here.

Products used:
Blushing Bride (retired), white cardstock
Country Floral Lane DSP (retired)
Circle Sayings, Heartfelt Hexagon stamps
Heartfelt Hexagon punch
Adhesive-backed sequins
Dimensionals
Adhesives

All ads on this site are posted by WordPress and are based on your personal browsing history. I do not control ad content.

Clean and Simple

Day Filled with Joy

I recently received a big box of happy mail (AKA new supplies), which included a lovely set of retired designer paper called Country Floral Lane. I love how the floral designs remind me of my grandmother’s house. She had a thing for floral wallpaper, and I remember many a summer where we changed out wallpaper to the latest and greatest design.

The card base of Lost Lagoon does a nice job of pulling the leaves and smaller greenery elements of the designer paper forward so they’re not lost in the floral pattern. The sentiment is heat embossed in gold on vellum and mounted on a Calypso Coral mat. The entire sentiment panel is diecut using two of the Deckled Rectangle dies. The sparkle gems and metallic ribbon add some visual interest to the design and walk the eye across the card design. This card just makes me happy with its light and bright color palette and fun patterned paper.

Products used:
Lost Lagoon, Calypso Coral, vellum cardstock
Country Floral Lane DSP
Heartfelt Hexagon stamps
Deckled Rectangles
Gold embossing powder
Metallic Flirty Flamingo ribbon
Fine sparkle gems
Dimensionals
Adhesives

All ads on this site are posted by WordPress and are based on your personal browsing history. I do not control ad content.

World Card Making Day

Sending a Happy Birthday

We made three cards together during the Stampin’ Up! World Card Making Day event, and today I’m sharing the third and final design. If you were crafting along live, you may be thinking, “hey, this doesn’t look at all familiar!” And you would be right. To be honest, I wasn’t a fan of the original design, so I spiced things up a little bit.

The card base is a sheet of Lemon Lolly cardstock. I elected to make my own background using Daffodil Delight andthe focal image stamp from the Circle Sayings stamp set. The center sentiment panel is comprised of several layers. The base is a punched circle and sentiment from Circle Sayings stamped in Daffodil Delight. This circle is cut in half and then set aside. The focal sentiment is stamped in Blueberry Bushel on a circle punched from white cardstock. I spaced the yellow half-circles in the center and so that they were equidistant from the card edges and adhered the white circle between them to make a continuous panel. To make the center banner sentiment, score a piece of Azure Afternoon cardstock at 1″, 1 1/2″, 4″ and 4 1/2″, fold on the score marks, and then snip a triangle to make each of the banner ends. The sentiment is stamped in Blueberry Bushel. I stamped the cupcake image in black, colored with Stampin’ Blends, fussy cut it, and then adhered on the banner next to the sentiment. Tinsel gems were added for some sparkle and to help direct the eye across the design to the sentiment.

Products used:
Lemon Lolly, Azure Afternoon, white cardstock
Circle Sayings stamps
Circle punch
Tinsel gems
Dimensionsals
Adhesives

All ads on this site are posted by WordPress and are based on your personal browsing history. I do not control ad content.

World Card Making Day

Stack of Cake

Today we’re taking a look at another one of the card designs I made during Stampin’ Up!’s World Card Making Day craft-along event. Did you attend? You can still catch it on replay if you want to join in on the fun!

This segment of the event was a lot of fun because I was reminded how you can alter a punch shape by pulling the paper through in order to punch one end at a time. I can never seem to remember that trick when I need it! Does that ever happen to you? This design is simple and requires a few shades of cardstock and the Heartfelt Hexagon stamp and punch bundle.

The card base is Basic White cardstock, as is each of the hexagon bases. The top and bottom hexagons are half of one punched hexagon. The colored elements are half of a hexagon. The center hexagon base uses the pull-through technique to elongate the hexagon shape to allow for the larger sentiment and the colored cardstock element. The hexagons are layered in a straight line up the center of the card with the center sentiment being popped up on dimensionals to really draw the eye. I love this eye-catching, yet simple, design. What do you think?

Products used:
Basic White, Berry Burst, Granny Apple Green, Bubble Bath, Azure Afternoon, Lemon Lolly cardstock
Heartfelt Hexagon stamps and punch
Lemon Lime twist ribbon
Tinsel gems
Dimensionals
Adhesives

All ads on this site are posted by WordPress and are based on your personal browsing history. I do not control ad content.

World Card Making Day

Bushel of Thanks

Did any of you attend the World Card Making Day event sponsored by Stampin’ Up!? The virtual event was a lot of fun, and if you didn’t catch it live when it aired several weeks ago, you can go back and watch it and craft along on the replay. I highly recommend it!

Even when you don’t have all of the supplies for a craft-along, you can still turn out gorgeous cards by using some of the techniques showcased during a crafting event. That’s the case with today’s card. This design is based on one of the card designs made during the WCMD event. I didn’t have the bundle of stamps and dies that were used in the demo design, so I elected to substitute some similar-looking dies and stamps that I already had on hand. This design was fun because it incorporated some ink smearing and watercoloring techniques that I’ve seen before but never think of when I’m looking for that “something different” look.

Blueberry Bushel cardstock serves as the base for this card design. On a sheet of watercolor paper, I swiped my Blueberry Bushel inkpad across one portion. It doesn’t have to be even and, in fact, looks better if it’s not. Dry the ink using a heat gun. Diecut three elongated hexagons from watercolor paper using the Nested Essentials dies. Two of those should be from the section of inked paper once it’s dry. The plain hexagon will serve as the sentiment panel. I chose a sentiment from the Charming Sentiments stamp set and stamped it in Blueberry Bushel in the center. I stamped two of the larger and less-detailed greenery images from the Magical Meadow stamp set in Old Olive onto watercolor paper. With a watercolor blending brush, I went over the image to give it a smudged, watercolored look and then diecut using the coordinating dies. I went over the shapes again with Wink of Stella to add sparkle. I adhered the hexagons in a staggered pattern across the card front using dimensionals, ensuring that the sentiment panel would be higher than the blue hexagons to help it stand out and allow the greenery tucked behind the sentiment panel to hover above the blue accents. The tinsel gems help the eye move across the design and give another layer of sparkle.

Products used:
Blueberry Bushel cardstock
Watercolor paper
Charming Sentiments, Magical Meadow stamps
Nested Essentials, Magical Meadow dies
Tinsel gems
Dimensionals
Adhesives

All ads on this site are posted by WordPress and are based on your personal browsing history. I do not control ad content.

Fall

Thankful

Are you a paper scrap saver or chunker? I just can’t bring myself to throw away perfectly good scraps of (expensive) paper. When I need to diecut smaller elements, I prefer to dig through and use my paper scraps rather than cutting a new sheet, unless that’s my only option. And today’s design is a perfect showcase of paper scraps.

I had two scraps of foiled All About Autumn designer paper that I wanted to use — one Pretty Peacock and one Moody Mauve. I thumbed through the All About Autumn pack and found the foiled mosaic that coordinated perfectly. So I started the design with a base of Pretty Peacock to provide a solid, earthy anchor for the busy foiled patterns of the selected designer papers. I wanted to pull the gold elements from the mosaic sheet and decided to diecut gold glimmer paper using the Nested Essentials dies. Rather than stamping a sentiment on this panel, I opted to diecut the word THANKS using the Alphabet a la Mode dies from a scrap of Pretty Peacock to tie all of the card elements together. The sentiment panel is adhered using dimensionals. The twist of copper twine and scatter of copper sequins add additional visual interest and sparkle and tie all of the card elements together for a more cohesive look throughout the design.

Products used:
Pretty Peacock, glimmer gold cardstock
All About Autumn DSP
Nested Essential, Alphabet a la Mode dies
Adhesive-backed sequins
Copper twine (retired)
Dimensionals
Adhesives

All ads on this site are posted by WordPress and are based on your personal browsing history. I do not control ad content.

Fall

Fall-ever Grateful

We recently had a virtual team stamping event. It was so fun to get to stamp together with team members who are scattered across North America. The beauty of that event was getting to play with some product that I don’t currently have in my own stash of products. After working with the Autumn Leaves dies, I just might have to change that though!

This design helps showcase the beauty of the autumn products on page 43 of the current Stampin’ Up! Holiday Mini catalog. This card sits atop a base of Very Vanilla. The card face sits atop a sheet of Copper Clay foiled designer paper from the All About Autumn paper pack. The focal image is mounted on a panel diecut from Copper Clay using the Deckled Rectangles dies. The iridescent ribbon is mounted between the Copper Clay mat and focal image sheet and tied using gold cord. The sentiment panel is diecut from Very Vanilla cardstock using the Autumn Leaves dies. The sentiment is stamped with Charming Sentiments in the center using Old Olive. The leaves are diecut from Oxidized Copper designer paper using the Autumn Leaves dies. (Check out the details in those leaves! Even more stunning in person!) The entire center panel sits atop dimensionals which really allows it to shine.

Products used:
Very Vanilla, Copper Clay cardstock
All About Autumn, Oxidized Copper DSP
Charming Sentiments stamps
Autumn Leaves dies
Adhesive-backed speckled dots
Iridescent ribbon
Gold cord
Dimensionals
Adhesives

All ads on this site are posted by WordPress and are based on your personal browsing history. I do not control ad content.

birthday · Fall

Falling for Birthdays

The All About Autumn designer series paper is another line that lends itself really well to a variety of fun fold designs. This pack of paper is full of stunning designs with one side of the sheet being fall-themed, full-color photographs and the other side showcasing gorgeous foil designs. The paper is so popular that it sells out quickly each time it comes back in stock, so you can’t hesitate to swipe it when you see it or else it’s usually gone on backorder again when you go back to the online store!

For this design, I wanted to create a card that you would be perfect for any recipient and selected elements that would draw out all of the finer details of the papers. The single-Z fun fold is perfect way to spice things up and create more visual interest and drama. The card base is a sheet of Crumb Cake cardstock, which helps draw out the lighter brown elements of the leaves in the sheet of DSP that serves as the card front. The sentiment panel is diecut from Very Vanilla cardstock using the Nested Essentials dies and stamped with the Charming Sentiments stamp in Copper Clay. A sheet of foiled Copper Clay provides a good base for the sentiment. Adding some dimensionals under the sentiment panel, along with the metallic Flirty Flamingo ribbon, allows it to pop against the busier background. The ribbon also draws out the orange and gold elements of the leaves. The inside of the card holds a small panel of foiled Copper Clay and a small sentiment panel.

I can think of so many of my friends with upcoming birthdays for whom this design would be perfect. What about you?

Products used:
Mossy Meadow, Very Vanilla cardstock
All About Autumn DSP
Charming Sentiments stamps
Nested Essential dies
Adhesive-backed speckled dots
Metallic Flirty Flamingo ribbon
Dimensionals
Adhesives

All ads on this site are posted by WordPress and are based on your personal browsing history. I do not control ad content.