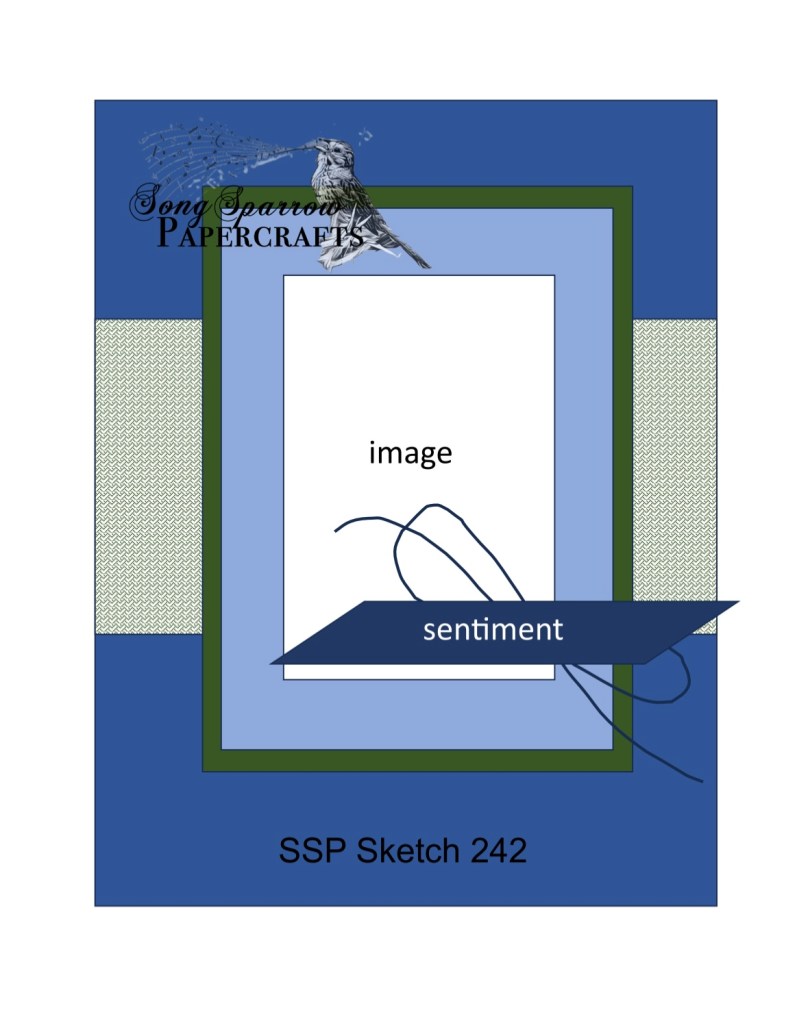
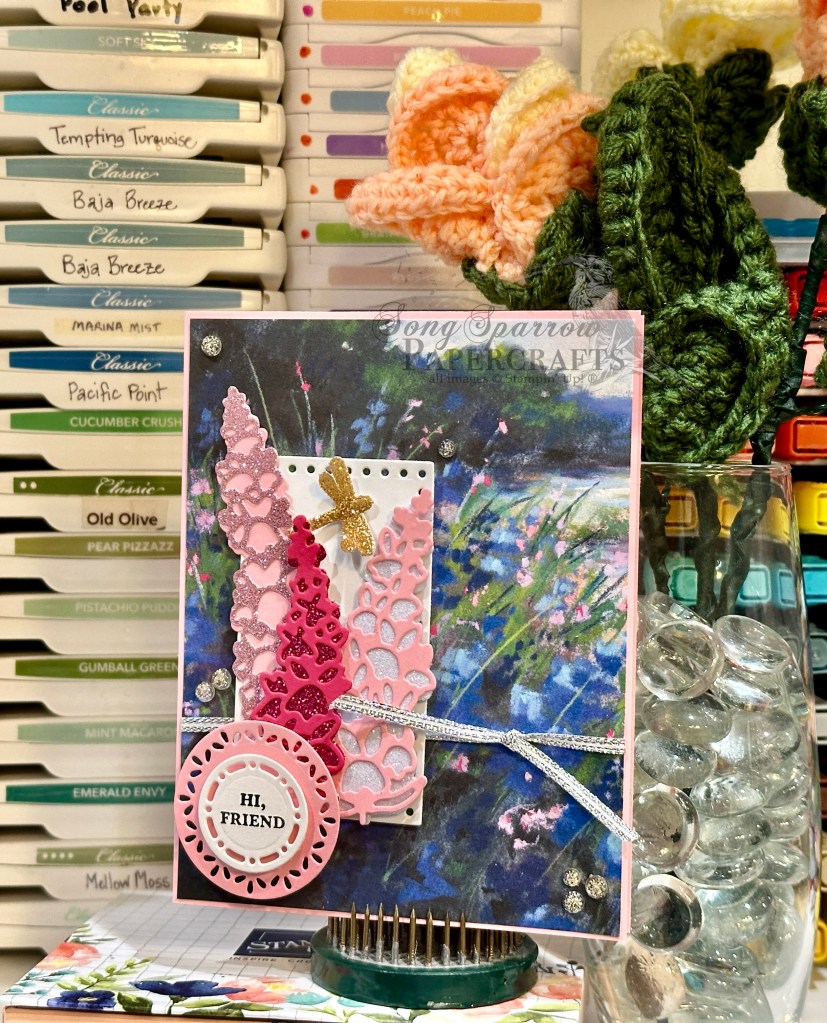
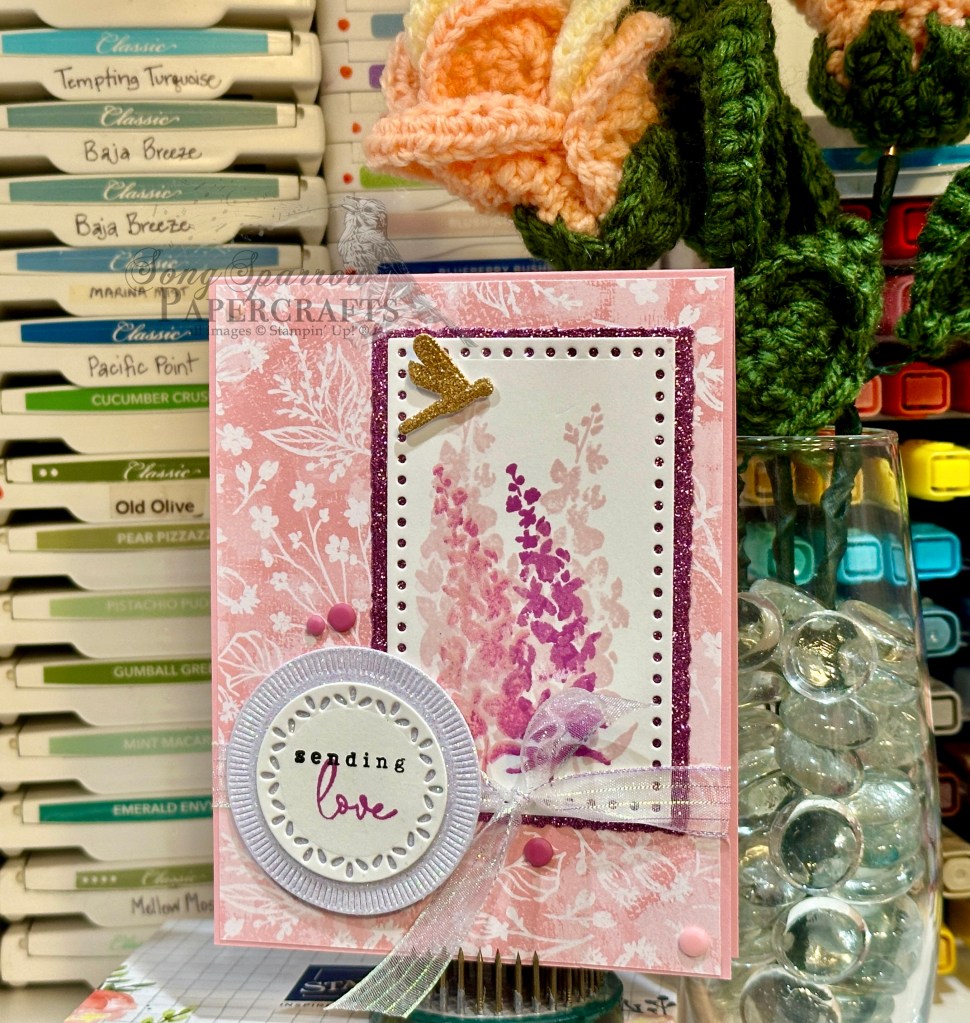
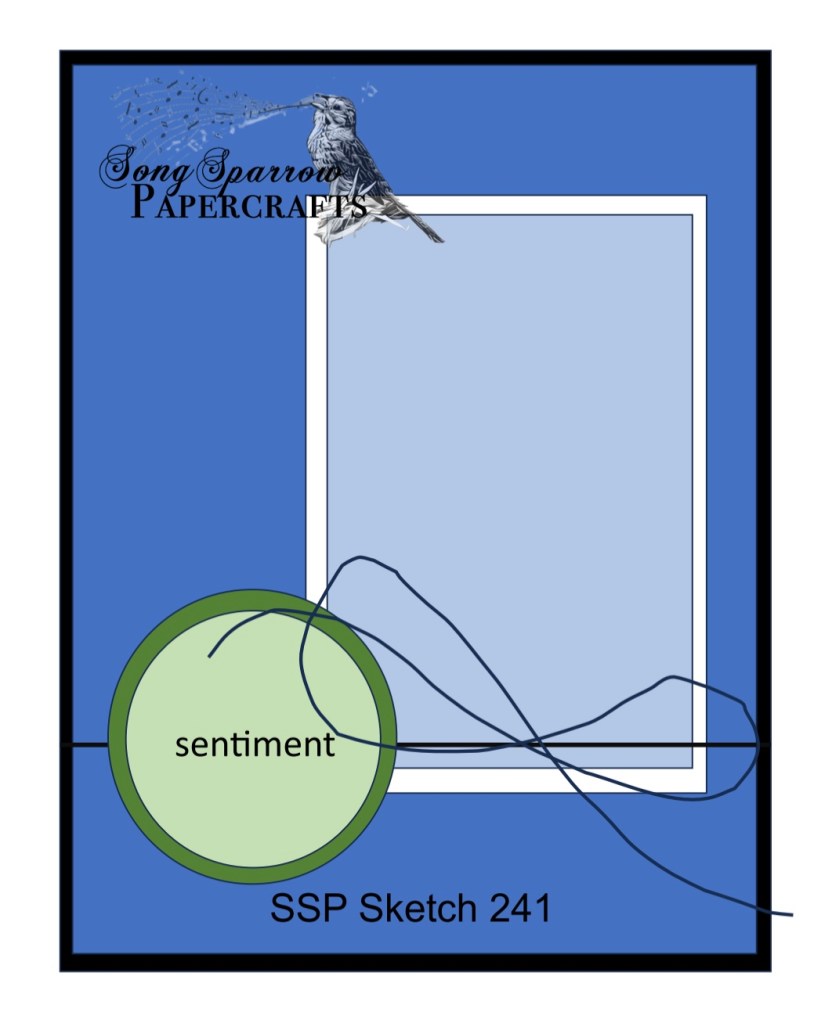
We’re rounding out our week of designs using the Stampin’ Up! Inspiring Snapdragons bundle, which includes coordinating cling stamps and dies. Today, we have a clean and simple design that was inspired by a sketch from my sketchbook.
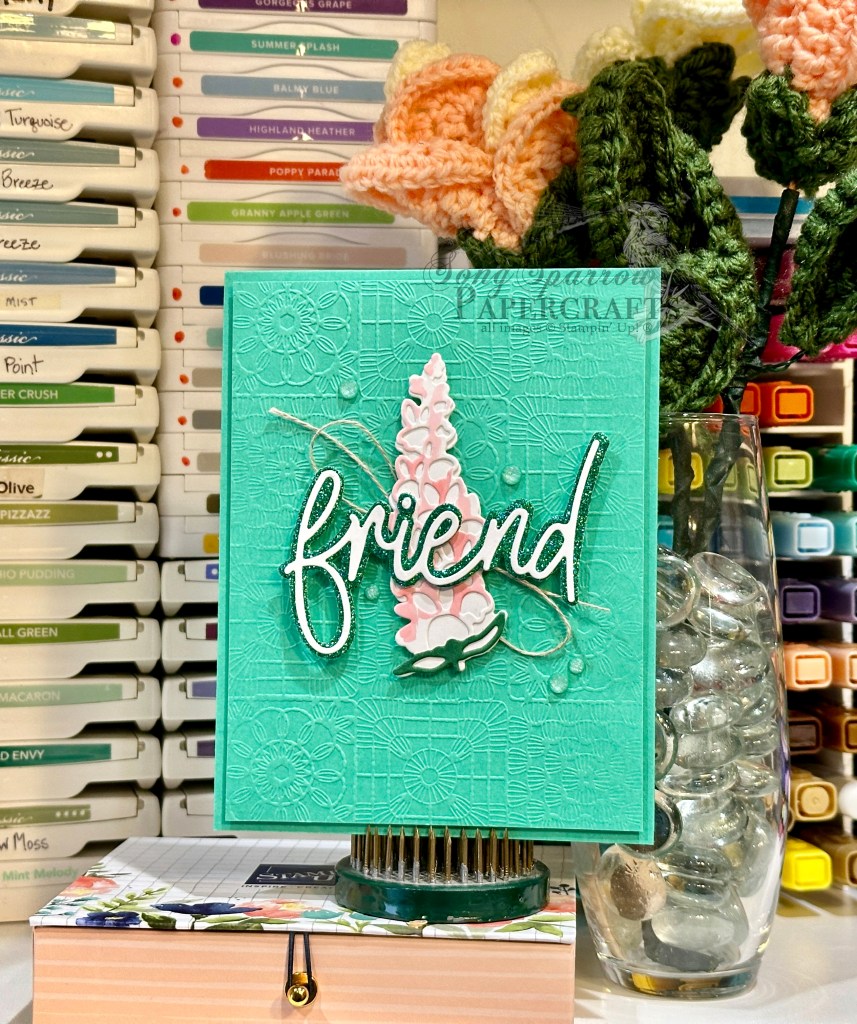
We get started with a base of Shy Shamrock cardstock. I also cut a quarter-sheet of Shy Shamrock and then embossed using the Cute Crochet embossing folder. The embossed quarter panel is then trimmed down to be 1/4-inch smaller than the standard card front. The panel is adhered to the card front using dimensionals. I next diecut the middle-sized snapdragon from white cardstock using the Inspiring Snapdragons dies. Using Pretty in Pink and Shaded Spruce Stampin’ Blends, I colored the decorative layer of the snapdragon. I used a glue pen to apply adhesive to the decorative layer and adhere it to the snapdragon base. The sentiment is diecut from Shy Shamrock glimmer paper and Basic White cardstock using the Friends for Life dies. I used a glue pen to apply adhesive and adhere to the two sentiment layers together.
To assemble the focal section of the card, I began with a glue dot in the center of the card. I cut linen thread and made a decorative faux bow and used the glue dot to hold it in place. Using dimensionals, I next adhered the snapdragon over the linen thread and then the sentiment over the snapdragon blossom. To ensure the sentiment stands above everything else, the dimensional layer is doubled. I finished things off with a scattering of Shy Shamrock shimmer gems.
I really love this card design because it’s super simple to make and replicate quickly, but it looks like a million bucks. If you have other sentiment diecuts in your stash, you could easily substitute a different one for a multitude of occasions.
Next week, we’ll be focusing on the Friends for Life bundle. I hope you’ll pop in and see how many different ways we can use this fabulous bundle!
Products used in today’s design:
Shy Shamrock, Basic White cardstock
In Color glimmer paper
Inspiring Snapdragons, Friends for Life dies
Cute Crochet embossing folder
Stampin’ Blends
In Color shimmer gems
Linen thread
Dimensionals
Adhesives