Holidays

Take Love to the Skies

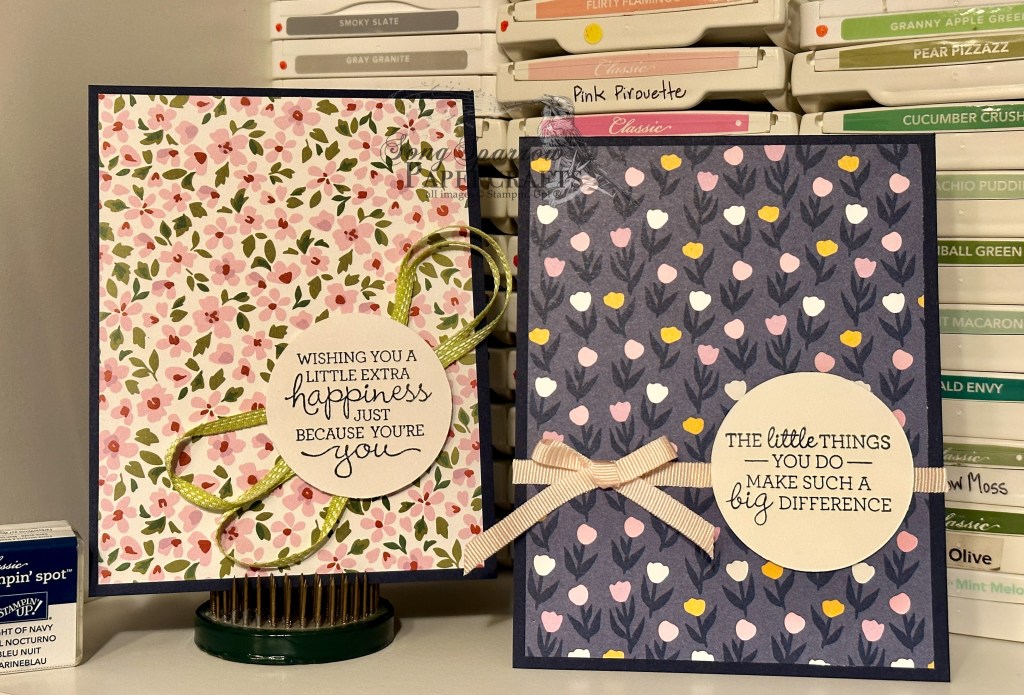
This week, we’ve been looking through our crafty stash at products to pair together to make cards for our special Valentines, creating everything from more traditional to very whimsical designs. And to me, that’s the beauty of paper crafting – having the ability to adapt each design to the intended recipient.

Today, we’re closing out our Valentines series with a very whimsical design that pairs together some unexpected products. Our plane from Adventurous Sky is flying in with a very special message across a lovely afternoon sky from the Everyday Skies designer series paper pack over a sleepy little town from the Yuletide Village. While this design requires some fussy cutting with our paper snips, none of the images are terribly difficult to cut around and the detailed cutting is what really makes this design soar!

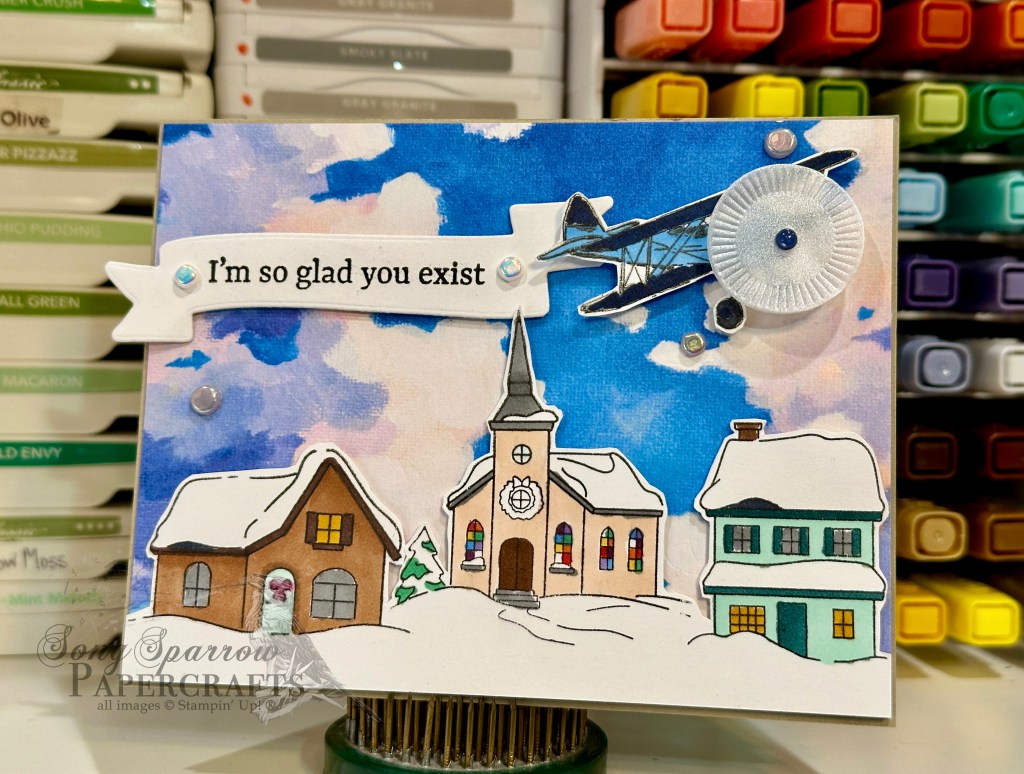
We get started with a base of Gray Granite cardstock. Our background panel is a sheet of the Everyday Skies paper. I stamped 3 of the 4 buildings from the Yuletide Village stamp set onto white cardstock, colored each with Stampin’ Blends, and then cut around the scene and adhered to the background with dimensionals. I stamped the medium-sized plane from the Adventurous Sky set onto white cardstock using the transfer method, colored with Stampin’ Blends, and then cut around it with my paper snips. I added a circle of some older luster vellum to give the illusion that the propeller is moving, using a navy regal dot as the hub. The sentiment from Saying Hey is stamped on white cardstock cut using the Mixed Labels banner die. The plane and banner are adhered in the sky above the village using varying layers of dimensionals. Some riverside irregular pearls finish off our scene with just a small pop of sparkle.

I really loved the unconventional combination of products as we often forget that our sets that we might consider to be holiday can be used across different times of the year if we make small modifications here and there. The beauty of Yuletide Village is that there are so many areas that remain snow-covered for Valentine’s Day, so how perfect is that?!

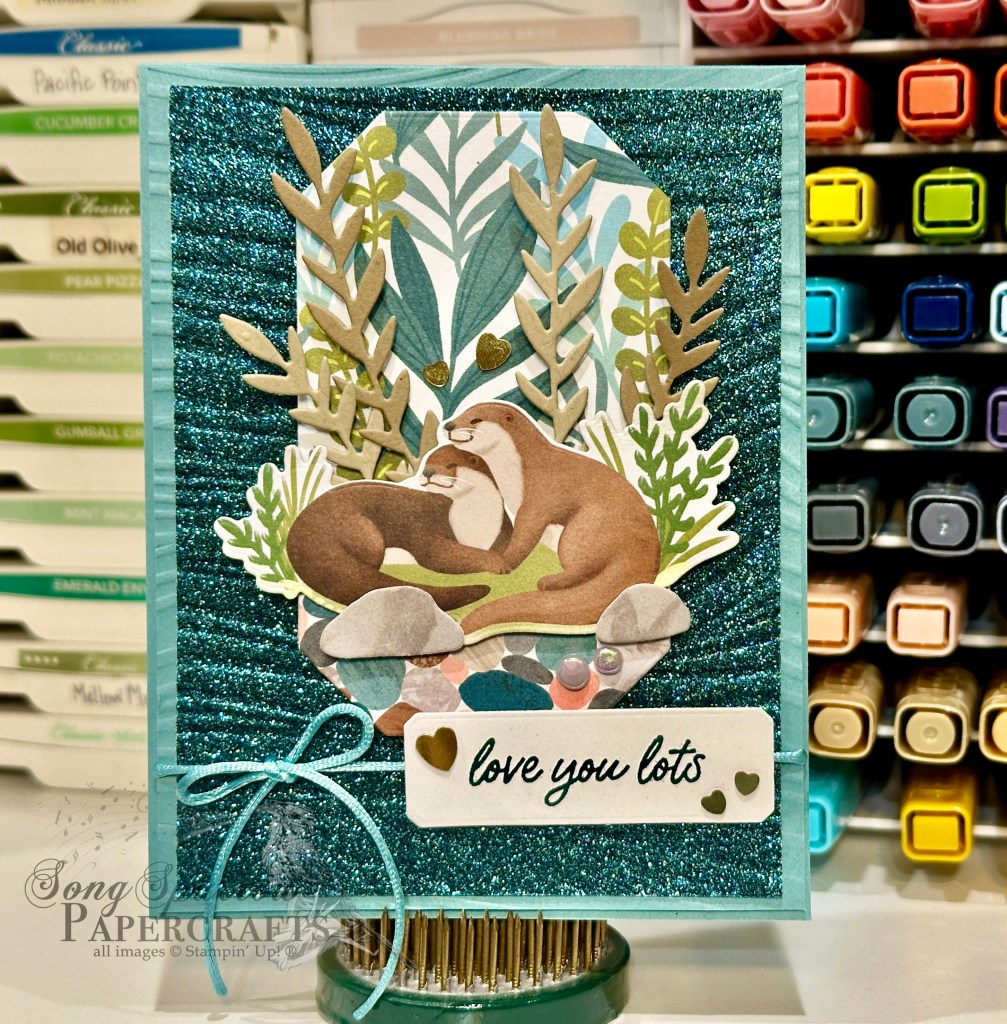
Next week is all about sentiments & texture. I hope you’ll come along for the inspiration!

Products used in today’s card:
Gray Granite, Basic White cardstock
Everyday Skies DSP
Adventurous Sky, Yuletide Village, Saying Hey stamps
Spotlight on Nature, Mixed Labels dies
Stampin’ Blends
Riverside irregular pearls, Regal foiled dots
Dimensionals
Adhesives

Product List
Holidays

Love You Lots

This week, our design theme revolves around love. While love doesn’t really have a season, we do tend to focus on it a little bit more as we get into February each year. My main goal for this week’s design theme is to show you how you can use what’s in your crafting stash to make beautiful cards that really show a recipient how much you care.

Today’s card uses the current SU! Online Exclusive bundle called Otterly Adorable and it’s just as adorable as its name implies! We’re pairing up the adorable paper from the bundle with the Soft Waves embossing folder to create this design. I just love how these product pairing makes you feel like you’re by the river peeking in on these two twitterpated otters.

We get started on today’s card with a base of Lost Lagoon cardstock. The background panel consists of the Lost Lagoon base and Pretty Peacock glimmer paper, both of which have been embossed with the Soft Waves embossing folder to give the look of a moving brook. Our focal panel combines two patterns in the Otterly Adorable paper pack – the river rock and water weeds – and sits on a base of white cardstock for stability. This panel has been diecut using the Countryside Corners dies. For our scene, I started by cutting a pair of rocks from the mottled gray paper in the Otterly Adorable paper pack using the coordinating dies. I also cut some older water weeds from Crumb Cake and Pecan Pie, also using the coordinating Otterly Amazing dies. Our pair of otters is cut from the Otterly Adorable paper using the larger scene die from the set. I layered all of these elements on dimensionals to give depth to our focal scene and then mounted the full focal panel on the sparkly background with dimensionals. Some Lost Lagoon soft cording tied around the panel under the focal scene draws the eye in to both the focal scene and sentiment. The sentiment from Otterly Amazing is stamped in Pretty Peacock on white cardstock and then diecut with the smaller Countryside Corners die. A few riverside pearls and heart sequins finish off our scene and the theme of this card design.

Tomorrow we’re going to be headed to the mailbox. I hope you’ll pop in and check it out!

Products used in today’s card:
Lost Lagoon, Crumb Cake, Pecan Pie, Basic White cardstock
Three Color Glimmer, Otterly Adorable DSP
Otterly Amazing, Countryside Corners dies
Soft Waves embossing folder
Lost Lagoon soft cording
Heart sequins, riverside irregular pearls
Dimensionals
Adhesives

Product List
Holidays · Sale-a-Bration

Love You More Than…

This week we’re diving into our crafty stash to create cards for our favorite Valentines. Maybe it’s your kiddo or your spouse or a niece or nephew. I think one of the most fun things is creating a card with a certain person in mind. And today’s design is inspired by a family joke about my love of everything potato but most especially fries and chips! The new Sale-a-Bration stamp set called Friendly Seagulls is absolutely perfect for pulling off today’s Valentine for one of my fellas.

We get started on today’s card with a base of Crumb Cake cardstock. The background is a combination of Petal Pink and Pretty Peacock glimmer paper that is embossed using the Soft Waves embossing folder. I cut along the embossed wave pattern to create two separate sea panels and adhered them over the sunset backdrop with layers of dimensionals. I used the Otterly Amazing dies to cut 3 separate poles from Crumb Cake and Gray Granite cardstock to peek up out of the water. Our flock of seagulls from the Friendly Seagulls stamp set is stamped on white cardstock, colored with Stampin’ Blends, and then fussy cut with paper snips before being adhered to our scene with dimensionals. I even included the little box of fries to carry out our theme beyond just the bird with a few fries in its beak. The sentiments are each stamped on white cardstock and then diecut with several different dies, including the banner from Countryside Corners, the rough board from Friends for Life, and the oval from Changing Leaves. Each one is adhered over a pole with dimensionals. I finished things off with some hearts scattered around the sentiment.

I just love these seagulls. There are so many possibilities to create adorable scenes. And the sentiments included in the stamp set make it a breeze to create cute Valentines! I hope you’ll pop in tomorrow to see what other critters might come to our warm & fuzzy party.

Products used in today’s card:
Crumb Cake, Gray Granite, Basic White cardstock
Three color glimmer paper
Friendly Seagulls stamps
Soft Waves embossing folder
Countryside Corners, Friends for Life, Changing Leaves, Otterly Amazing dies
Stampin Blends
Heart sequins
Dimensionals
Adhesives

Product List
Clean and Simple · Creating Connections

Simple Stamping

I love a good clean and simple (CAS) card design. For me, I typically like to let a beautiful piece of designer paper take center stage when I’m making a CAS card. Just add a simple sentiment and maybe an embellishment or two and you have a lovely card. Right now, SU! has a stunning DSP called Delightfully Eclectic that makes show-stopping designs, like these.

Each card design consists of Night of Navy as the card base. A different pattern of the Delightfully Eclectic designer paper is mounted on each base. The sentiments are stamped in Night of Navy on Basic White cardstock using the Pansy Patch stamp set. And each card is embellished with ribbon.

Products used:
Night of Navy, Basic White cardstock
Delightfully Eclectic DSP
Pansy Patch stamps
Lemon Lime Twist ribbon
Petal Pink ribbon
Circle punch
Dimensionals
Adhesive