Happy Fat Tuesday, everyone! For me, today was a struggle. It was a super early and super busy day at work. And then Tuesday are rehearsal nights, so that always makes the day long. I’m definitely ready to hit the hay here pretty quick!
This week, we’re playing our luck at some pretty cute designs. And I decided to dig through the stash of recently retired goodies for most of today’s card. But I thought you might have some similar things on-hand to pull off this super cute clover design yourself as we pair up the Wildflower Birthday paper with the 2024-26 In Color glimmer paper and heart punch.
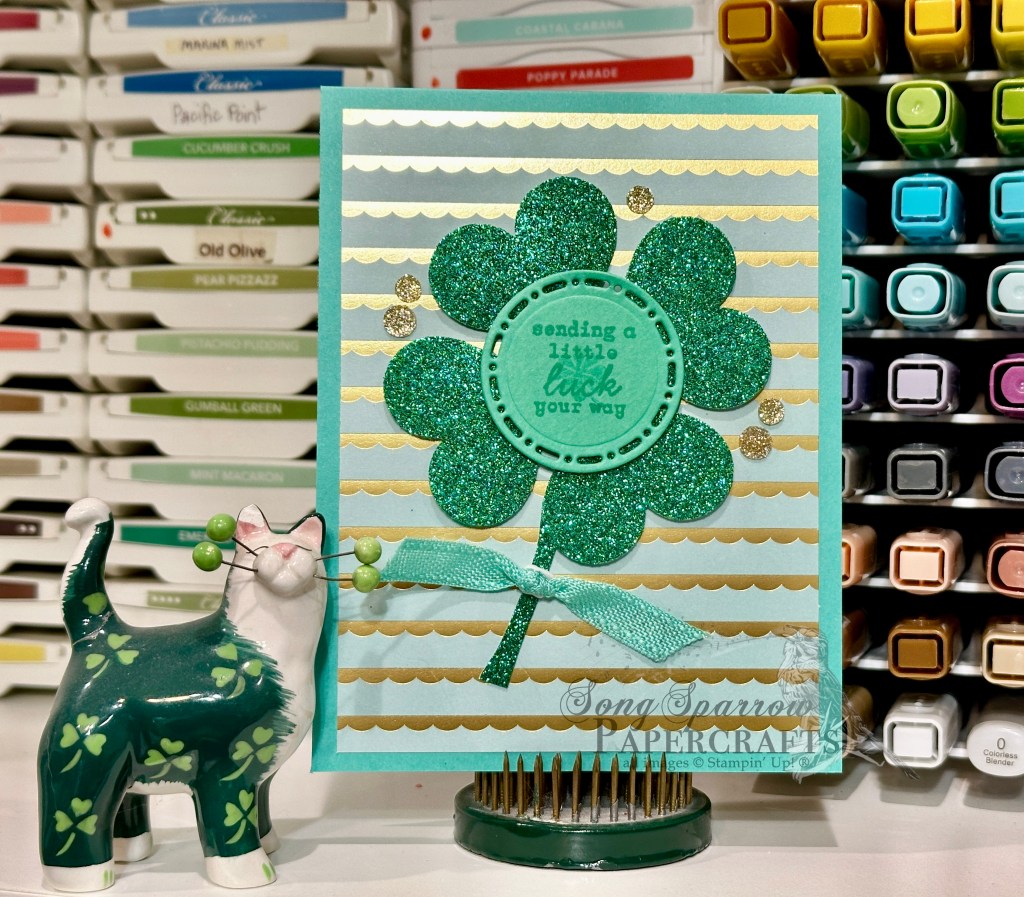
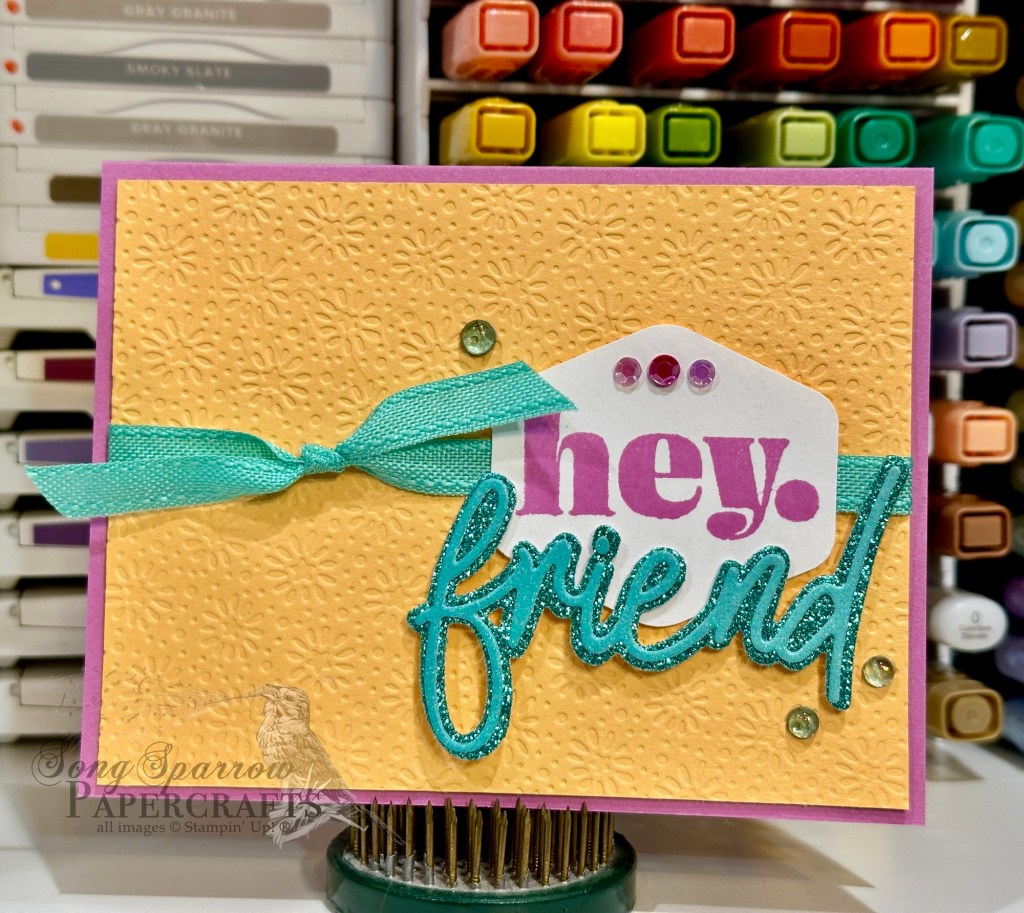
This cutie starts with a base of Summer Splash cardstock. We use a sheet of the retired Wildflower Birthday paper to serve as our backdrop. The gold accents were fitting for our lucky sentiment. We build our focal section by beginning with our four-leaf clover. I used my retired heart punch and punched four hearts from some Shy Shamrock glimmer paper and then I hand-cut a stem shape. I pointed all of the ends of the hearts toward the center to make the clover shape and adhered them to the backdrop with dimensionals. The stem is tucked under to give the illusion that it’s floating on the wind. The sentiment and center of our clover is stamped tone-on-tone on Shy Shamrock cardstock using the Sweet Jar stamps and then cut with one of the smaller Spotlight on Nature circle dies. It’s adhered in the center with dimensionals. I tied some Summer Splash ribbon around the stem. And we finish things off with some pops of gold using the Traditional Sparkling Sequins.
It’s easy peasy and oh so cute! You don’t have to a lot of pieces or a complicated design to create super cute cards. I’ll be taking a little break tomorrow for Ash Wednesday. But I plan to be back on Thursday to bring you some more luck. I hope you’ll drop by and see!
Products used in this card:
Summer Splash, Shy Shamrock cardstock
Wildflower Birthday, In Color glimmer (both retired)
Sweet Jar stamps
Spotlight on Nature dies
Heart punch (retired)
Summer Splash bordered ribbon (retired)
Traditional sparkling sequins
Dimensionals


 Specialty Paper")
 Specialty Paper")
")


")

 Bordered Ribbon")


 Designer Series Paper")
")
")


