We’re already halfway through this week and halfway through our All About Christmas week. I really love making holiday cards, so I’m having a great time working with all of the wonderful holiday products that Stampin’ Up! currently has to offer.
Today, we’re combining a little new with some old as take a drive to the tree farm in the woods to pick our Christmas tree. Do you like having a real tree or do you prefer artificial Christmas trees? I love real trees but unfortunately have allergies that prevent me from having real trees inside. Today’s card pairs the famous Trucking Along bundle with the Peaceful Evergreen set. Let’s take a closer look.
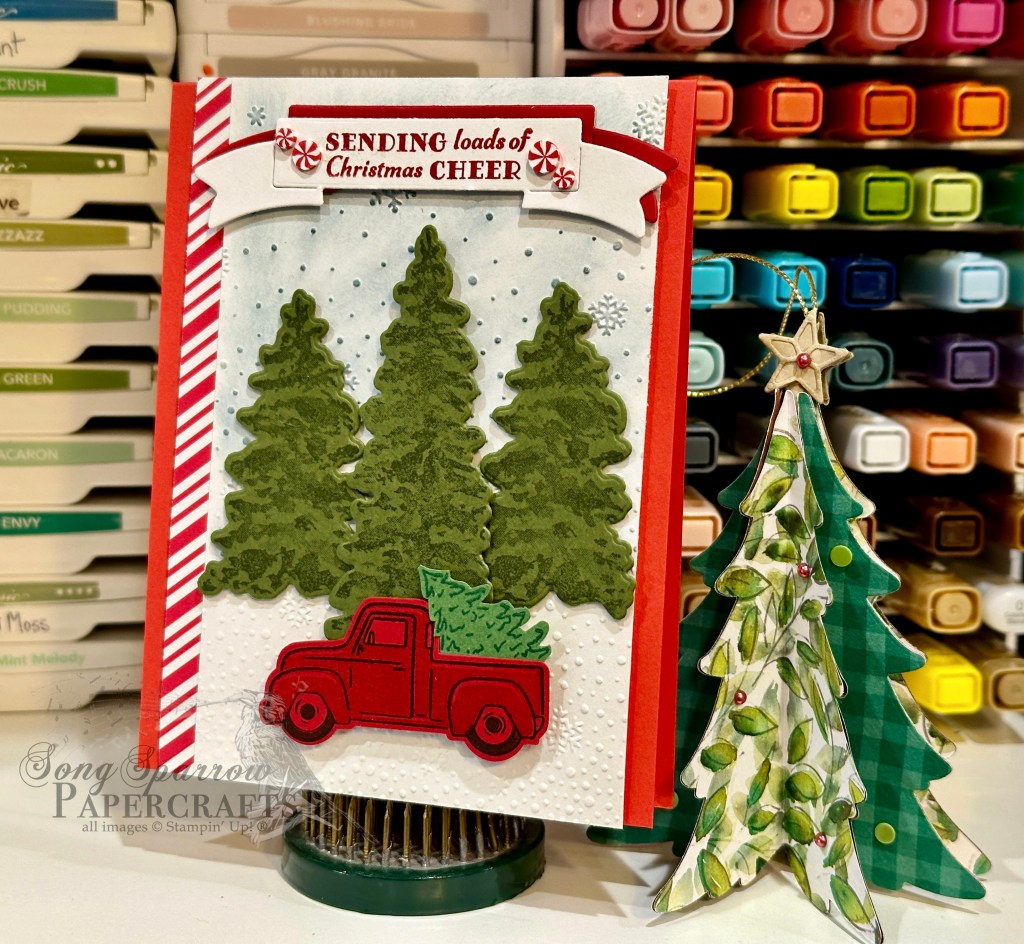
We get started with a base of Poppy Parade cardstock. I loved the contrast that this color provides with the Real Red in the other card elements. Our focal panel base consists of a piece of white cardstock that has been embossed using the Snowflake Sky embossing folder and the candy cane striped sheet of patterned paper from the Take a Box paper pack. To add a little definition to the snowy sky and create a definitive sky in our panel, I used my sponge dauber to add a little Misty Moonlight to the top of the embossed panel. Our grove of evergreens is created using the Peaceful Evergreens stamps and dies. I stamped two different sizes of evergreens on Mossy Meadow and then diecut them using the coordinating dies. They’re adhered to our focal panel using dimensionals. Our truck is stamped in black on Real Red cardstock using the Trucking Along stamp set and then punched with the coordinating punch. The tree in the truck bed is stamped tone-on-tone on Garden Green cardstock and then cut out with paper snips. The truck is adhered on extra dimensionals in front of our evergreens. Our sentiment from Filled With Cheer is stamped in Real Red on white cardstock and then diecut using the Peaceful Season banner die. I cut a second banner from Real Red to mat the sentiment panel and help it stand out. It’s adhered to the top of our focal panel, just like that welcome banner at the tree farm. A few adhesive peppermints on either side of the sentiment finish things of nicely.
The next time I make this card, I think I will stamp the truck on white cardstock instead. While I like the richness of the red we get by stamping the truck tone-on-tone, I like the background of our punched image blending in more to our snowy background. Try it out and see what you think!
Tomorrow we’re getting a look at a cool technique for creating a gift card and holiday card in one. Hope you’ll pop in and check it out!
Products used in today’s card:
Poppy Parade, Real Red, Mossy Meadow, Garden Green, Basic White cardstock
Take a Bow DSP
Filled With Cheer stamps
Trucking Along stamps & punch
Peaceful Evergreens stamps & dies
Peaceful Season dies
Snowflake Sky embossing folder
Real Red & white peppermints
Dimensionals
Adhesives


 Designer Series Paper")


")
")

")


")


