Hello Hollyhocks · Kits

Hollyhock Hello

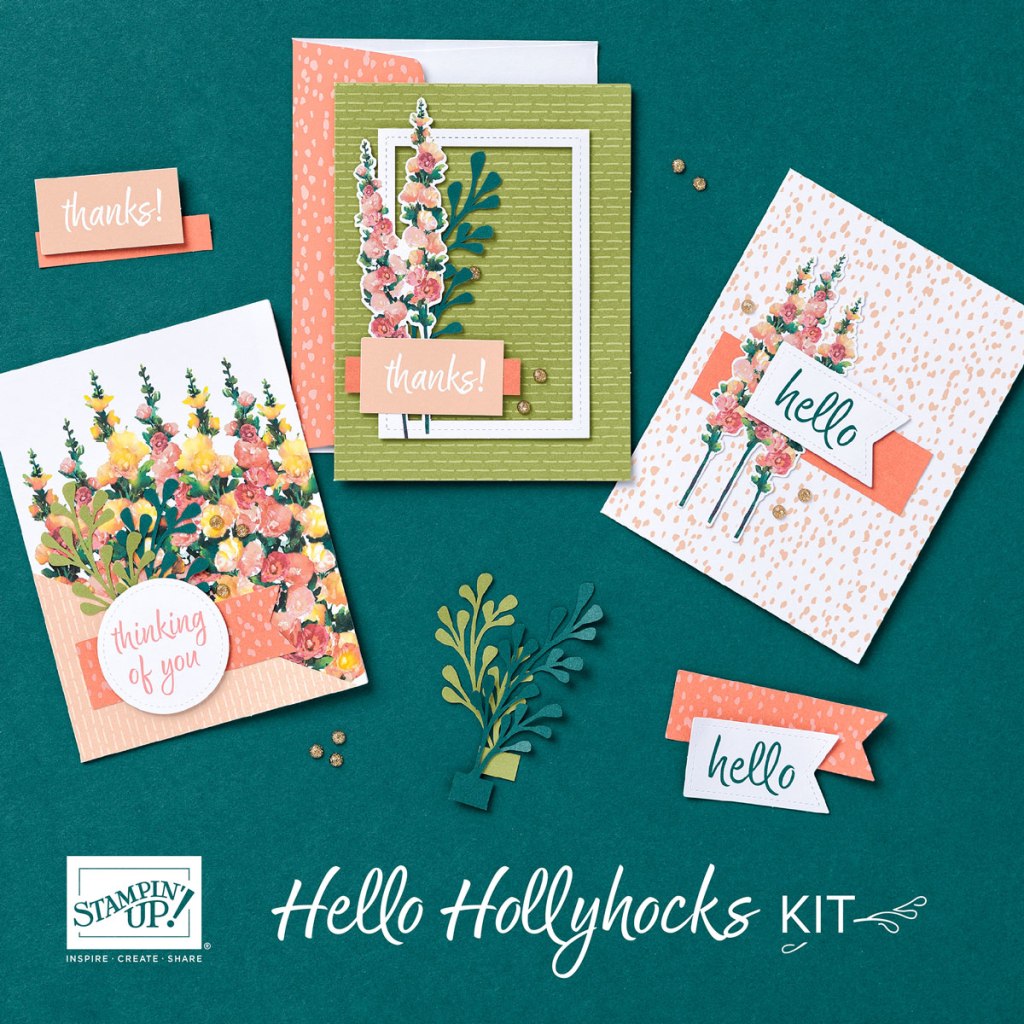
We are rounding out our week of card designs using the Stampin’ Up! all-inclusive card kit called Hello Hollyhocks. This one-box-wonder contains everything you need to make 9 beautiful cards. This week, we’ve explored some ways that you can use the kit and some items from your own crafting stash to make new card designs.

Today, we’re mixing things up by using a different combination of elements from the Hello Hollyhocks kit. No other materials required. Let’s take a closer look.

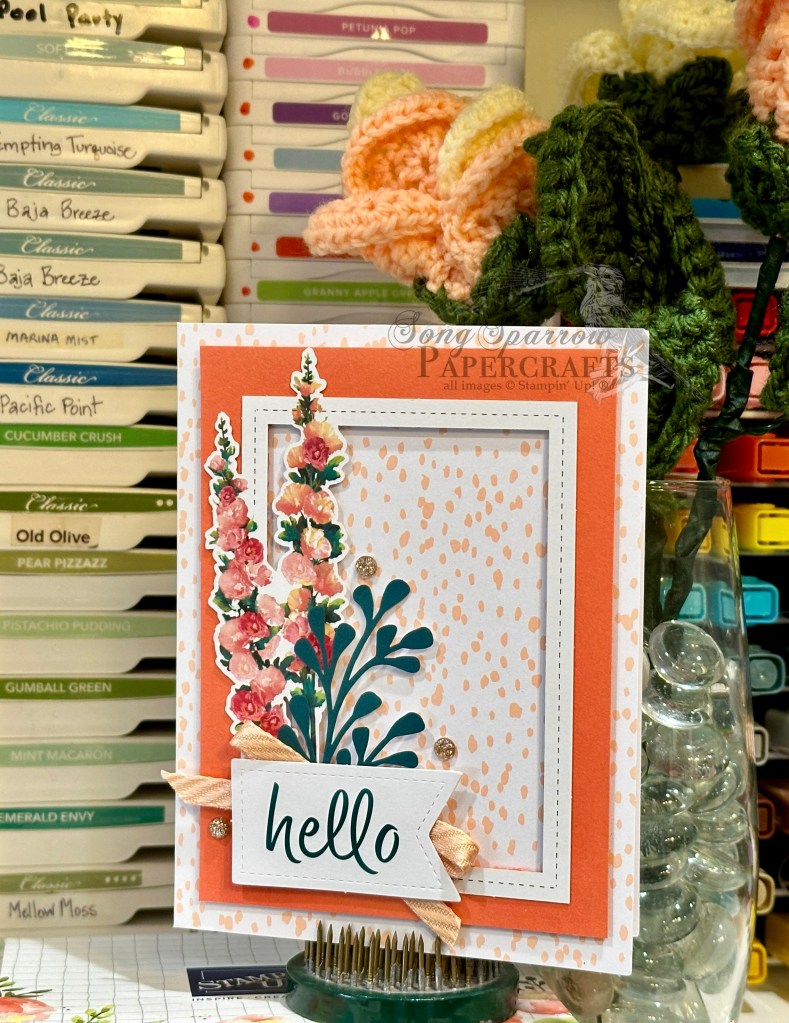
This card begins with the provided hollyhock card base. The sentiment panel consists of a layer of flags — the sentiment and the spotted Calypso Coral flag. Behind the stacked sentiment panel, we layer two of the Pretty Peacock greenery stems. This full panel is adhered to the card base with dimensionals. Sparkle gems finish things off on either side of the sentiment for some eye-catching glimmer.

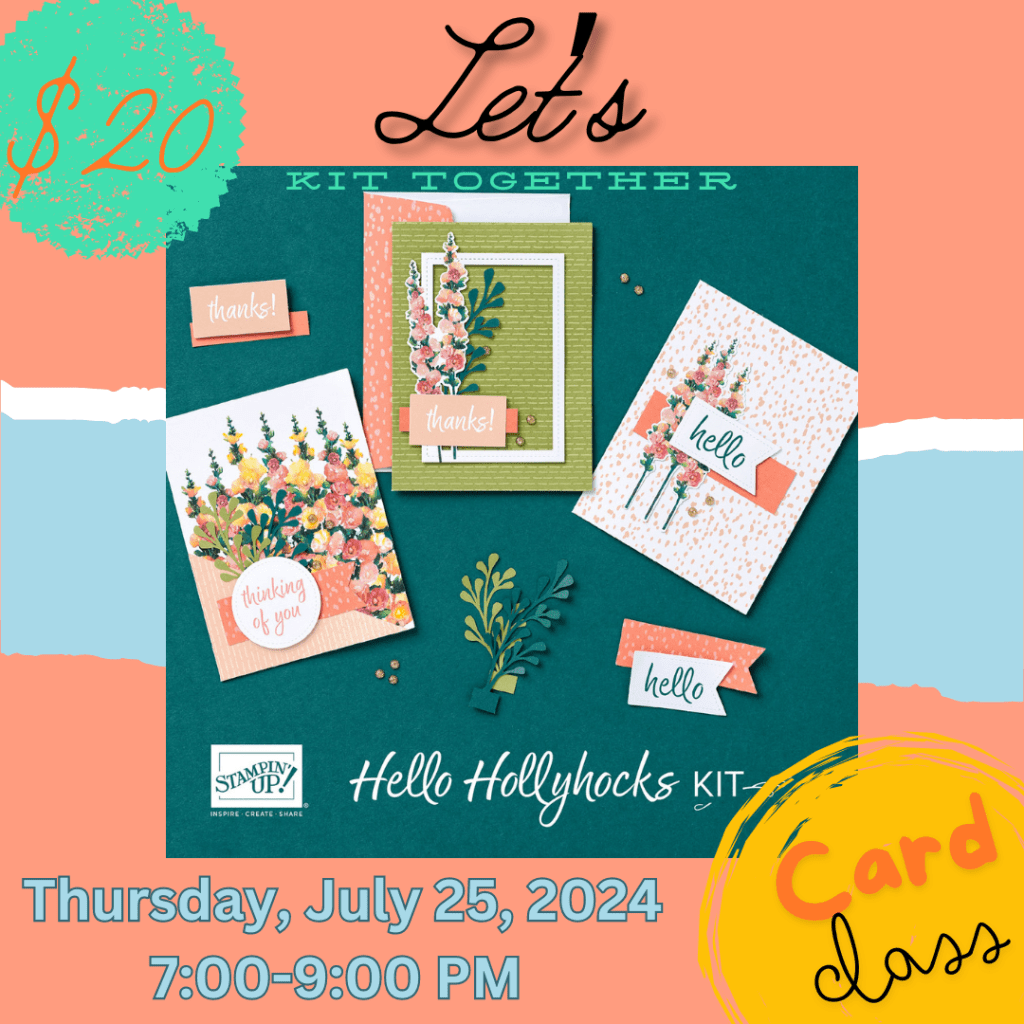
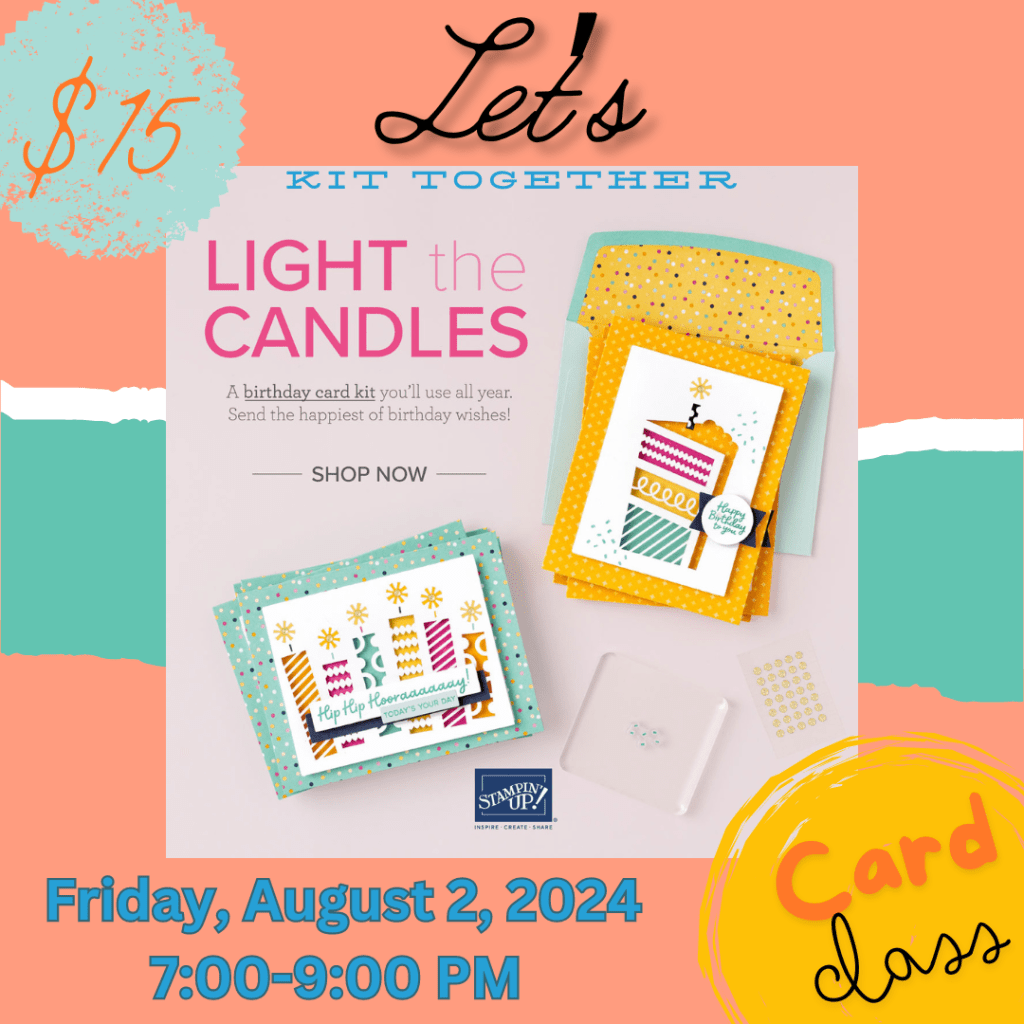
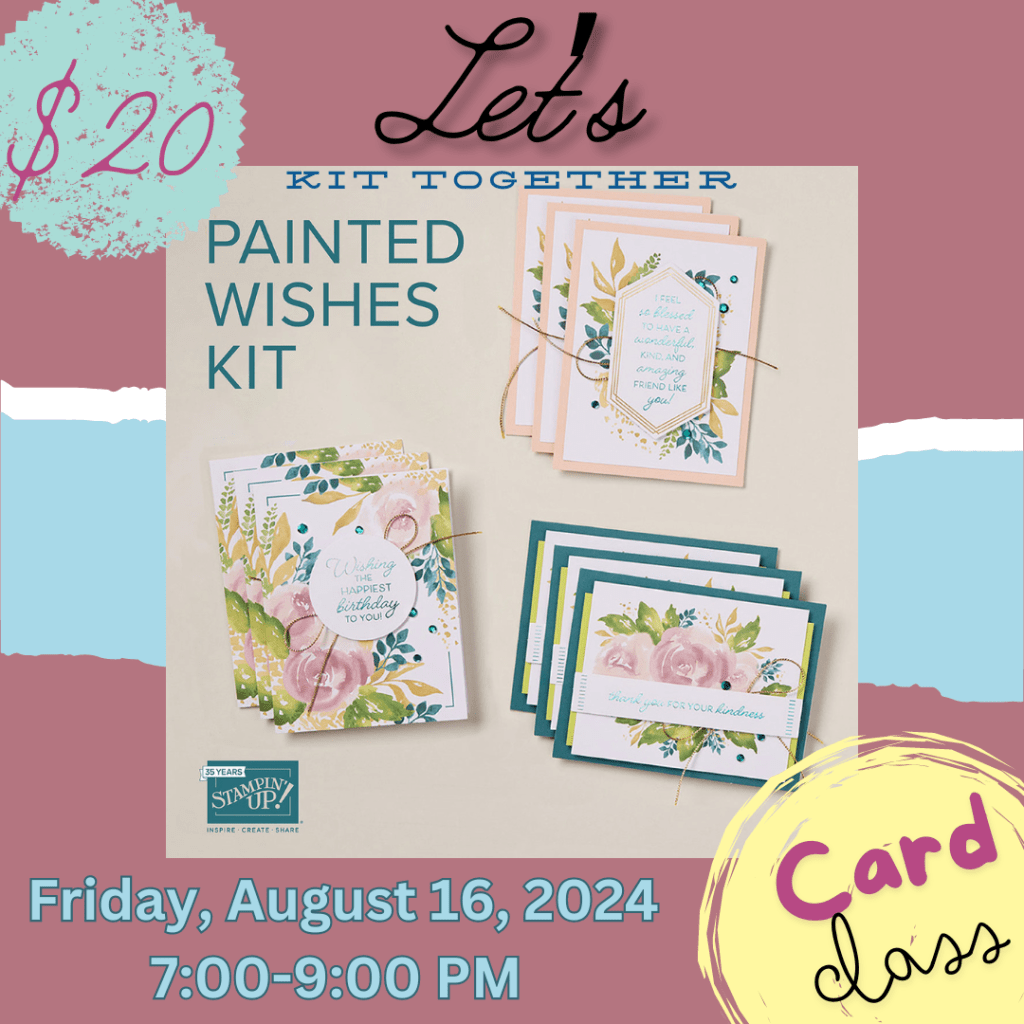
Have you enjoyed a look at the Hello Hollyhocks all-inclusive card kit? Interested in learning more about Stampin’ Up! kits? Join me for my Let’s Kit Together card class series. Click each graphic for more information on the 3 upcoming classes.

Thanks for coming along with me on our kit tour this week. I hope you’ll join me next week as we Say Hey.

Products used in today’s card:
Hello Hollyhocks
Dimensionals
Adhesives

Product List
Hello Hollyhocks · Kits

Framed Hollyhocks

Hello, everyone! I hope you’re enjoying our look at the new kit by Stampin’ Up! called Hello Hollyhocks. This all-inclusive kit includes everything in the box that you’ll need to assemble 9 beautiful cards. This week, we’ve been exploring how we can use this kit and a few items from our crafty stash to make new designs.

Today, we’re giving a new look to the included hollyhock frame. Let’s take a closer look at how it comes together.

We start with the included speckled Petal Pink card base. I cut down a quarter sheet of Calypso Coral cardstock to serve as the base for the focal panel and allow a full quarter-inch border of card base around each side. To give a fun new look to the include frame, we use our Deckled Rectangles dies to cut a portion out of the center of the Calypso Coral cardstock that is the same size as the center portion of the hollyhock frame. We then adhere the frame to the Calypso Coral panel and then adhere the full panel to the card base using dimensionals. Using a provided banner sentiment panel, we adhere a faux bow of Petal Pink diagonal trim behind the sentiment and then adhere a stem of Pretty Peacock greenery from the kit. The sentiment panel is popped up above the frame layer with dimensionals. The design is finished off with the included sparkle gems.

Tomorrow, we finish off our alternative Hello Hollyhock card designs with a simple twist on everything that’s included. I hope you’ll stop by and check it out!

Products used in today’s card:
Hello Hollyhocks card kit
Calypso Coral cardstock
Deckled Rectangles dies
Diagonal trim
Dimensionals
Adhesives

Product List
Hello Hollyhocks · Kits

Merci Hollyhocks

It’s Independence Day here in the U.S. And I certainly couldn’t be more thankful to live in a place where I have the freedoms to live, work, and believe than I am today. How fortunate we are indeed!

This week, we are exploring the ways that we can expand on the Stampin’ Up! Hello Hollyhocks card kit to create beautiful alternative card designs using the kit and additional elements from our crafting stash. Today’s card adds diecut elements and ribbon to create this lovely thank-you card.

We start today’s card with the included Old Olive card base. We’re also using the small Calypso Coral rectangle, Petal Pink sentiment, and three-stem bunch of hollyhocks included in the kit. I started by diecutting the backdrop for the hollyhock focal image. This is cut from Calypso Coral cardstock using the Deckled Rectangles dies. I cut the three-stem bunch of hollyhocks from the frame and then adhered the flowers to the center of the rectangle. Next, we’ll diecut the backdrop for our sentiment from Calypso Coral cardstock using the Everyday Details dies. I chose my sentiment and then adhered the small rectangle from the kit to the back. I flipped the rectangle over to reveal the white backside because I wanted contrast between the Calypso Coral mat and the Petal Pink sentiment panel. Each of these layers are adhered together and then adhered over the stems of hollyhocks with dimensionals. The full panel is then adhered to the card base with dimensionals. A bow of striped iridescent ribbon is adhered just above the sentiment panel to give the look of a tied bunch of hollyhocks. Things are finished off with the included sparkle gems to draw the eye to the sentiment.

Tomorrow, we’re giving our hollyhock frame a new look. I hope you’ll stop in and check it out!

Products used in today’s card:
Hello Hollyhocks card kit
Calypso Coral cardstock
Iridescent striped ribbon
Dimensionals
Adhesives

Product List
Hello Hollyhocks · Kits

Thoughts of You Hollyhocks

Today, we’re continuing our look into alternative card designs using the Stampin’ Up! Hello Hollyhocks card kit. The watercolored images in this kit are simply stunning, and I just love the color palette that was chosen for the kit elements. You literally do not need anything that isn’t in the kit box in order to make beautiful cards. But if you’re up for a little crafting adventure, then I hope you’re enjoying the alternative designs I’m sharing with you this week.

Next up is a very simple alternative card design. By simply adding a diecut element and changing the shape of an included kit element, you have a whole new look to this card design.

This card design begins with the included hollyhock card base. The sentiment panel consists of three elements — the included circle sentiment, the included speckled Calypso Coral flag, and a diecut circle. We get started by diecutting a radiating circle from Calypso Coral cardstock using the Spotlight on Nature dies. We transform our speckled Calypso Coral flag into a banner by snipping the other end to match with the pennant cutout. I layered the banner behind the sentiment and then adhered them on top of the diecut circle. This full panel is adhered to the card front with a double layer of dimensionals. And things are finished off with the included sparkle gems around the sentiment.

Tomorrow, we’re framing things up in a different way. I hope you’ll stop by to check out the latest card alternative using the Hello Hollyhocks card kit!

Products used in today’s design:
Hello Hollyhocks card kit
Calypso Coral cardstock
Spotlight on Nature dies
Dimensionals

Product List
Hello Hollyhocks · Kits

Thinking of Hollyhocks

Happy Tuesday, everyone! This week, we’re getting a closer look at the beautiful new kit by Stampin’ Up! called Hello Hollyhocks. This kit comes with everything you need to create 9 stunning cards. And each day this week, I’m showing you how you can use the kit elements along with a few items from your own personal crafting stash to create gorgeous design alternatives.

Today, we’re adding an additional diecut cardstock element to the Hello Hollyhocks kit to create this stunner. We start with the provided Petal Pink dotted card base. The backdrop for the image panel is a piece of Flirty Flamingo cardstock diecut using the Spotlight on Nature dies. The larger Calypso Coral rectangle included in the kit is adhered at the base of the circle and together these provide the base for our image and sentiment elements. The two-stem hollyhocks and peacock and olive stems are arranged and then adhered to the back of the sentiment. A faux bow made from the white & silver sheer ribbon is adhered to the Flirty Flamingo circle using tear and tape. And then the sentiment panel is adhered over it using two layers of dimensionals. The sparkle gems included in the kit finish off the design.

Would you like to see how to put together the 3 designs from the Hello Hollyhocks kit? Tune in to today’s episode of Terrific Tuesdays to see this all-inclusive kit come to life:

Tomorrow, we’ll be keeping things simple with our card alternative. I hope you’ll stop by and check it out.

Products used:
Hello Hollyhocks kit
Flirty Flamingo cardstock
Spotlight on Nature dies
Silver & white sheer ribbon
Dimensionals
Adhesives

Product List
Hello Hollyhocks · Kits

Hello Hollyhocks Kit Alternatives

Welcome to a brand new week. Can you believe it’s July already?! And in usual Texas fashion, we have jumped straight from the frying pan into the fire as far as our weather goes. Man, has it been HOT! But I’ve taken advantage of the hot days by spending some extra time in the craft room. *grin*

This week, we’re going to be taking a closer look at the Hello Hollyhocks kit by Stampin’ Up! This kit includes everything you need to create 9 beautiful cards — 3 each of 3 different designs. You literally open the box and go to town. In about 30 minutes, you’ll have 9 cards all done and ready to send. How cool is that?! During tomorrow’s episode of Terrific Tuesdays, I’ll walk you through unboxing the kit and making all 3 designs.

But the focus of the designs I’ll be sharing with you this week will be alternative card designs using the elements from the Hello Hollyhocks kit. With just a few extras from your crafting stash, you can create some lovely cards using this kit.

For today’s kit alternative card, I kept things very simple. The only element not included in the Hello Hollyhocks kit is the linen thread. From there, it’s just a mix and match of kit elements.

We get started with the Old Olive card base provided in the kit. The focal panel consists of the three-stem bunch of hollyhocks, the narrow Calypso Coral rectangle, and the Petal Pink THANKS sentiment panel. I adhered each of these elements together to create one panel. I made a twist of linen thread and added it behind the focal panel and then adhered everything into place with a double layer of dimensionals. A few of the kit’s included sparkle gems finish things off nicely.

This card came together in less than 5 minutes. Honestly, it took me the longest time to get the twist of linen thread to look right and then cooperate as I was trying to adhere it. This is so often the case with any ribbon element I add. Anyone else struggle with getting ribbons or threads to cooperate?

I hope you’ll pop back by tomorrow to see another card alternative for the Hello Hollyhocks kit!

Products used:
Hello Hollyhocks kit
Linen thread
Dimensionals

Product List