Stampin’ Up! has so many wonderful holiday designer series paper packs to choose from, and each one offers a whole world of possibility for card designs. On this week’s episode of Terrific Tuesdays, we’ve walked through several ways to make beautiful holiday thank you cards. And today, I want to show you another fun way to show off your stunning DSPs.
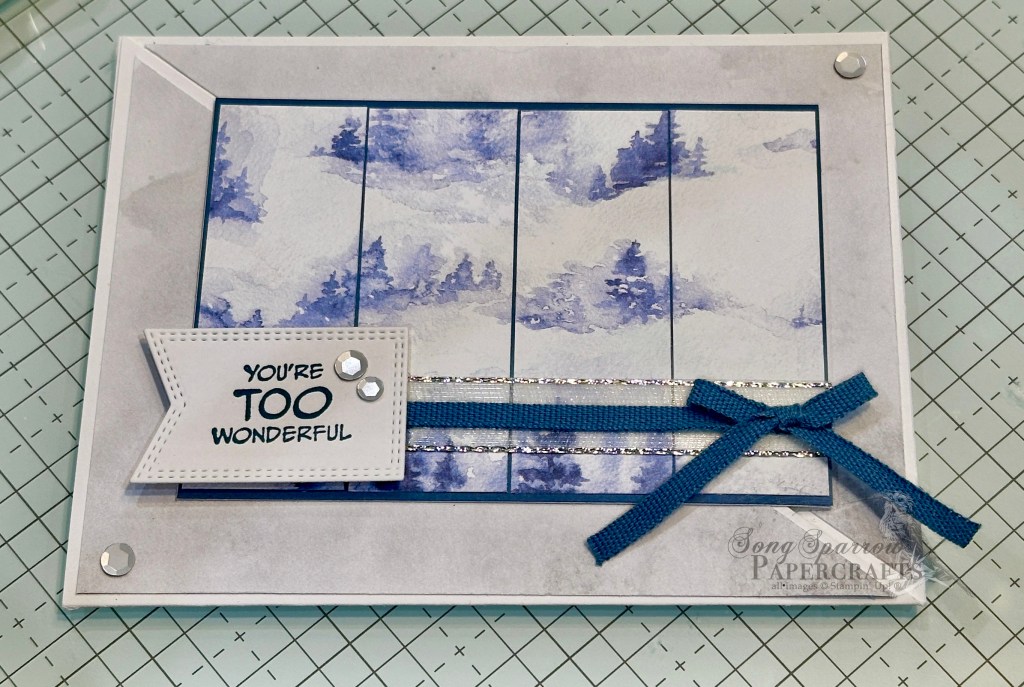
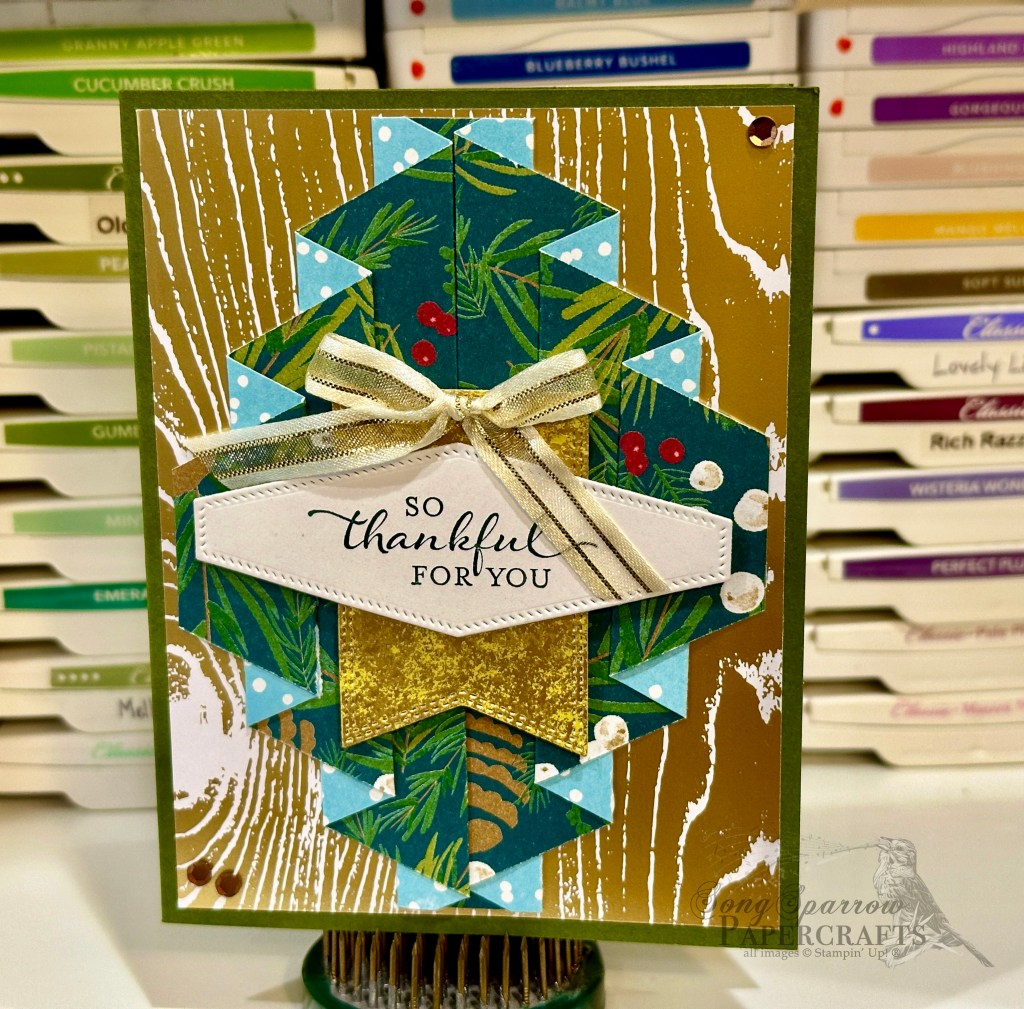
Today’s card features a new-to-me fun fold called a curtain fold. At first glance, it looks a little complicated, but it’s a very straight forward set of folds that make a beautiful pleated paper pattern as the focal point. I chose a sheet of Mossy Meadow as the base for this card and a sheet of Joyful designer series paper is the mat for the focal point. I used a sheet of A Walk in the Forest for the pleated fold portion. The sentiment is diecut from white cardstock using the Nested Essentials dies. The sentiment from the So Sincere stamp set is stamped in Pretty Peacock. A banner diecut from Distressed Gold cardstock is diecut using the banner die from the Nested Essentials die set. This card is finished off with a gold & very vanilla ribbon bow and a few sequins.
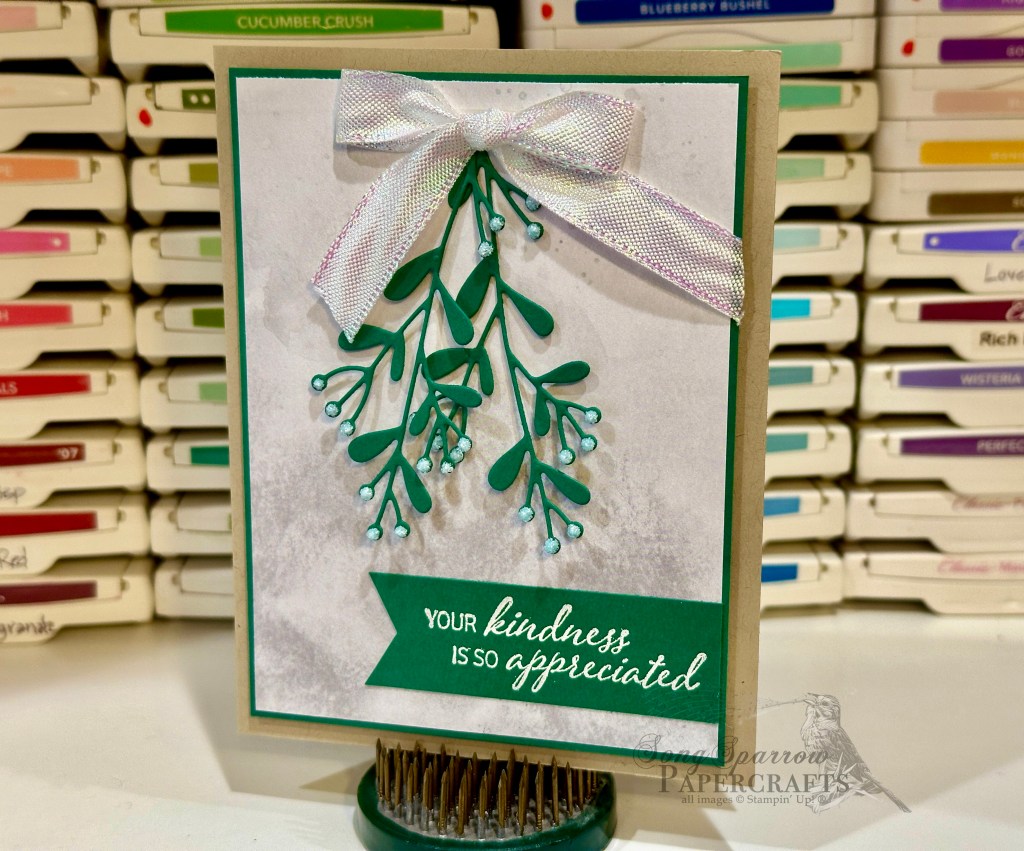
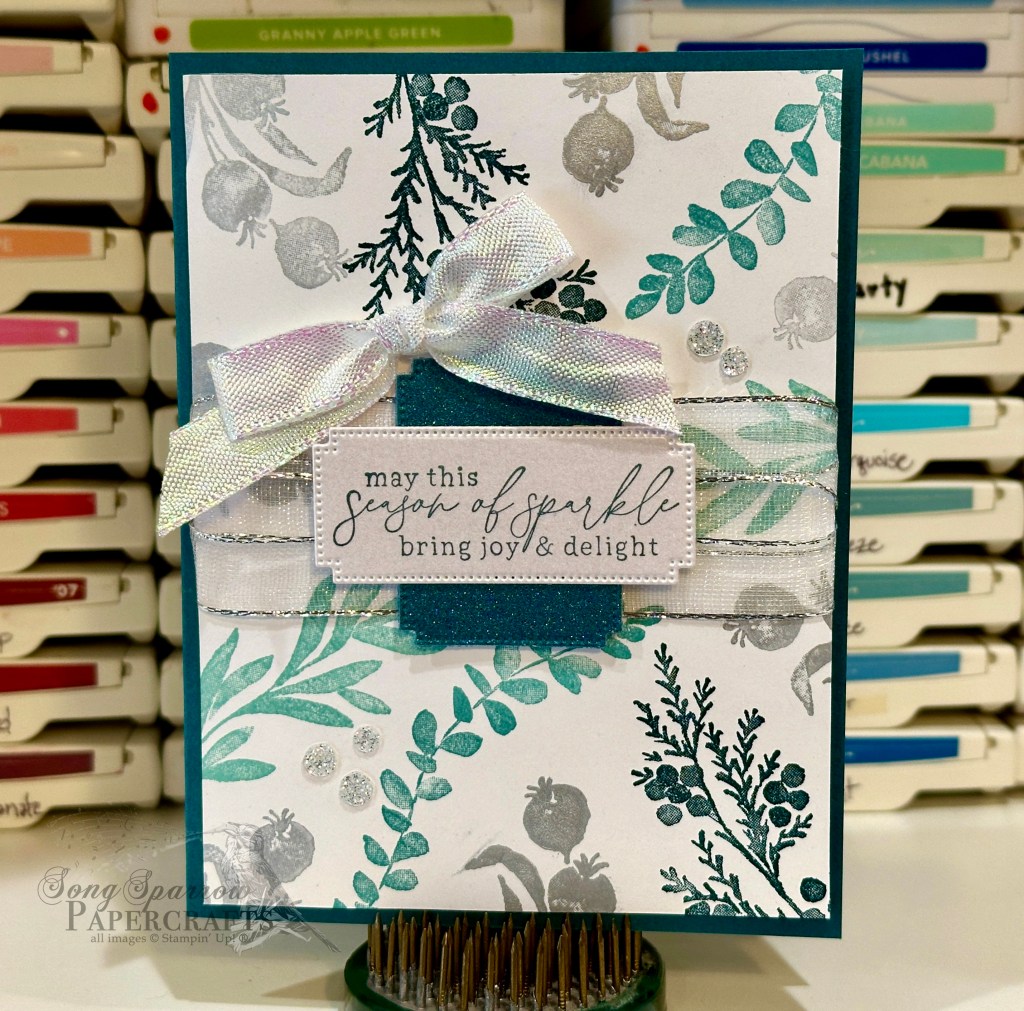
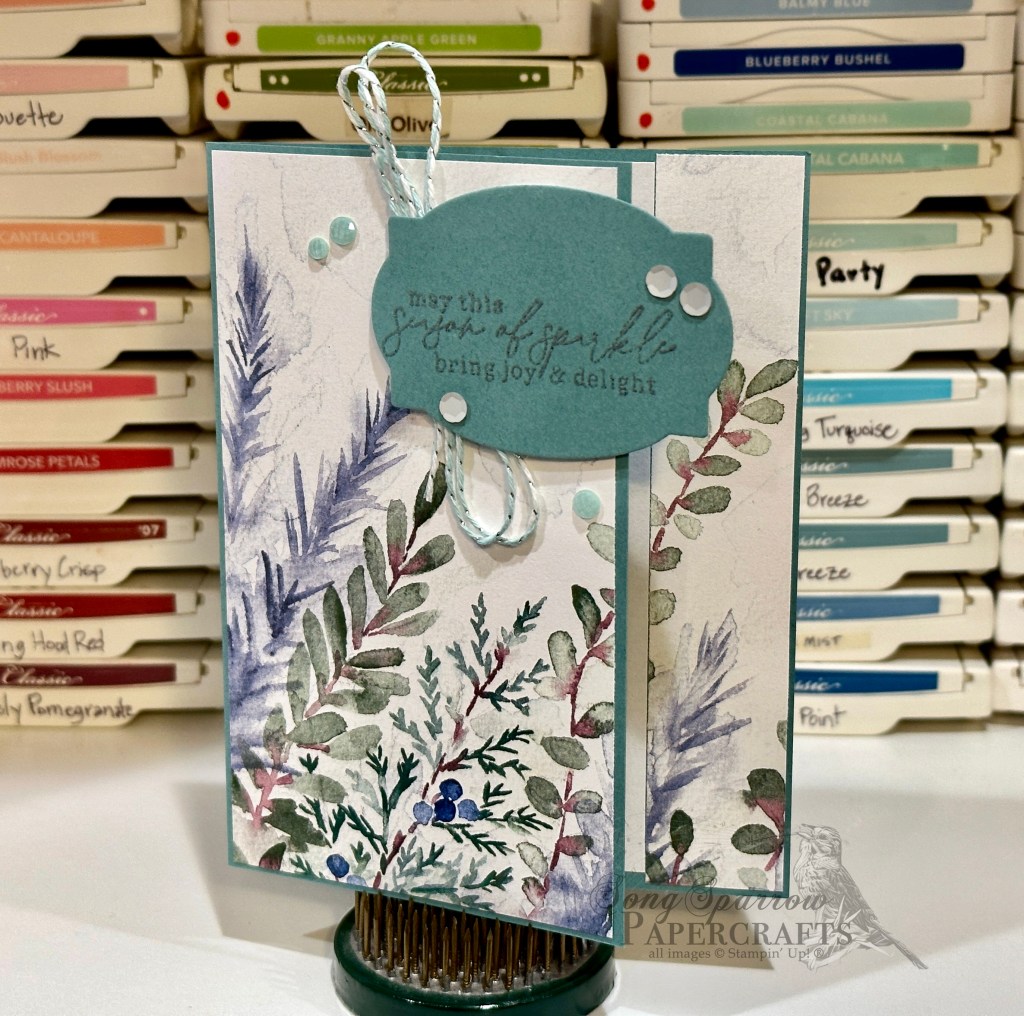
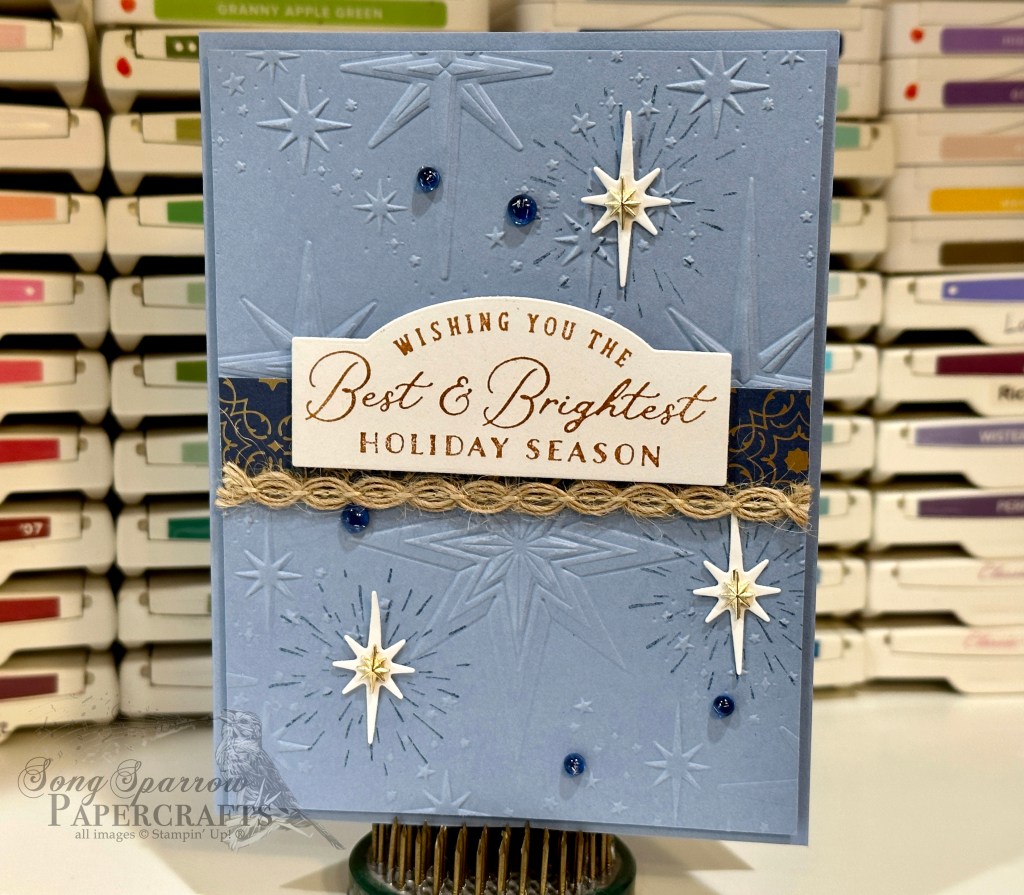
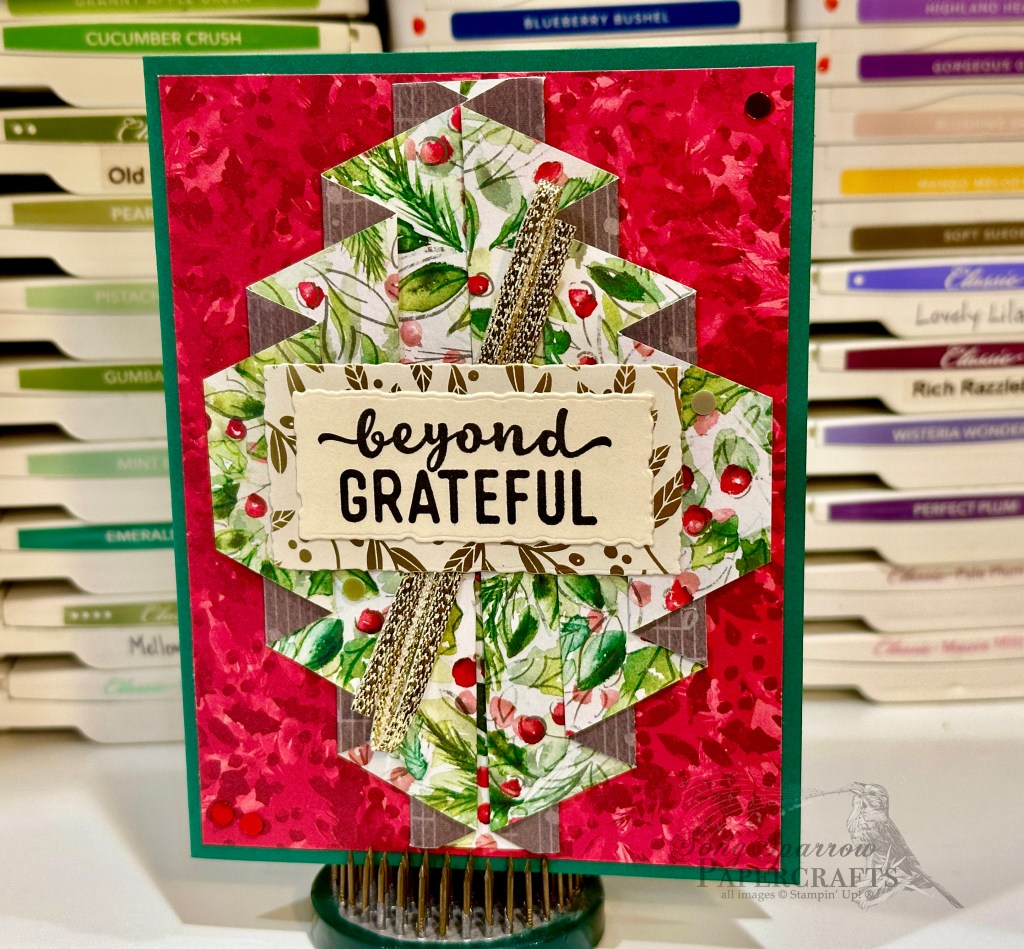
I love how the look of the card changes as you switch up the designer papers that you pair together. There are just so many possibilities. The first thing that pops to mind for me are wedding cards, but really this fold will be great for so many different occasions! Check out these two variations:

You can see all of the other fun fold designs that we made together in this week’s Terrific Tuesdays video by clicking below for the full video.
Tune in tomorrow for another fun fold you can create using Stampin’ Up! holiday designer series papers.
Products used in today’s featured design:
Mossy Meadow, Basic White, Distressed Gold cardstock
Joyful, A Walk in the Forest DSP
Very Vanilla & Gold satin-edged ribbon
Neutrals sequins
Dimensionals
Adhesives
All ads on this site are posted by WordPress. Song Sparrow Papercrafts is not responsible for ad content.